Sponsored by
Agora Arts
Agora Arts is a contemporary fine craft gallery located in the heart of beautiful downtown Decorah, Iowa. Agora has been connecting art and artists to the people of the Driftless since 1992, carrying the work of 200+ talented American artists – including lovely art, jewelry, pottery, prints, sculpture, and more. A brainchild of Decorah native and Luther College grad, Gail Bolson-Magnuson, Agora is most definitely a must-stop spot on any visit to Decorah.
Sponsored by
The Getup
Save the planet and your wallet! Shop our hand-curated, like-new selection of secondhand clothing and gear for the entire family – from newborn all the way up to adult, plus maternity, shoes, and toys! We buy and sell brands like Patagonia, Gap, Cat & Jack, American Eagle Outfitters, Nike, Lands’ End, and more. The Getup: Community Powered Sustainable Styles. Find great deals in-store or online!
Sponsored by

Your Business!
Oh hey, lookie there – you’re looking here! Can you imagine how many people will look at YOUR business in this spot as well?! Let us write a super-fun business blurb for you, upload it and your logo, and watch the hits come in! Plus, you get to support positive news and community-building in the Driftless! Win + Win! Please reach out for more web sponsorship info – we’d love to make it happen!
Fill-In Thank You Cards
Sponsored by
Your Business!
Oh hey, lookie there – you’re looking here! Can you imagine how many people will look at YOUR business in this spot as well?! Let us write a super-fun business blurb for you, upload it and your logo, and watch the hits come in! Plus, you get to support positive news and community-building in the Driftless! Win + Win! Please reach out for more web sponsorship info – we’d love to make it happen!
Sponsored by
The Getup
Save the planet and your wallet! Shop our hand-curated, like-new selection of secondhand clothing and gear for the entire family – from newborn all the way up to adult, plus maternity, shoes, and toys! We buy and sell brands like Patagonia, Gap, Cat & Jack, American Eagle Outfitters, Nike, Lands’ End, and more. The Getup: Community Powered Sustainable Styles. Find great deals in-store or online!
Sponsored by
Agora Arts
Agora Arts is a contemporary fine craft gallery located in the heart of beautiful downtown Decorah, Iowa. Agora has been connecting art and artists to the people of the Driftless since 1992, carrying the work of 200+ talented American artists – including lovely art, jewelry, pottery, prints, sculpture, and more. A brainchild of Decorah native and Luther College grad, Gail Bolson-Magnuson, Agora is most definitely a must-stop spot on any visit to Decorah.
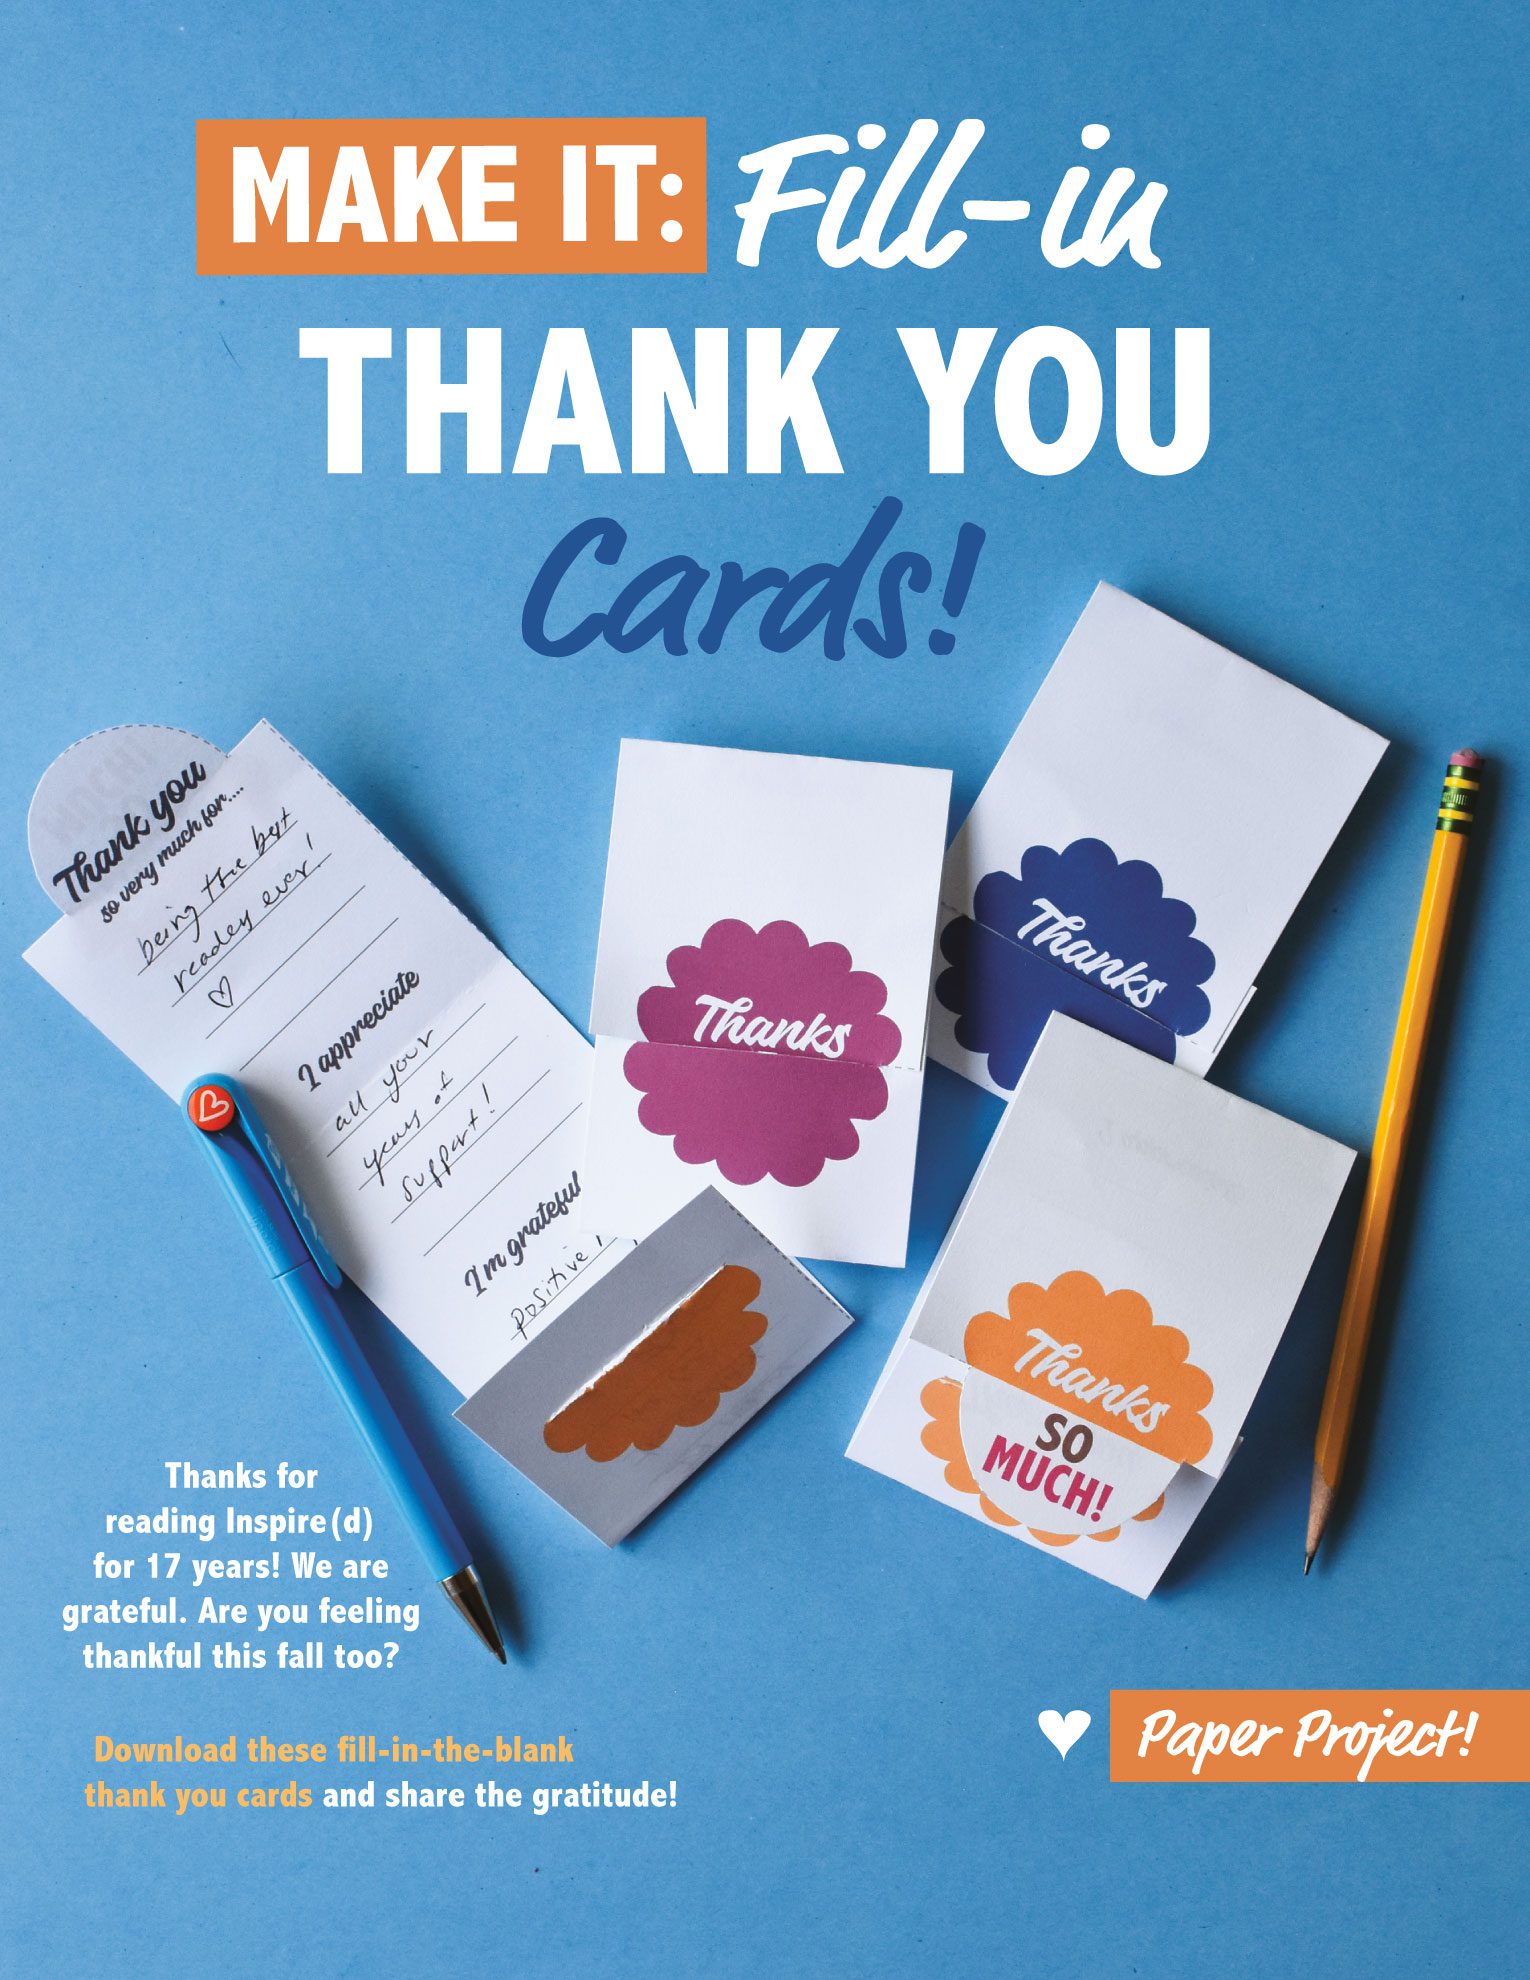
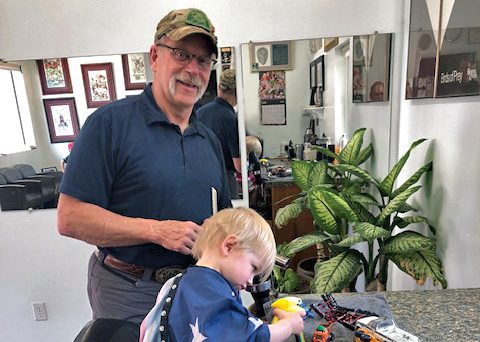
Thanks for reading Inspire(d) for 17 years!
We are grateful. Are you feeling thankful this fall too? Make these fill-in thank you cards and share the gratitude! What are fill-in-the-blank thank you cards? We made these adorable little cards with gratitude prompts on the inside, and lines supplied for you to write in what you’re feeling. Then all you have to do it fold it back up and pop it by your co-worker’s desk, in your kid’s lunch, under your partner’s pillow, or even at each place setting at Thanksgiving (or any dinner party, really)!
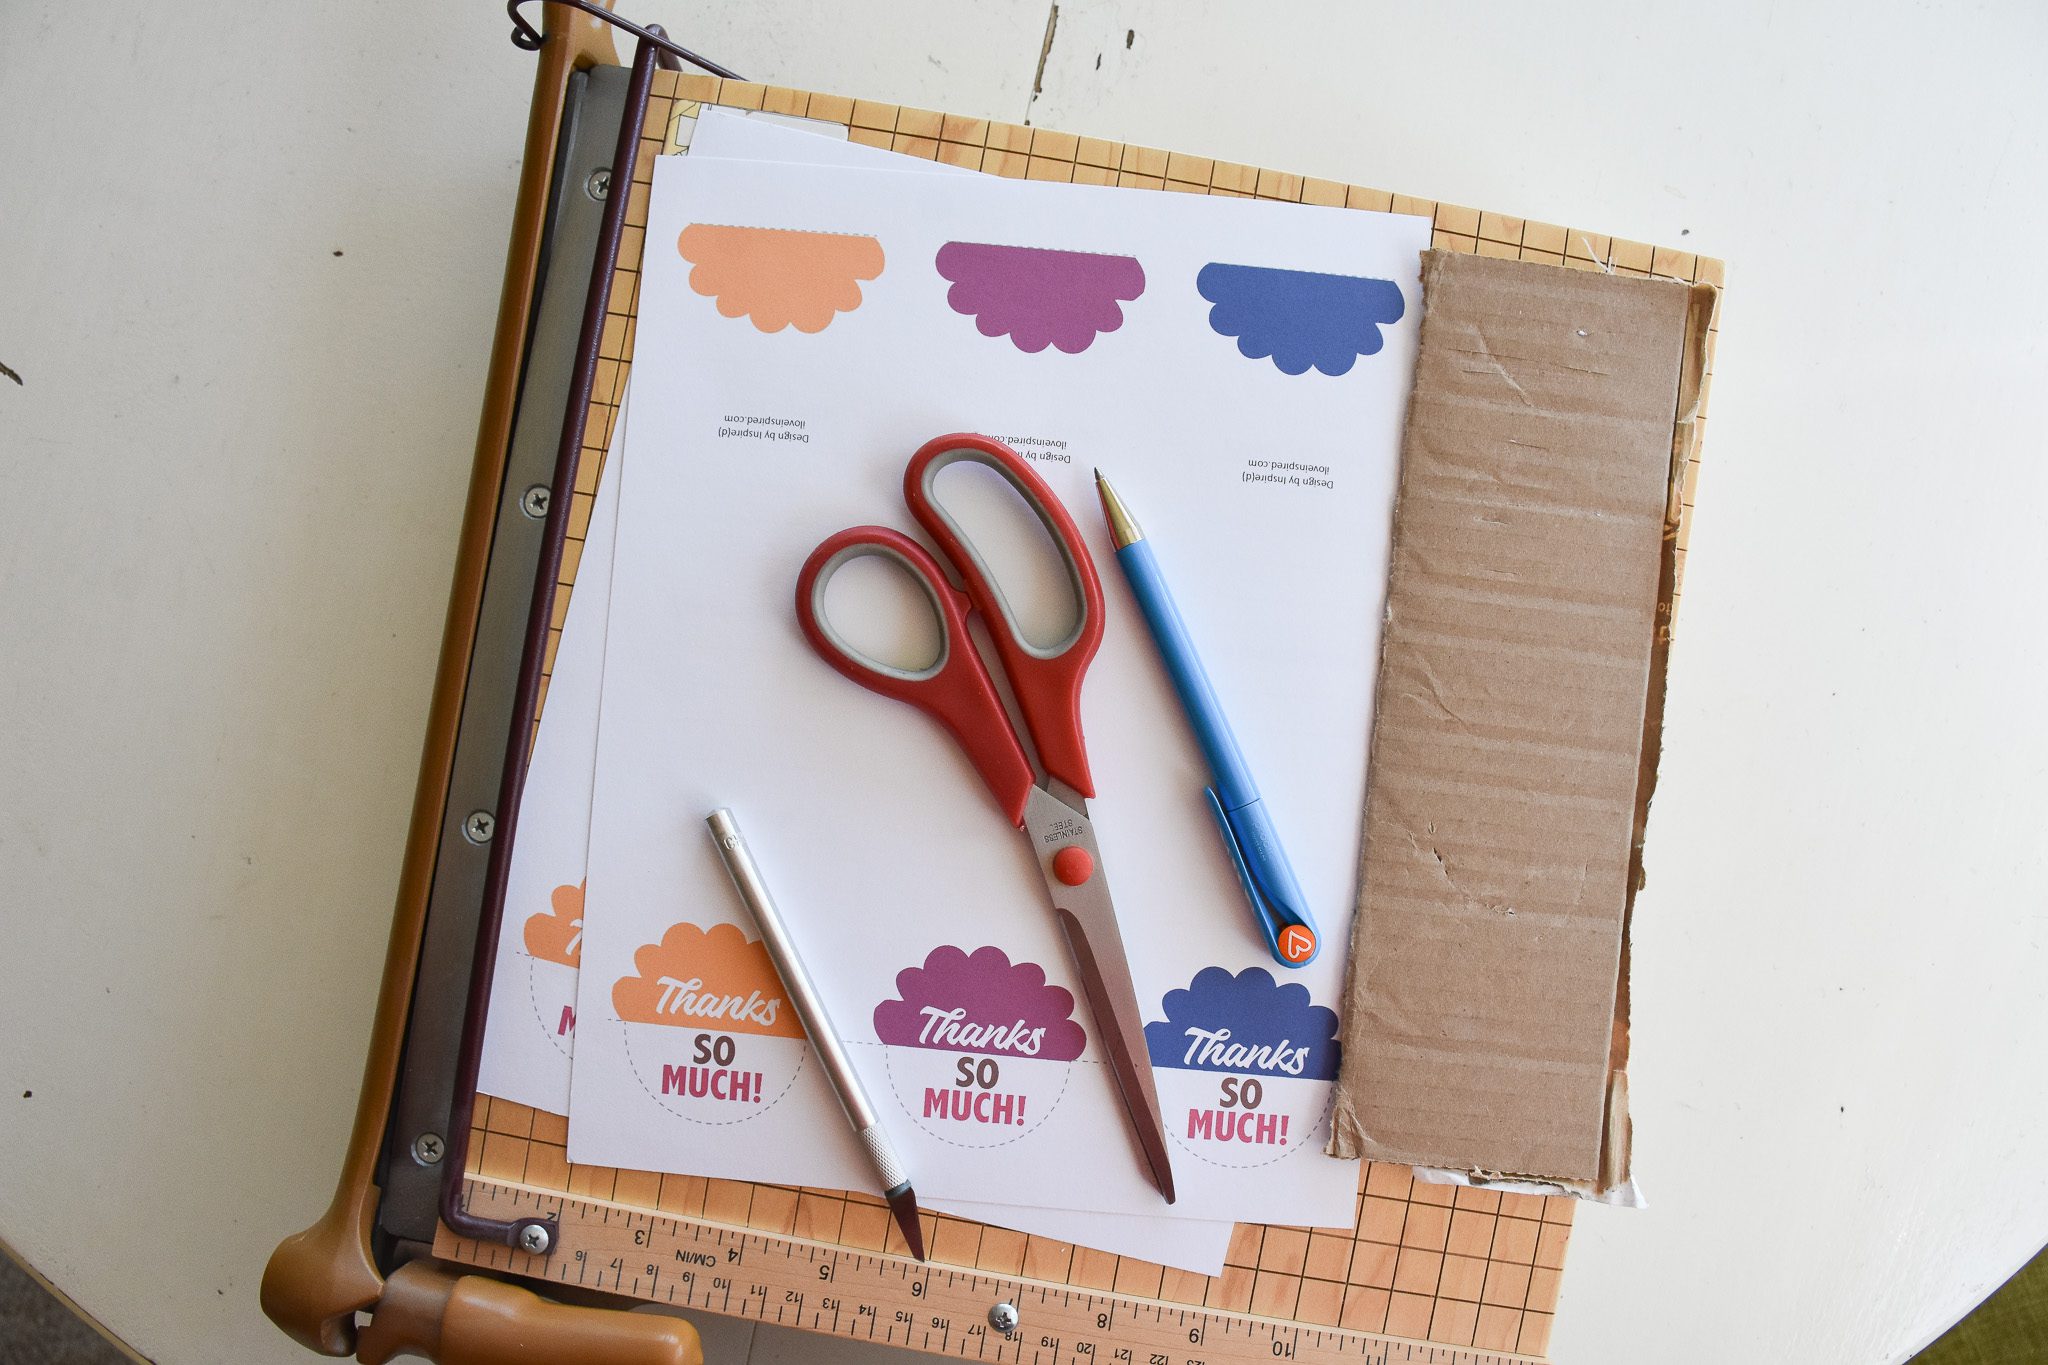
Supplies:
Thank You Card templates
– Front
– Back
Scissors
Cardboard piece
X-acto knife
Pen
Optional: paper guillotine
First, print off the templates (front and back). Make sure they printed so the thank yous on both side are right-side up.

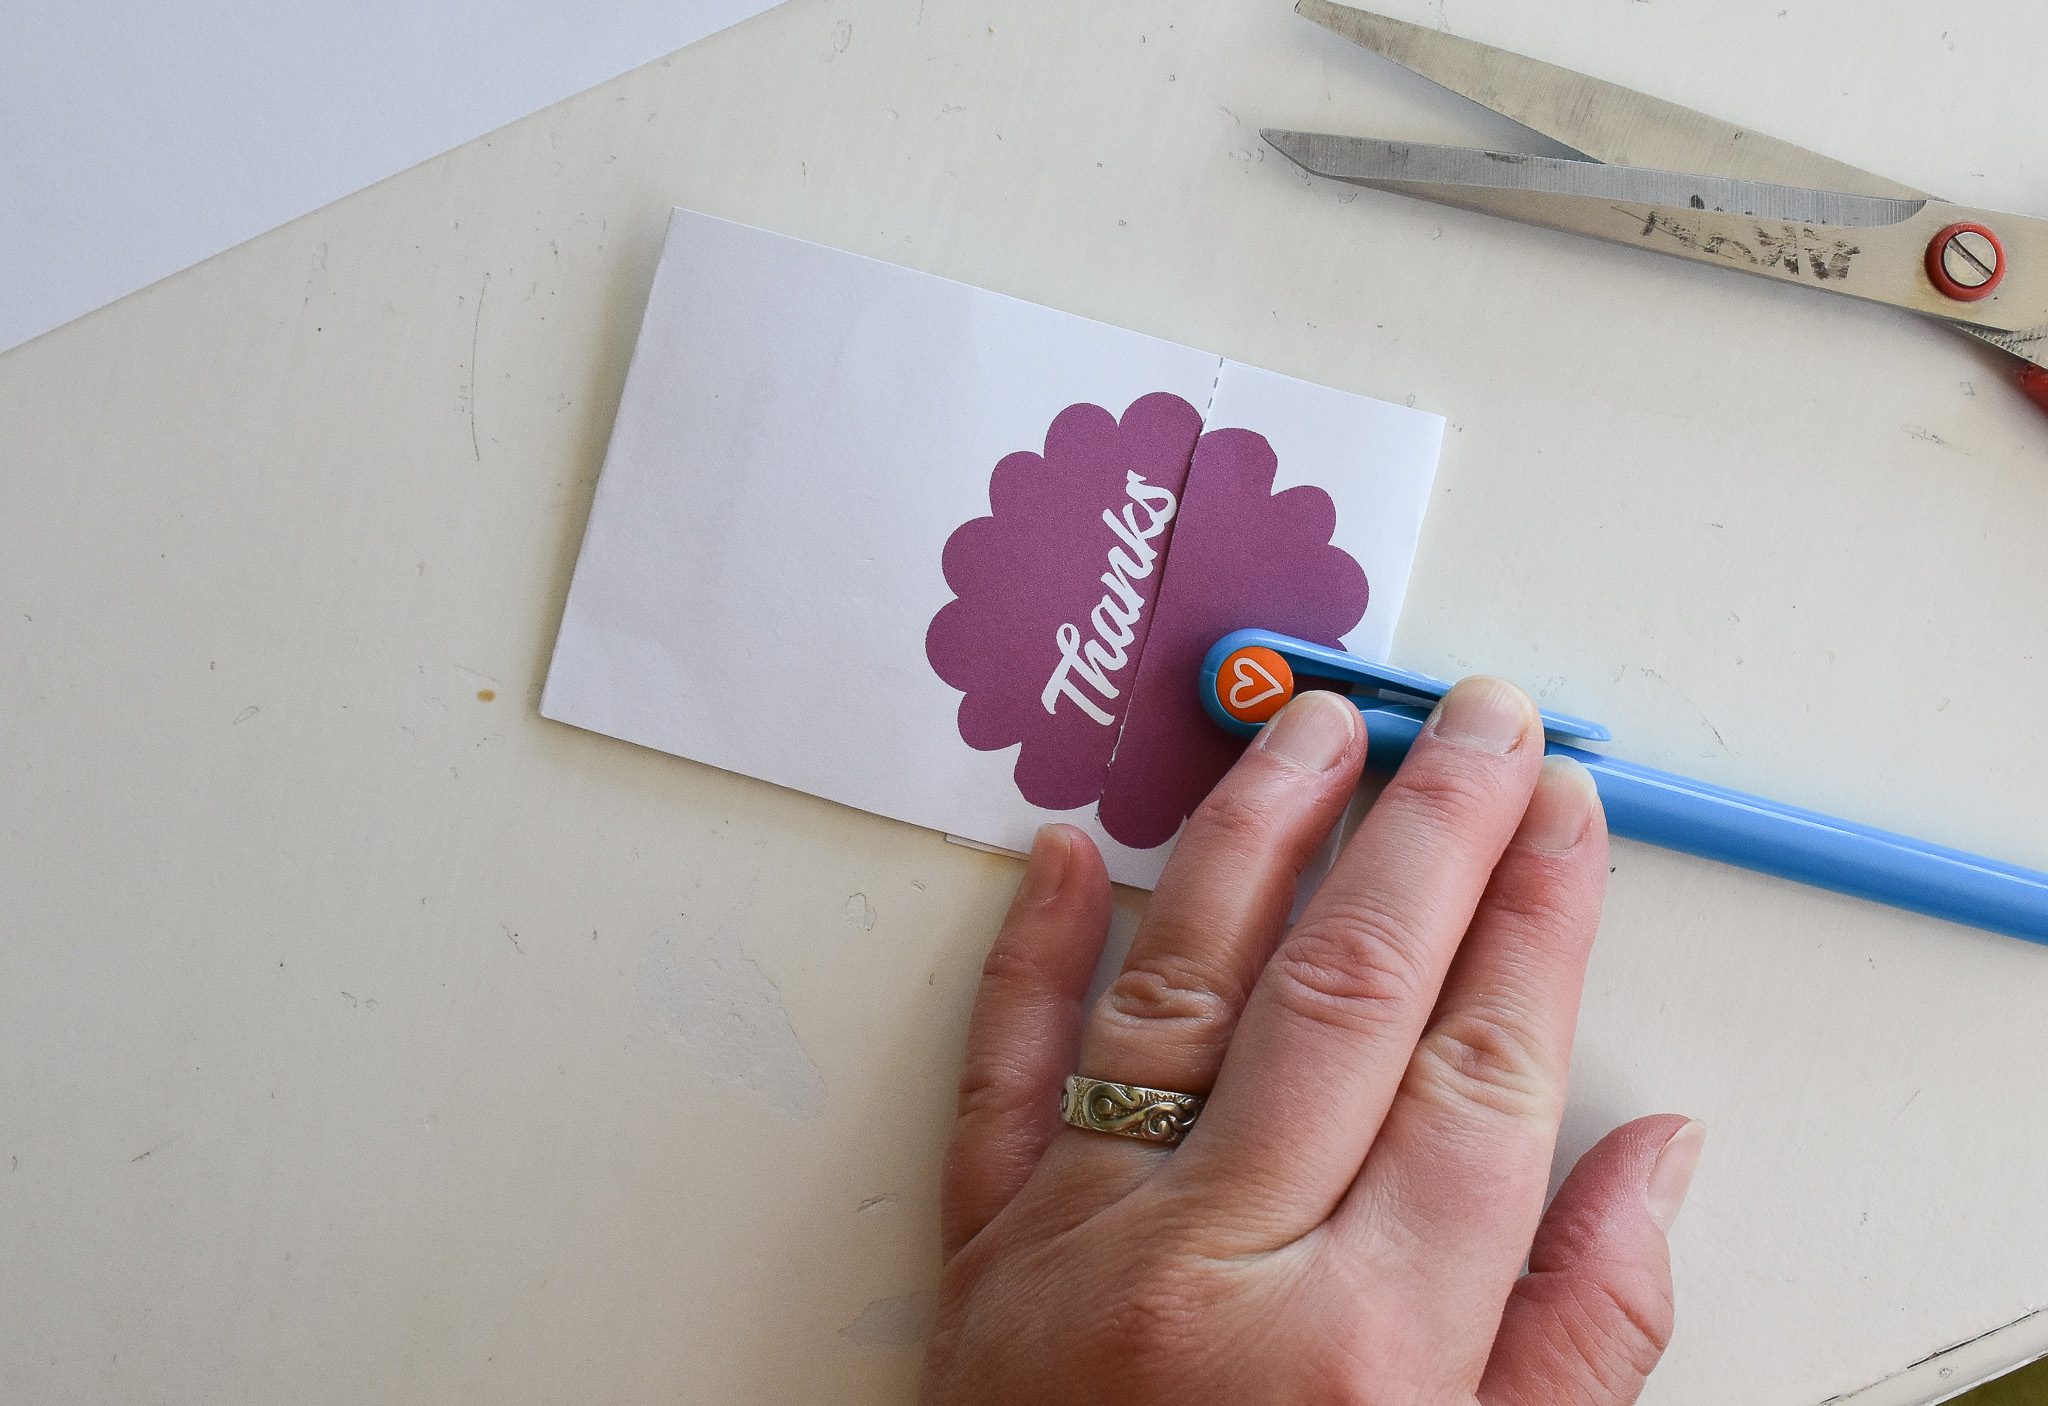
I have always called the above paper cutter a “whoosh whoosh cutter,” but apparently it’s called a paper guillotine. If you have one of these fabulous tools, you can use it to cut along the long dotted lines of your thank you card template so you have three individual cards to work with.
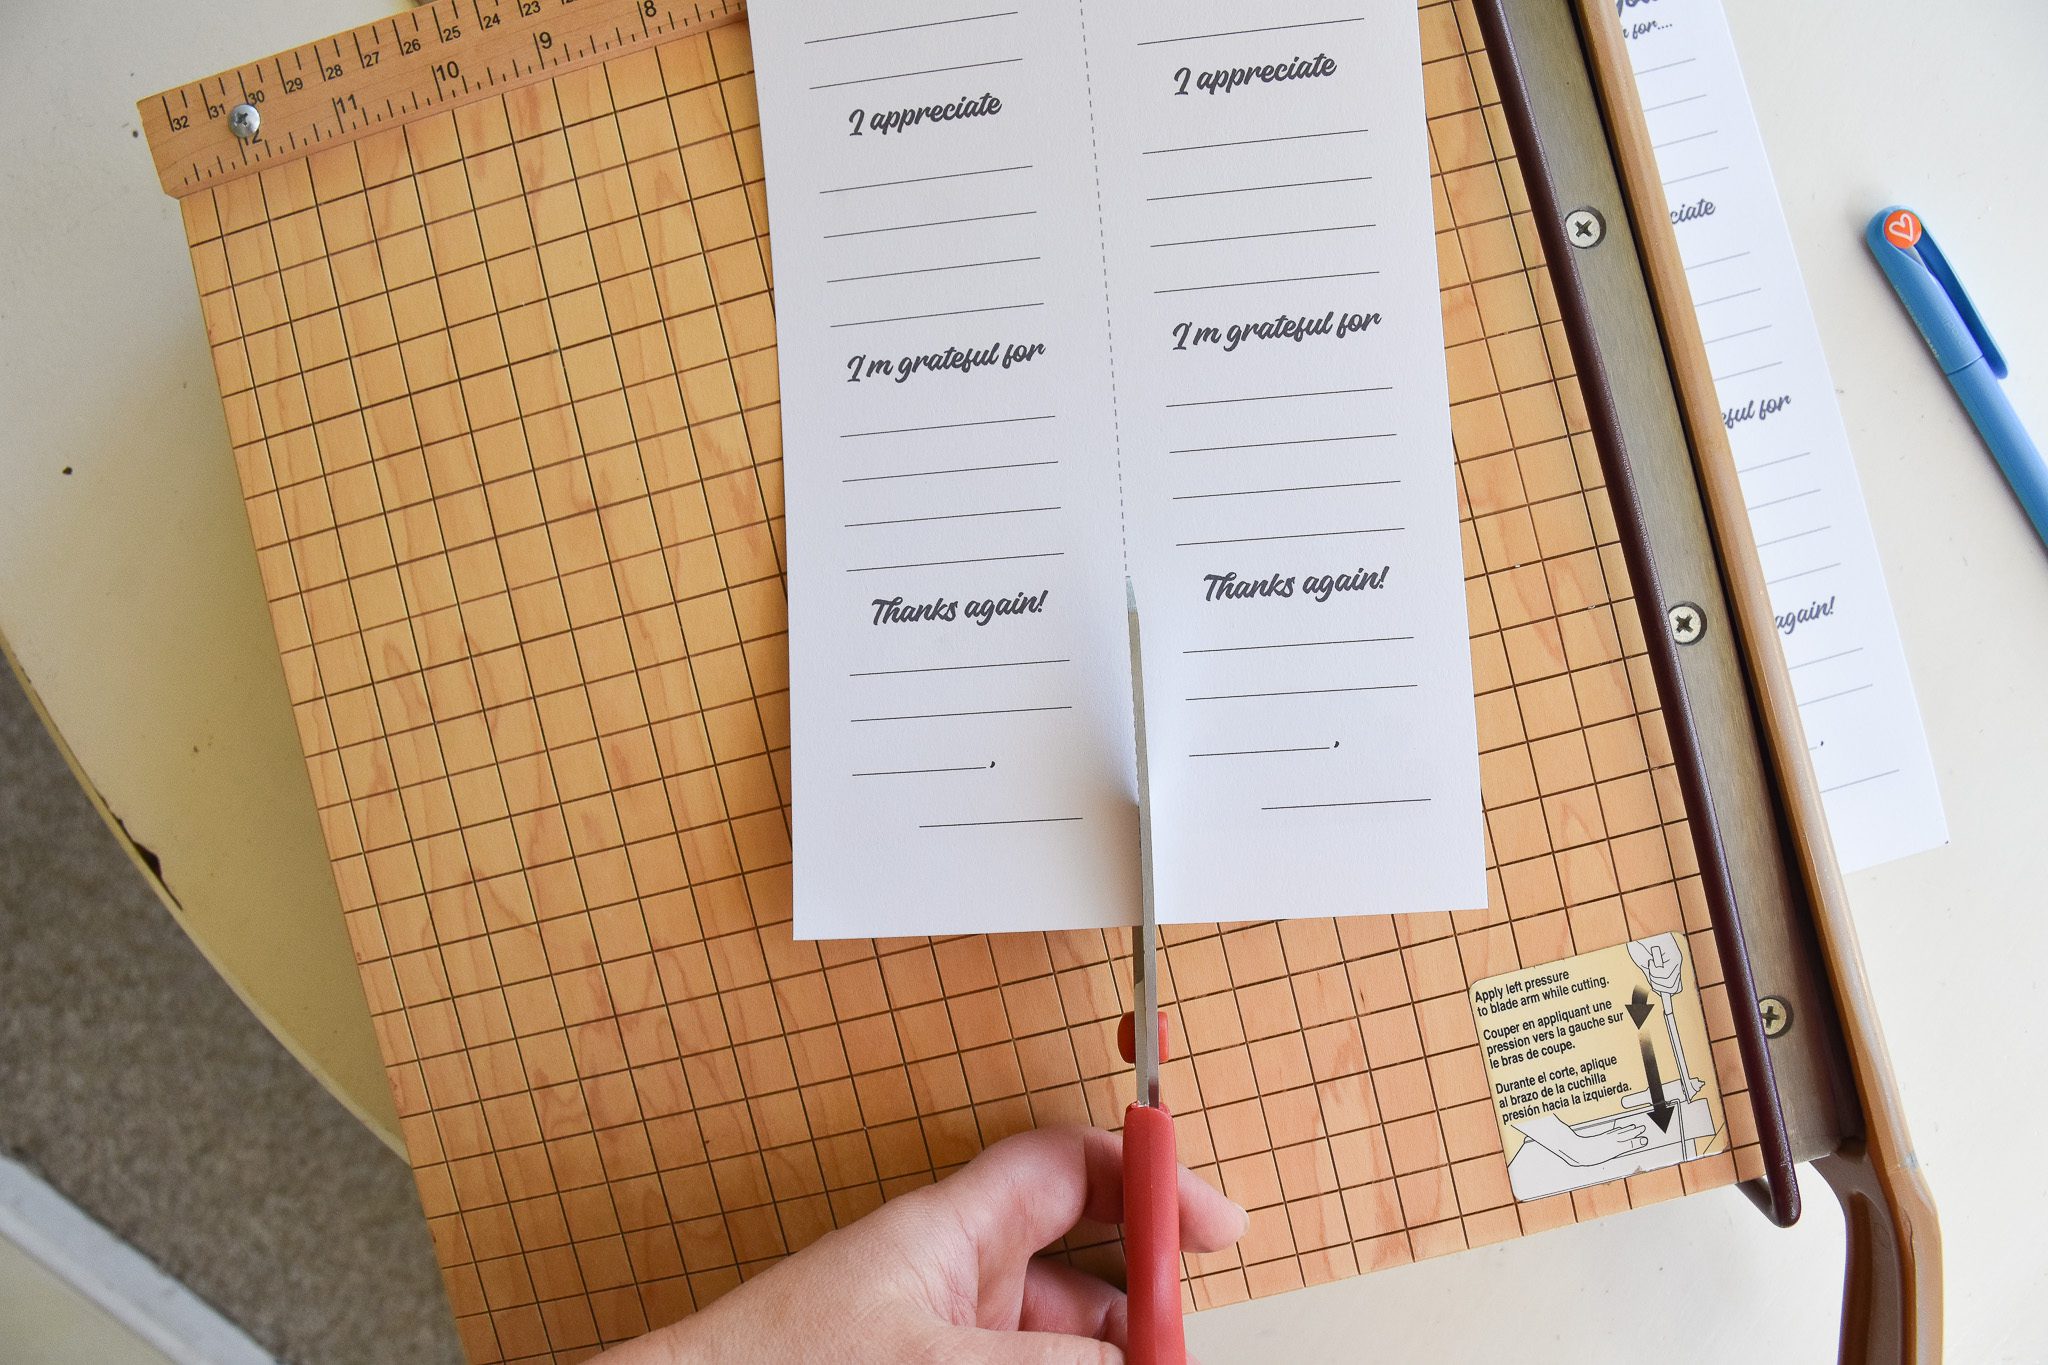
Of course, you can always just cut along those lines with a scissors! 🙂
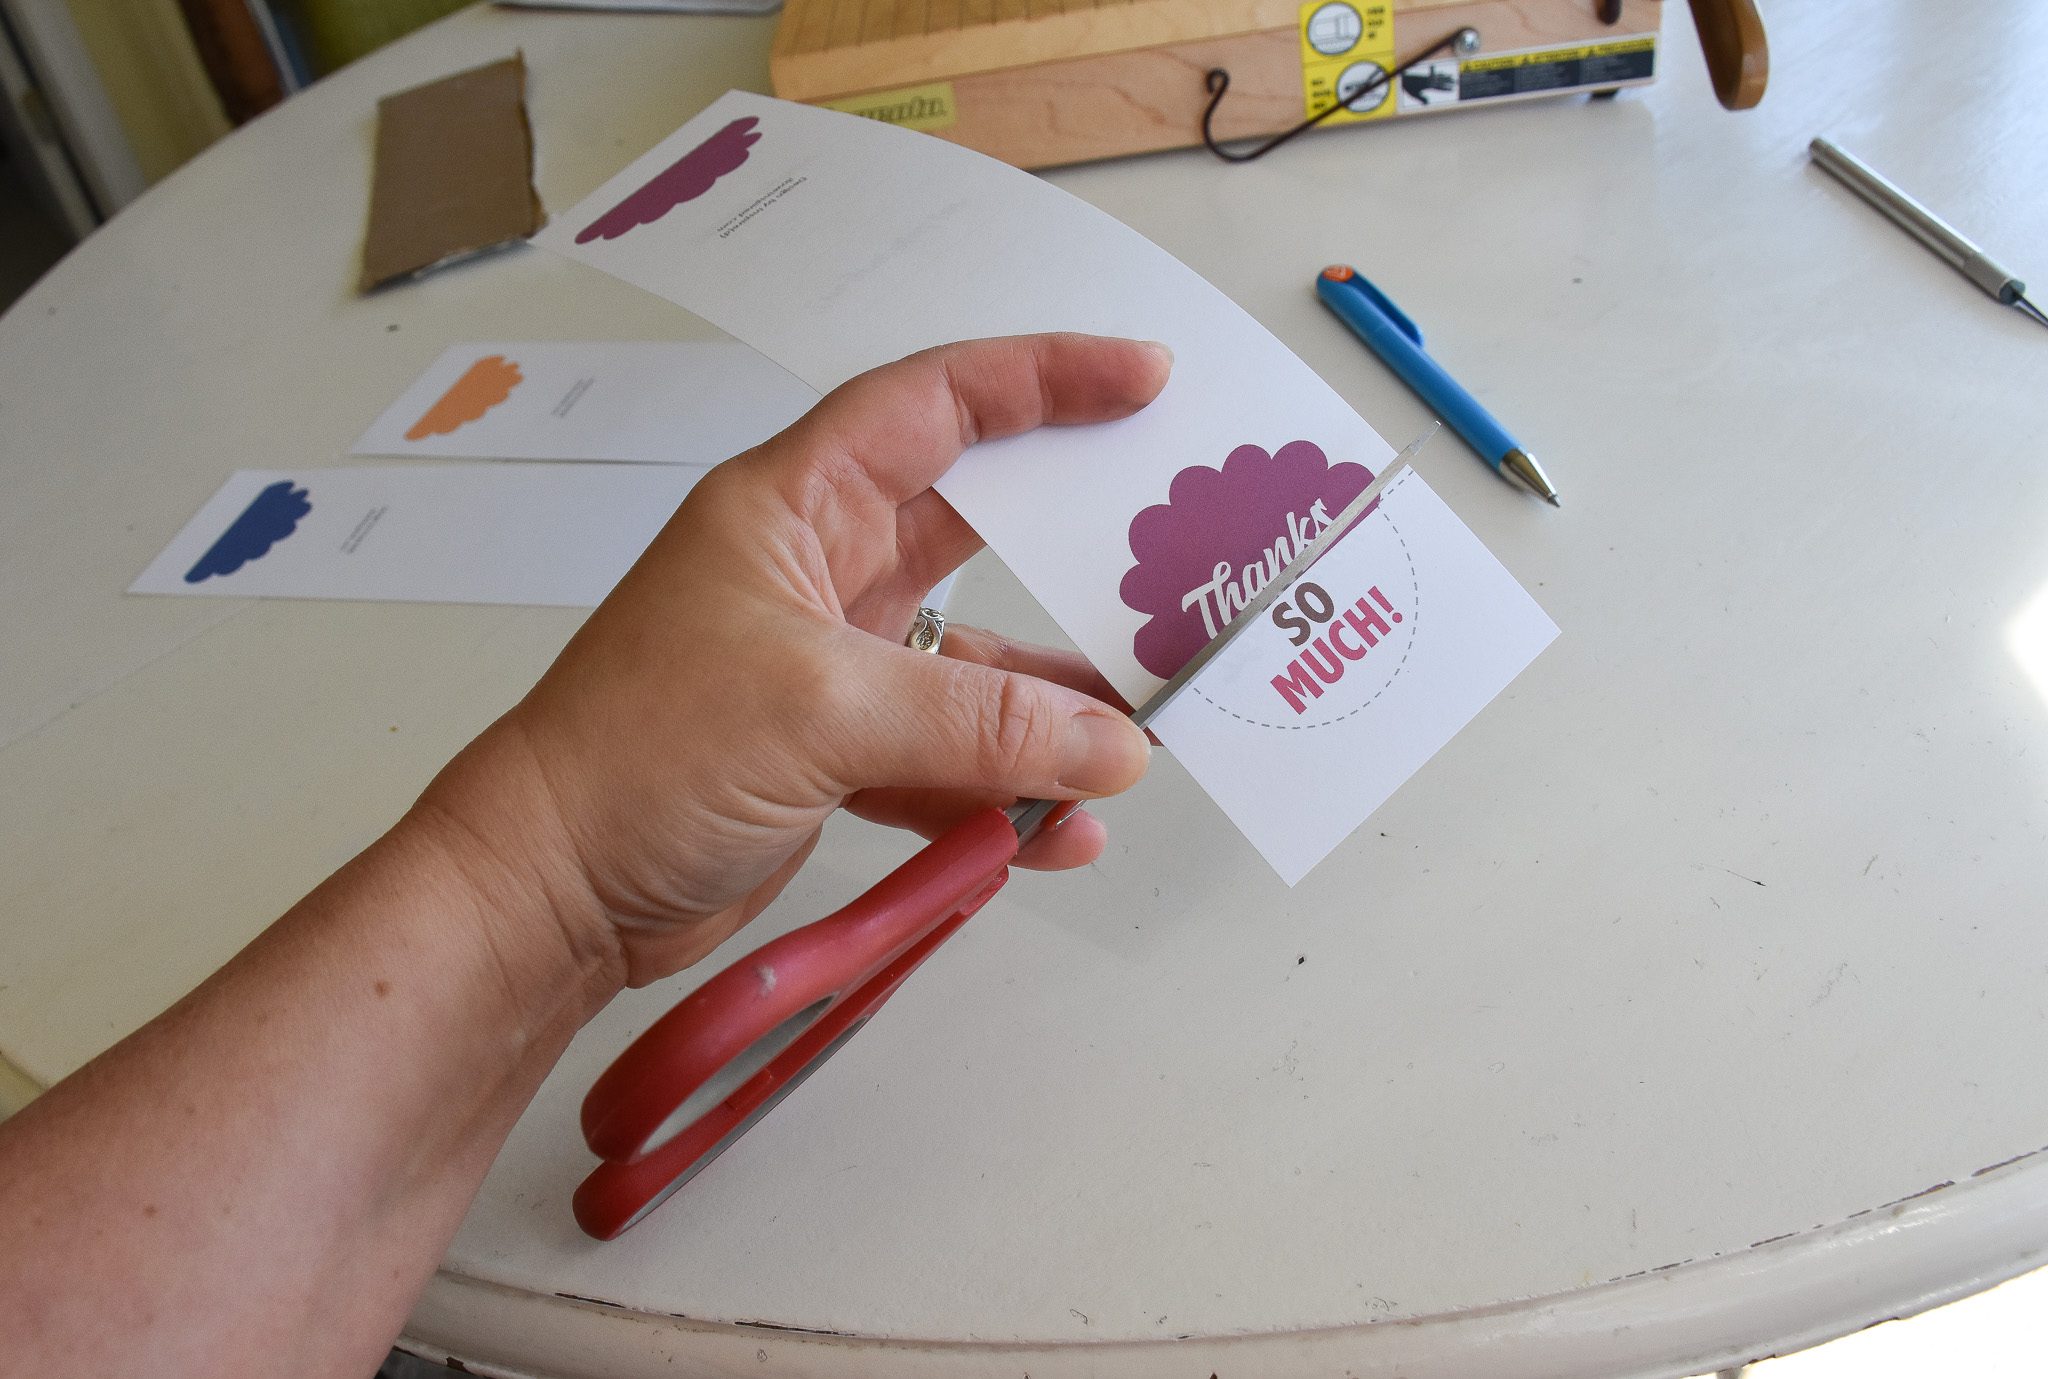
Cut along the dotted lines around the “so much” bubble next.
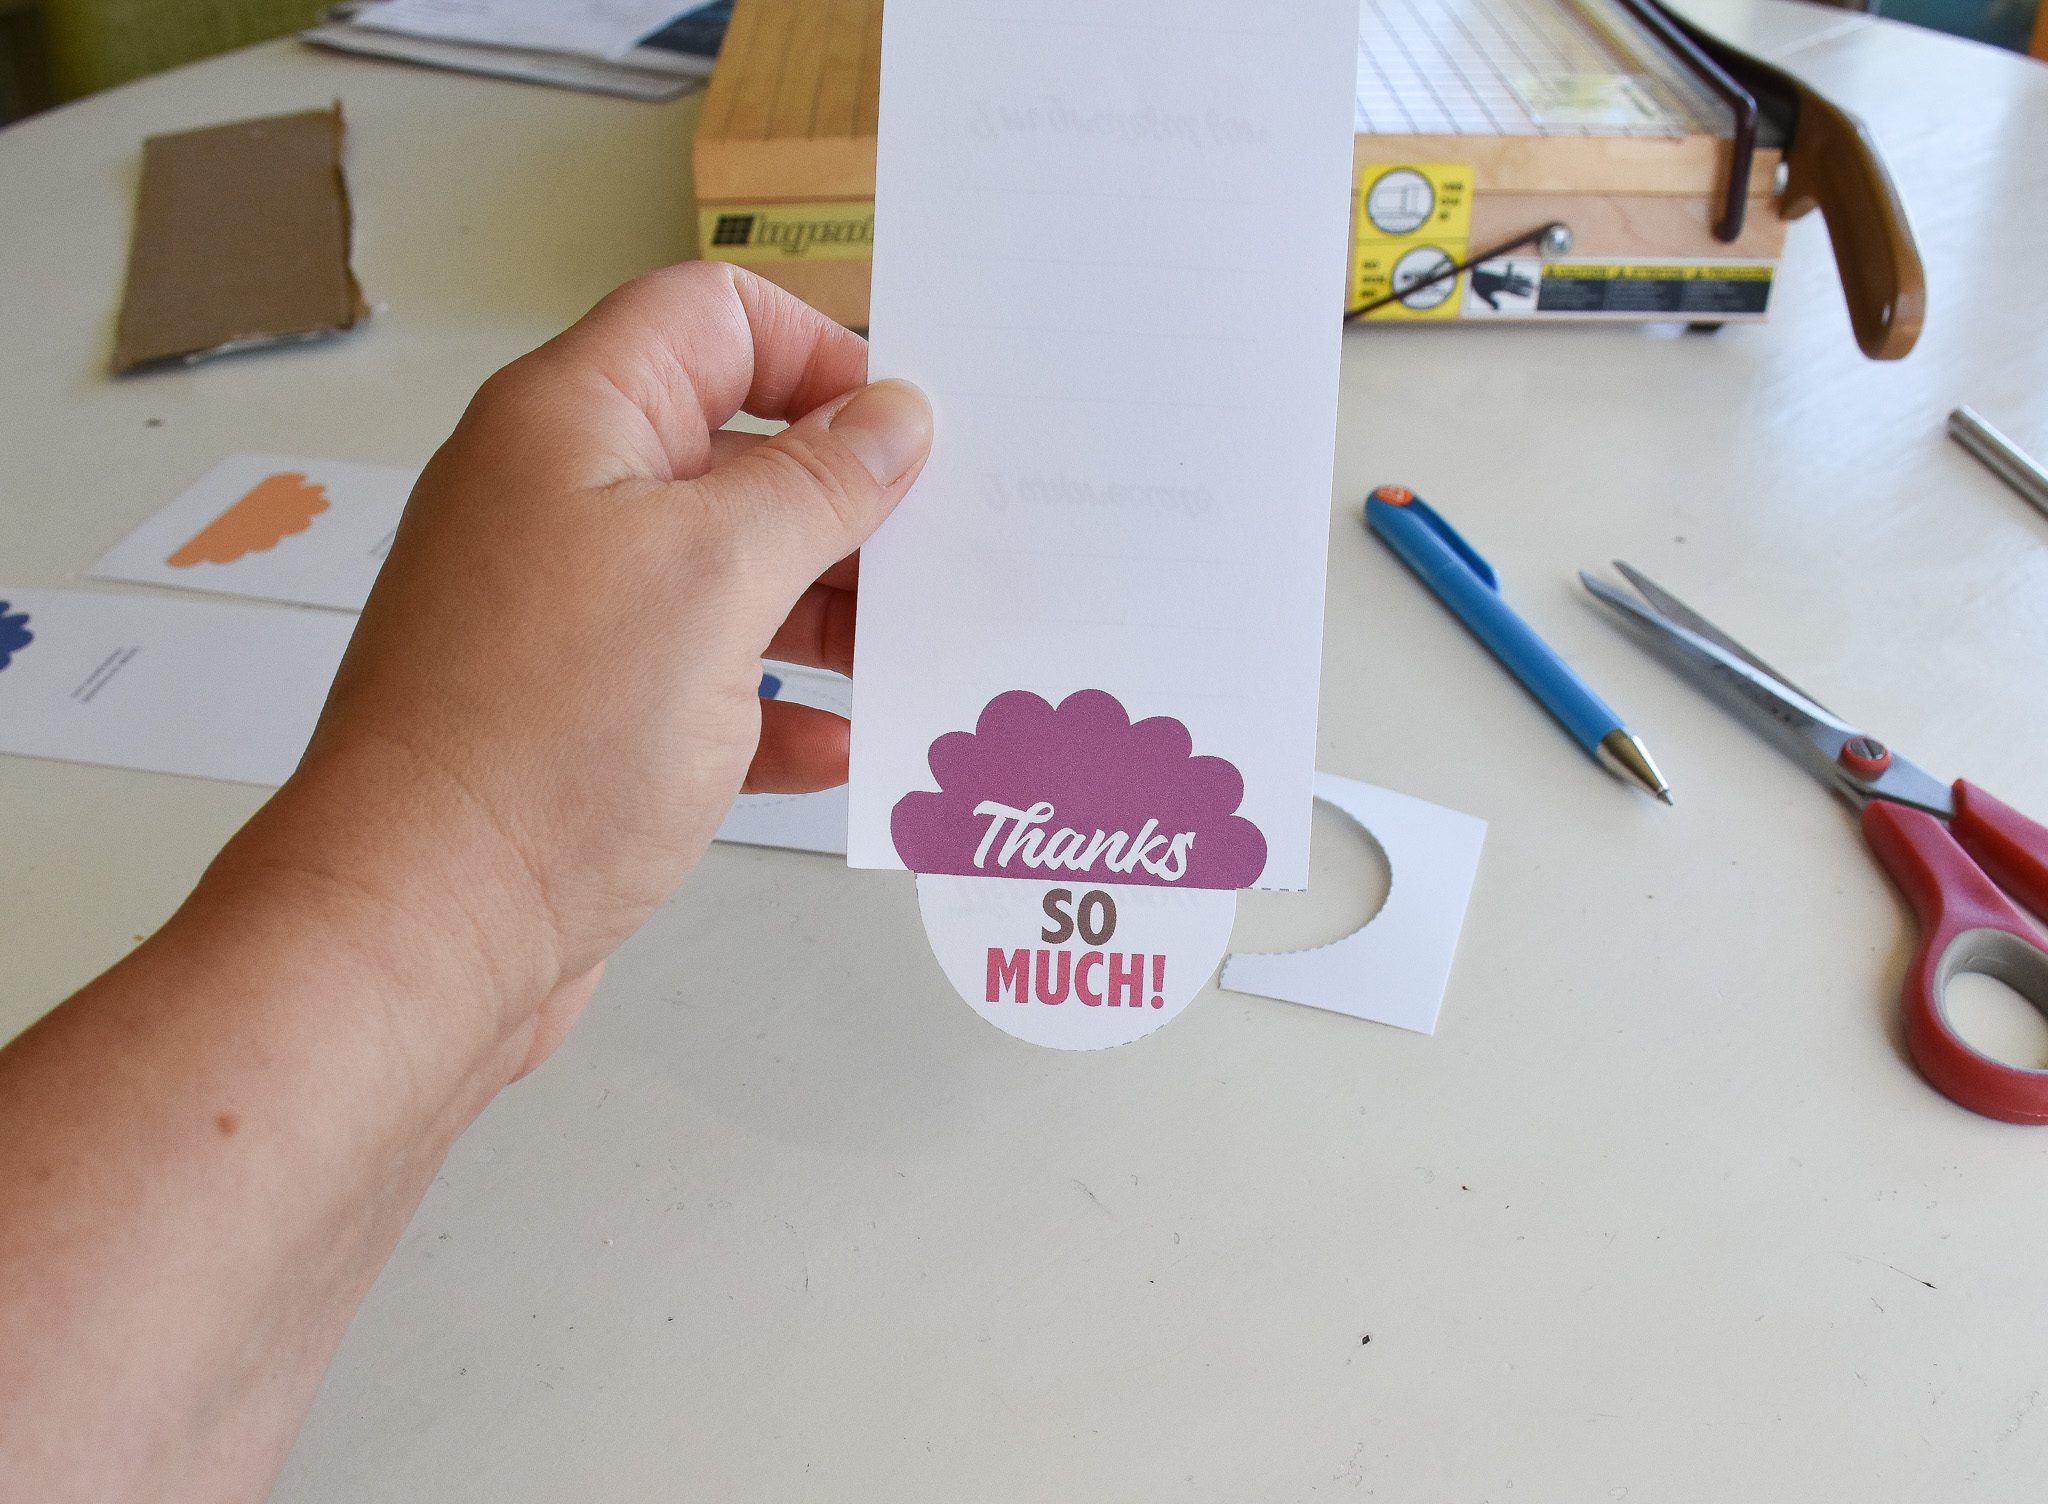
So it looks like this when you’re done.
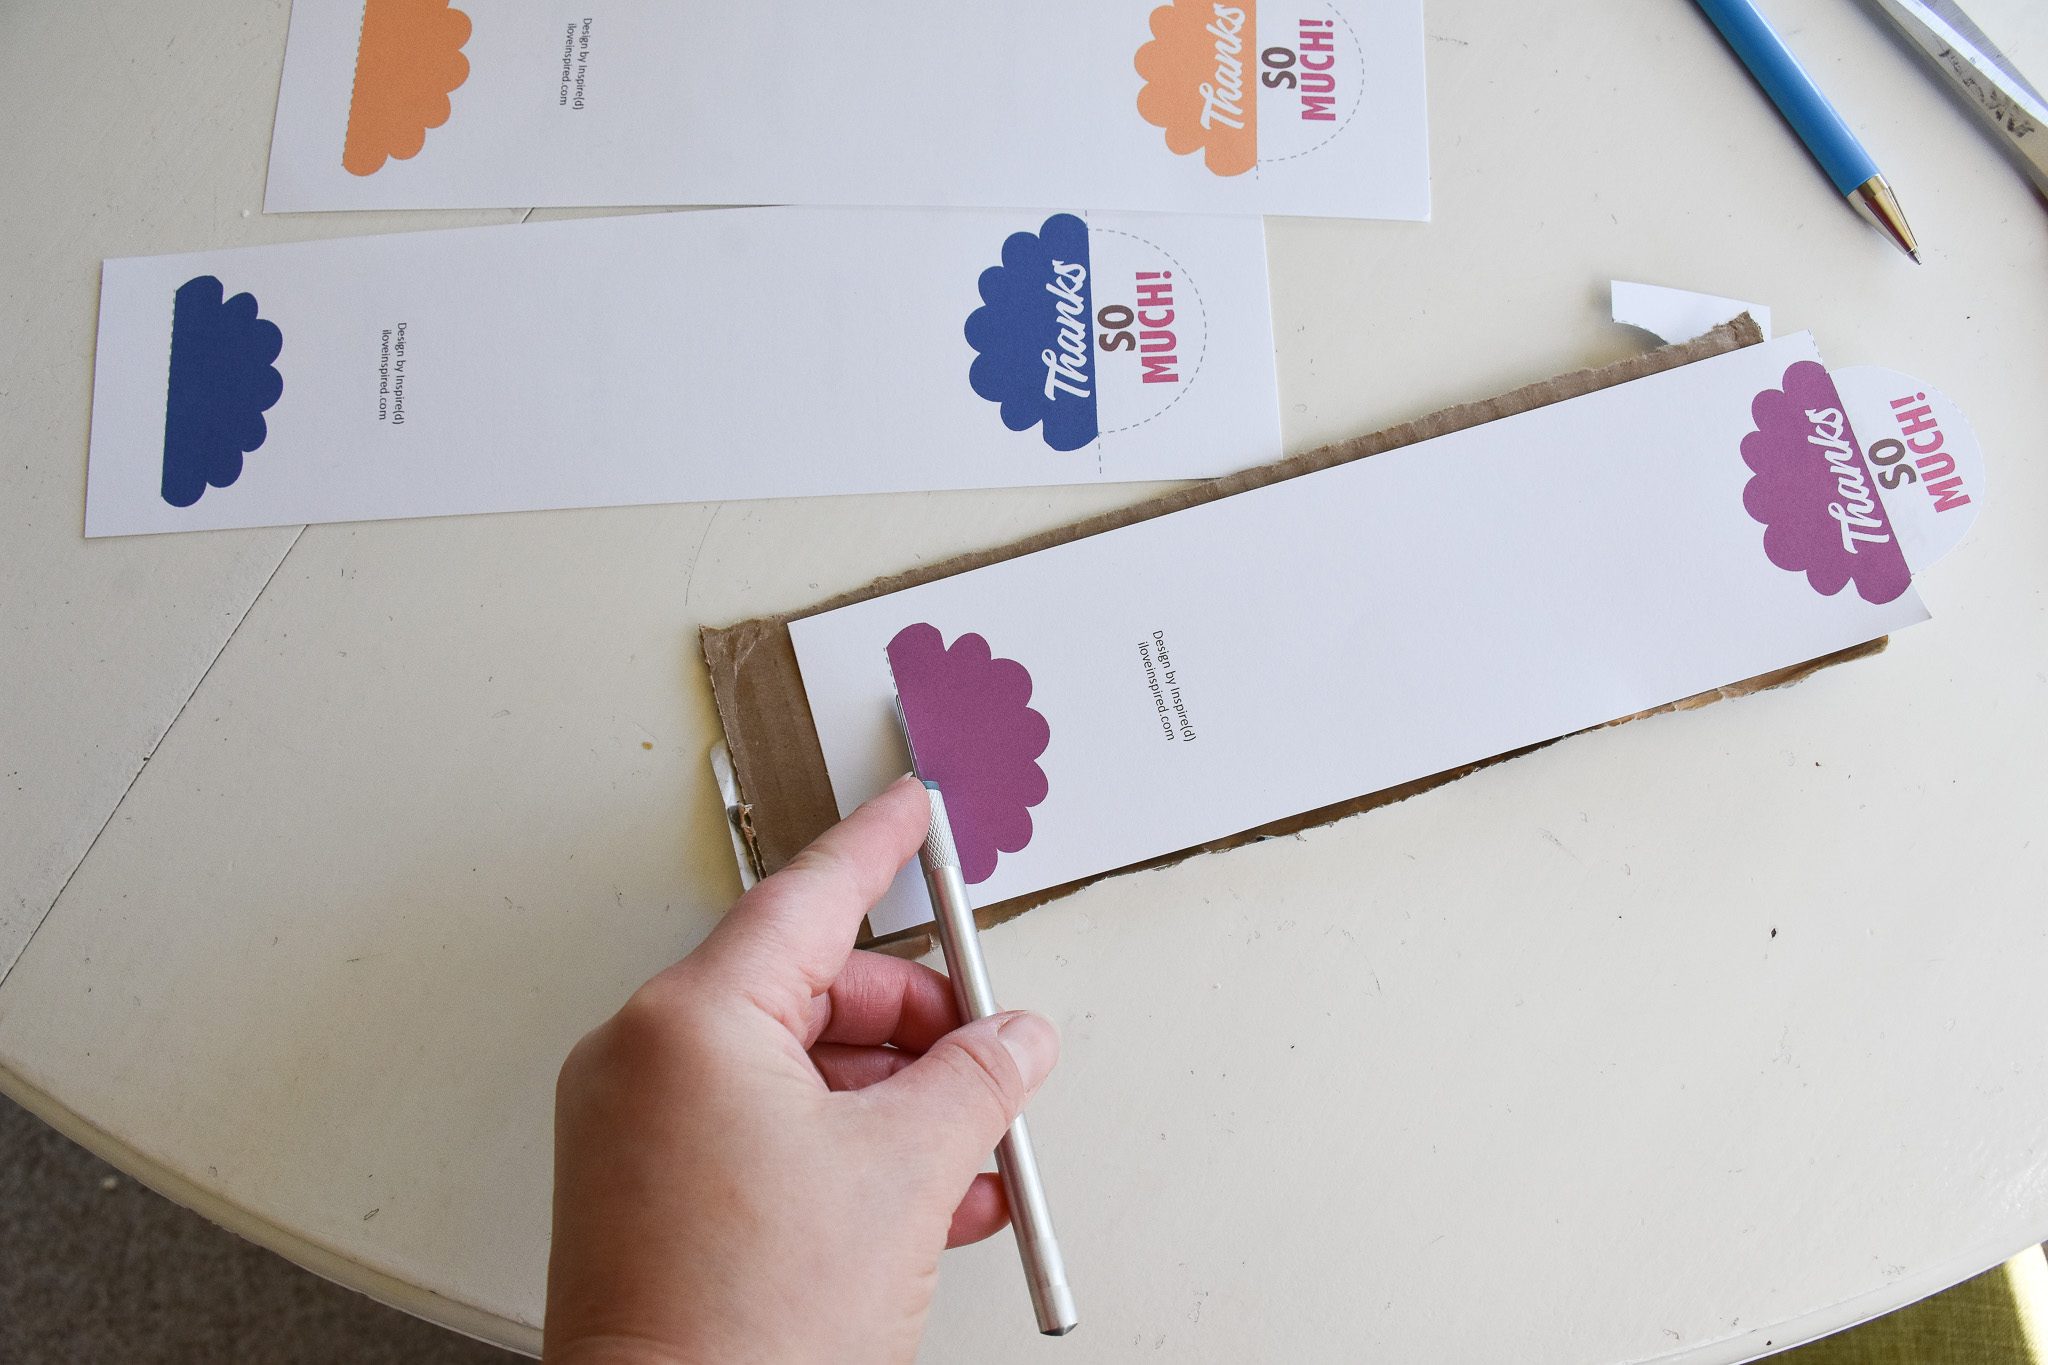
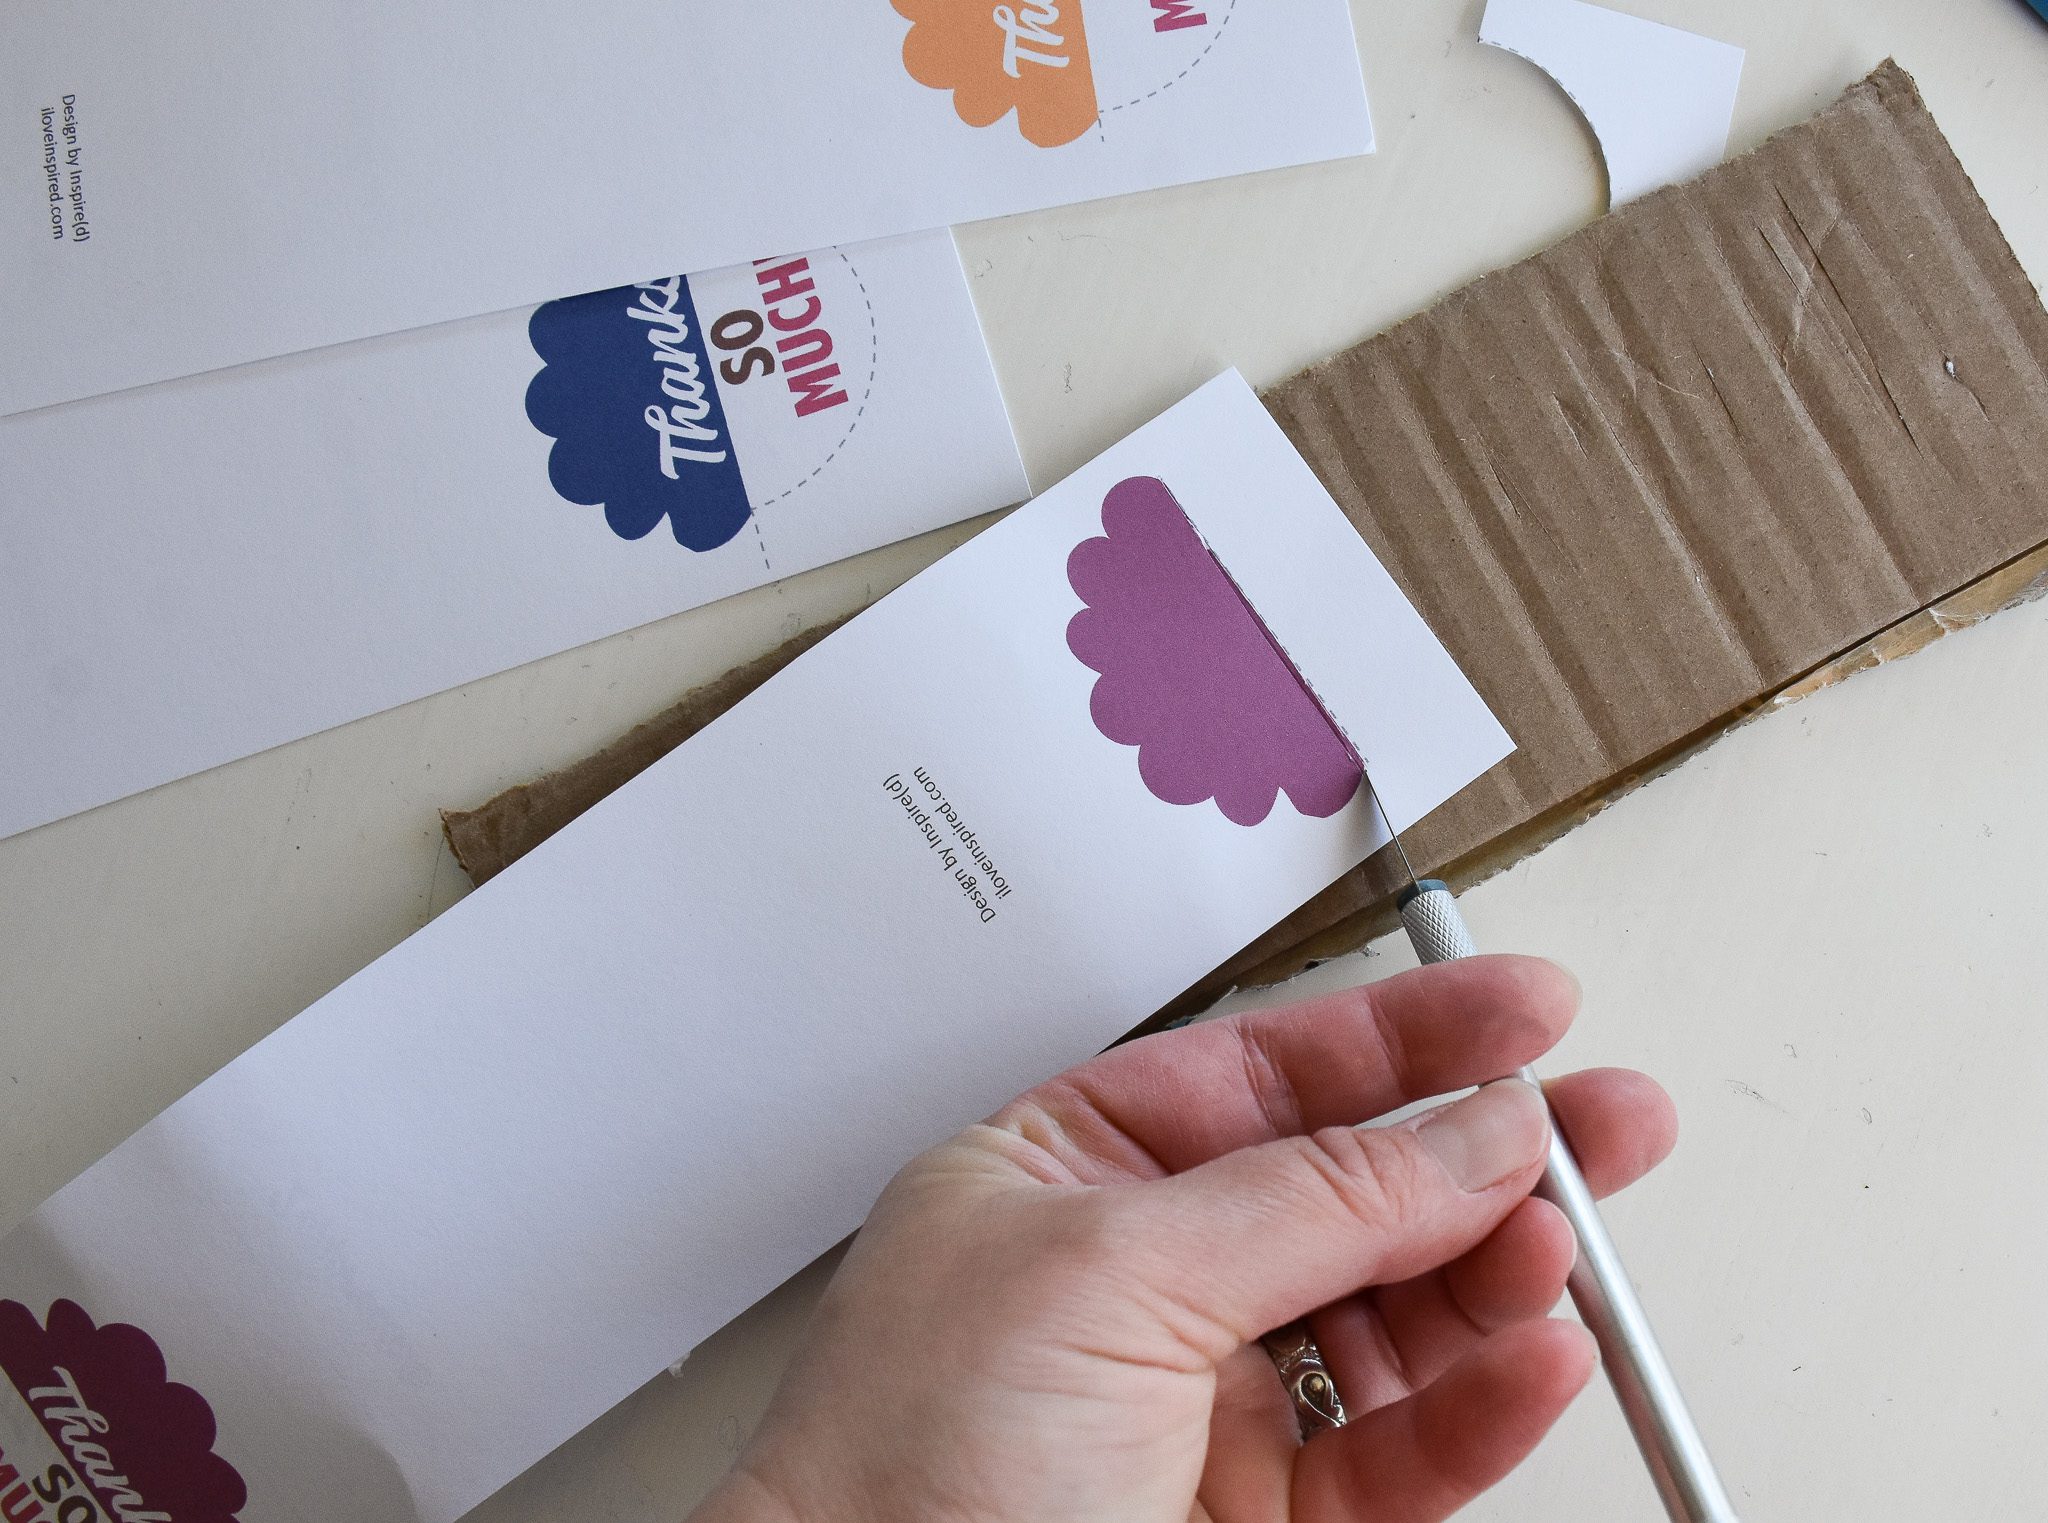
Next, put the cardboard piece under your project, and grab your x-acto knife. Cut through the dotted line on the opposite end of the card front.
You will have a slit like the one above.
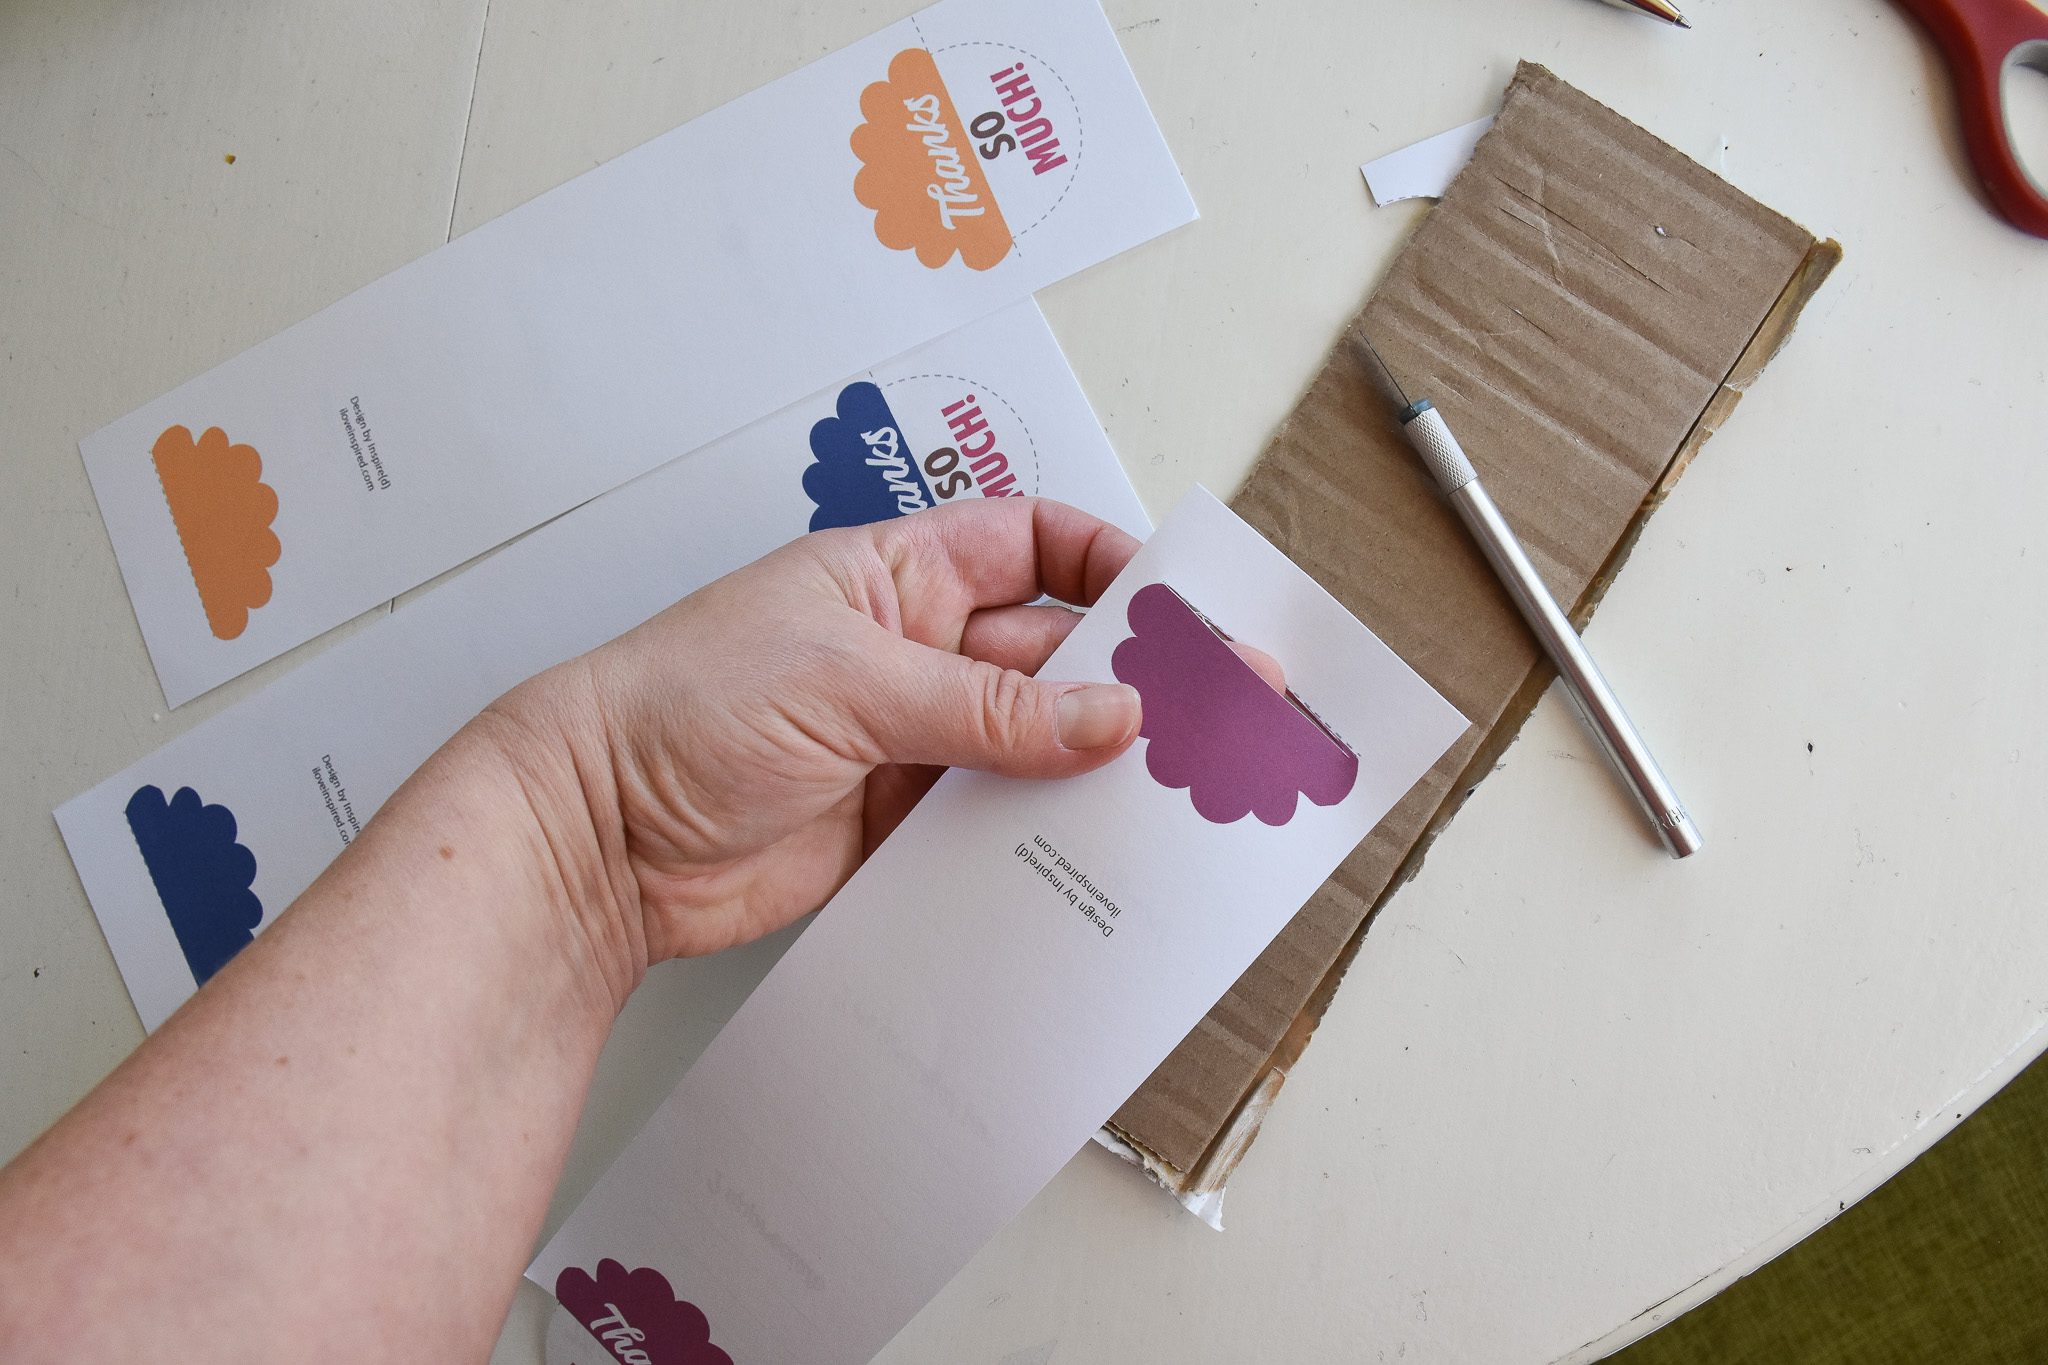
Next, roll the thank you card a bit so the “so much” tucks into that slit.
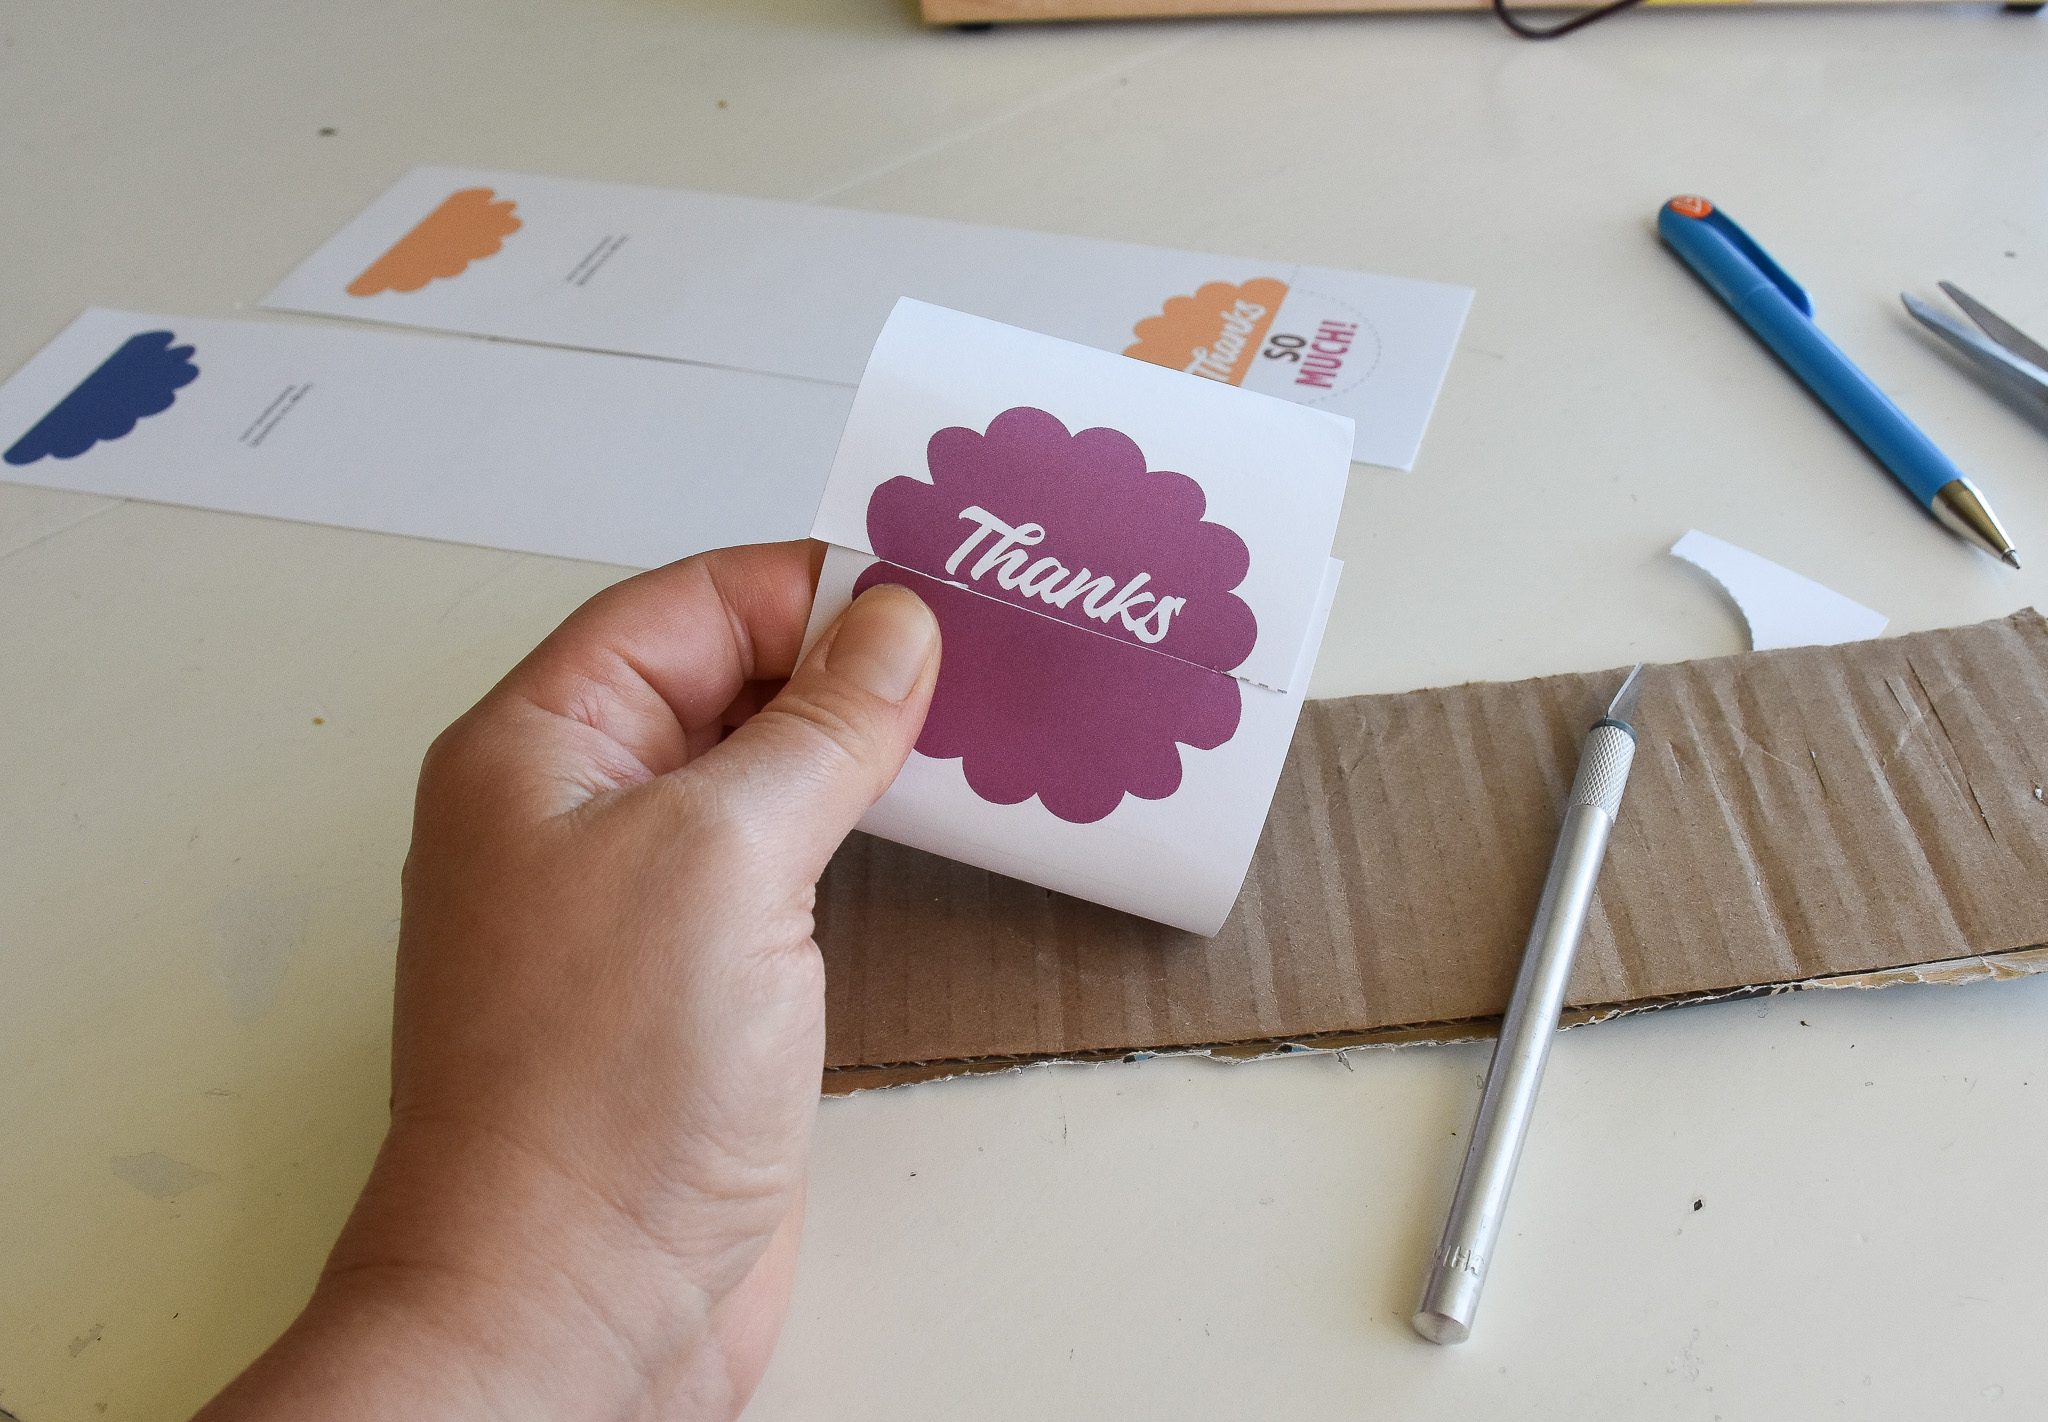
It’s possible it will tuck in a little off-center, like mine did here. You just need to extend the slit a little more on the side it needs to move toward.
In my case, it was the right side. I added a little more to that side of the slit to the card would fit together evenly.
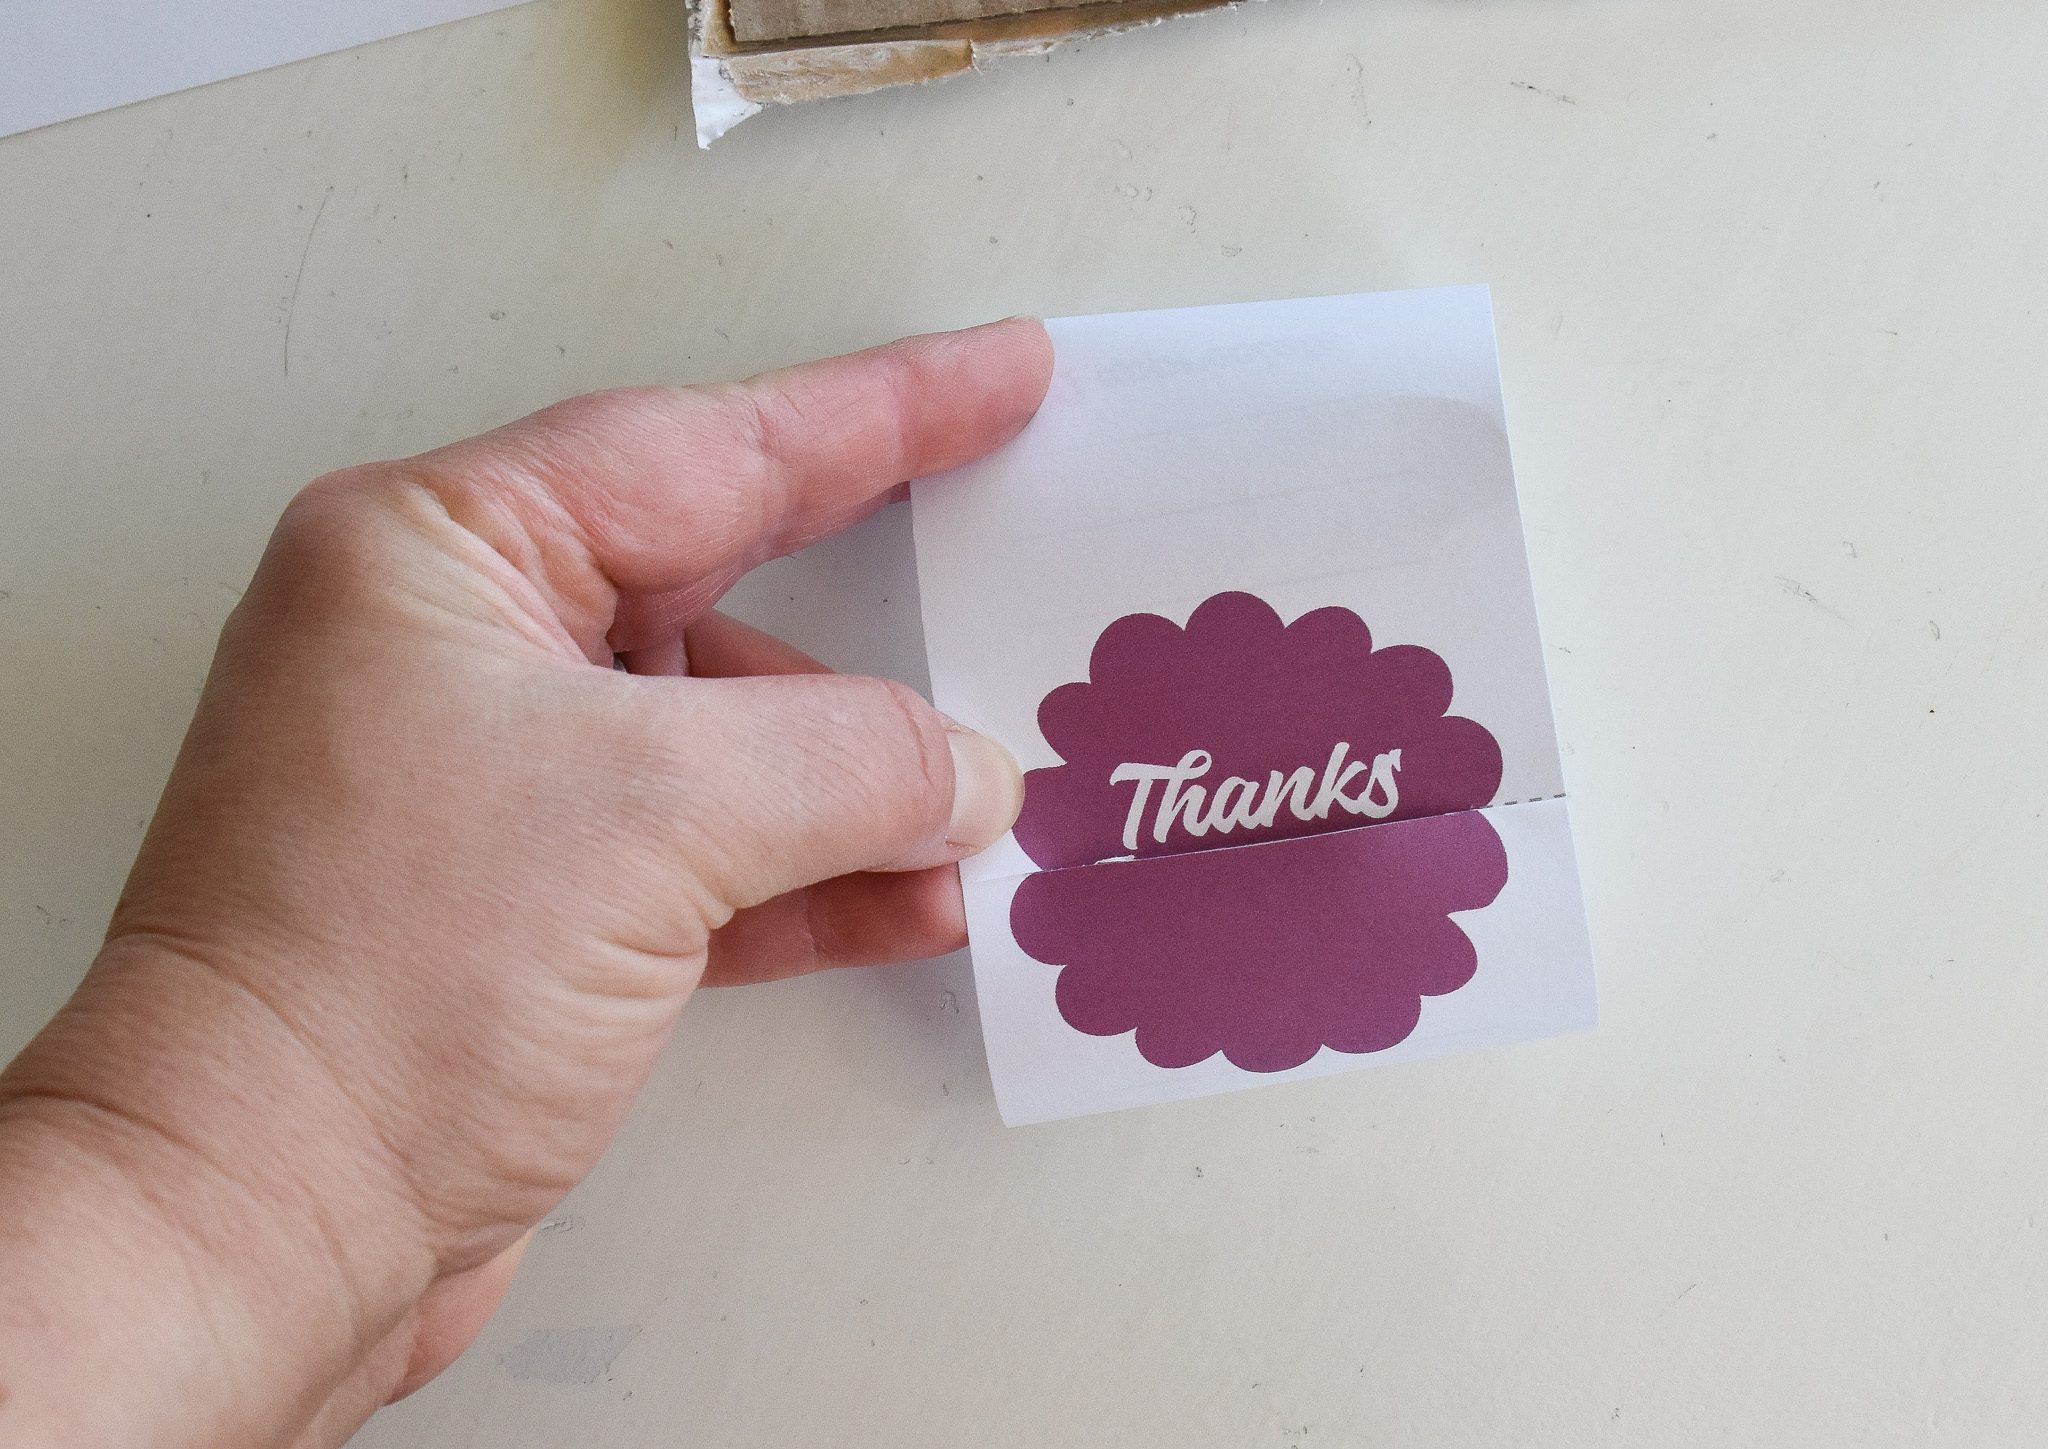
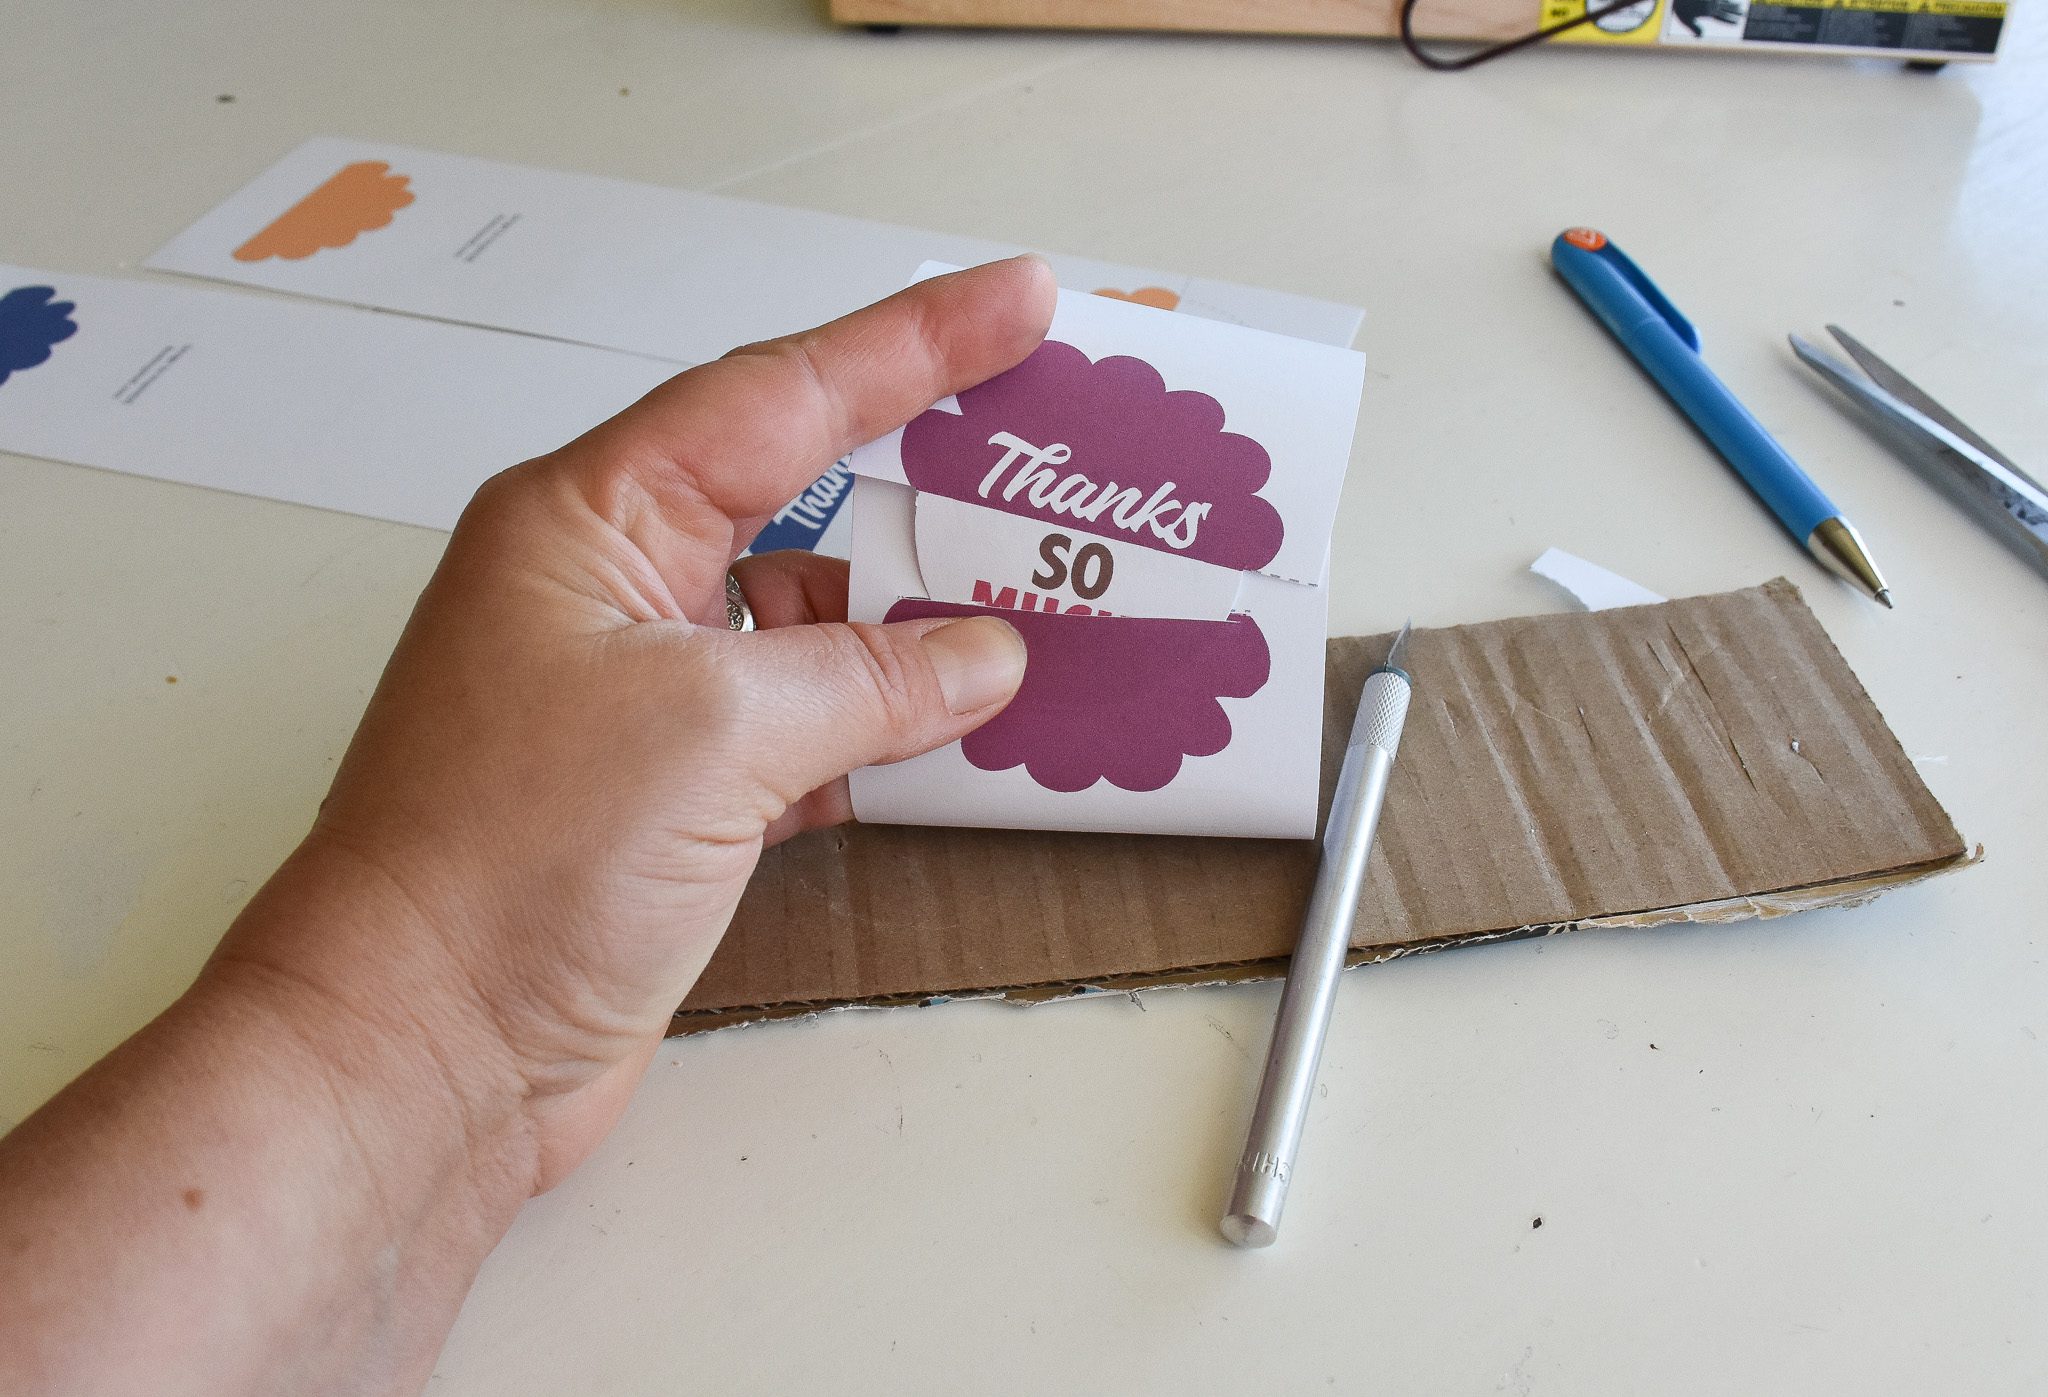
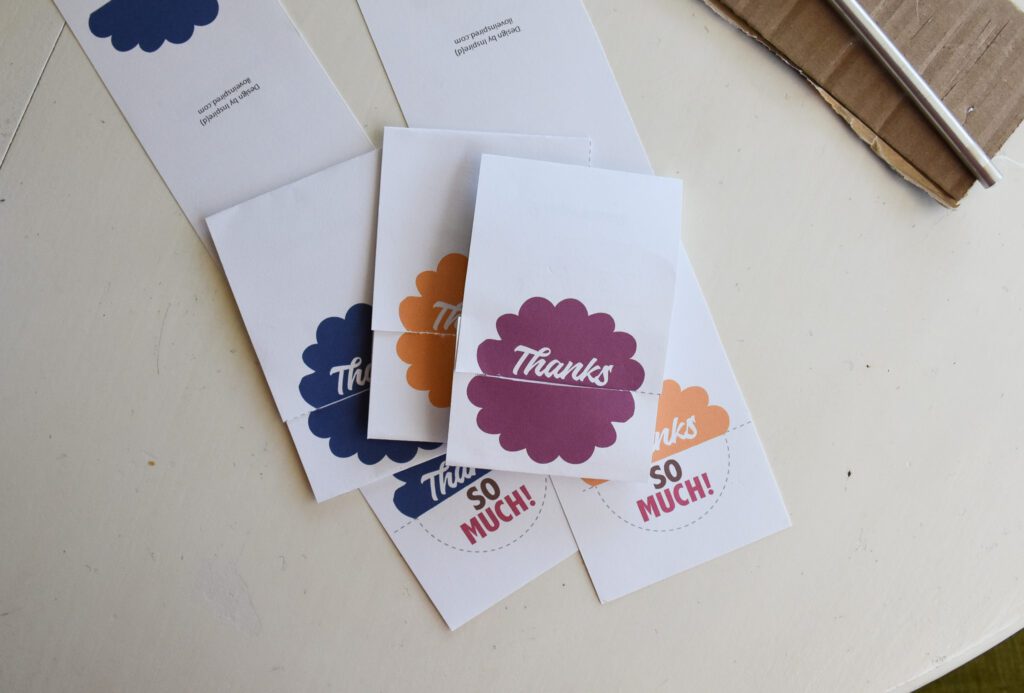
Like so! Line the rolled card up the way you would like it to look when folded. For me, I wanted it to look a little like a matchbook, so I kept the thanks toward the bottom and then got ready to flatten it on the table.
Flatten the card and make the folds nice and crisp by running the side of your pen along the edges.
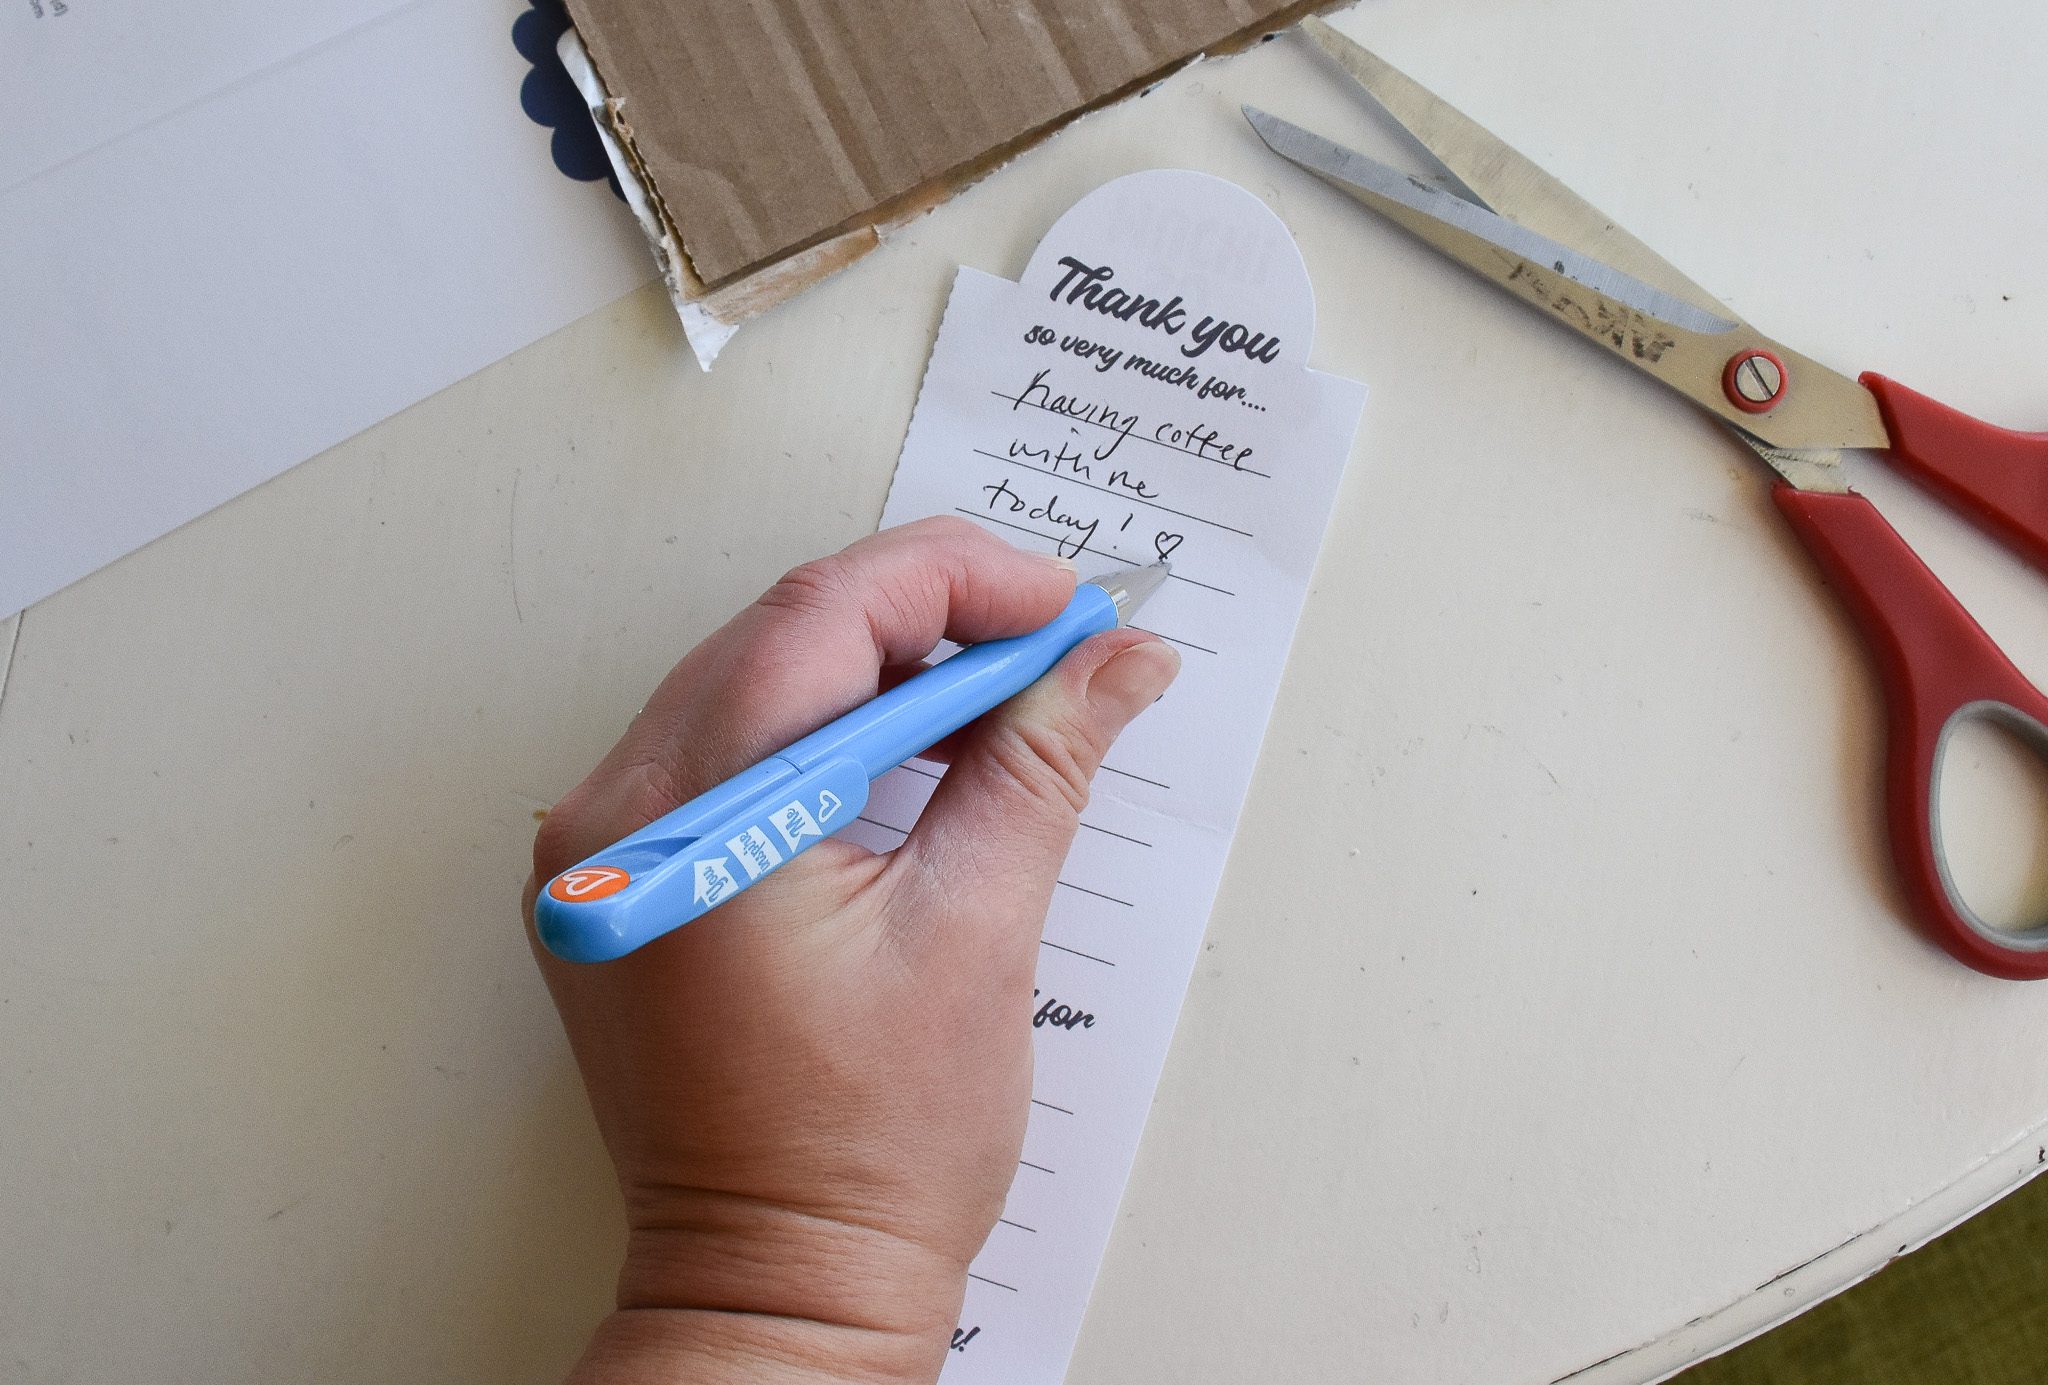
After that, it’s time for you to open the fill-in thank you card and…fill it in! Write down your gratitude in the blanks provided!
And pass that gratitude around to your friends, family, and loved ones! Thanks for being Inspire(d), friends!
XOX – Aryn