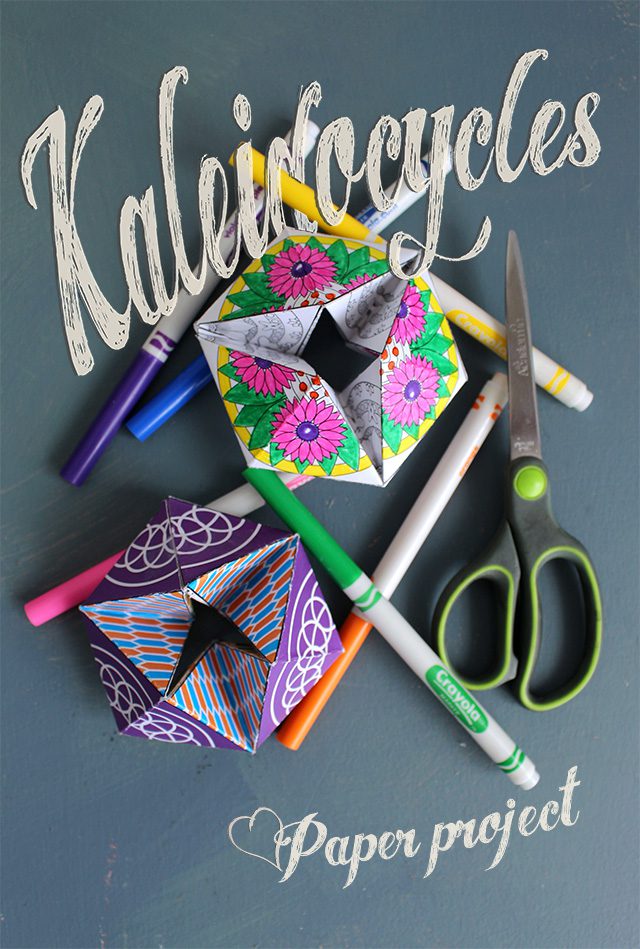
By Martha Hall, Summer 2016 Inspire(d) Intern
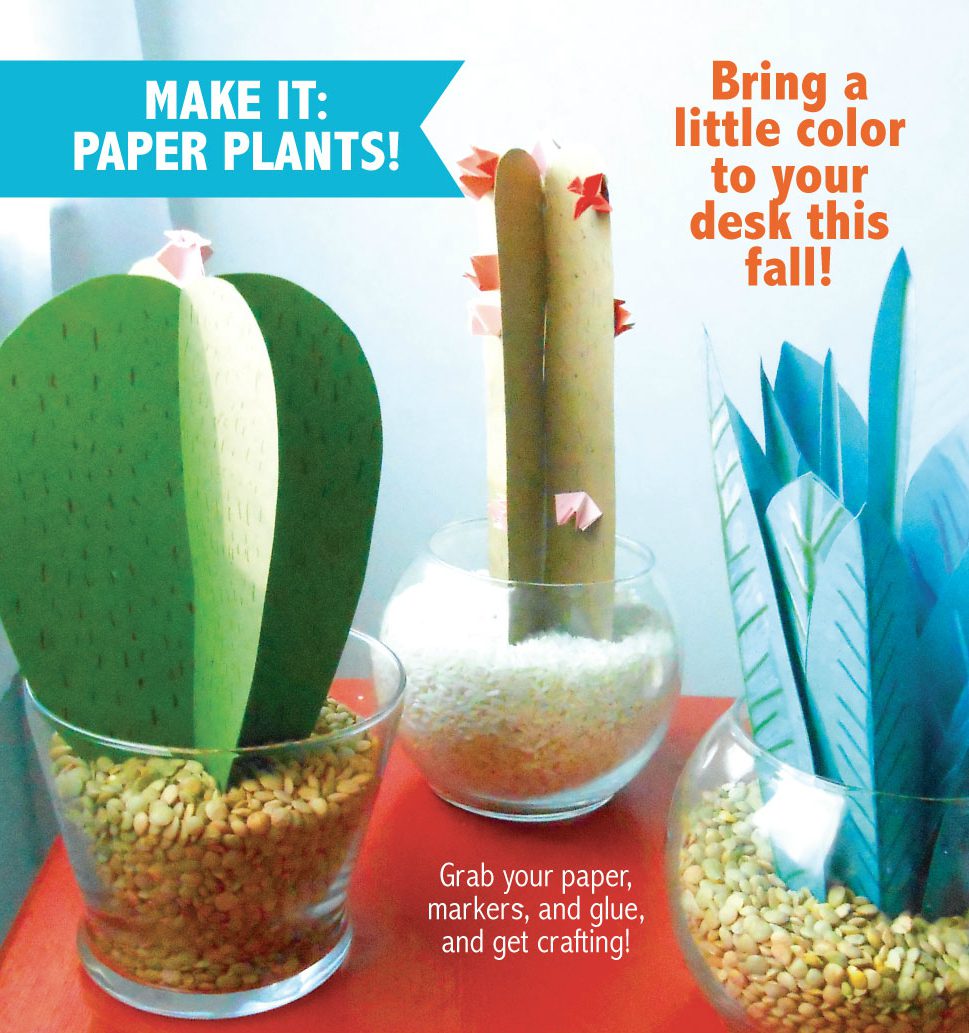
Fall is coming, and the leaves will soon turn brown– but these plants will last all year long. These fun paper plants add pops of color to any space and require no maintenance. Simply print out our templates on cardstock and you’re ready to go!
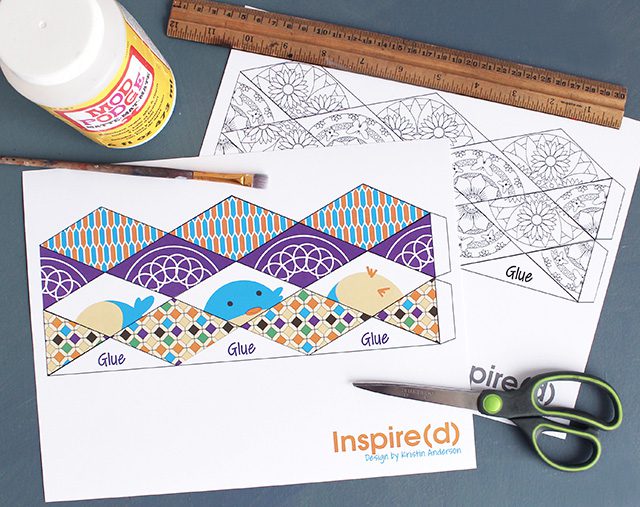
What you’ll need:
Cardstock, scissors, hot glue gun, colored pencils/markers/crayons, lentils or rice, and 3 plant pots (candle votives also work well).
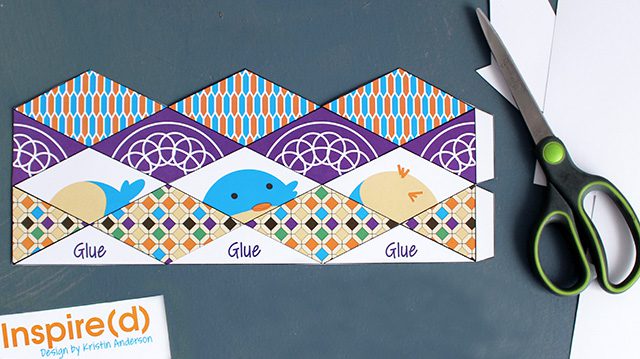
Print out these plant templates on colorful cardstock of your choosing:
Leafy Plant Template
Medium Cactus Template
Tall Cactus Template
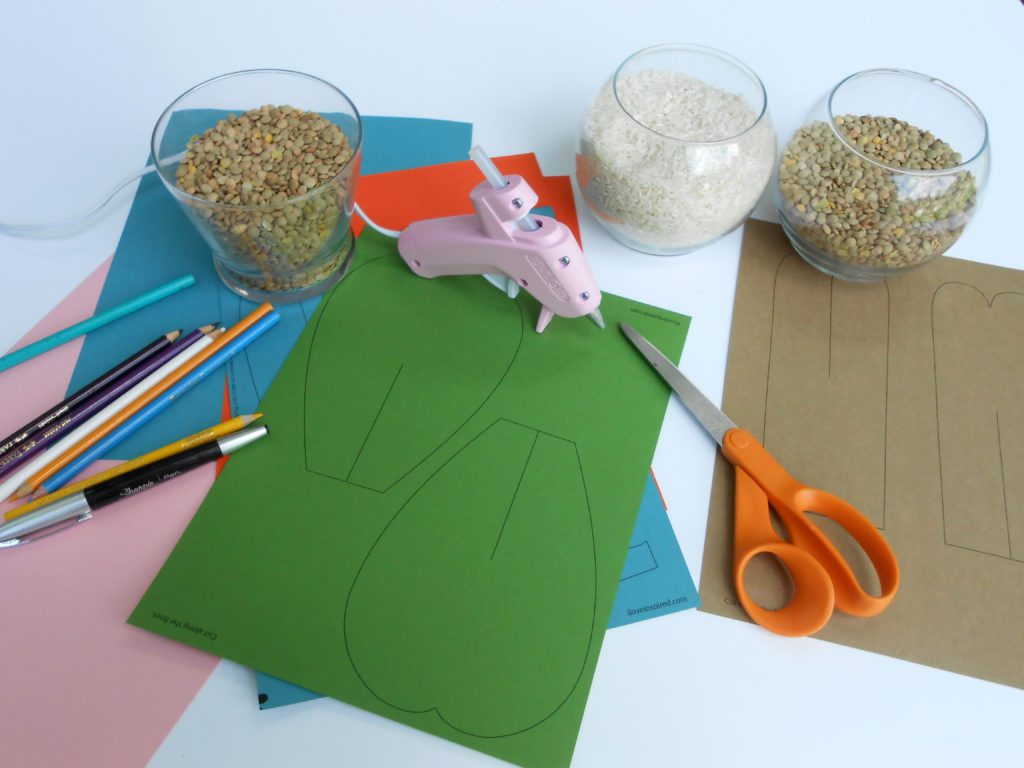 Before you start, put the lentils or rice in your container. This acts like the soil for the plants!
———————
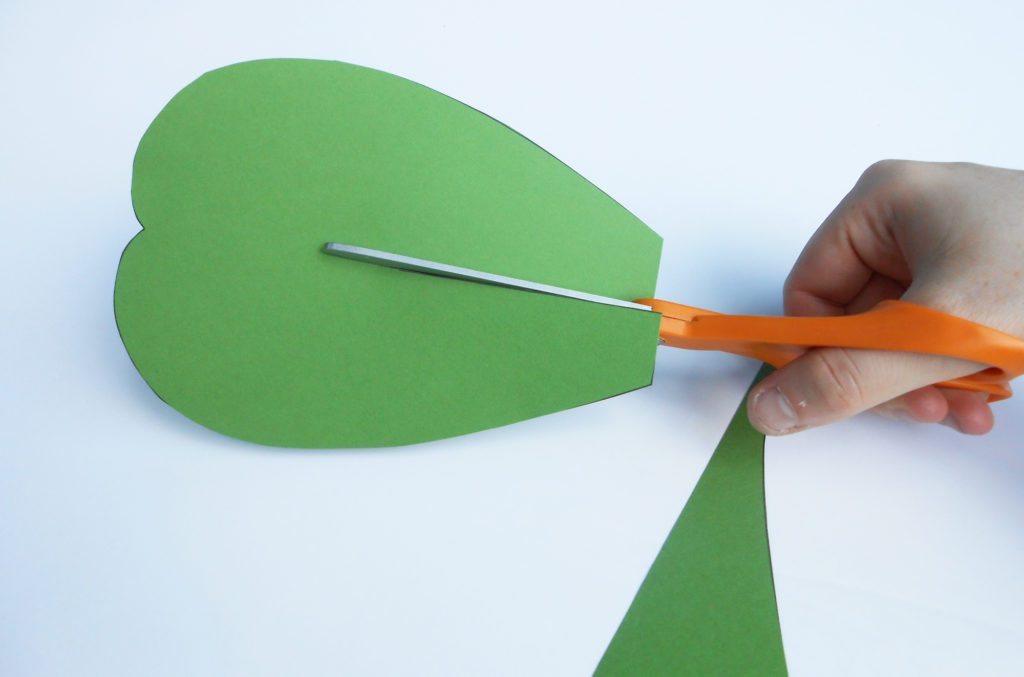
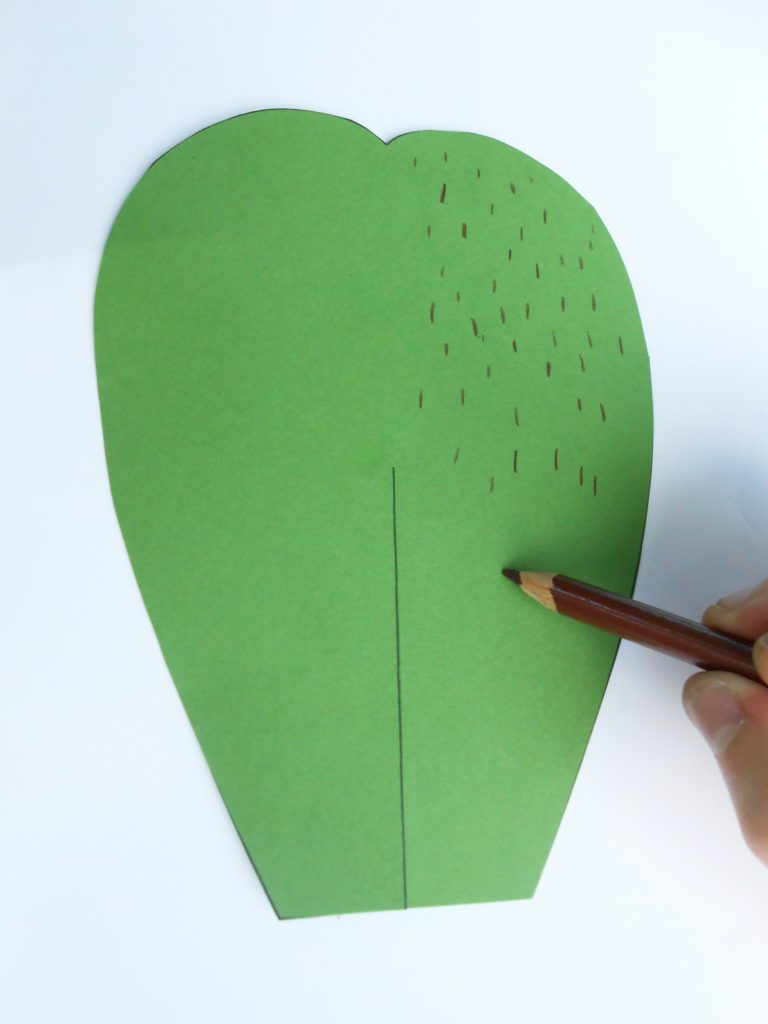
Leafy Plant
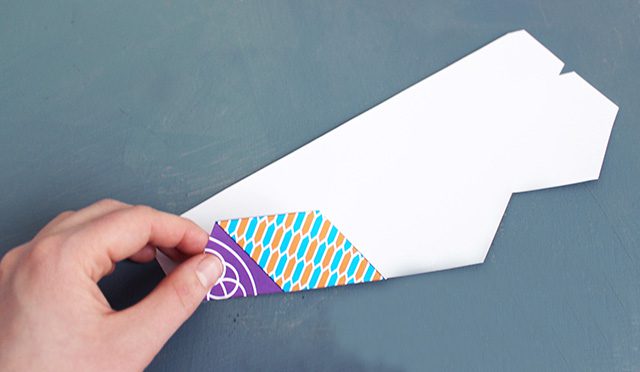
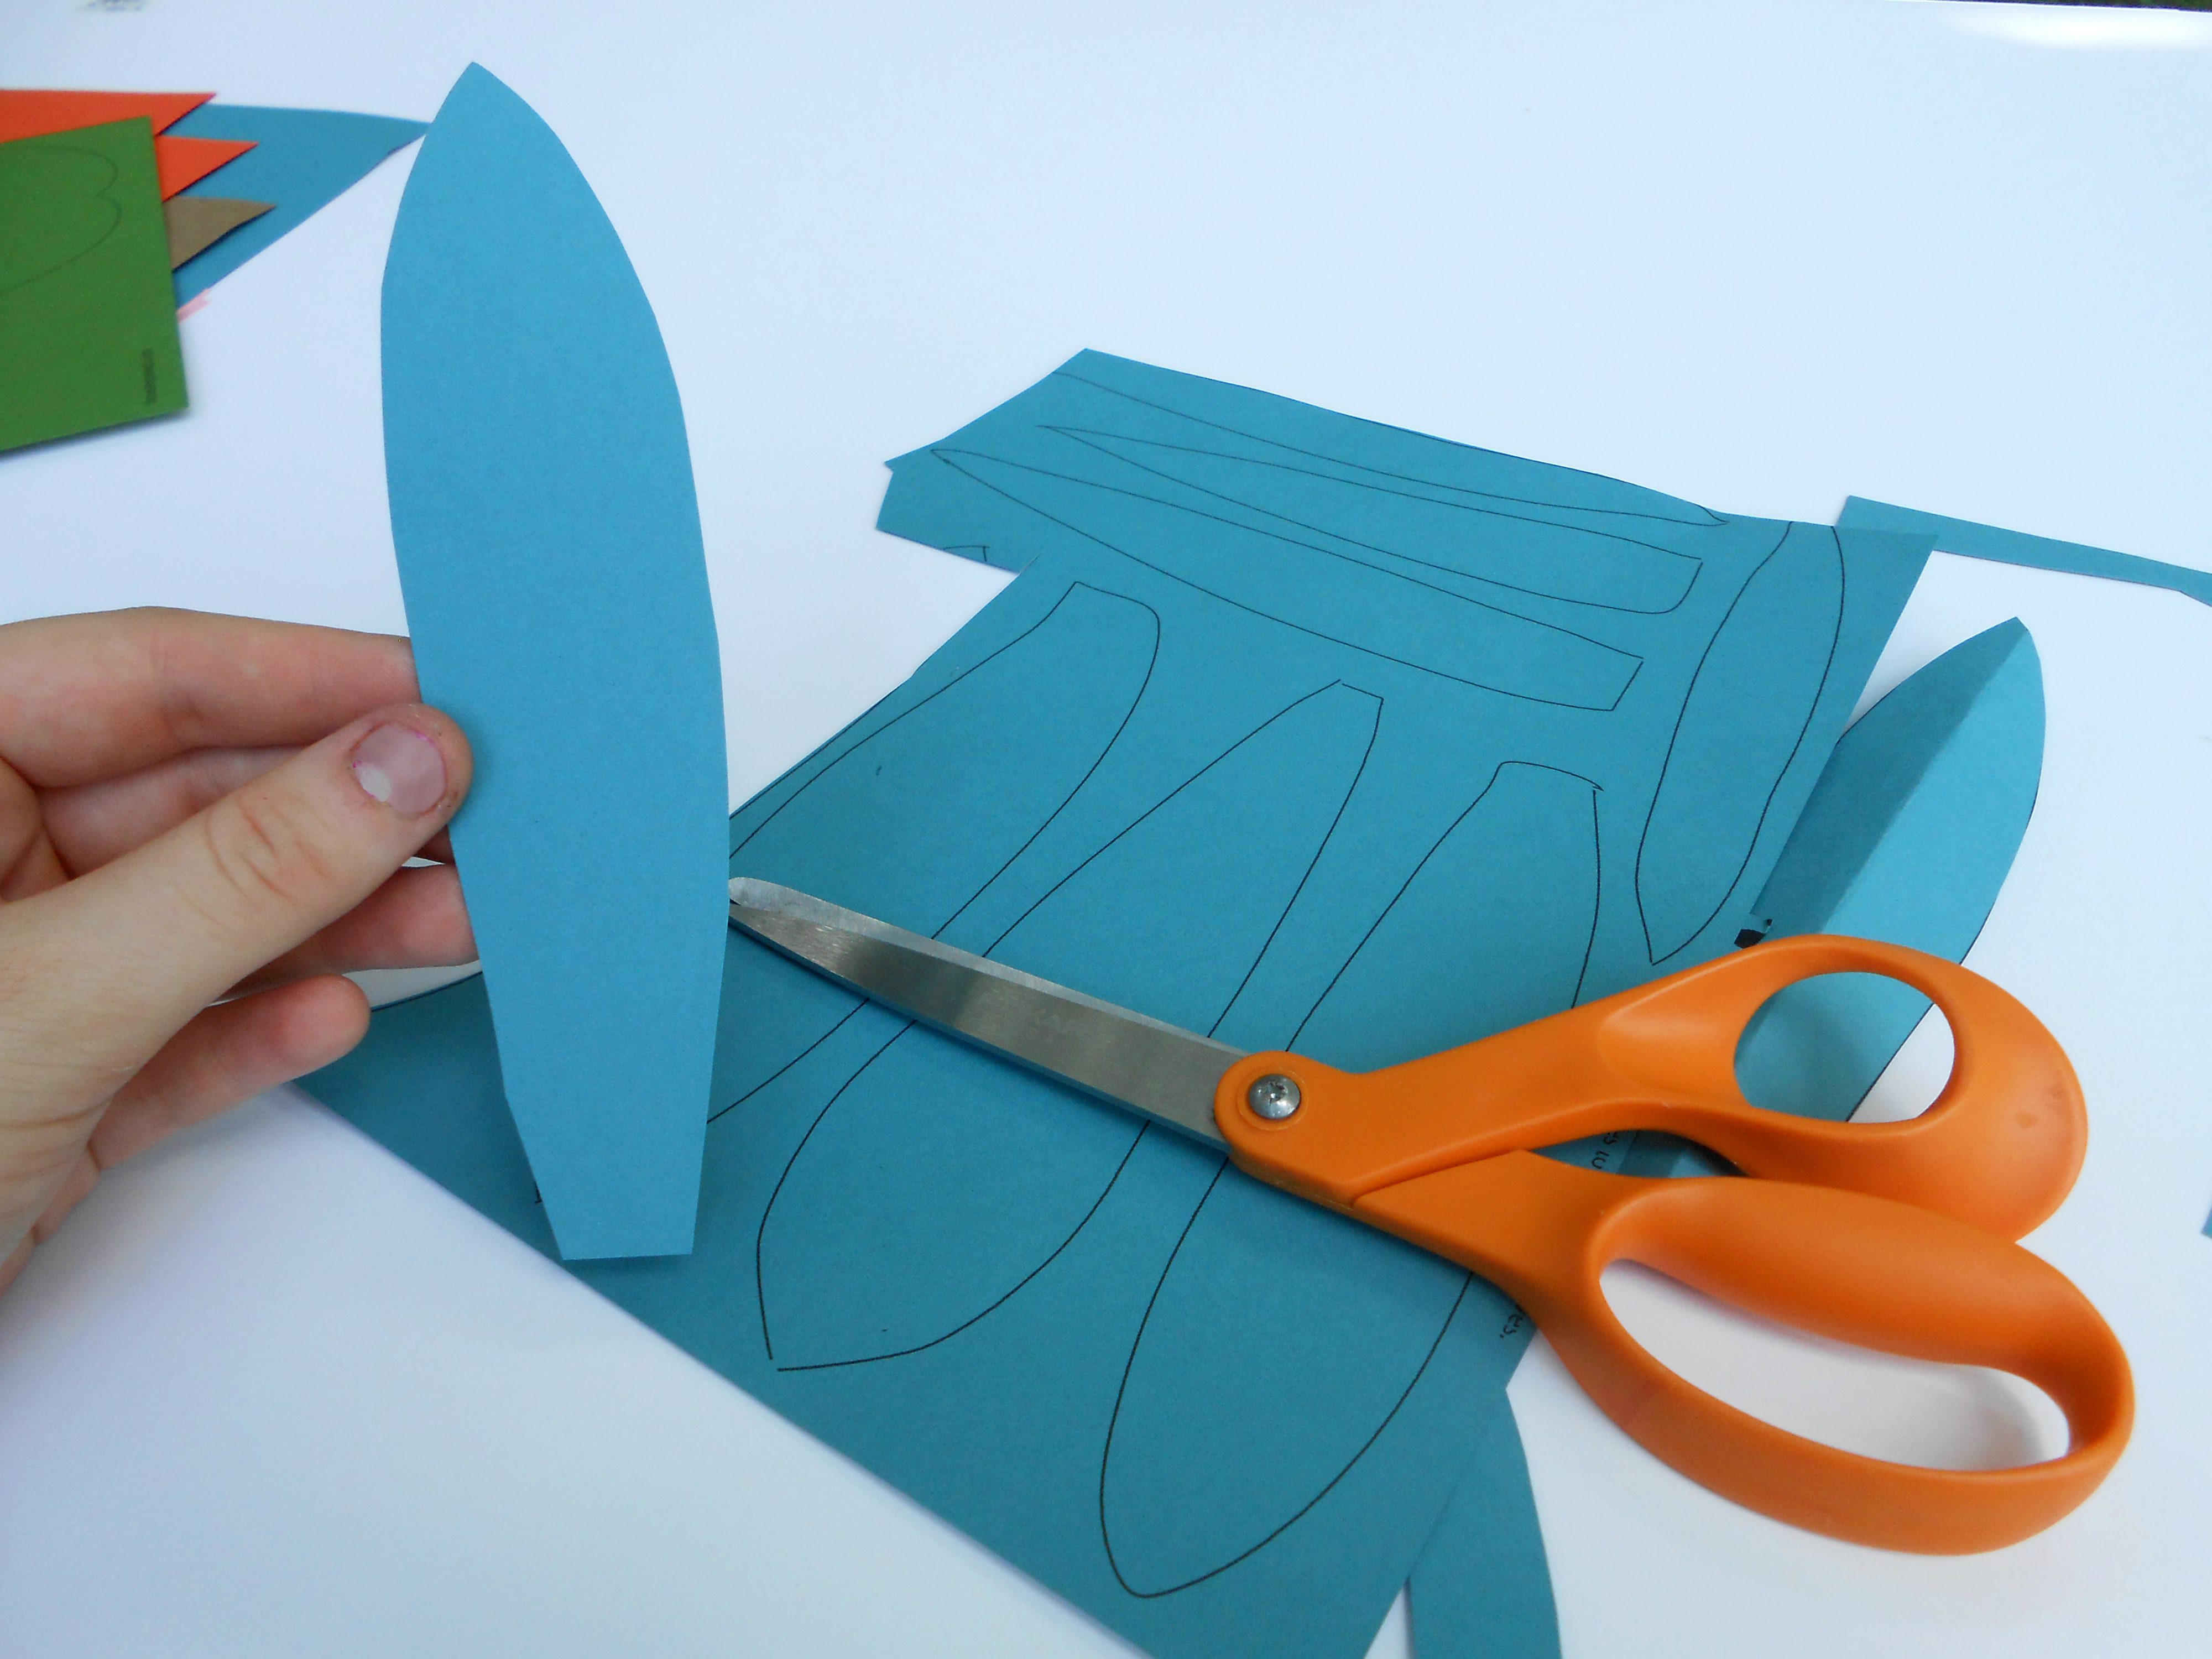 Cut along the black lines to cut out the leaves.
 Once all the leaves are cut out, fold them vertically in the middle. This helps the leaves’ stability and makes them look more realistic.
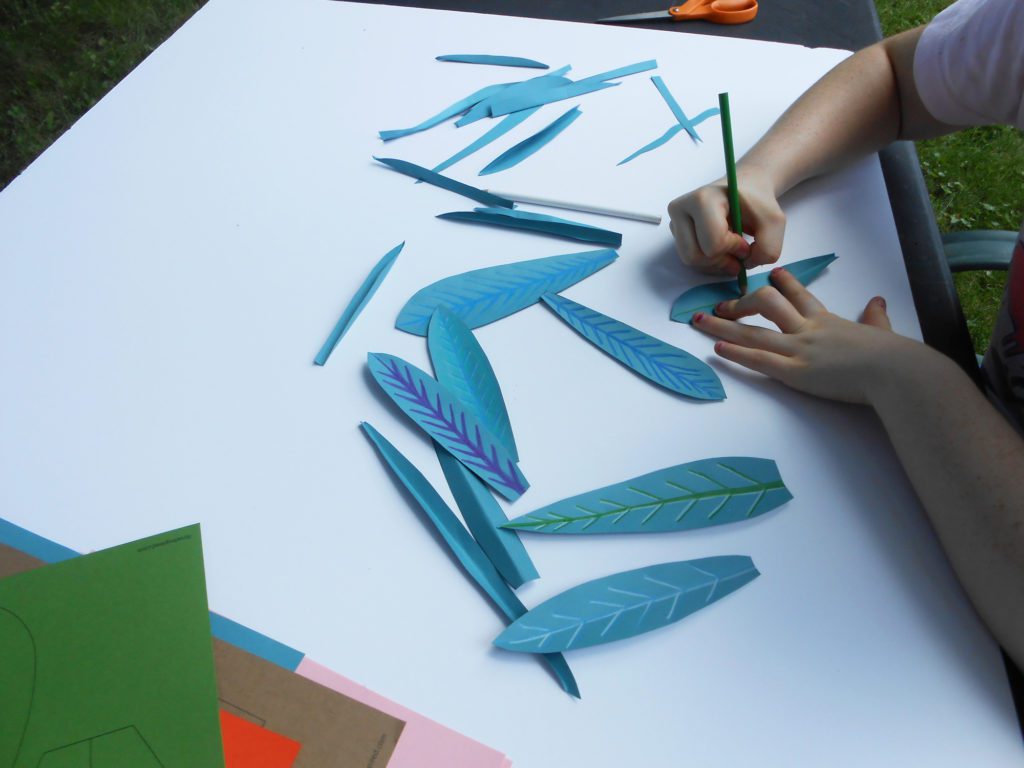 Color your leaves! You can follow the fold down the middle of the leaf to make it symmetrical or make your own fun design.
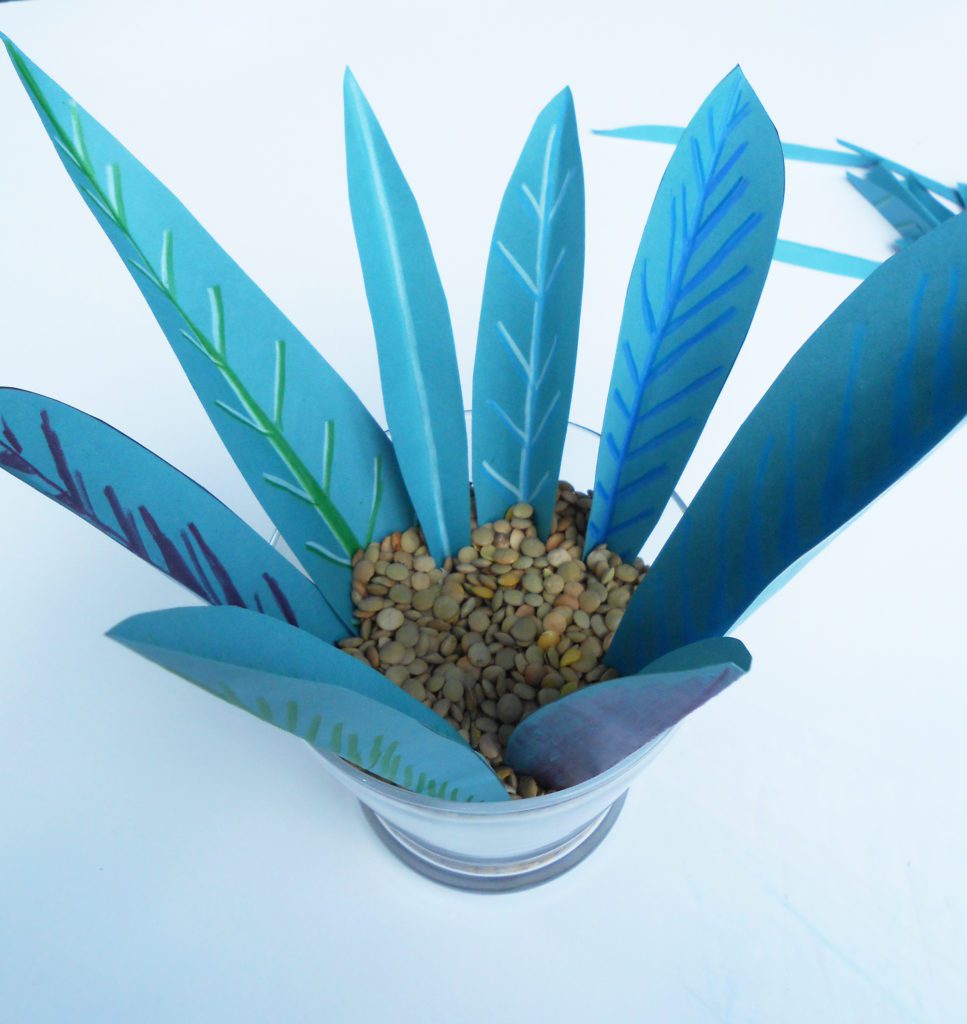 Start putting the largest leaves around the rim of the container. The smaller leaves go in the middle of the container.
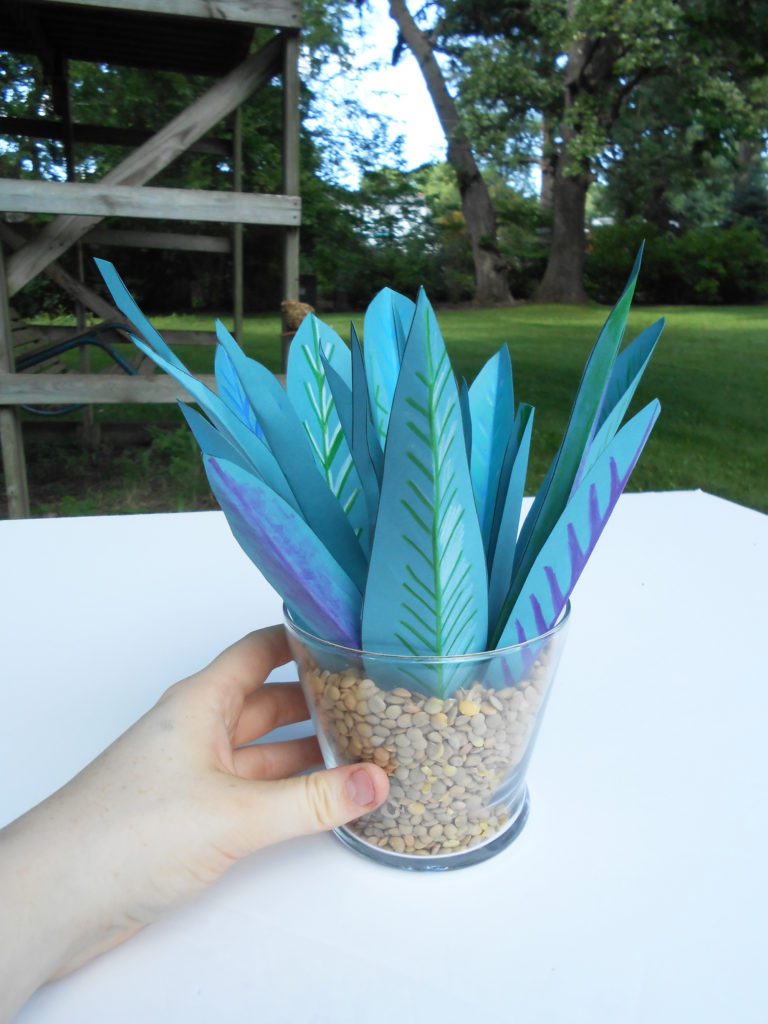 Mess with the leaves until you like the arrangement (it’s just like arranging flowers) and you’re done!
———————-
Small Cactus
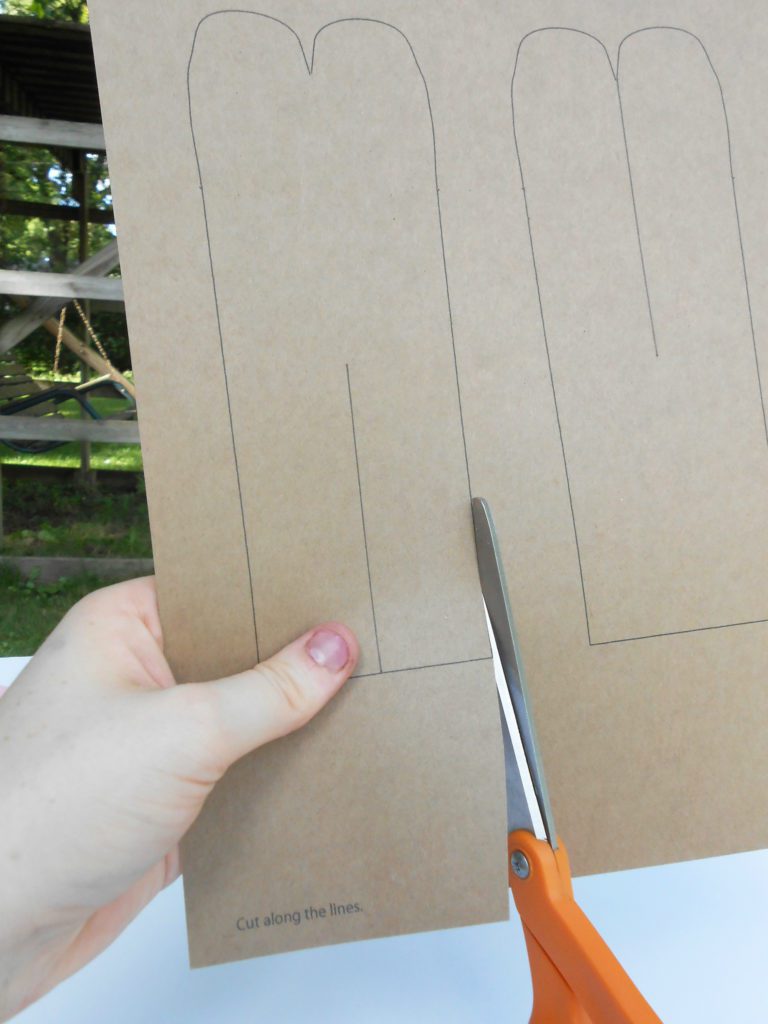
 Cut out the cactus pieces along the black lines. Make sure to cut along the black line in the middle– this is where the two pieces connect.
 Draw on both sides of the cactus pieces. I drew little spines!
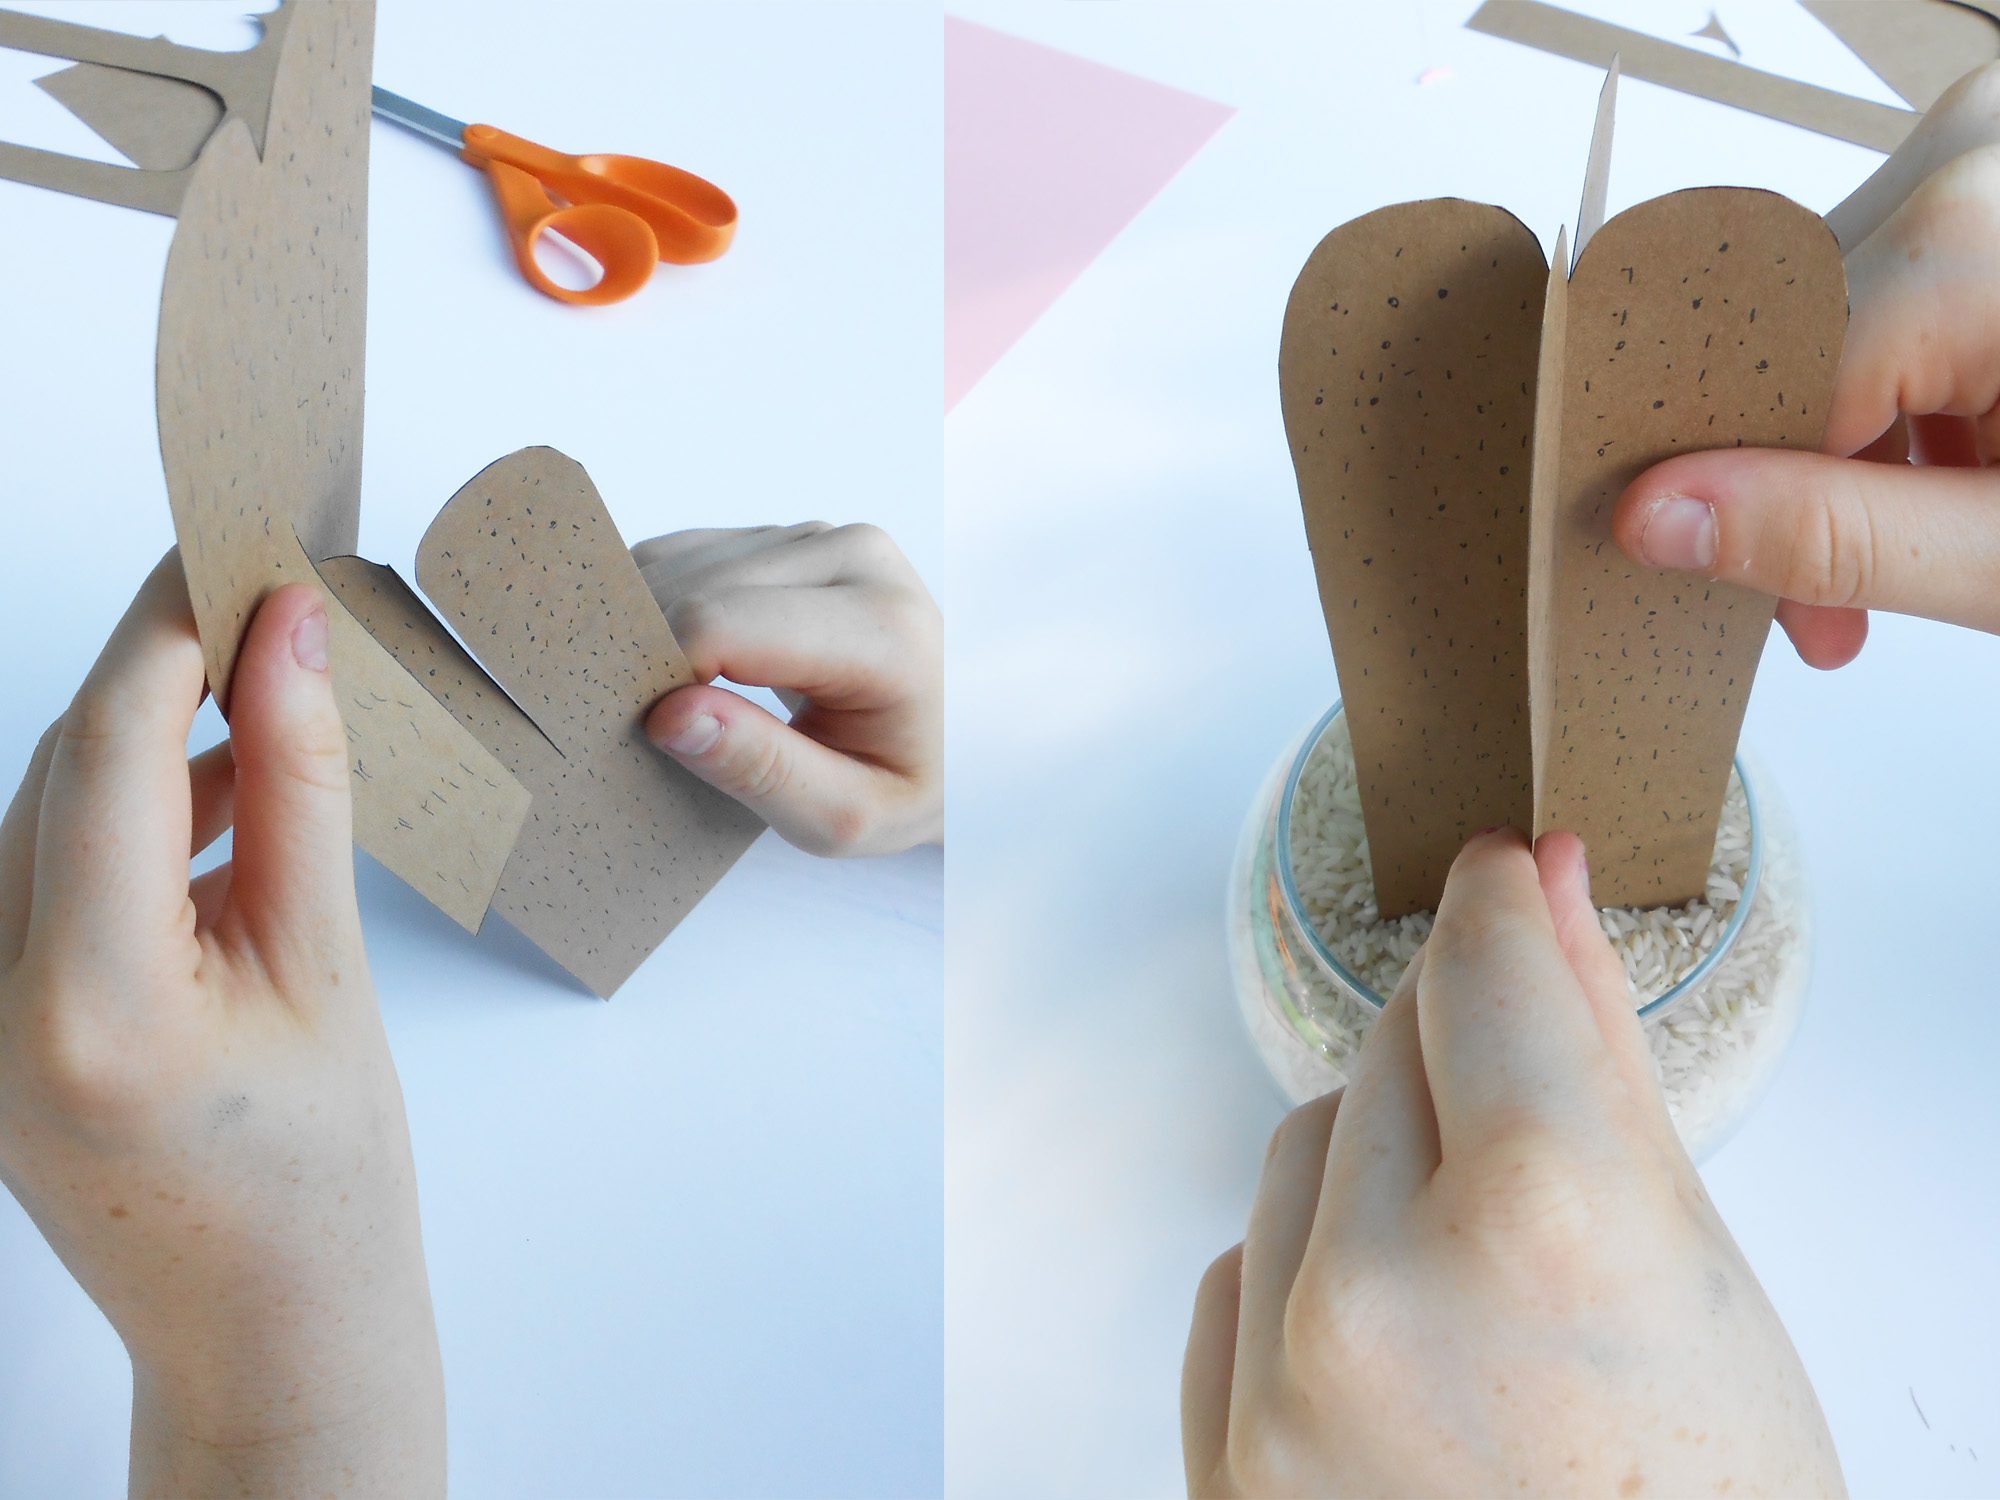
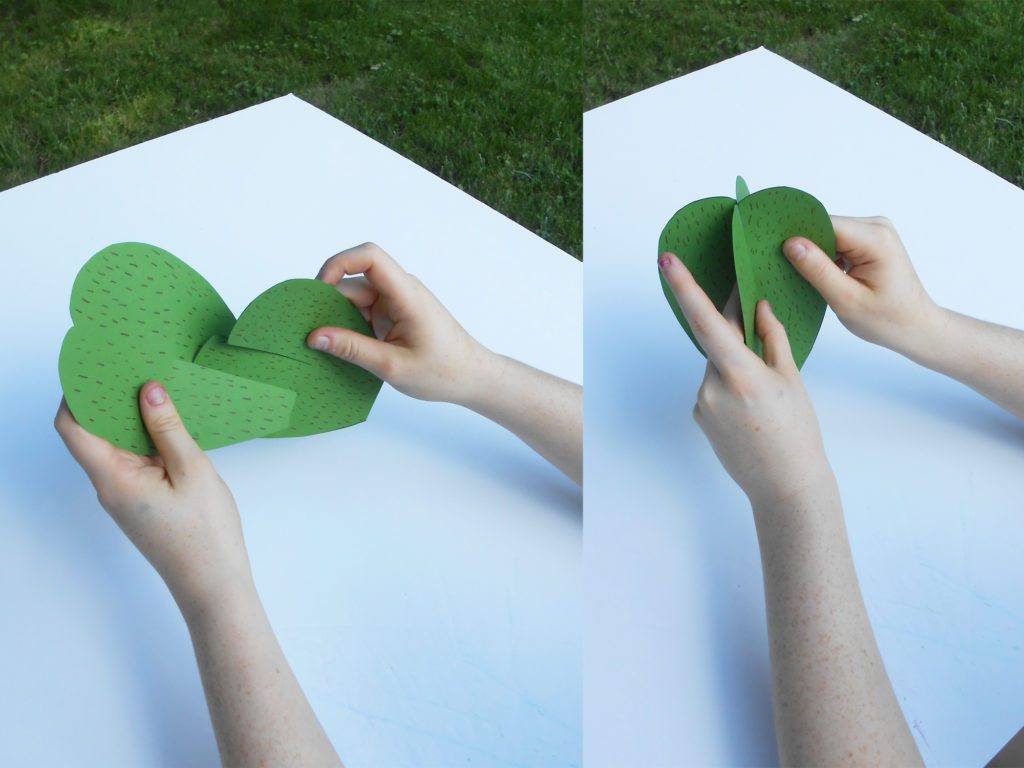 Time to put the cactus together! Take the piece with the cut from the middle to bottom and place it into the slit of the other piece.
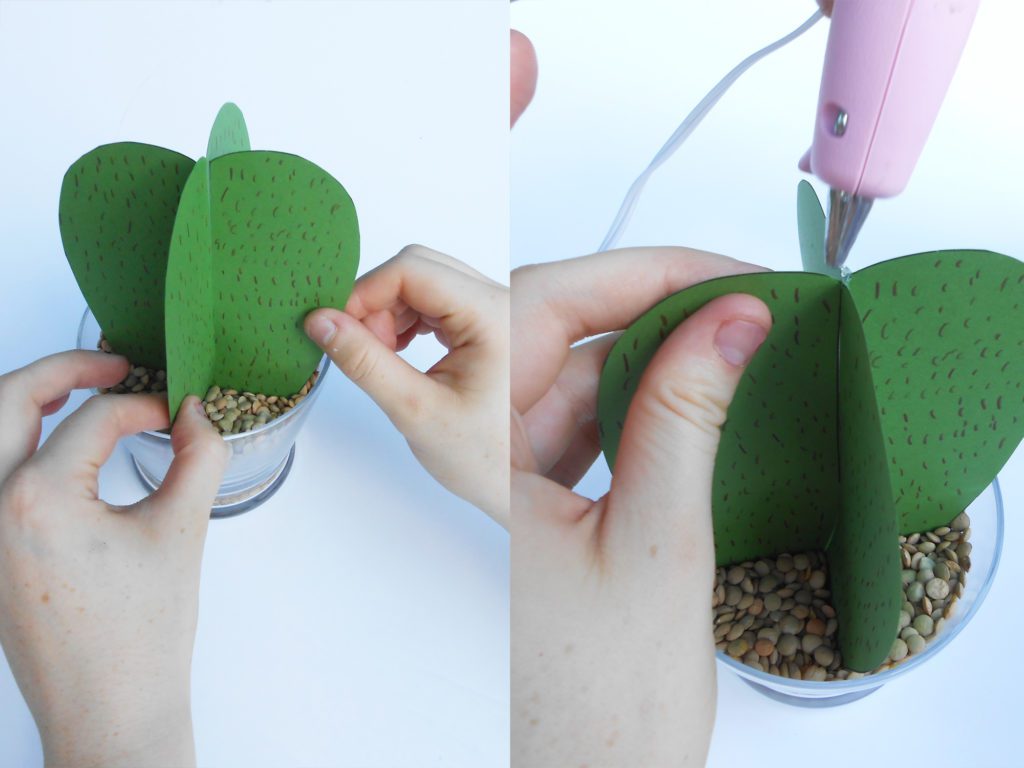 Put the cactus in the container, burying the bottom of it into the lentils or rice. Adding a dot of hot glue in between the pieces at the top helps the cactus retain its shape and stay stable.
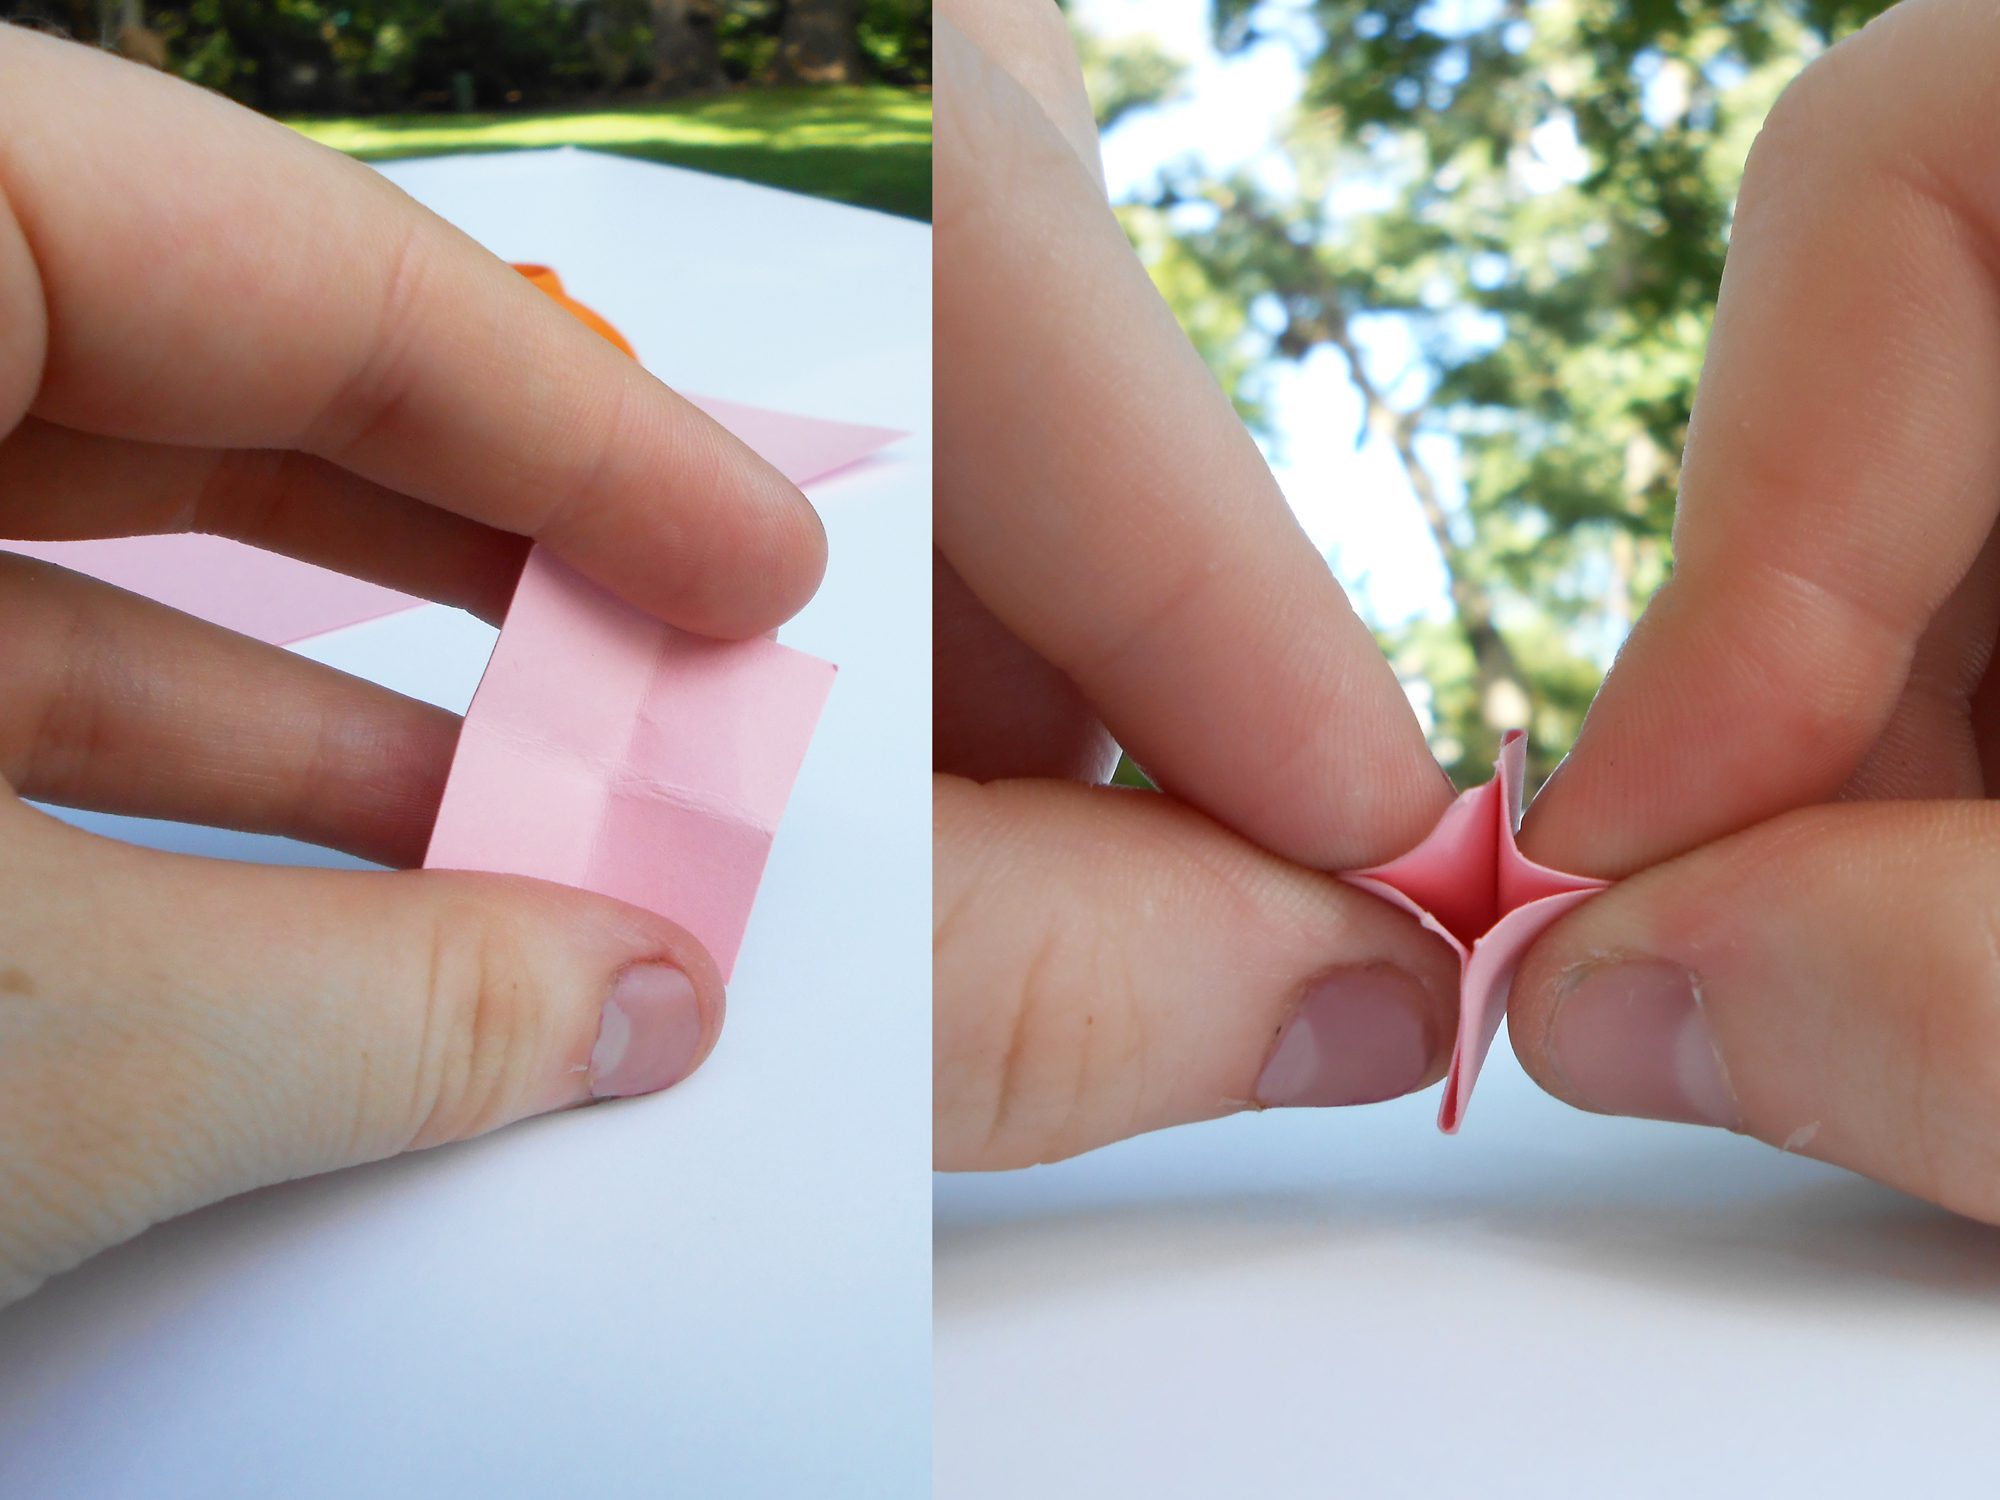 Time to make the flowers! Fold a small square piece of paper in half both ways (horizontally and vertically). Unfold it, then fold it horizontally on the fold you already created.
 Push the ends of the paper together, and you’ve got a little flower!
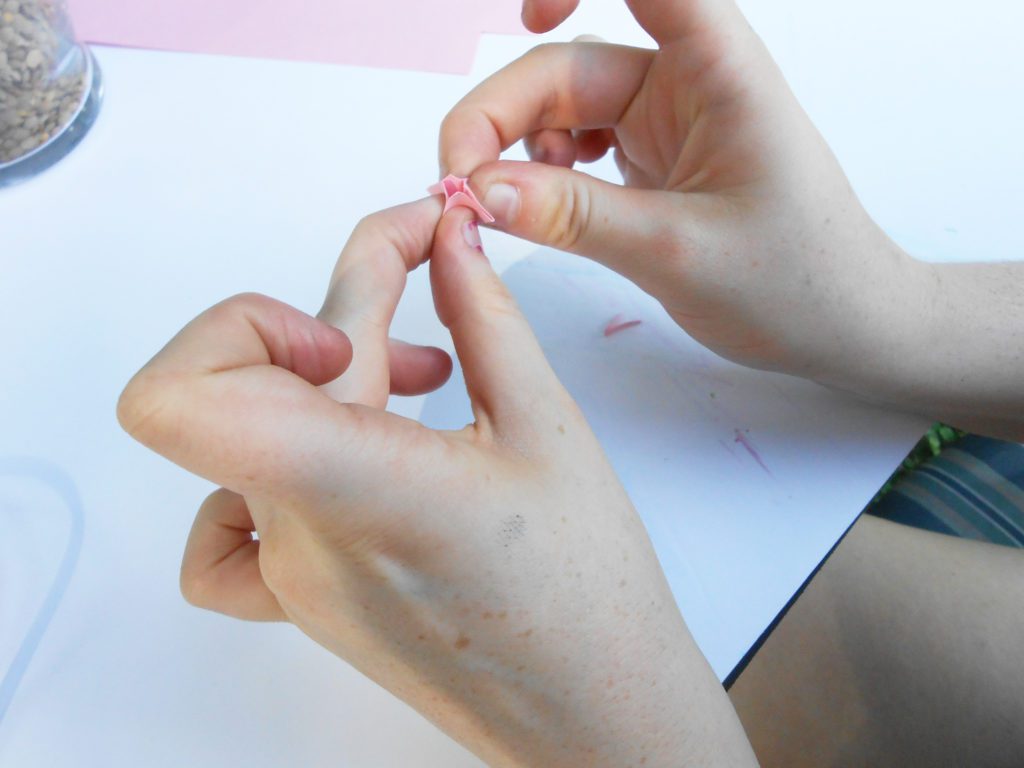
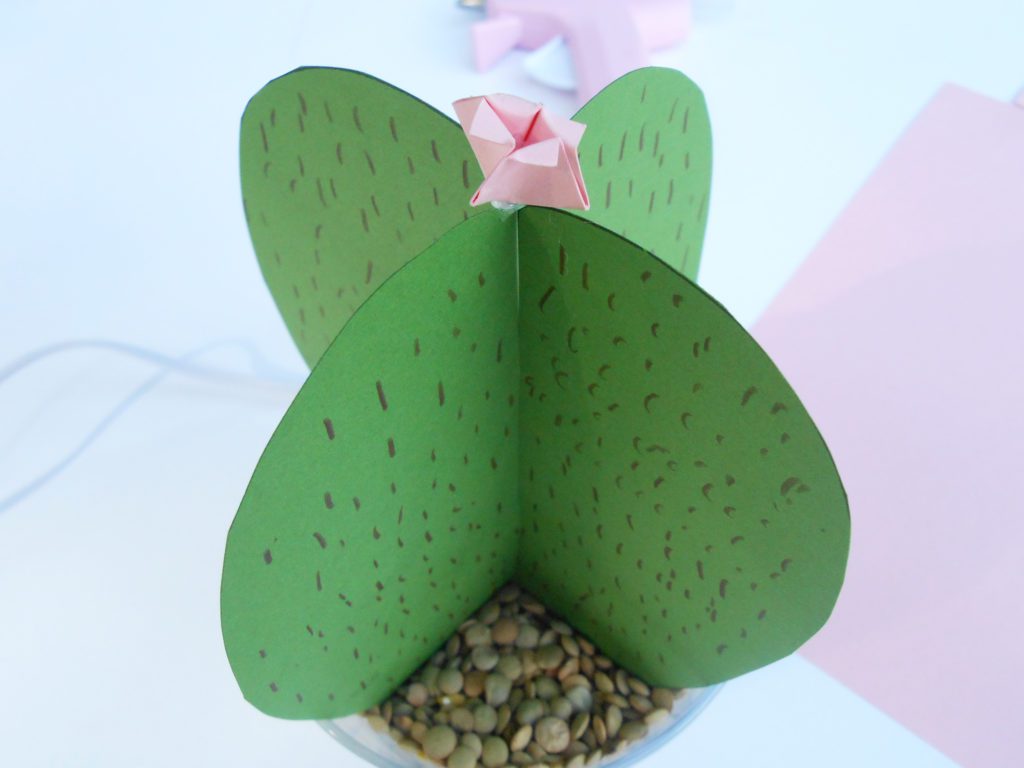 Add a dot of hot glue to the top of the cactus and press the flower on top of it.
————————
Tall Cactus
 Cut along the black lines and draw on both sides of the pieces.
 Next, attach the two cactus pieces together by sliding the piece with the cut from the middle to bottom onto the slit of the other piece.
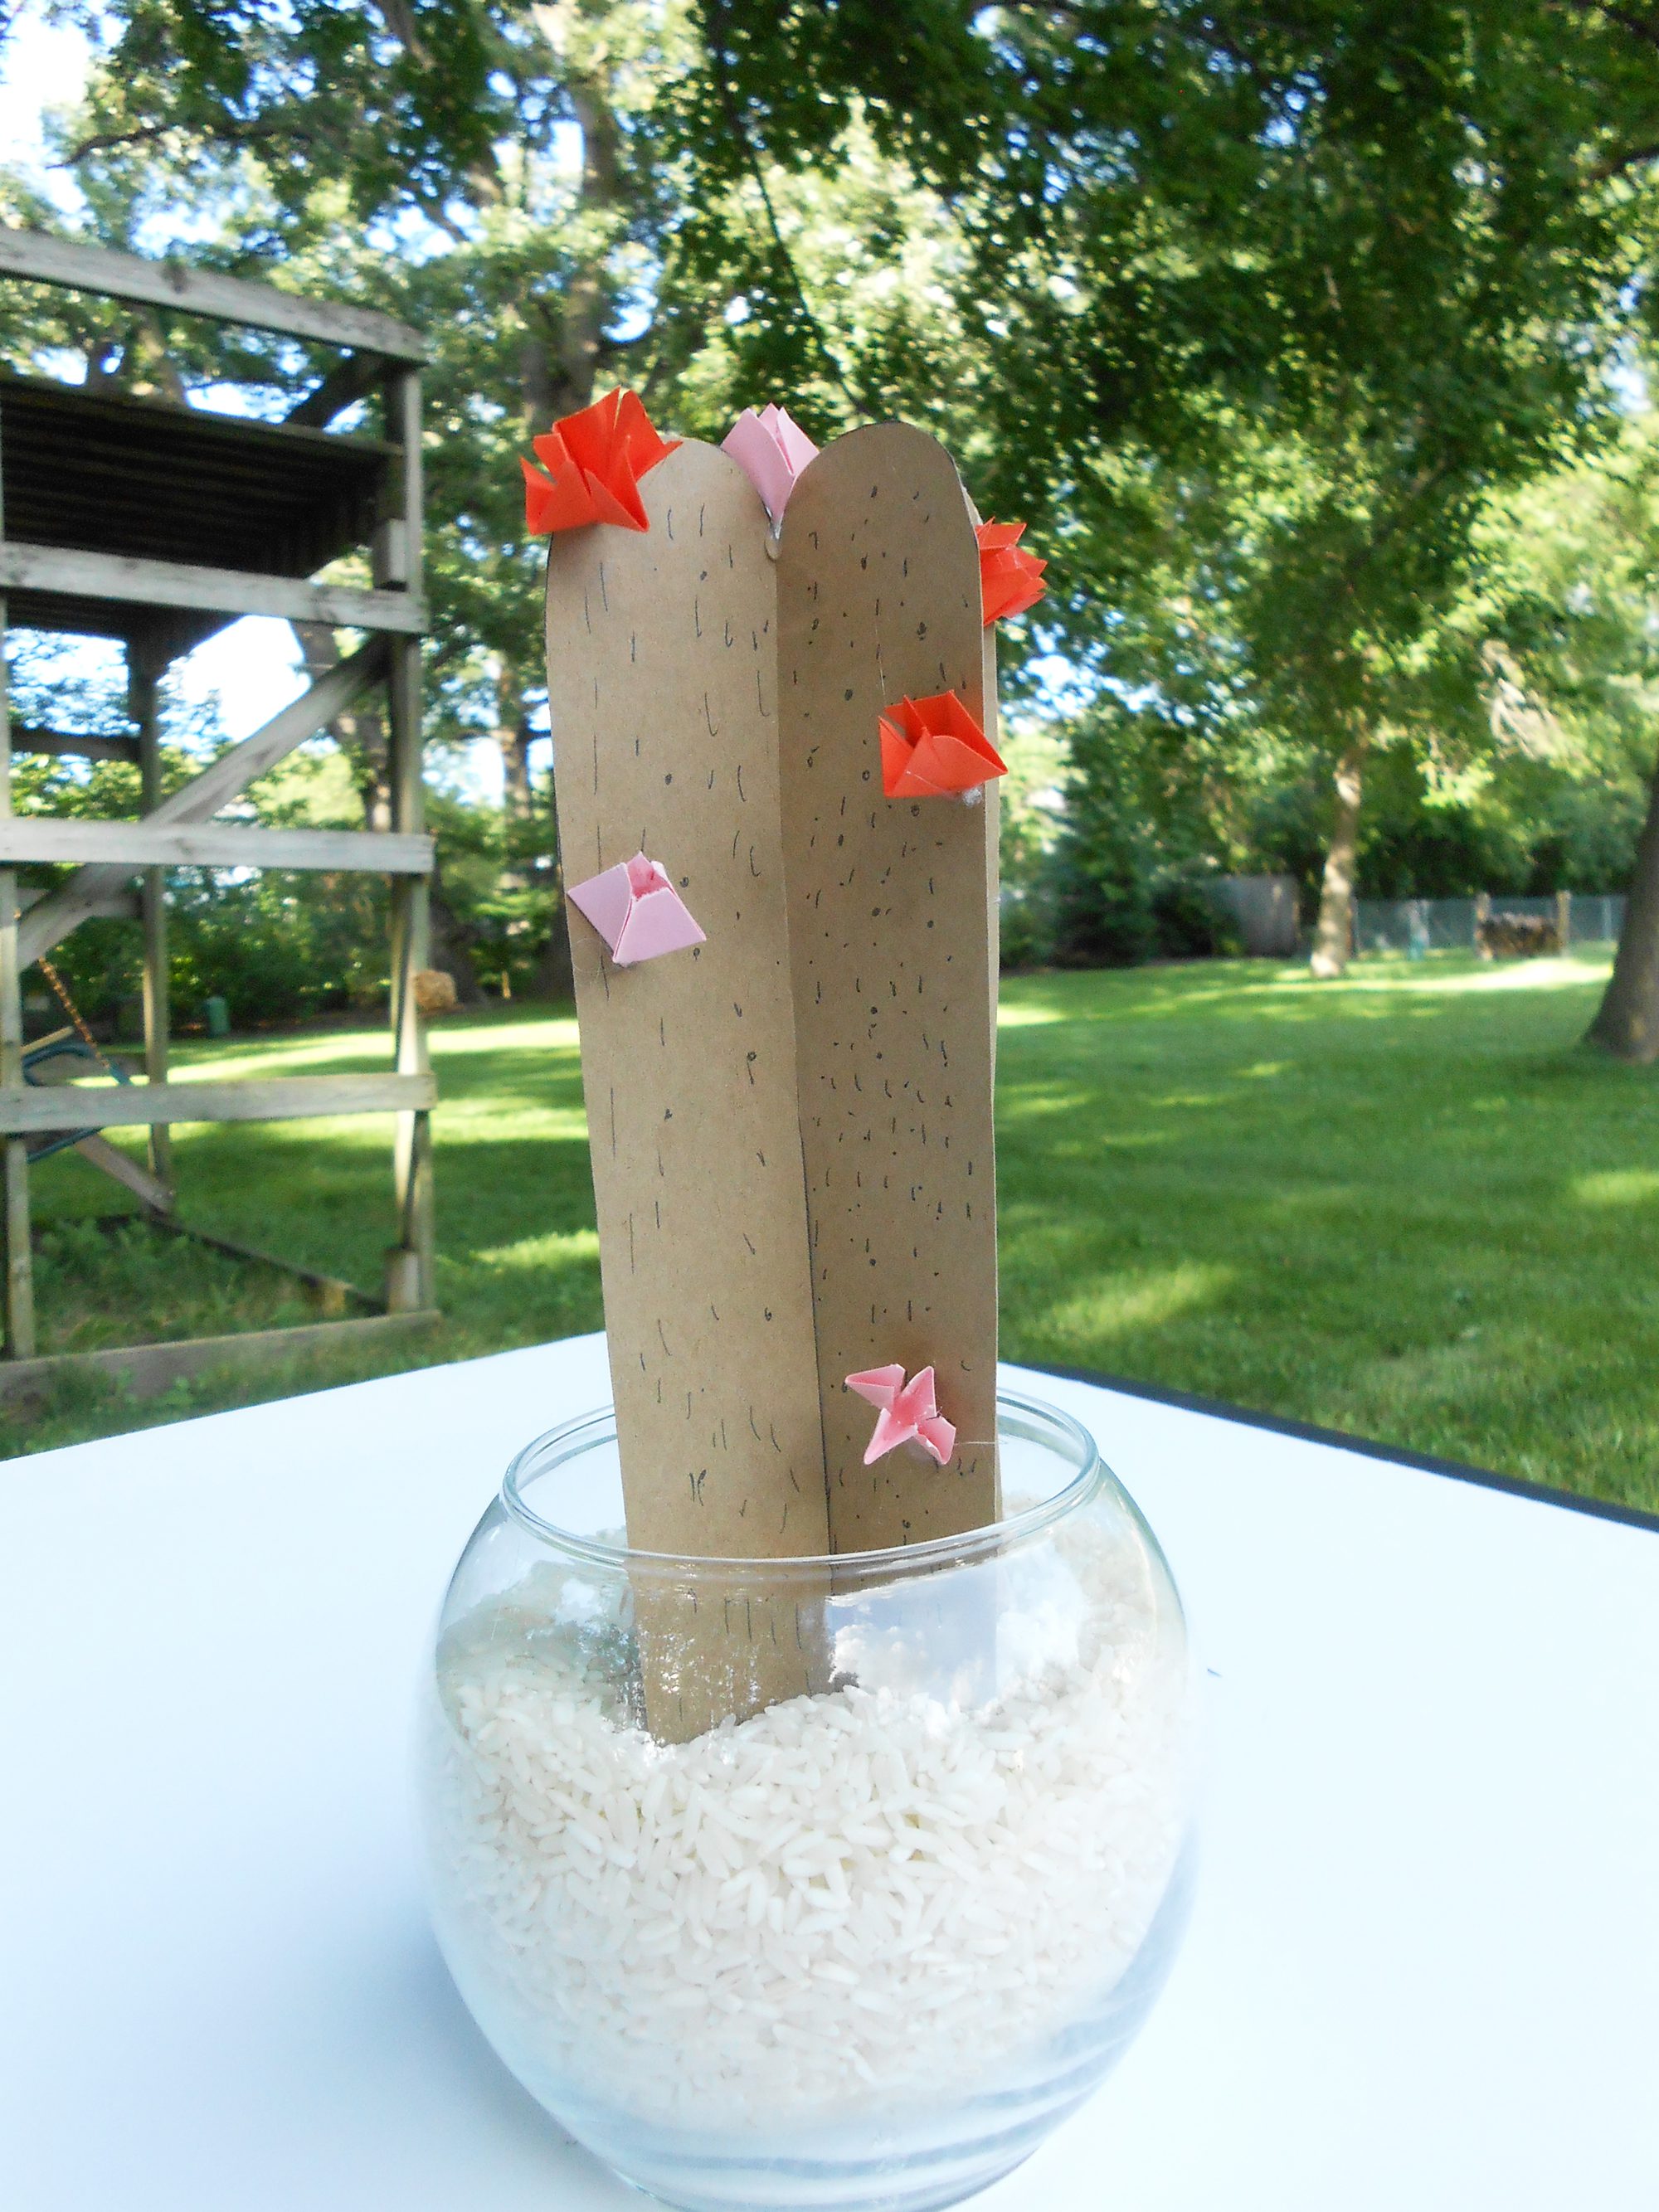 Add a drop of hot glue on the top of the cactus and place a flower on it. The flowers are the same as those for the smaller cactus. Add as many as you like!