Sponsored by
Agora Arts
Agora Arts is a contemporary fine craft gallery located in the heart of beautiful downtown Decorah, Iowa. Agora has been connecting art and artists to the people of the Driftless since 1992, carrying the work of 200+ talented American artists – including lovely art, jewelry, pottery, prints, sculpture, and more. A brainchild of Decorah native and Luther College grad, Gail Bolson-Magnuson, Agora is most definitely a must-stop spot on any visit to Decorah.
Sponsored by

Your Business!
Oh hey, lookie there – you’re looking here! Can you imagine how many people will look at YOUR business in this spot as well?! Let us write a super-fun business blurb for you, upload it and your logo, and watch the hits come in! Plus, you get to support positive news and community-building in the Driftless! Win + Win! Please reach out for more web sponsorship info – we’d love to make it happen!
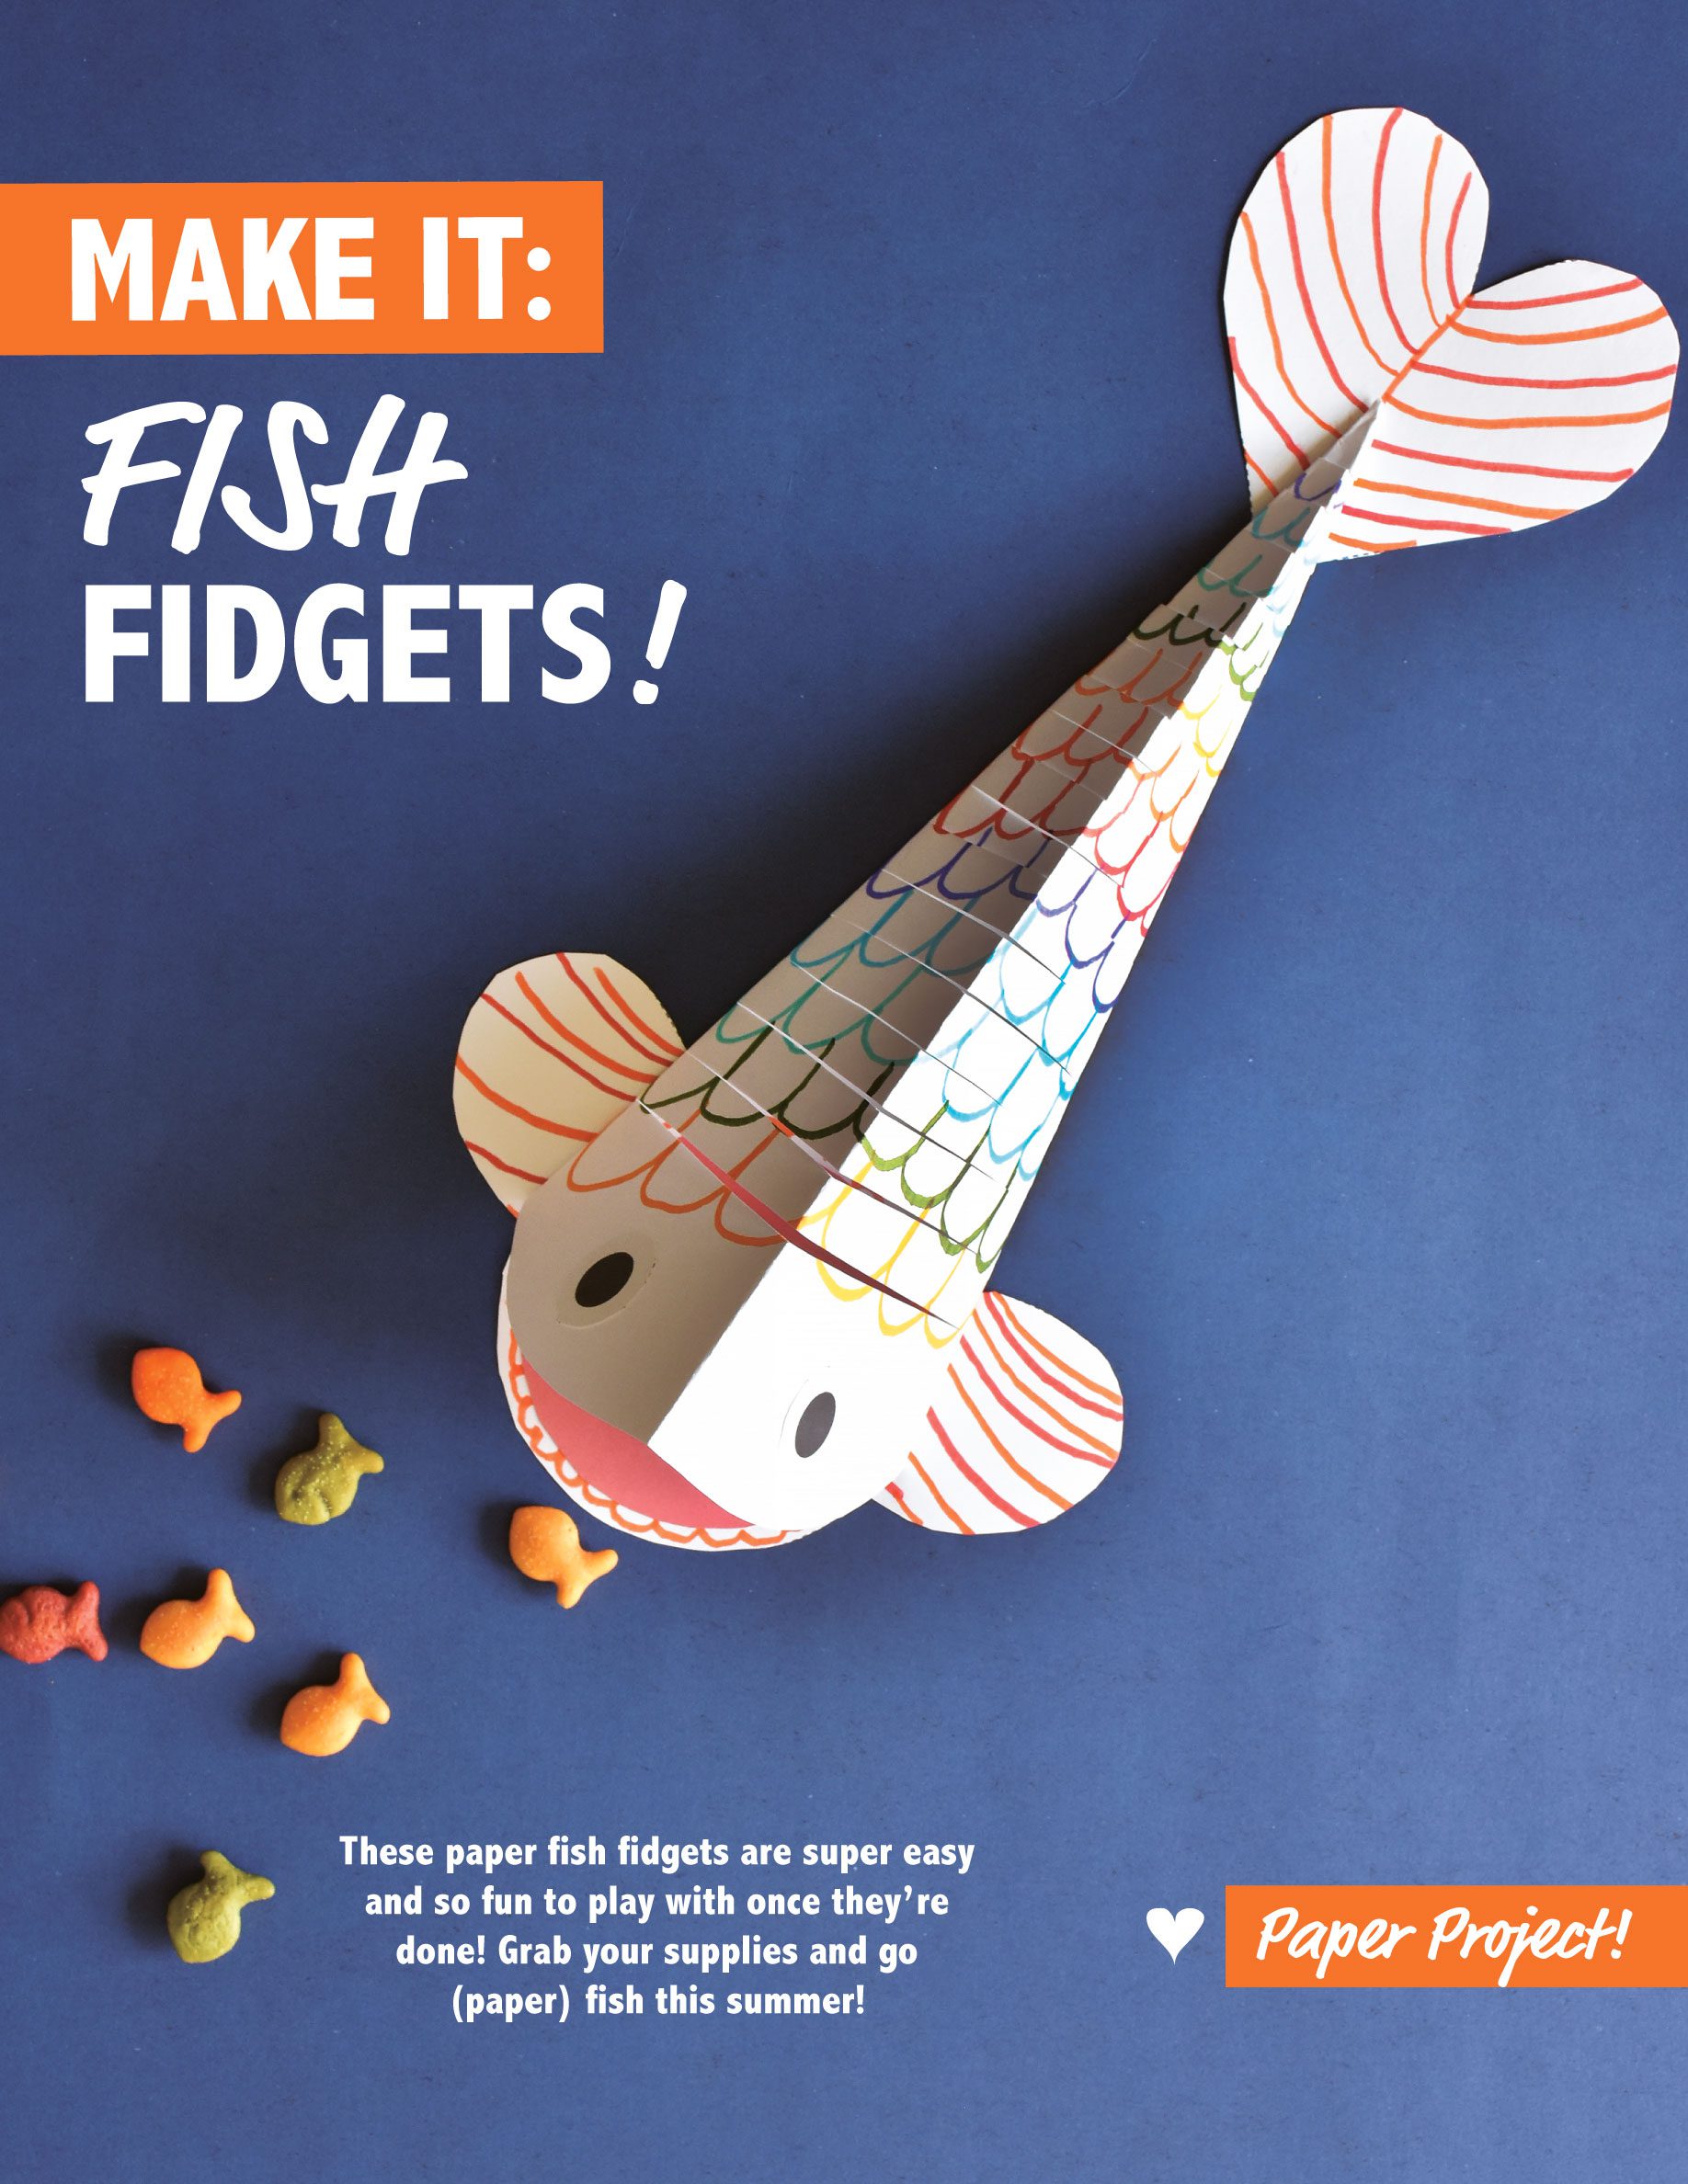
Fish Fidgets!
Sponsored by
Your Business!
Oh hey, lookie there – you’re looking here! Can you imagine how many people will look at YOUR business in this spot as well?! Let us write a super-fun business blurb for you, upload it and your logo, and watch the hits come in! Plus, you get to support positive news and community-building in the Driftless! Win + Win! Please reach out for more web sponsorship info – we’d love to make it happen!
Sponsored by
Agora Arts
Agora Arts is a contemporary fine craft gallery located in the heart of beautiful downtown Decorah, Iowa. Agora has been connecting art and artists to the people of the Driftless since 1992, carrying the work of 200+ talented American artists – including lovely art, jewelry, pottery, prints, sculpture, and more. A brainchild of Decorah native and Luther College grad, Gail Bolson-Magnuson, Agora is most definitely a must-stop spot on any visit to Decorah.
These paper fish fidgets are super easy and so fun to play with once they’re done! Grab your supplies and go (paper) fish this summer!
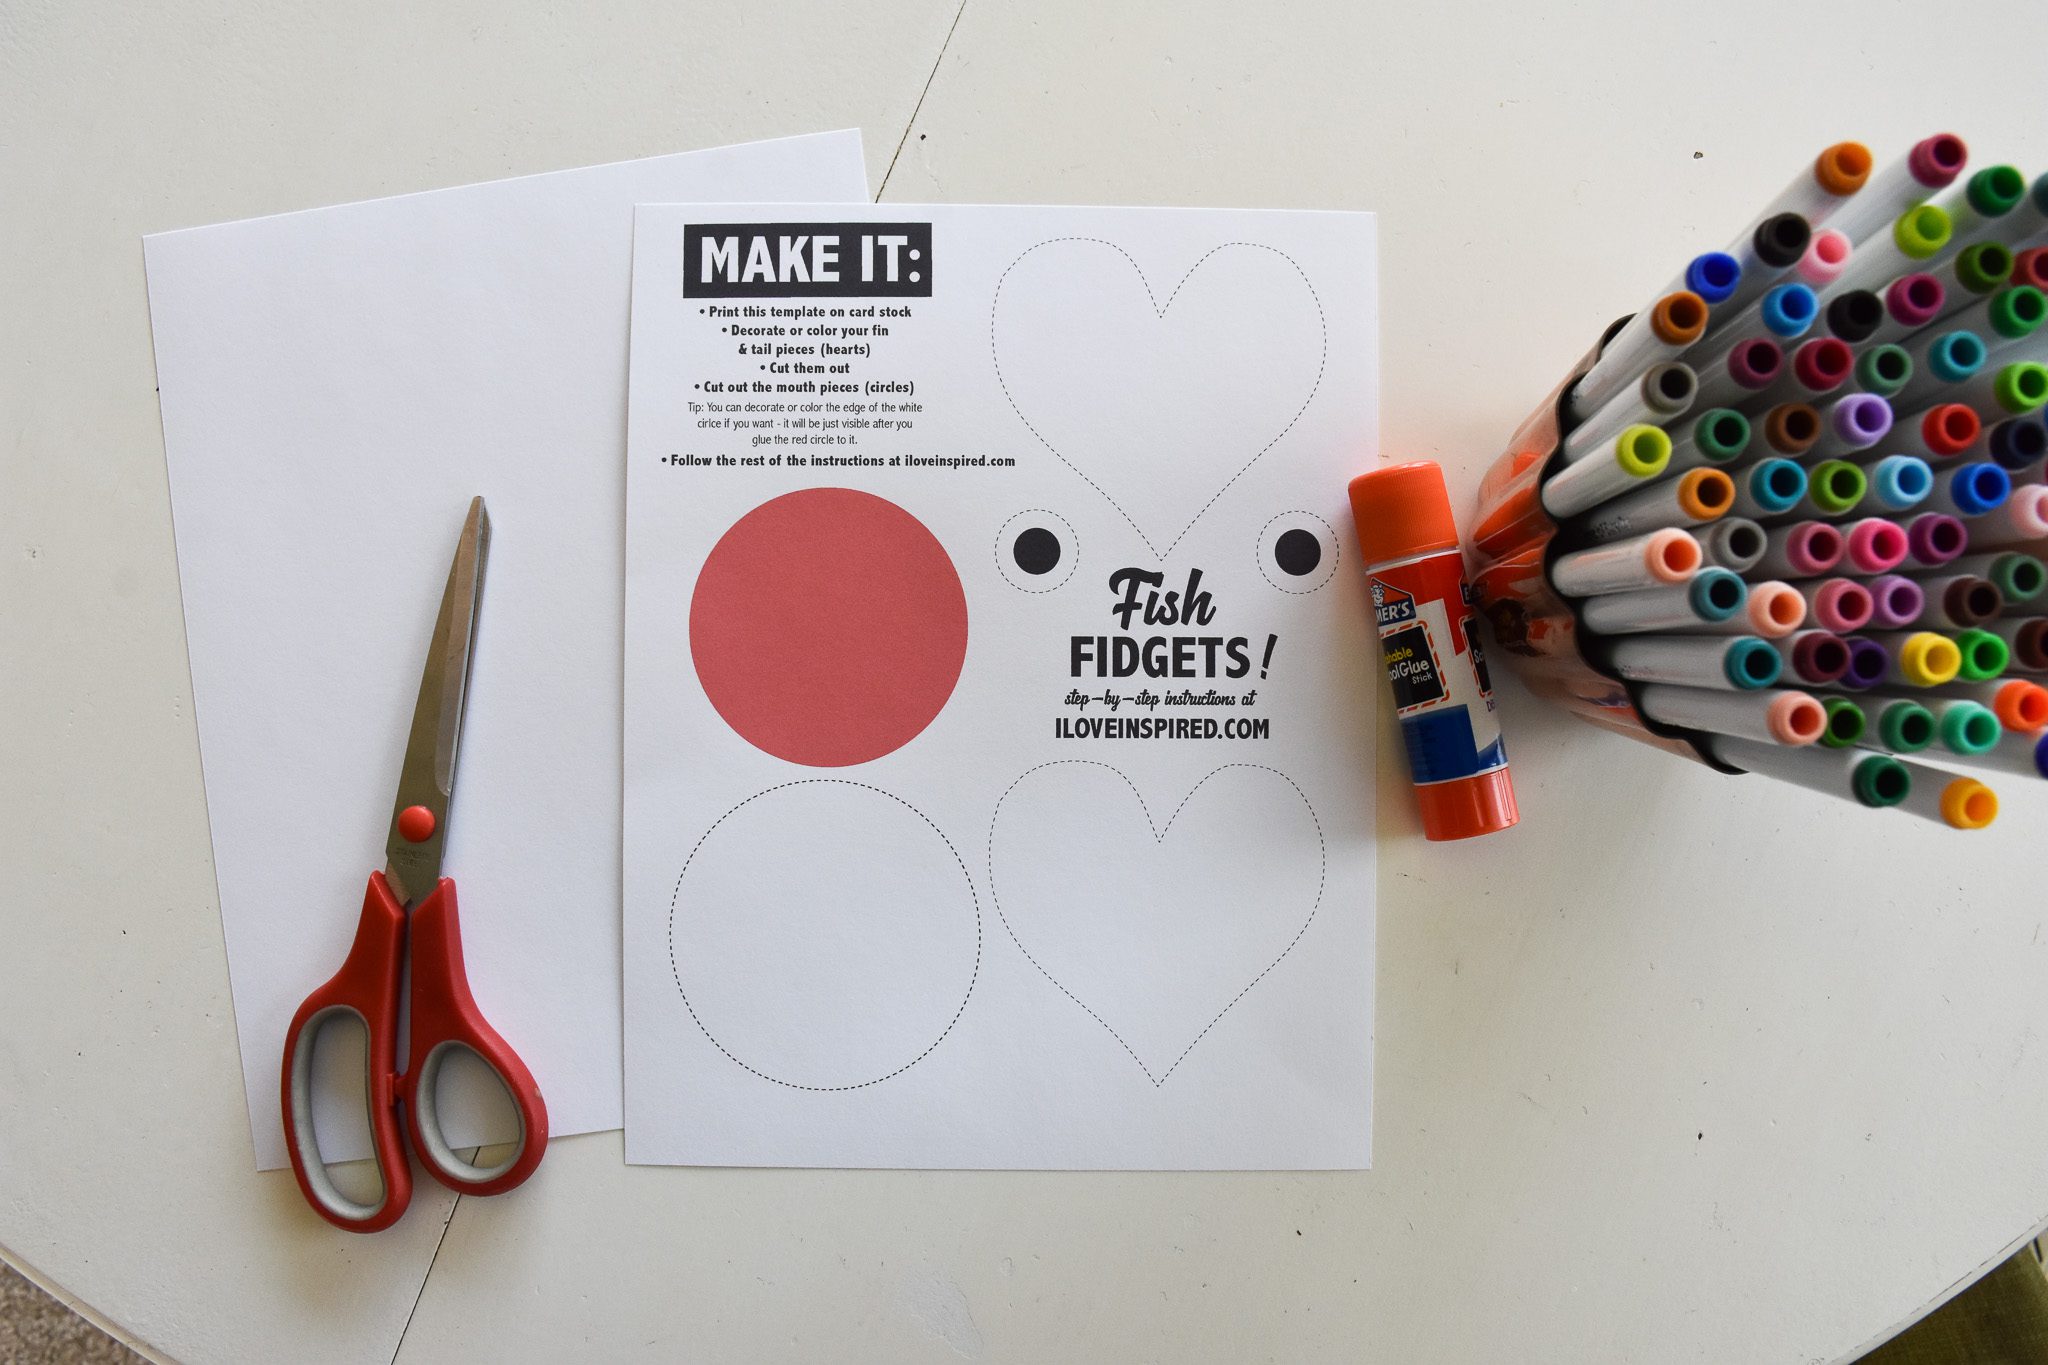
Supplies:
Two sheets of 8.5 x 11 card stock (I used white)
Fish Fidget parts page (download page here)
Scissors
Markers or colors
Glue stick
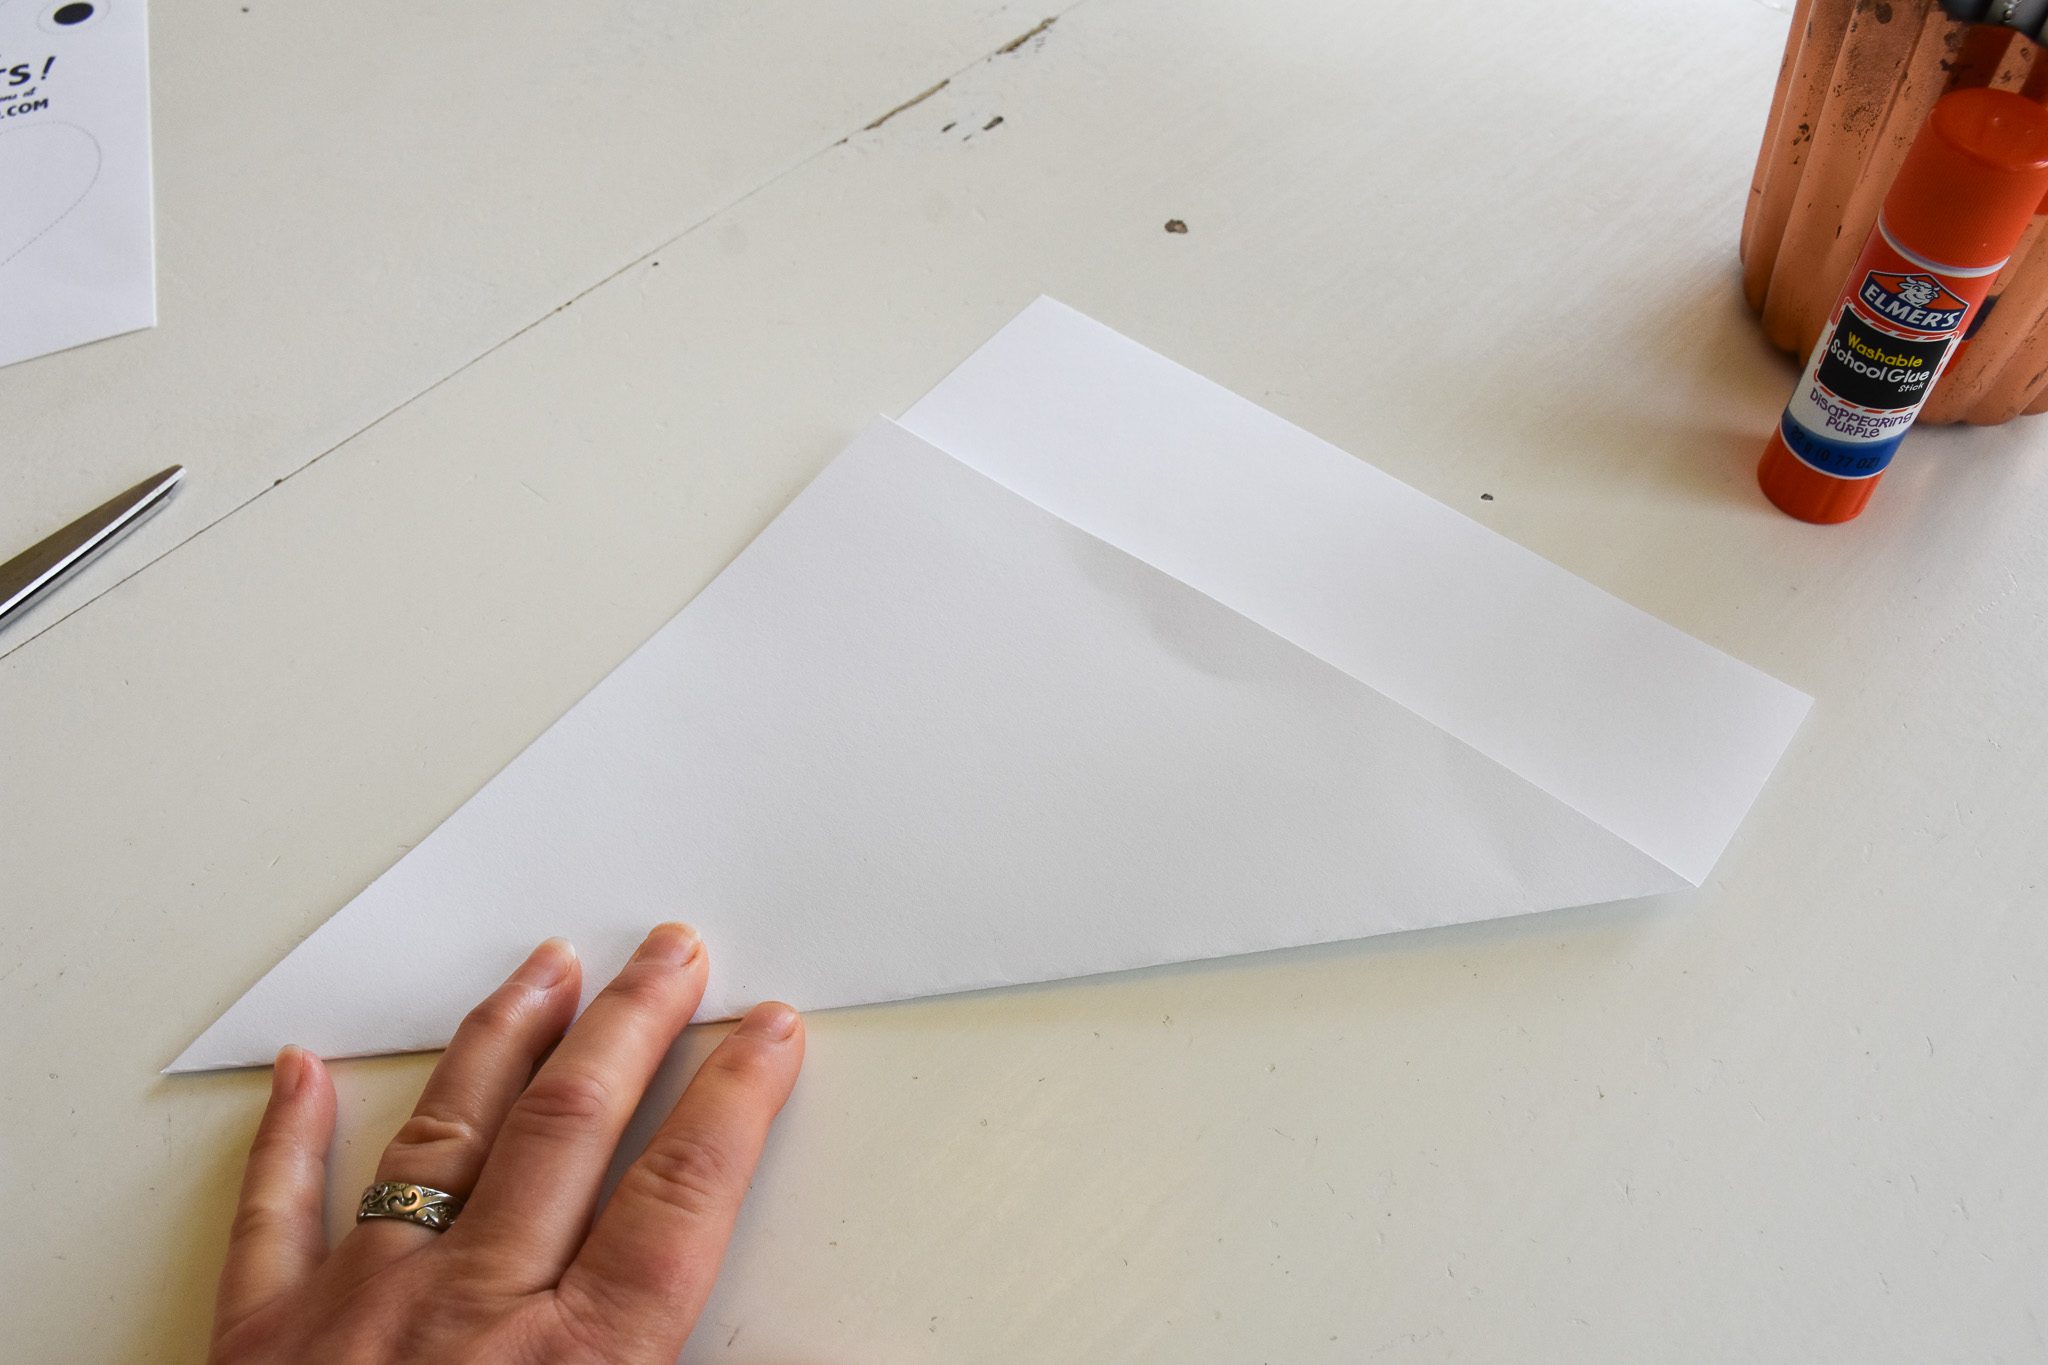
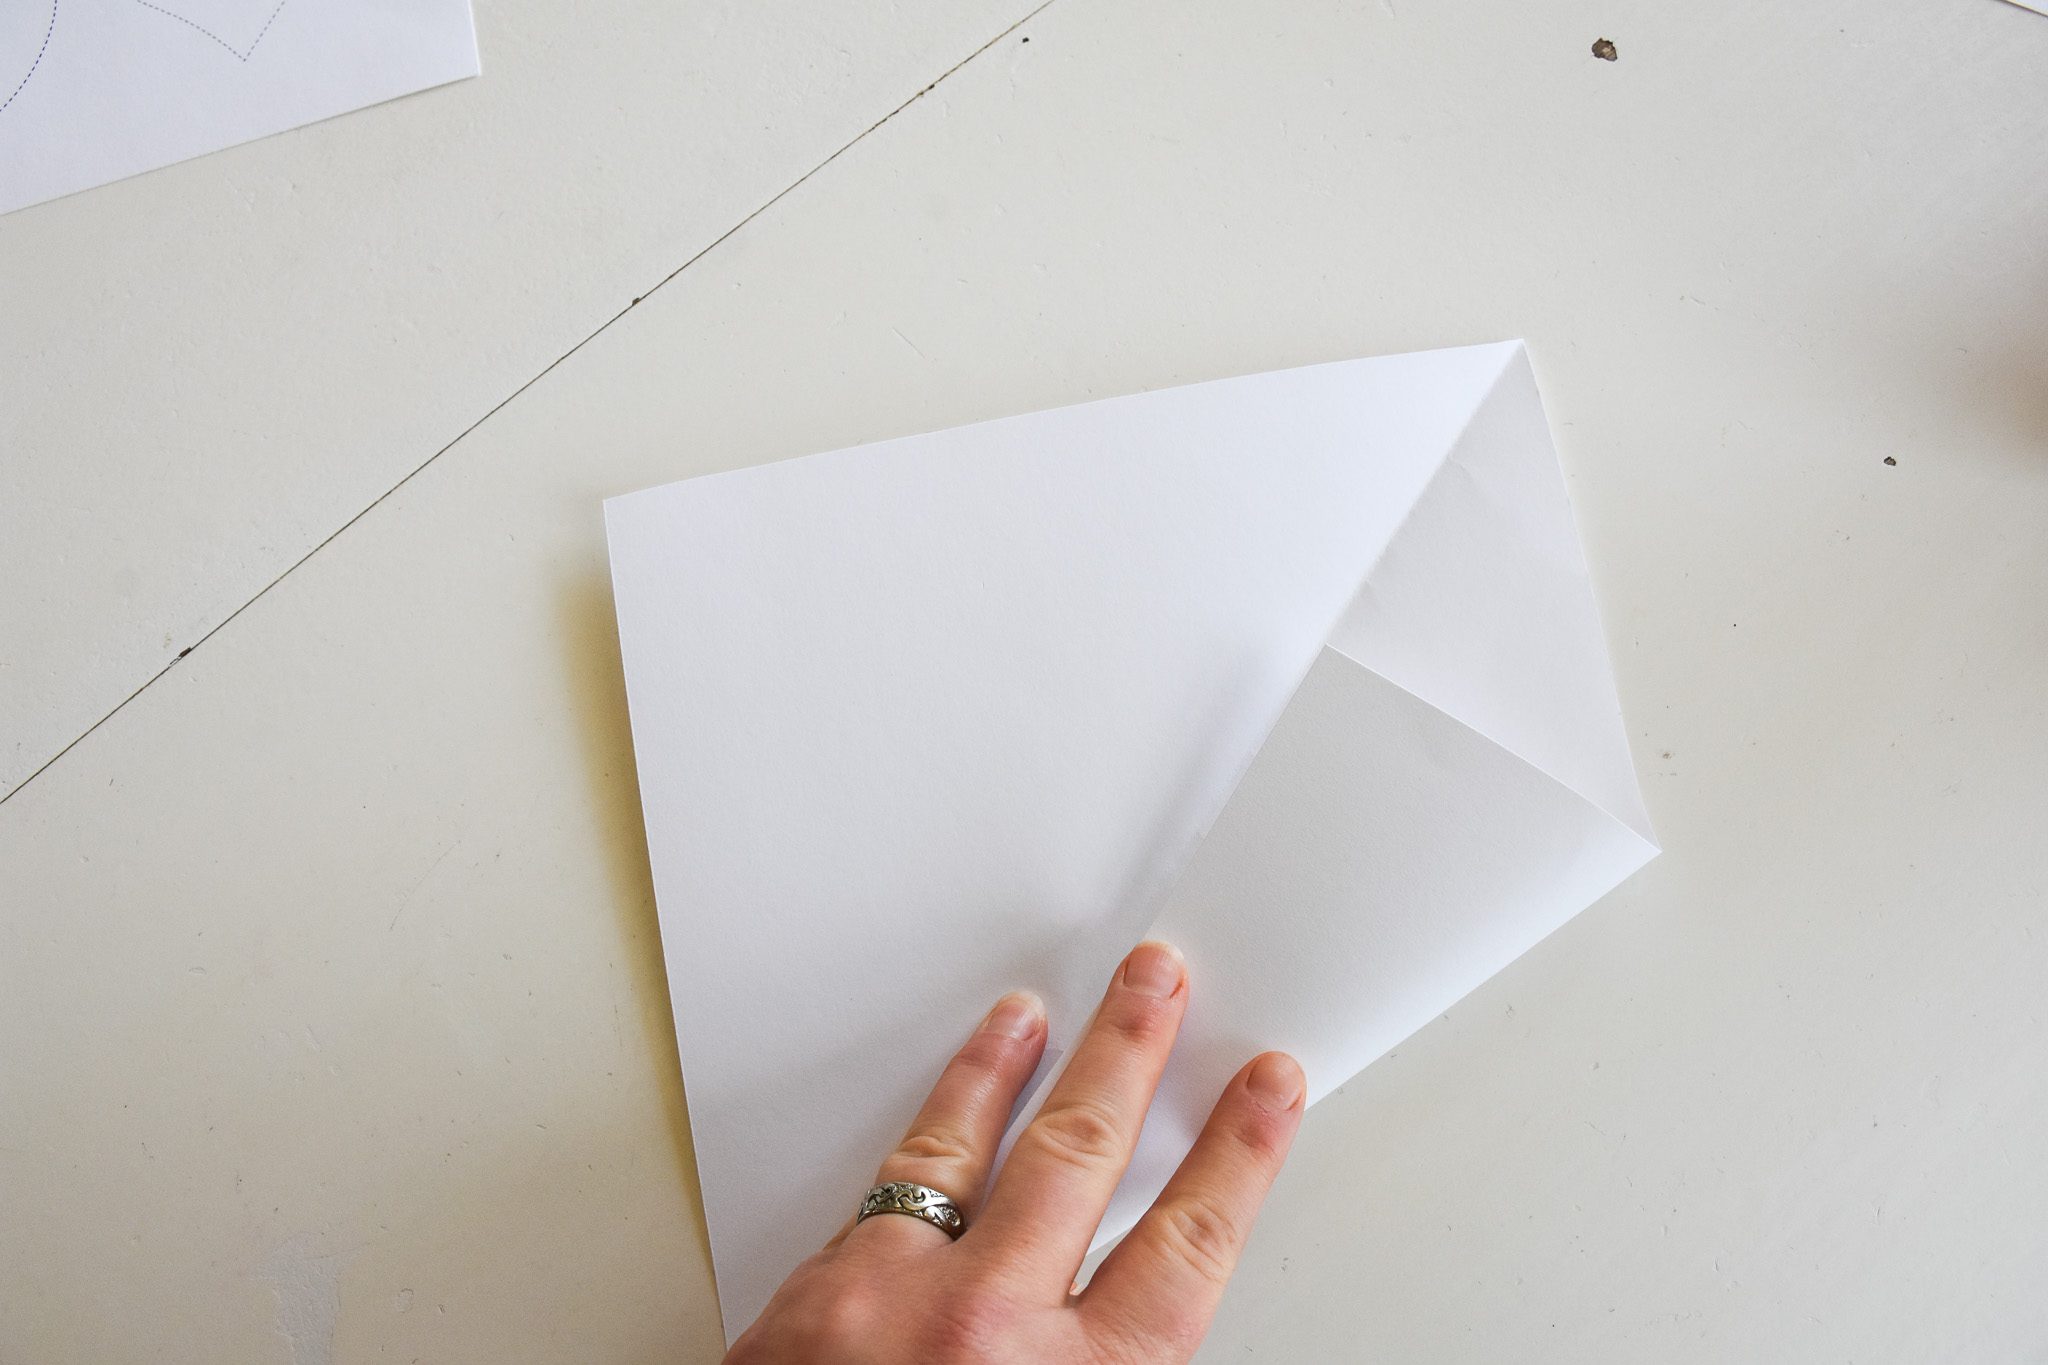
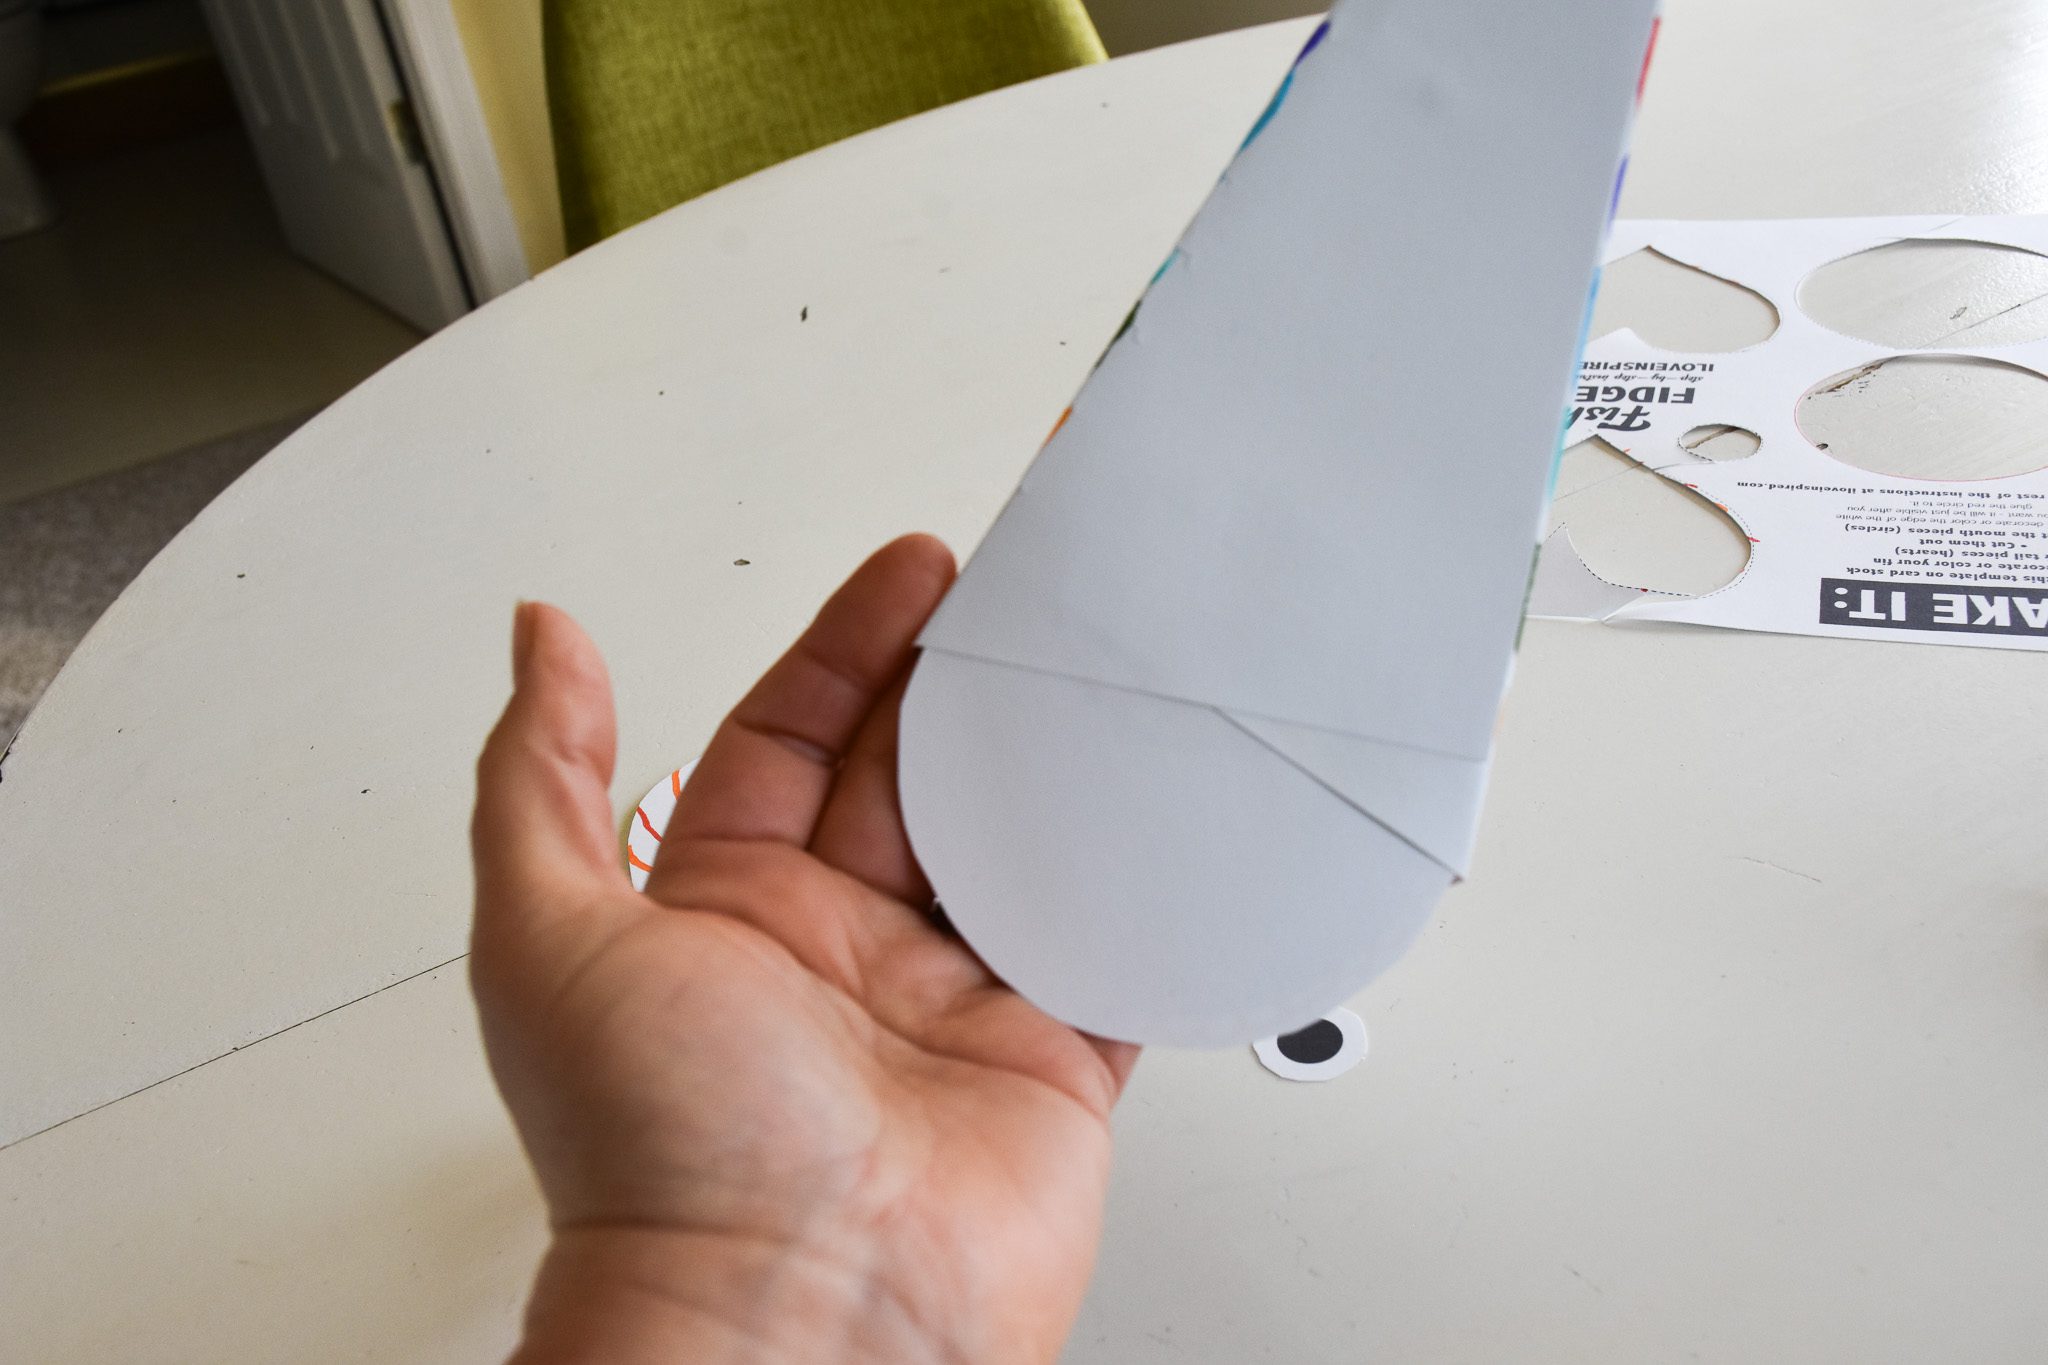
Take one sheet of card stock and fold one corner up so it’s even on the left side (we’re trying to make a square sheet of paper).
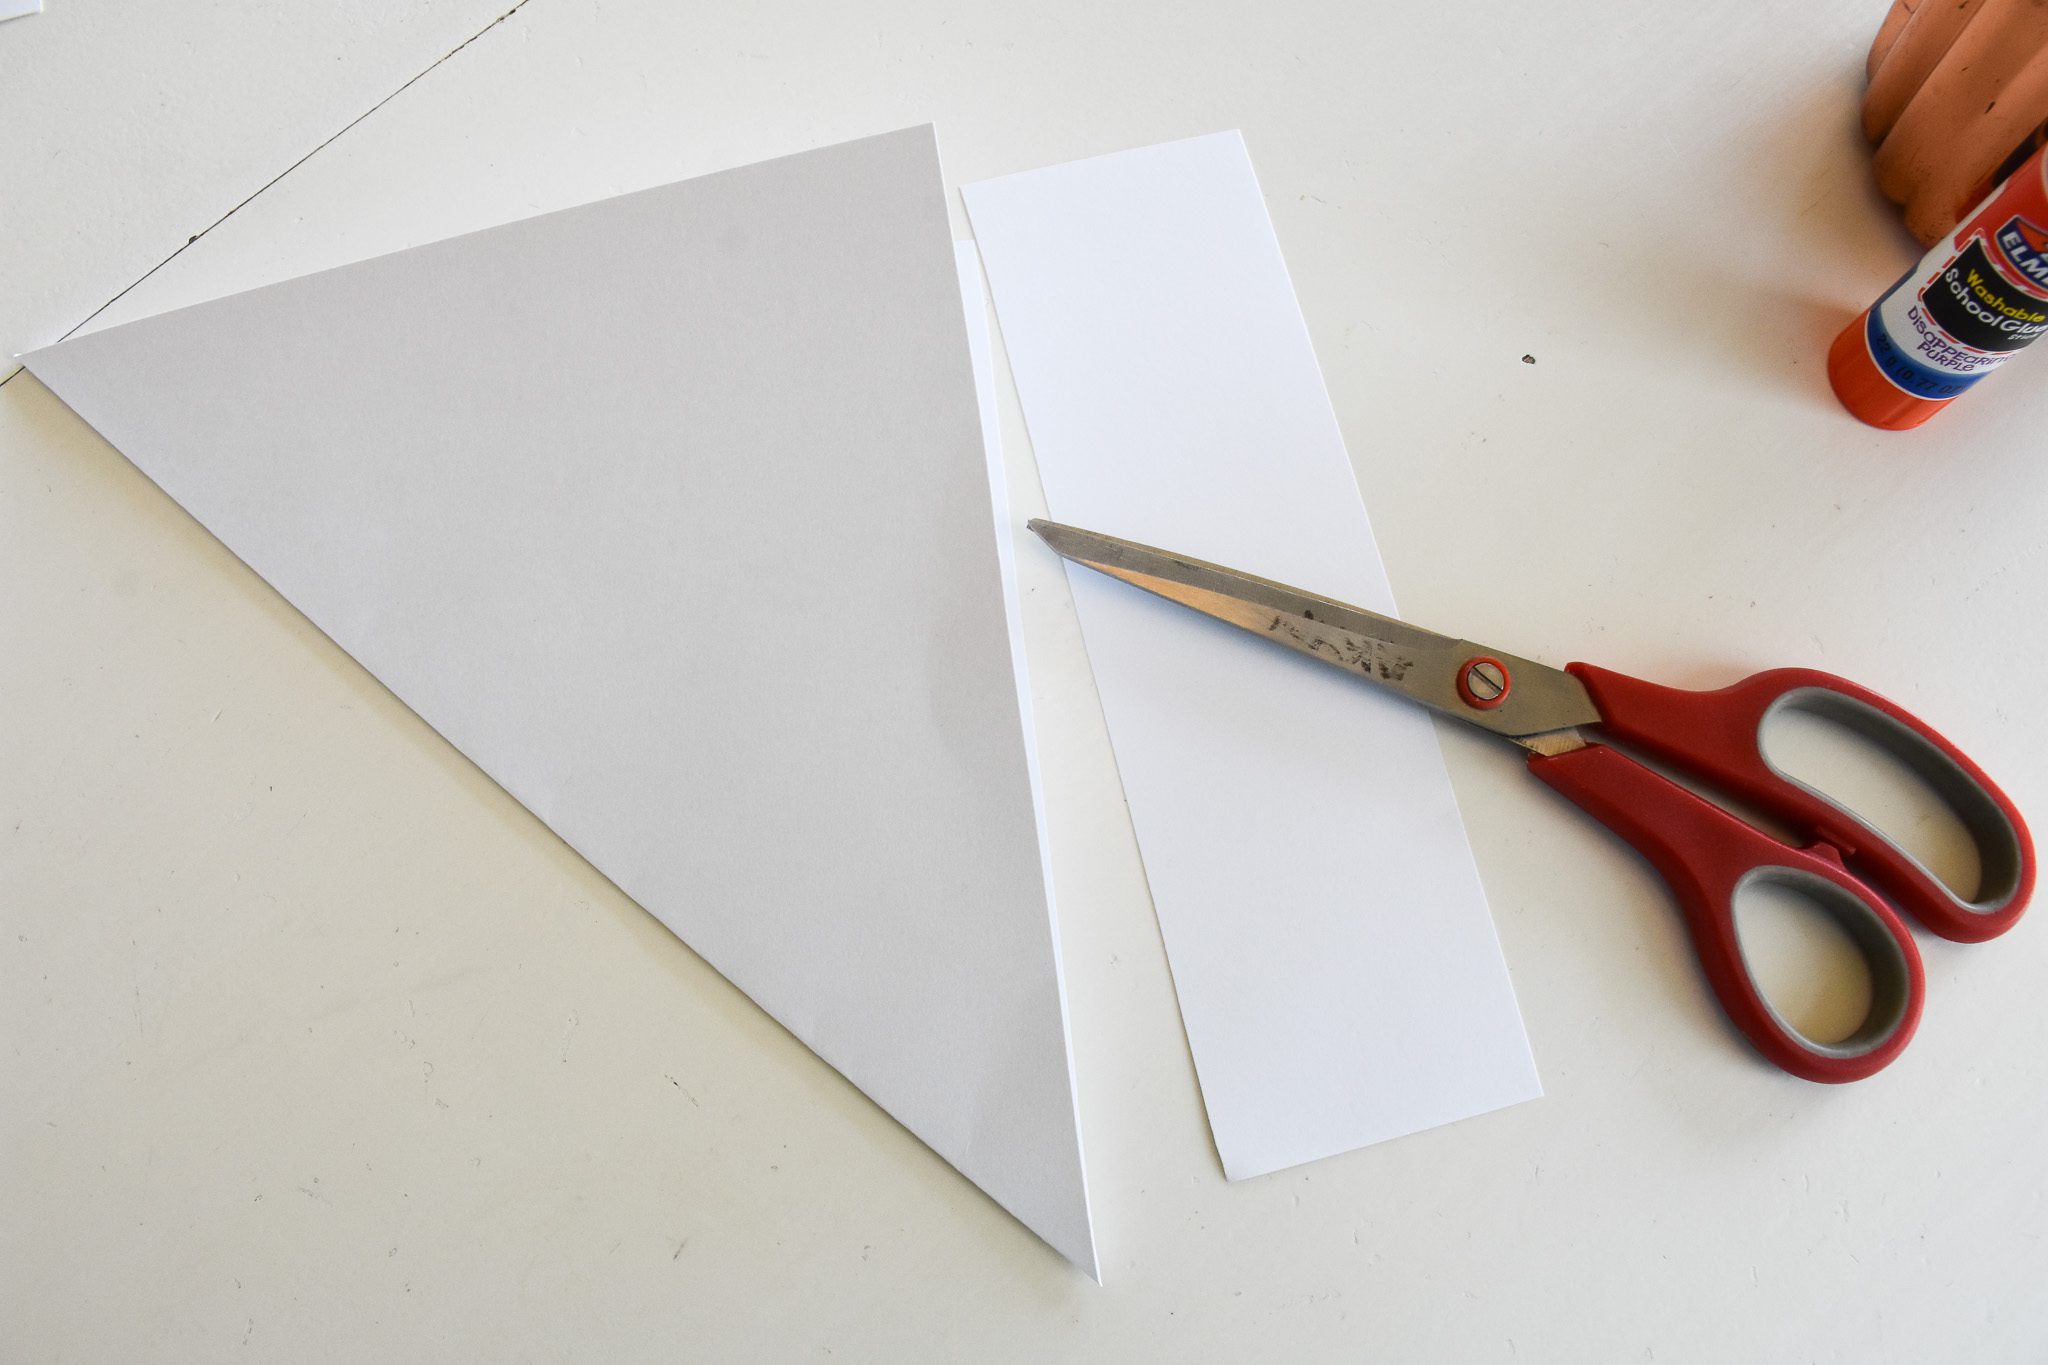
Cut off the excess bit of paper (so now you have a square!).
Open the square up and fold one side into the middle fold (reminiscent of making a paper airplane).
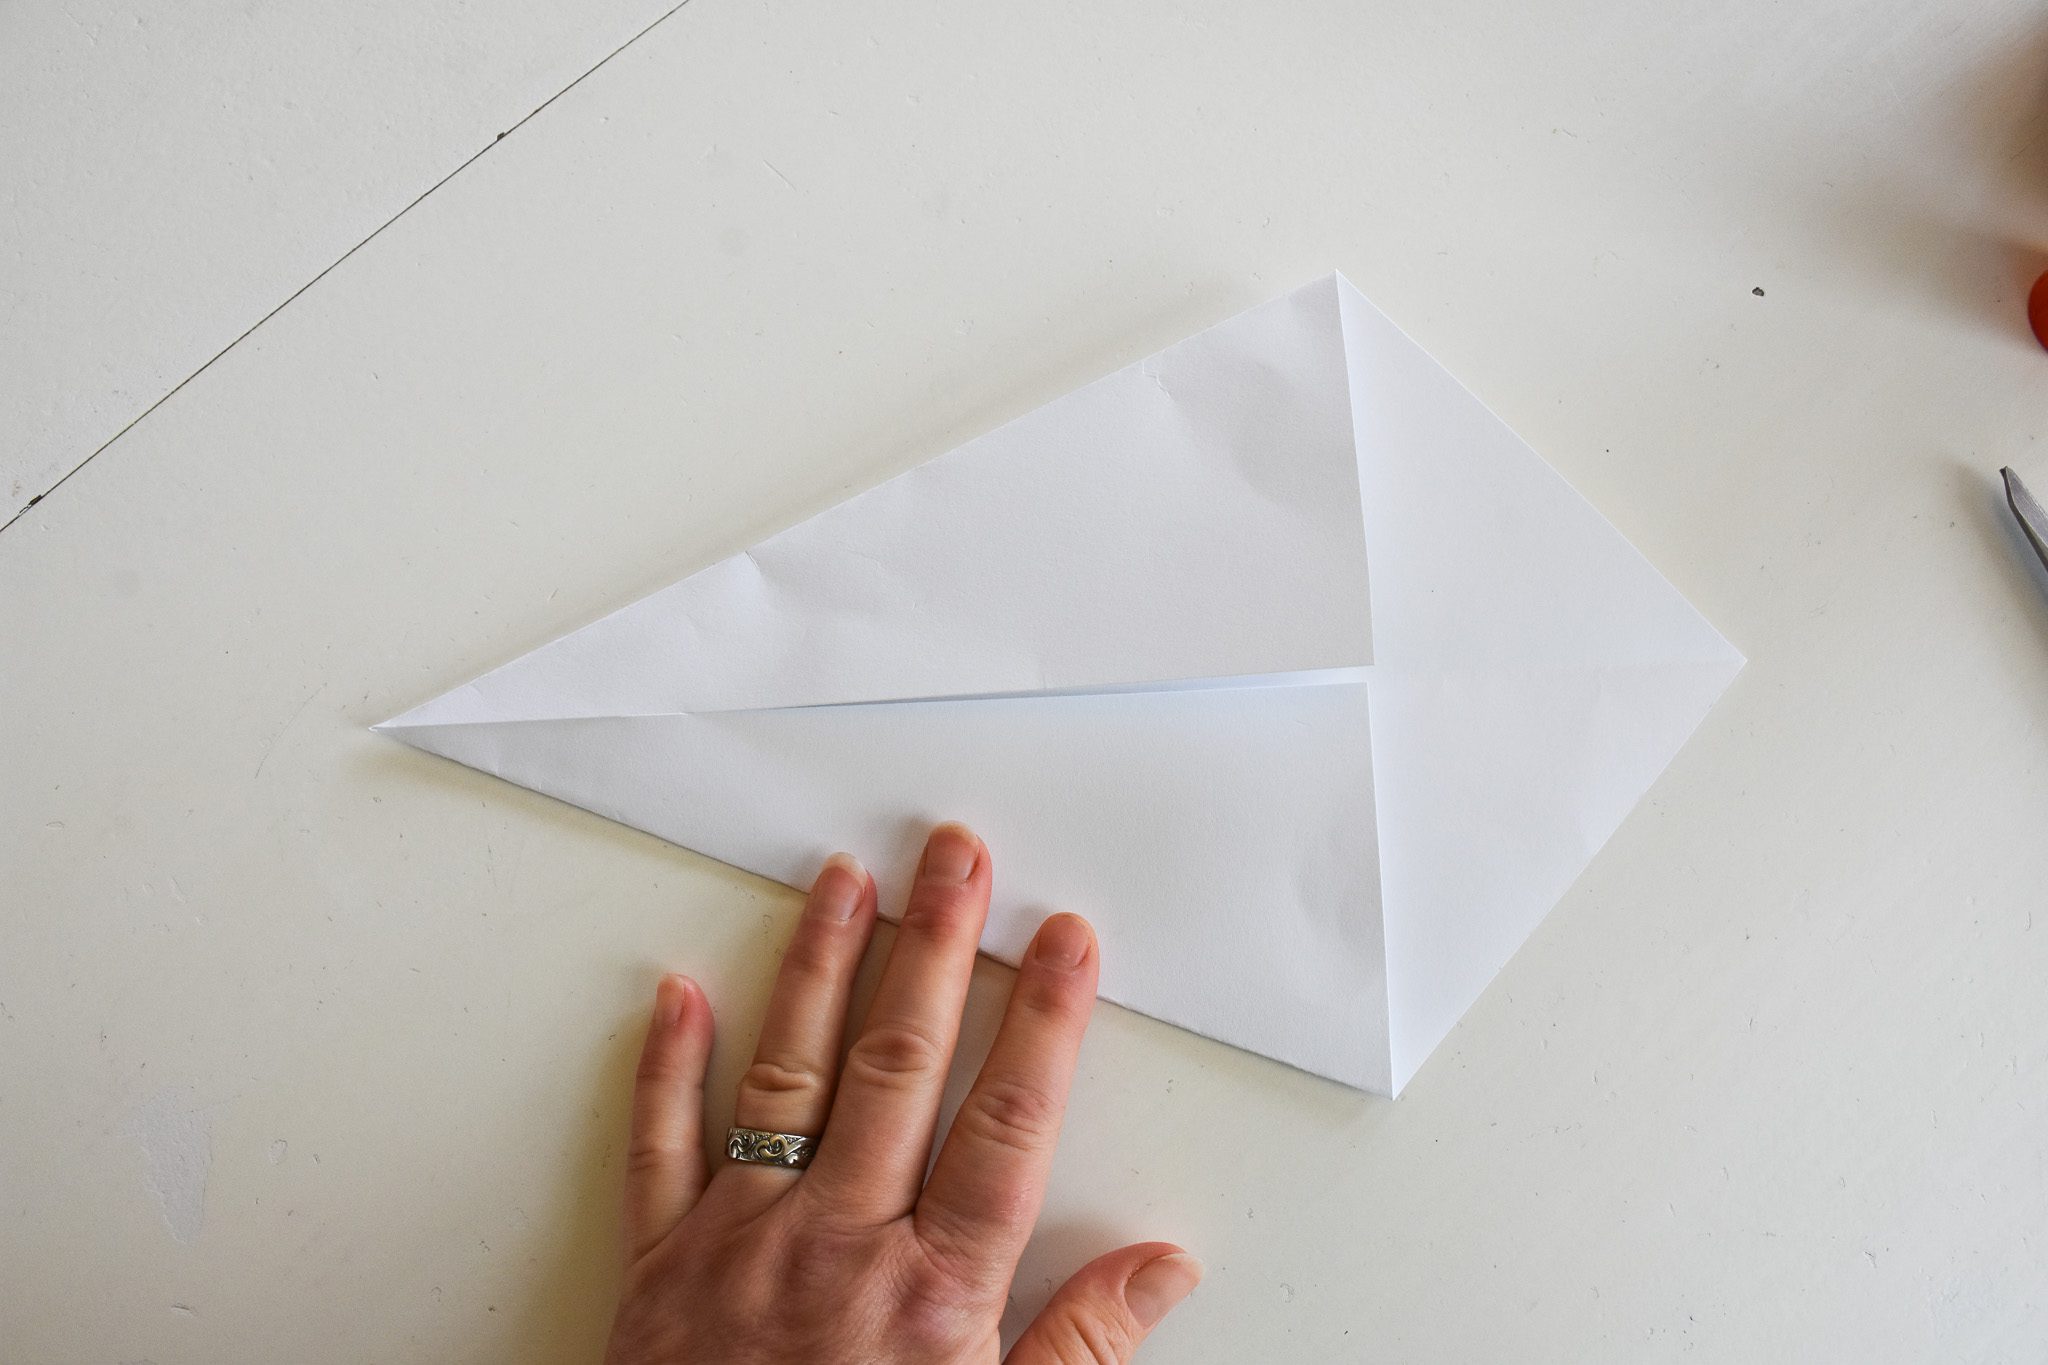
Fold the other side to match.

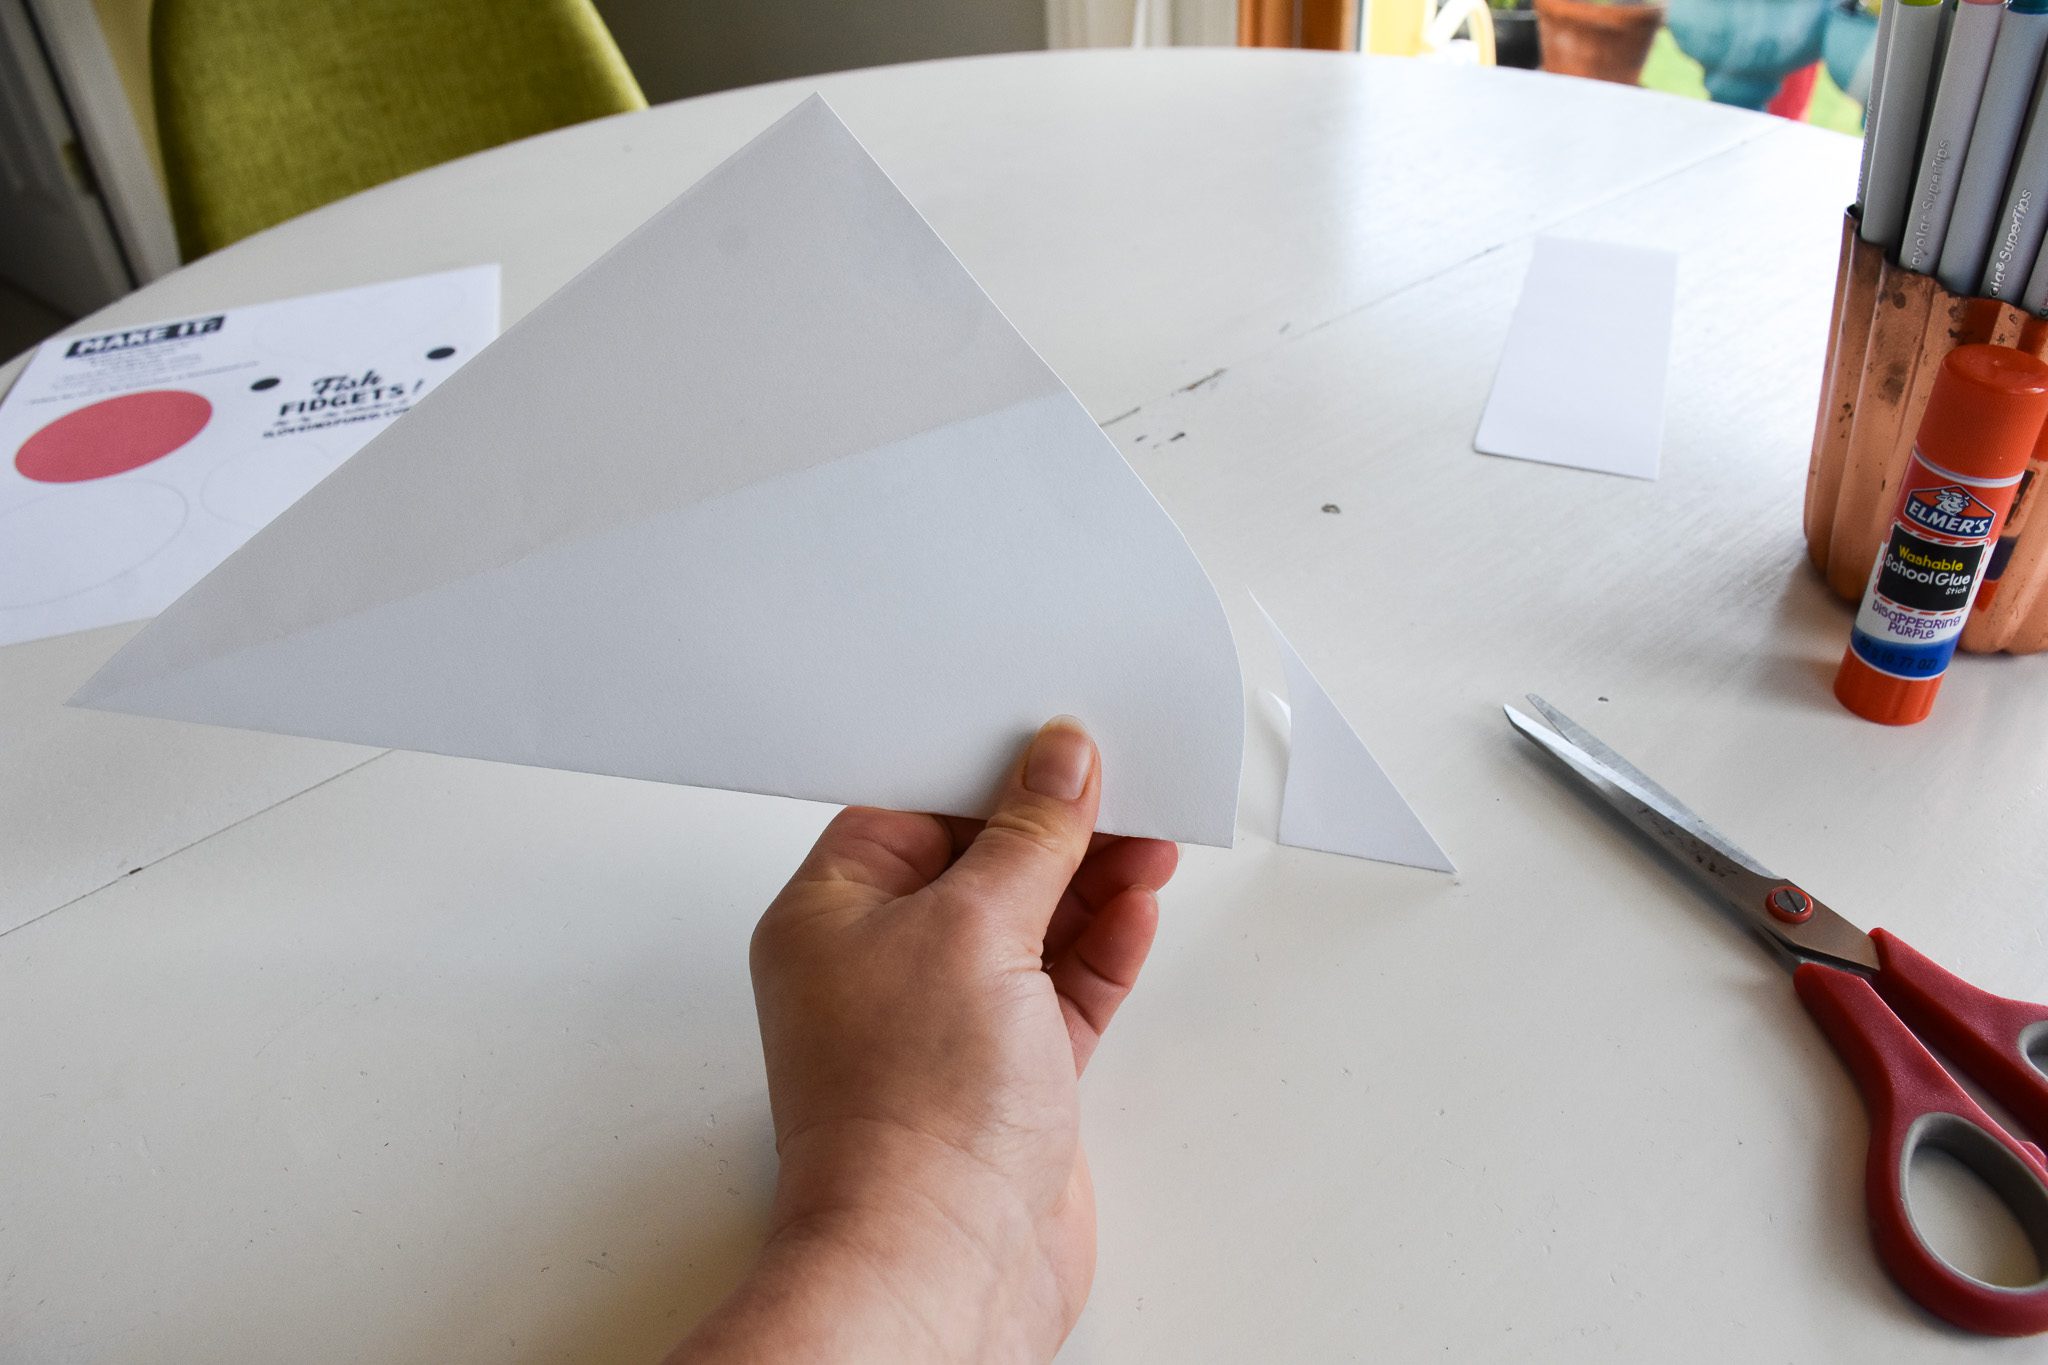
Open it back up.
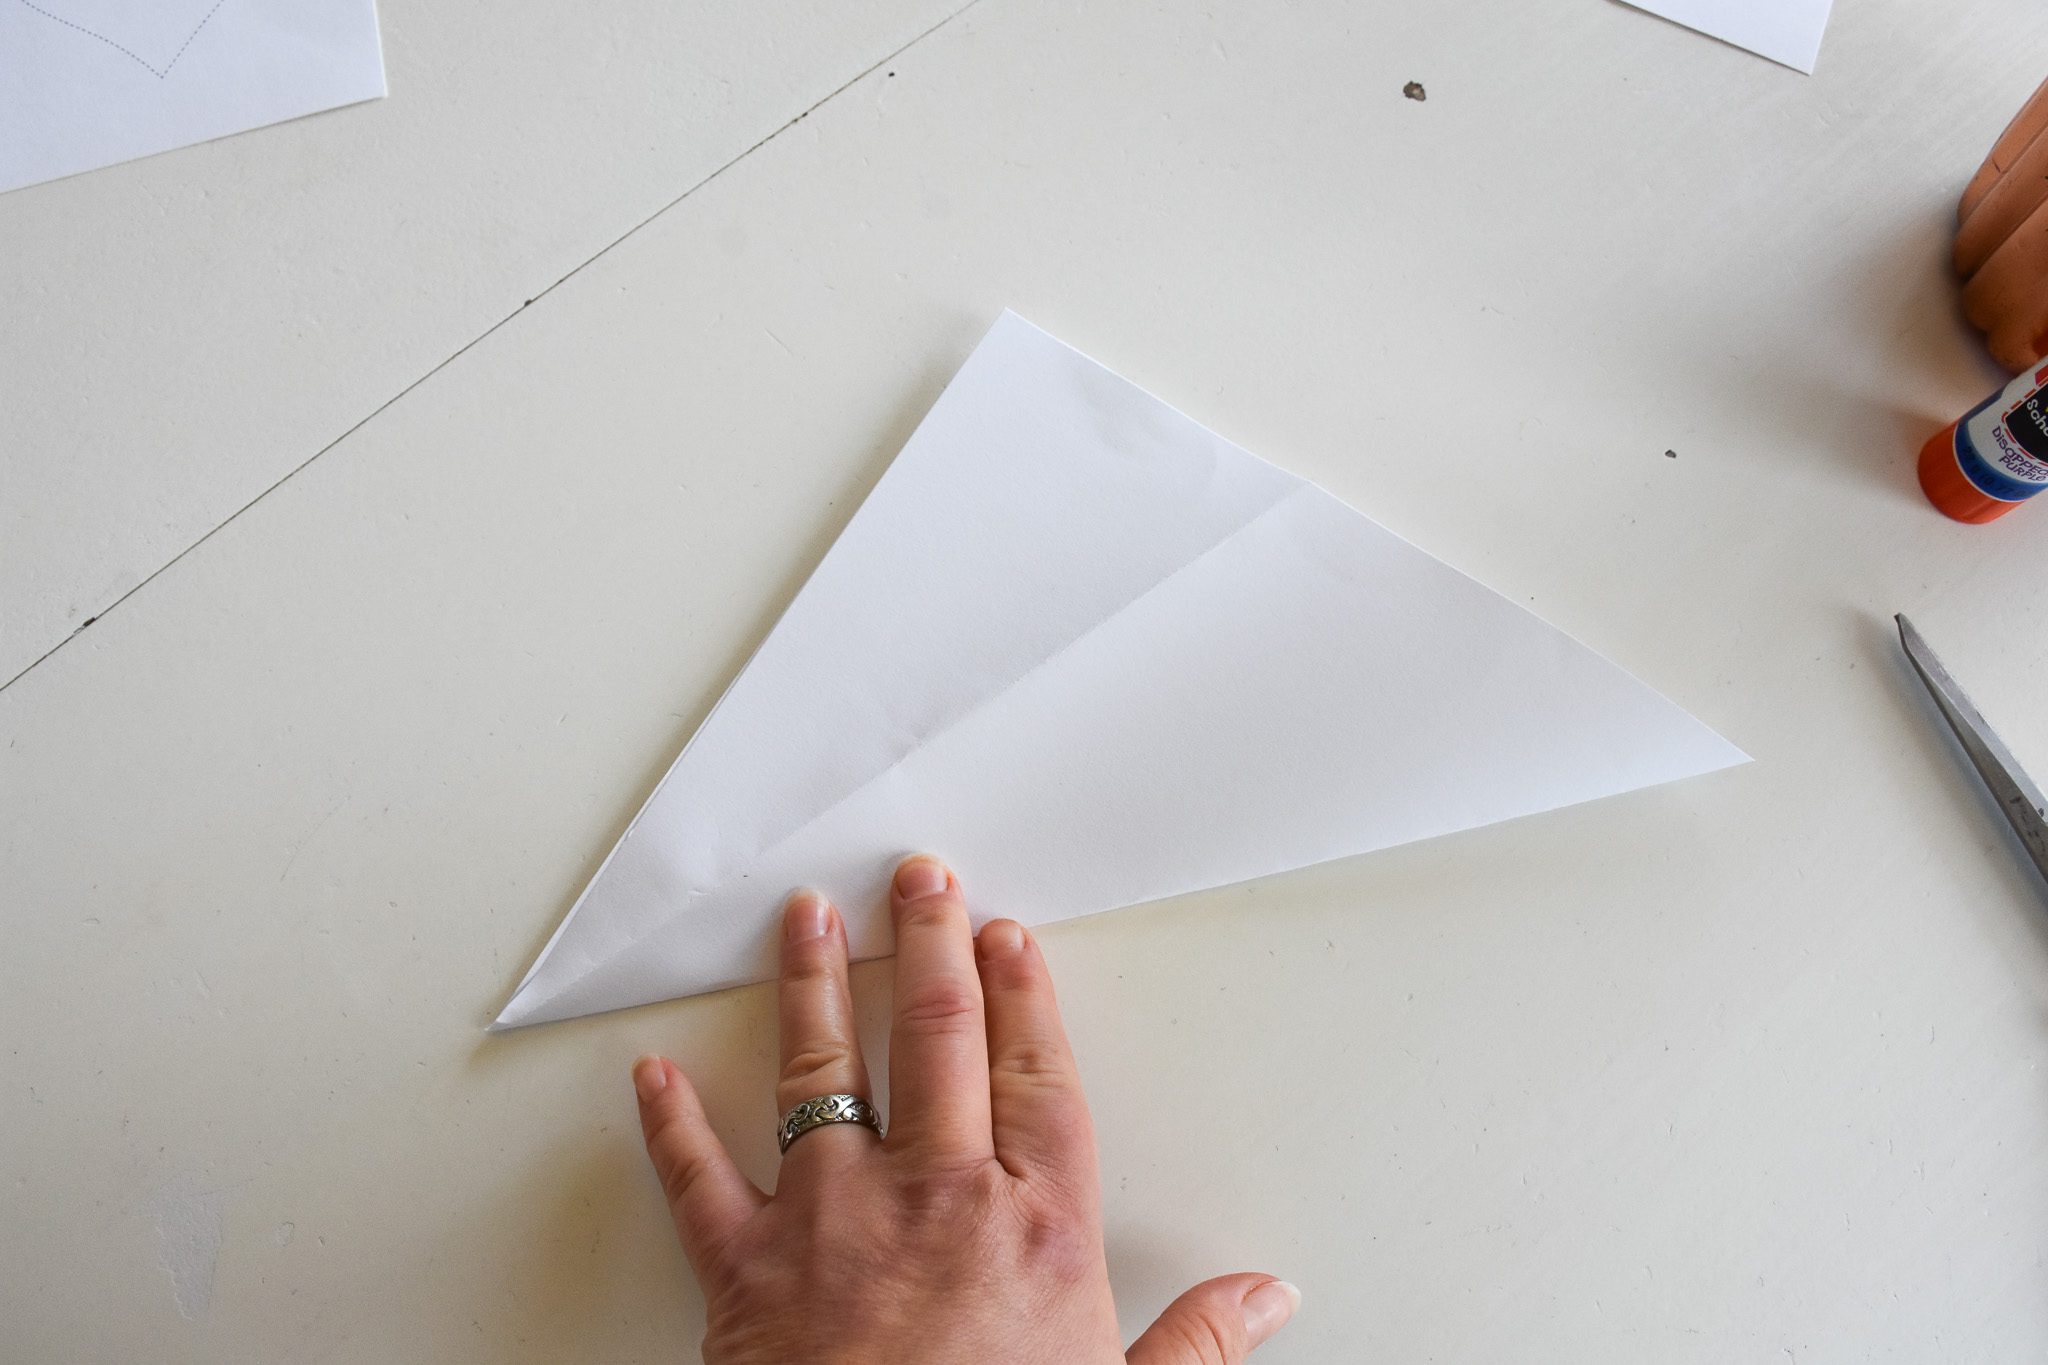
Fold it corner to corner again.
Round the corner off with your scissors (the corner that meets in the fold). This will be the face of the fish.
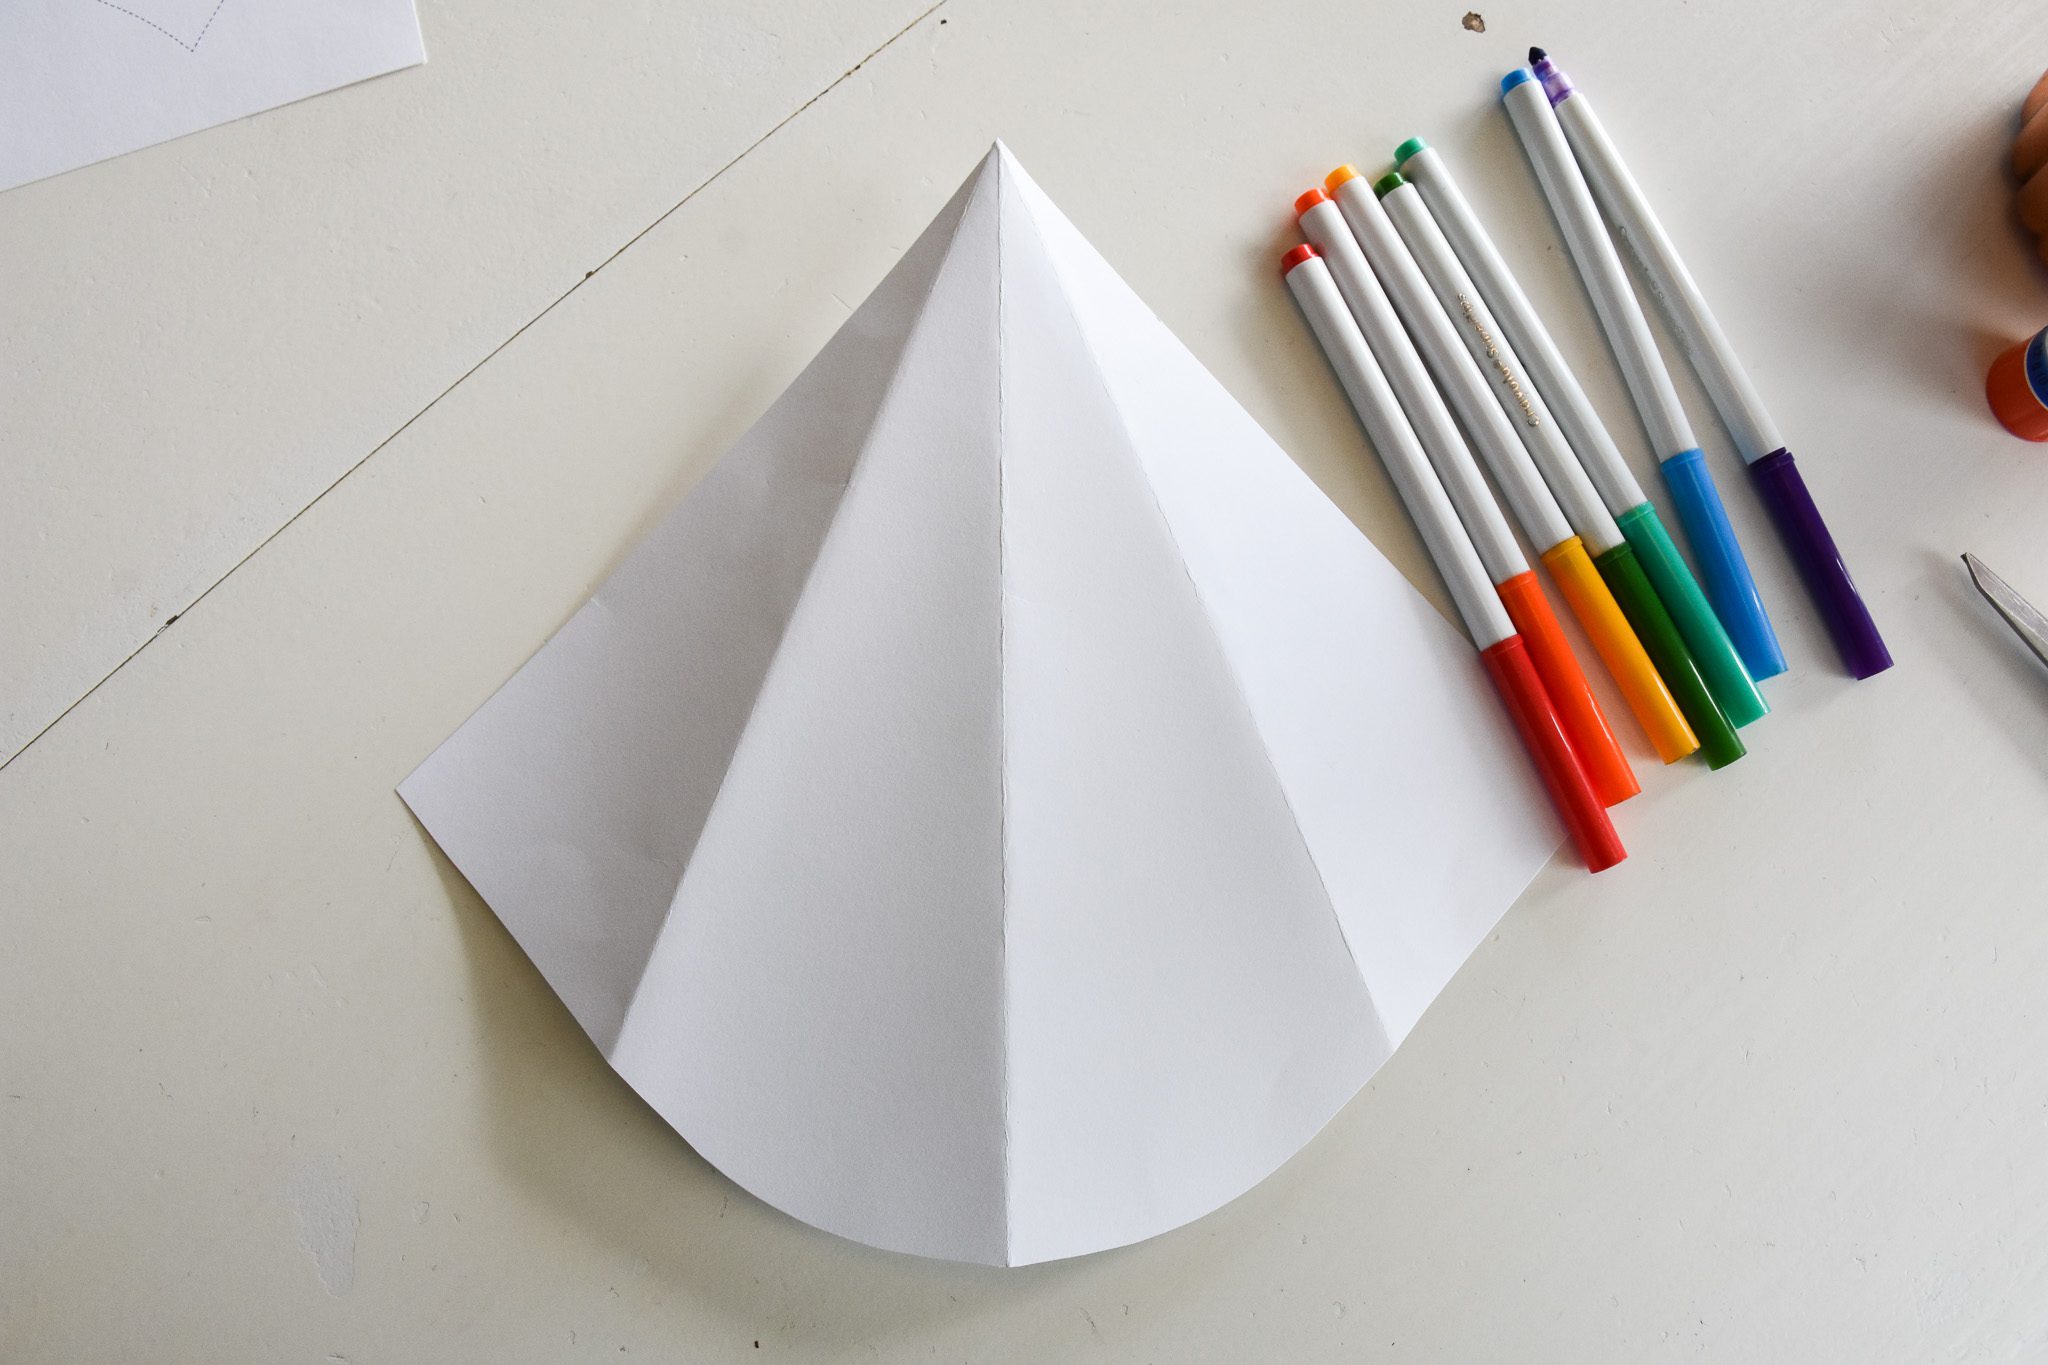
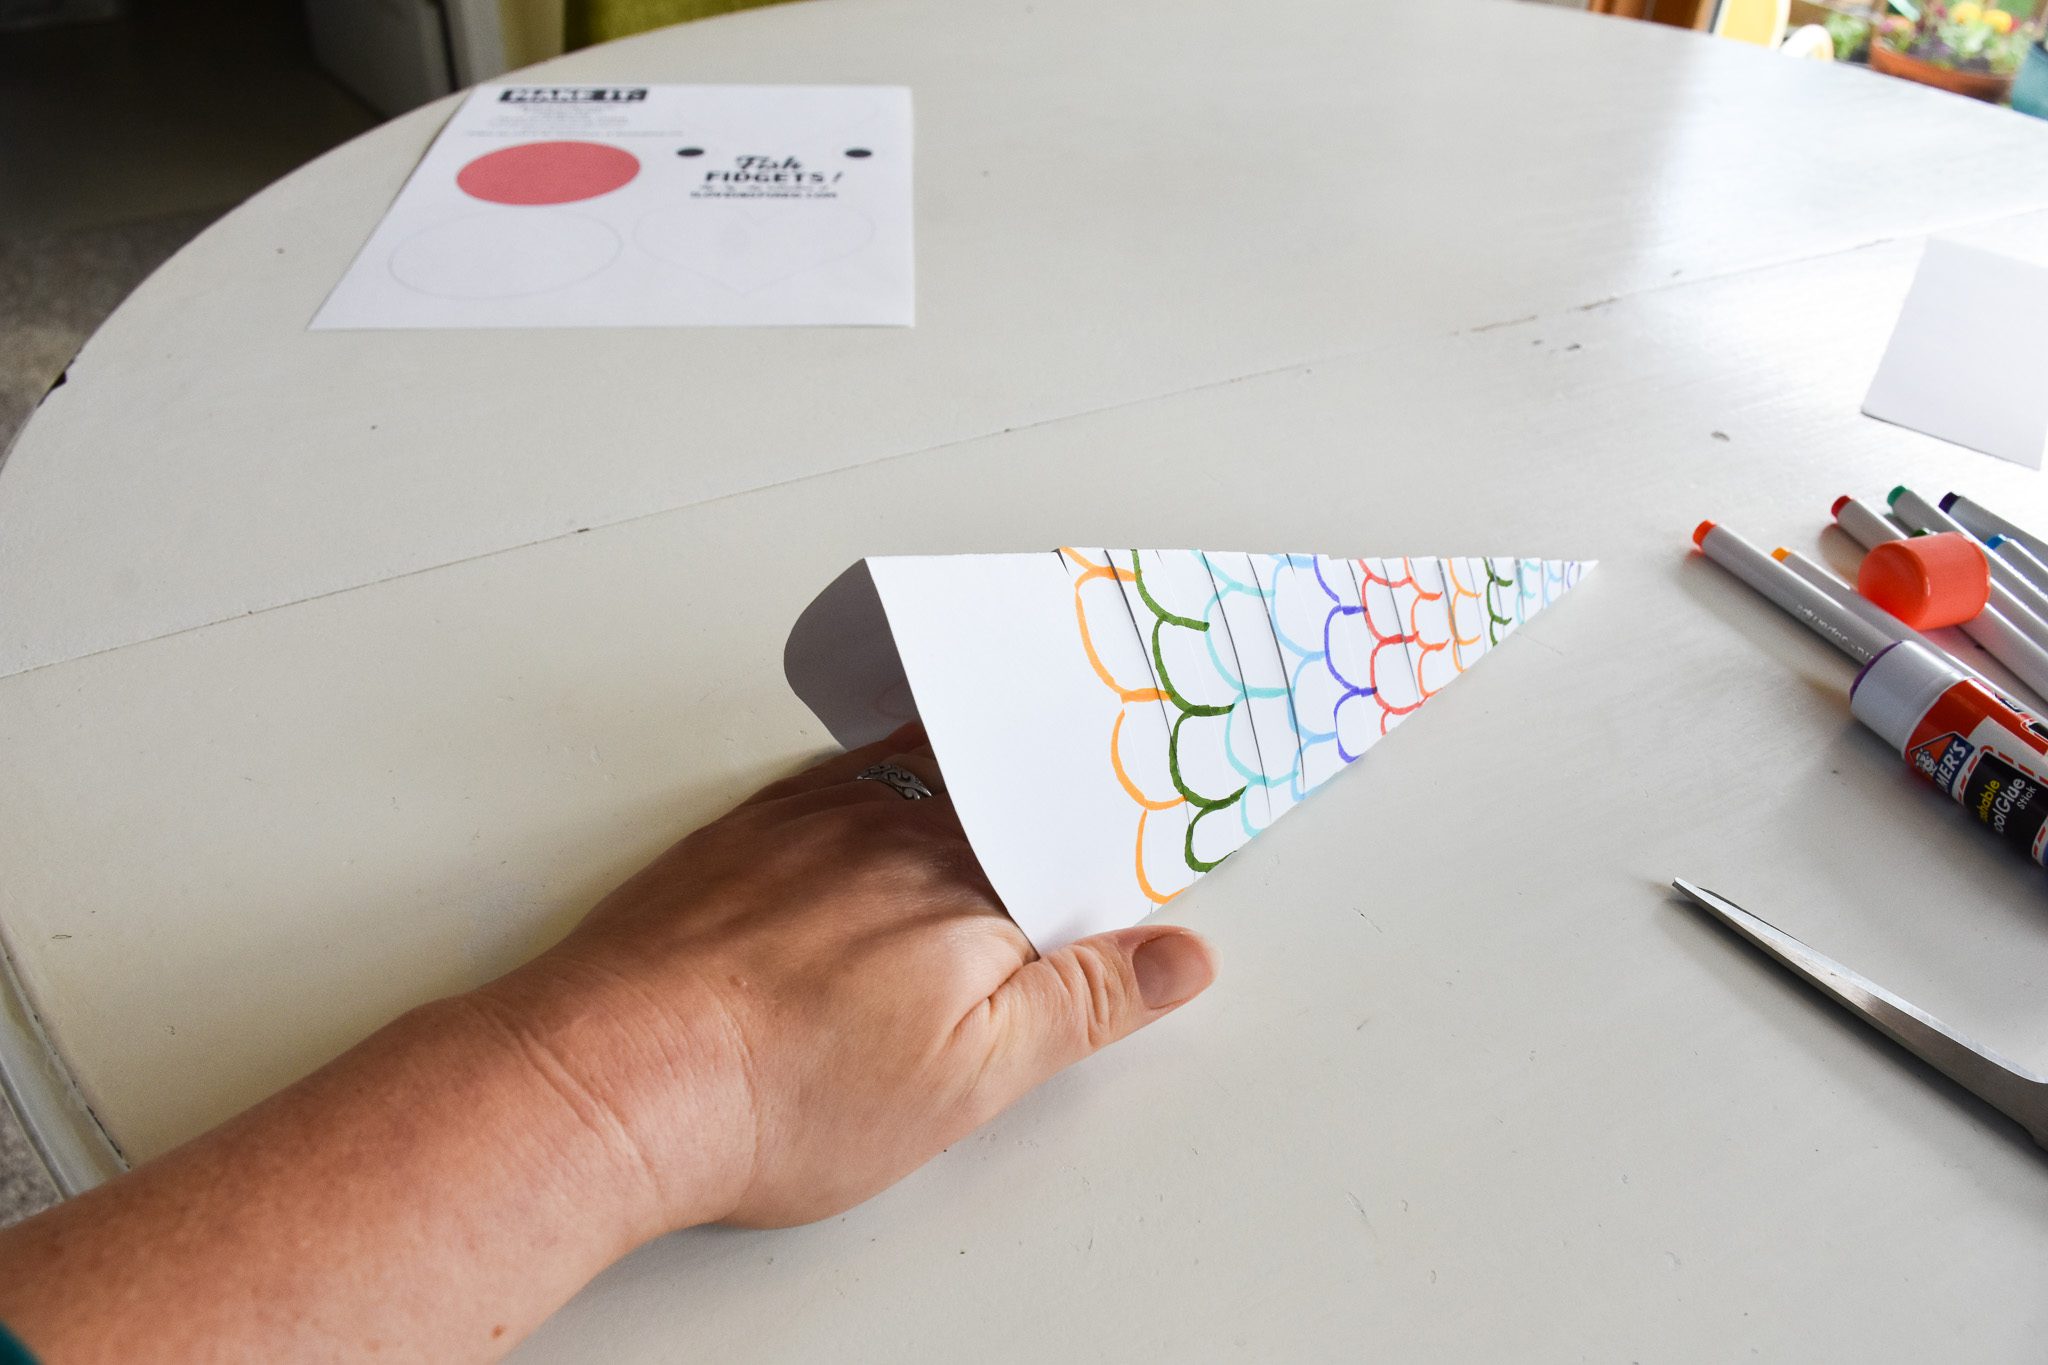
Get your colors ready and open the square back up so you can decorate your fish!
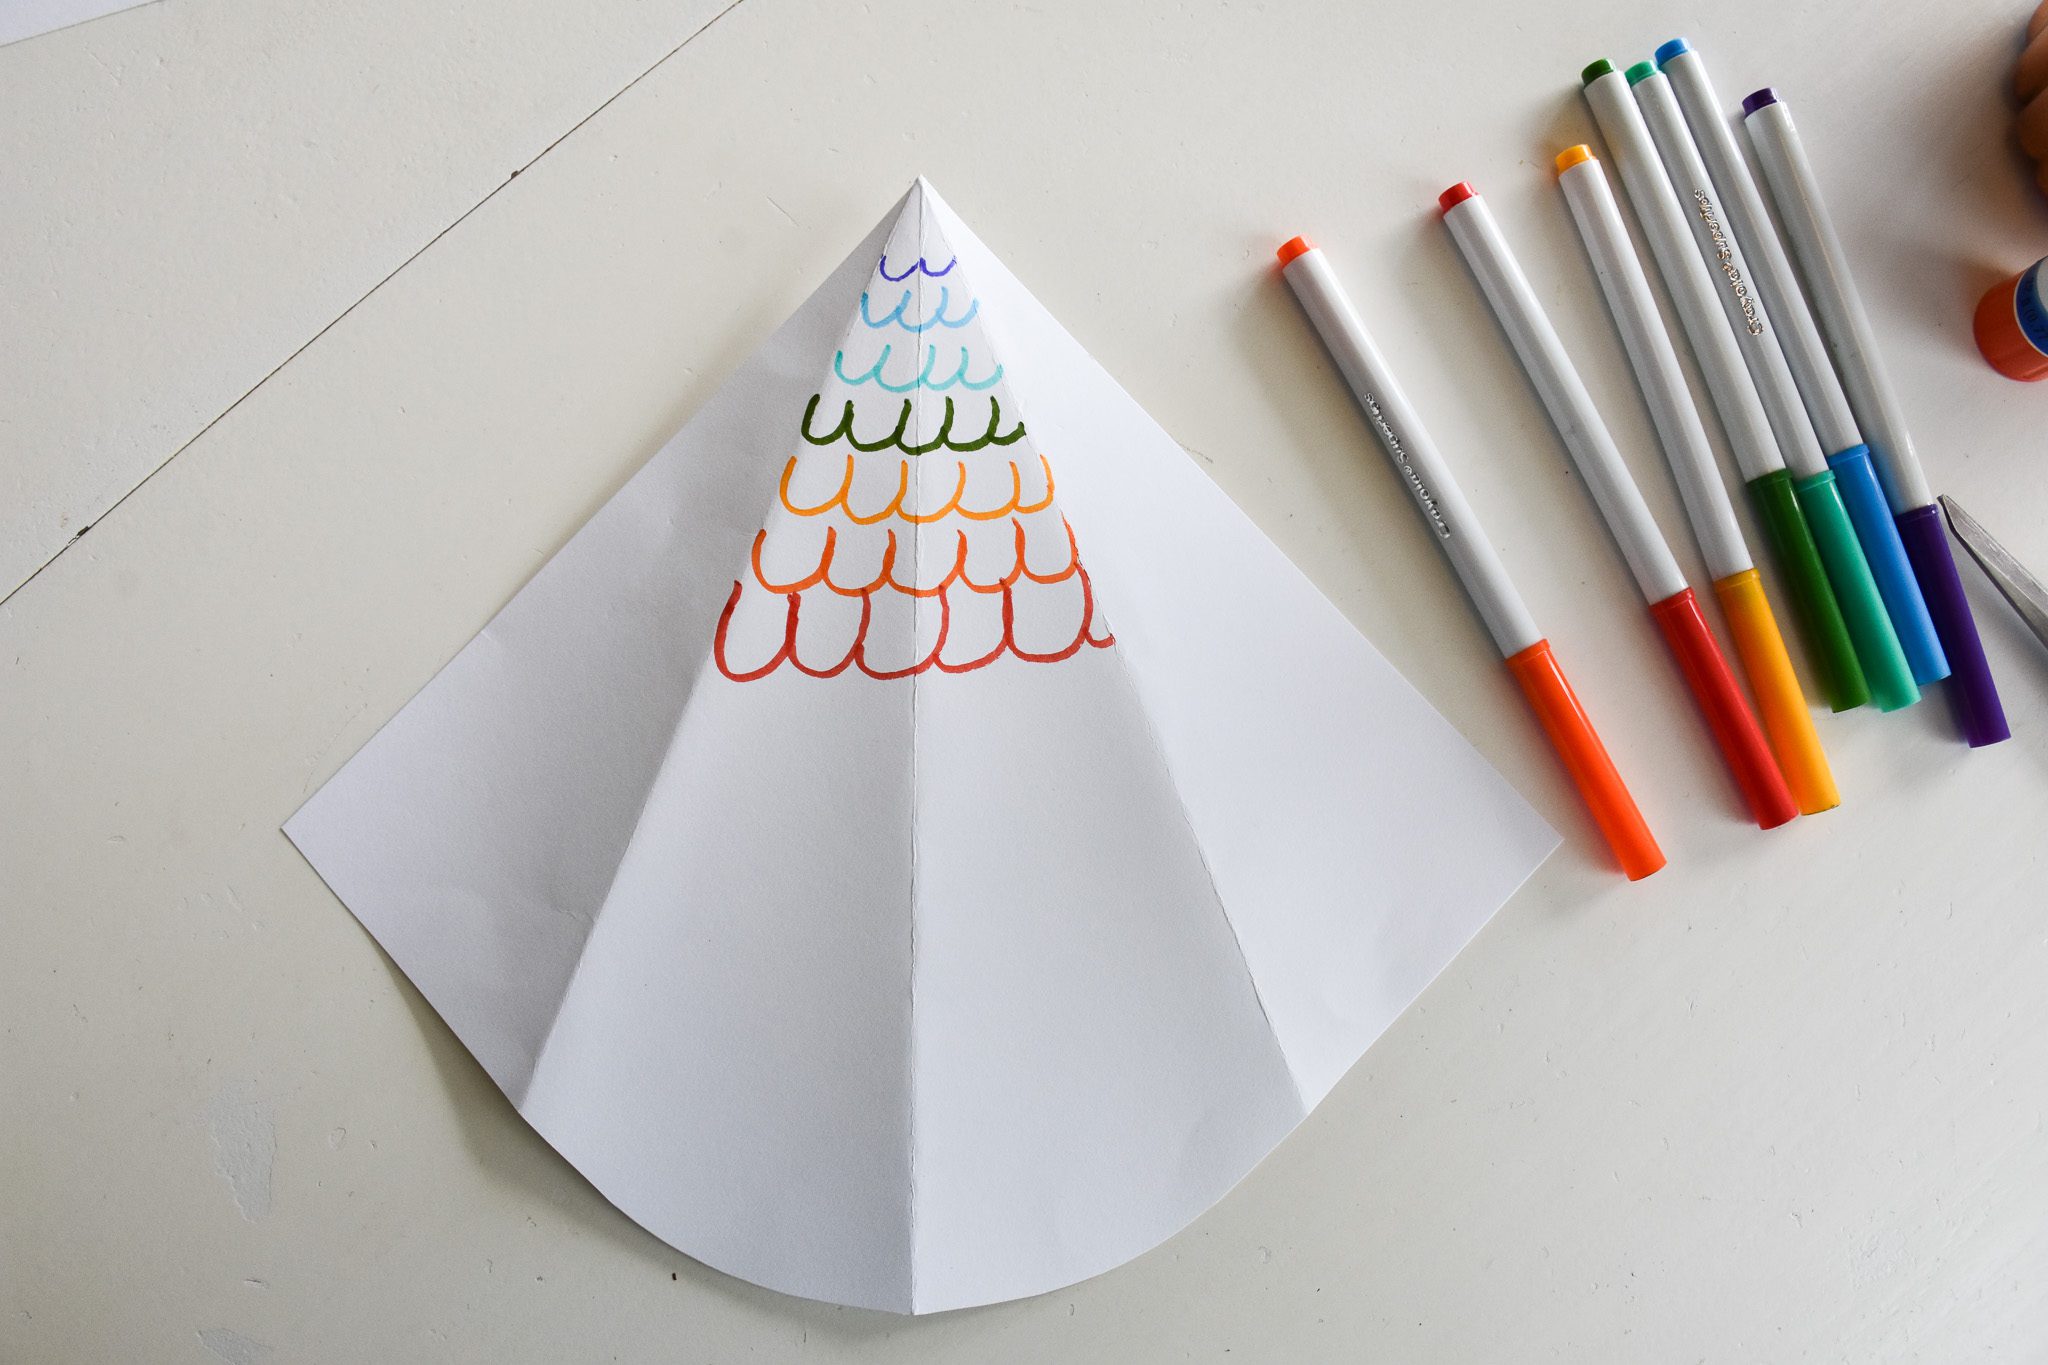
Add on your decorations. Note: I looked up what direction I should put the fish scales, but I totally still put them the wrong way. I still thought it looked fun, so I just went with it!

Leave room for the face (or decorate your fish with the face in mind) – we’ll add the eyeballs there!
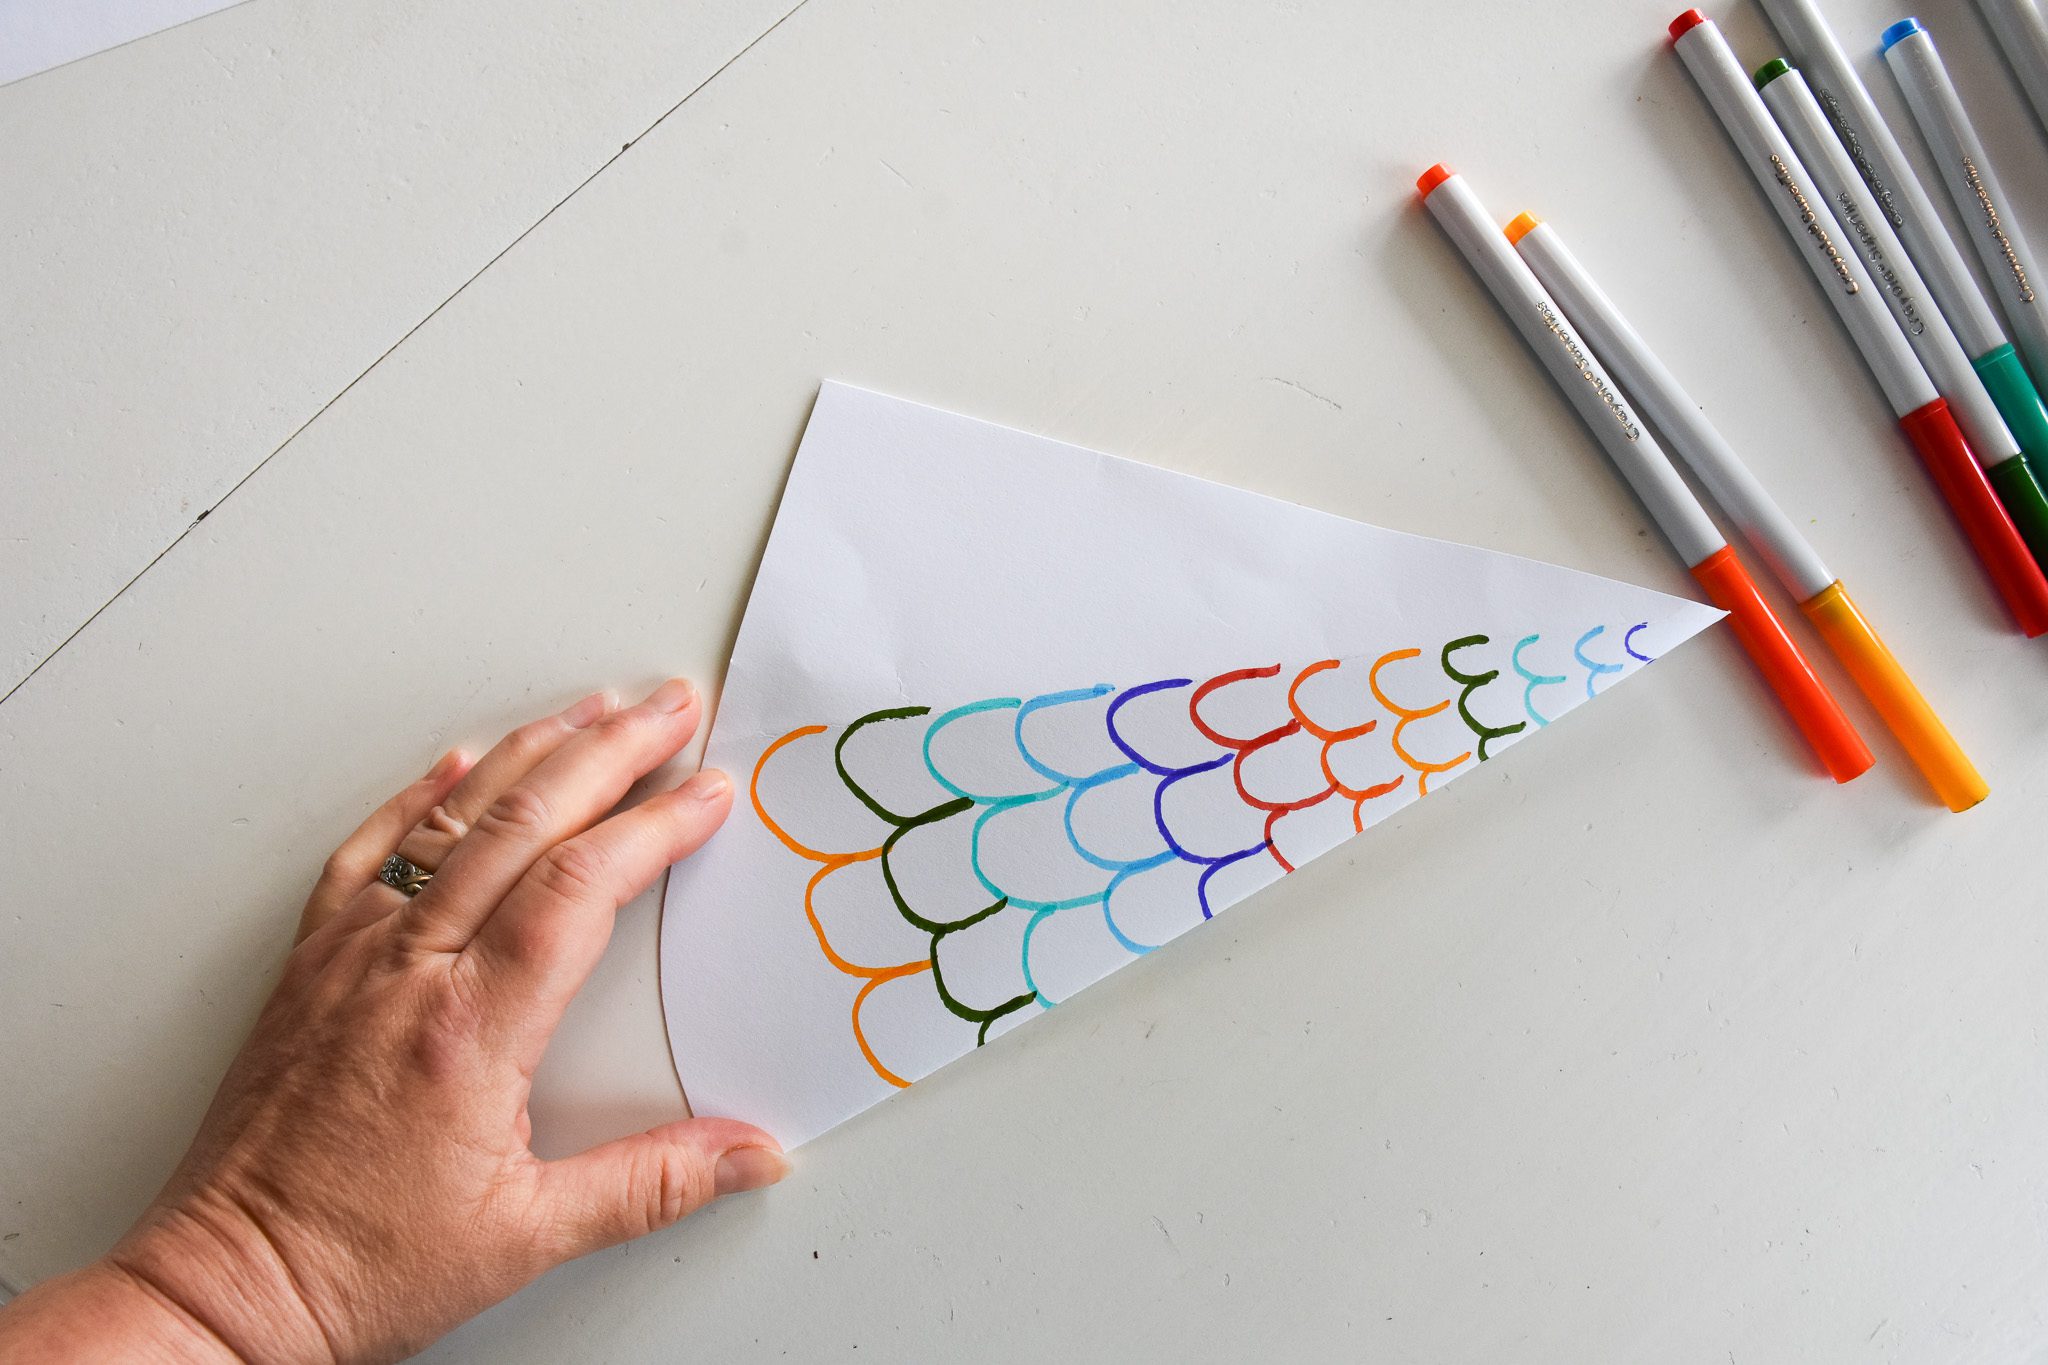
Fold it in half down the middle again.
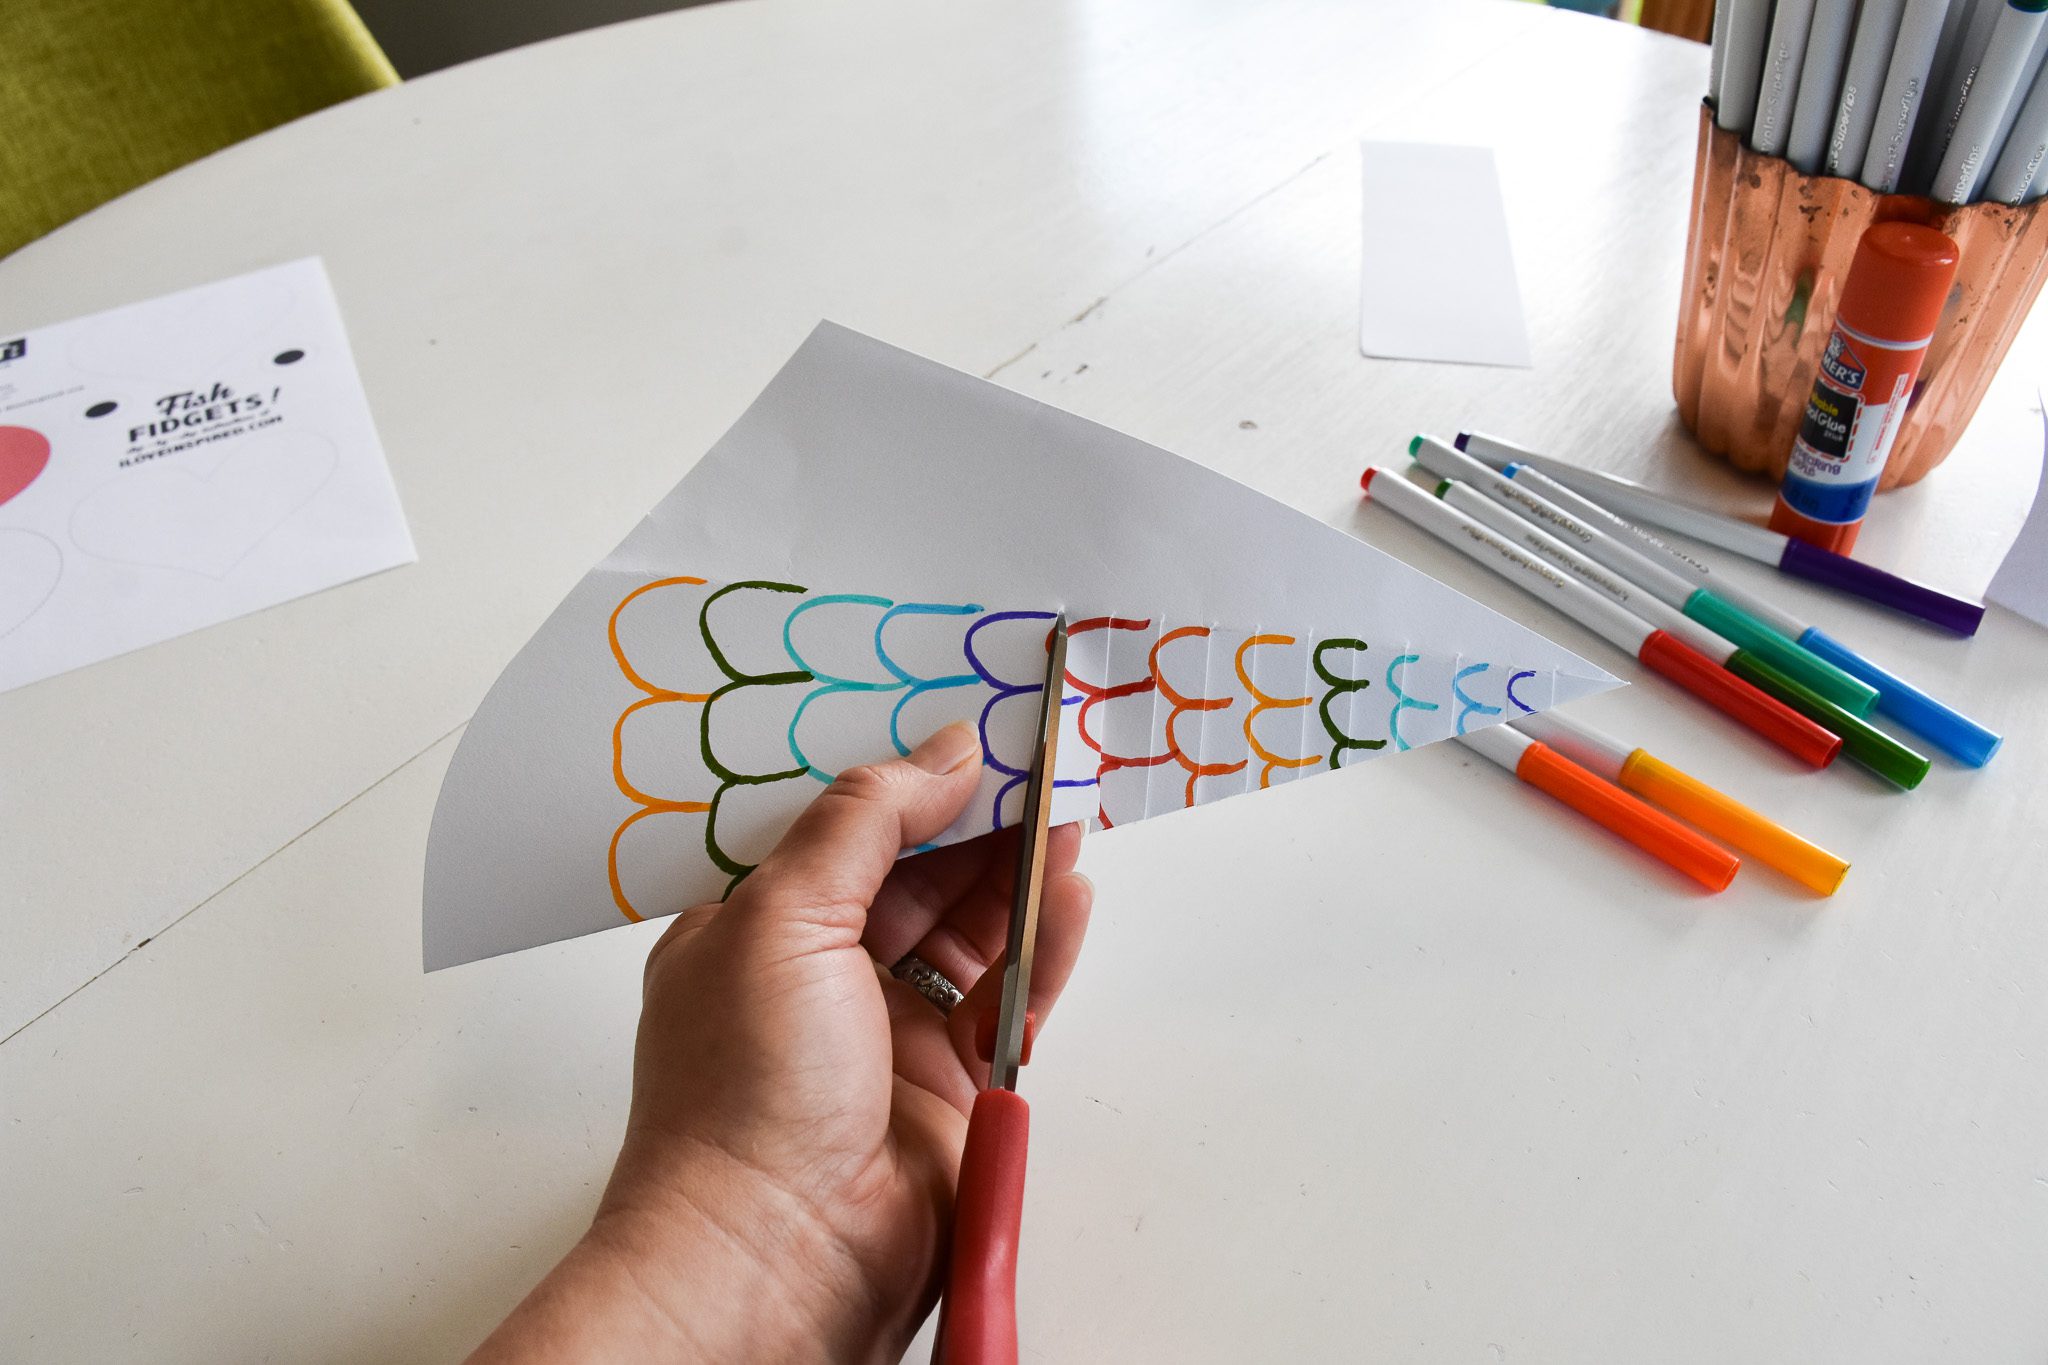
Grab your scissors and cut lines straight across the decorated section (while it’s folded). Make sure your cut goes right to the fold line (this will help the fidget move better). Space the cuts every 1/3 to 1/2 inch or so.
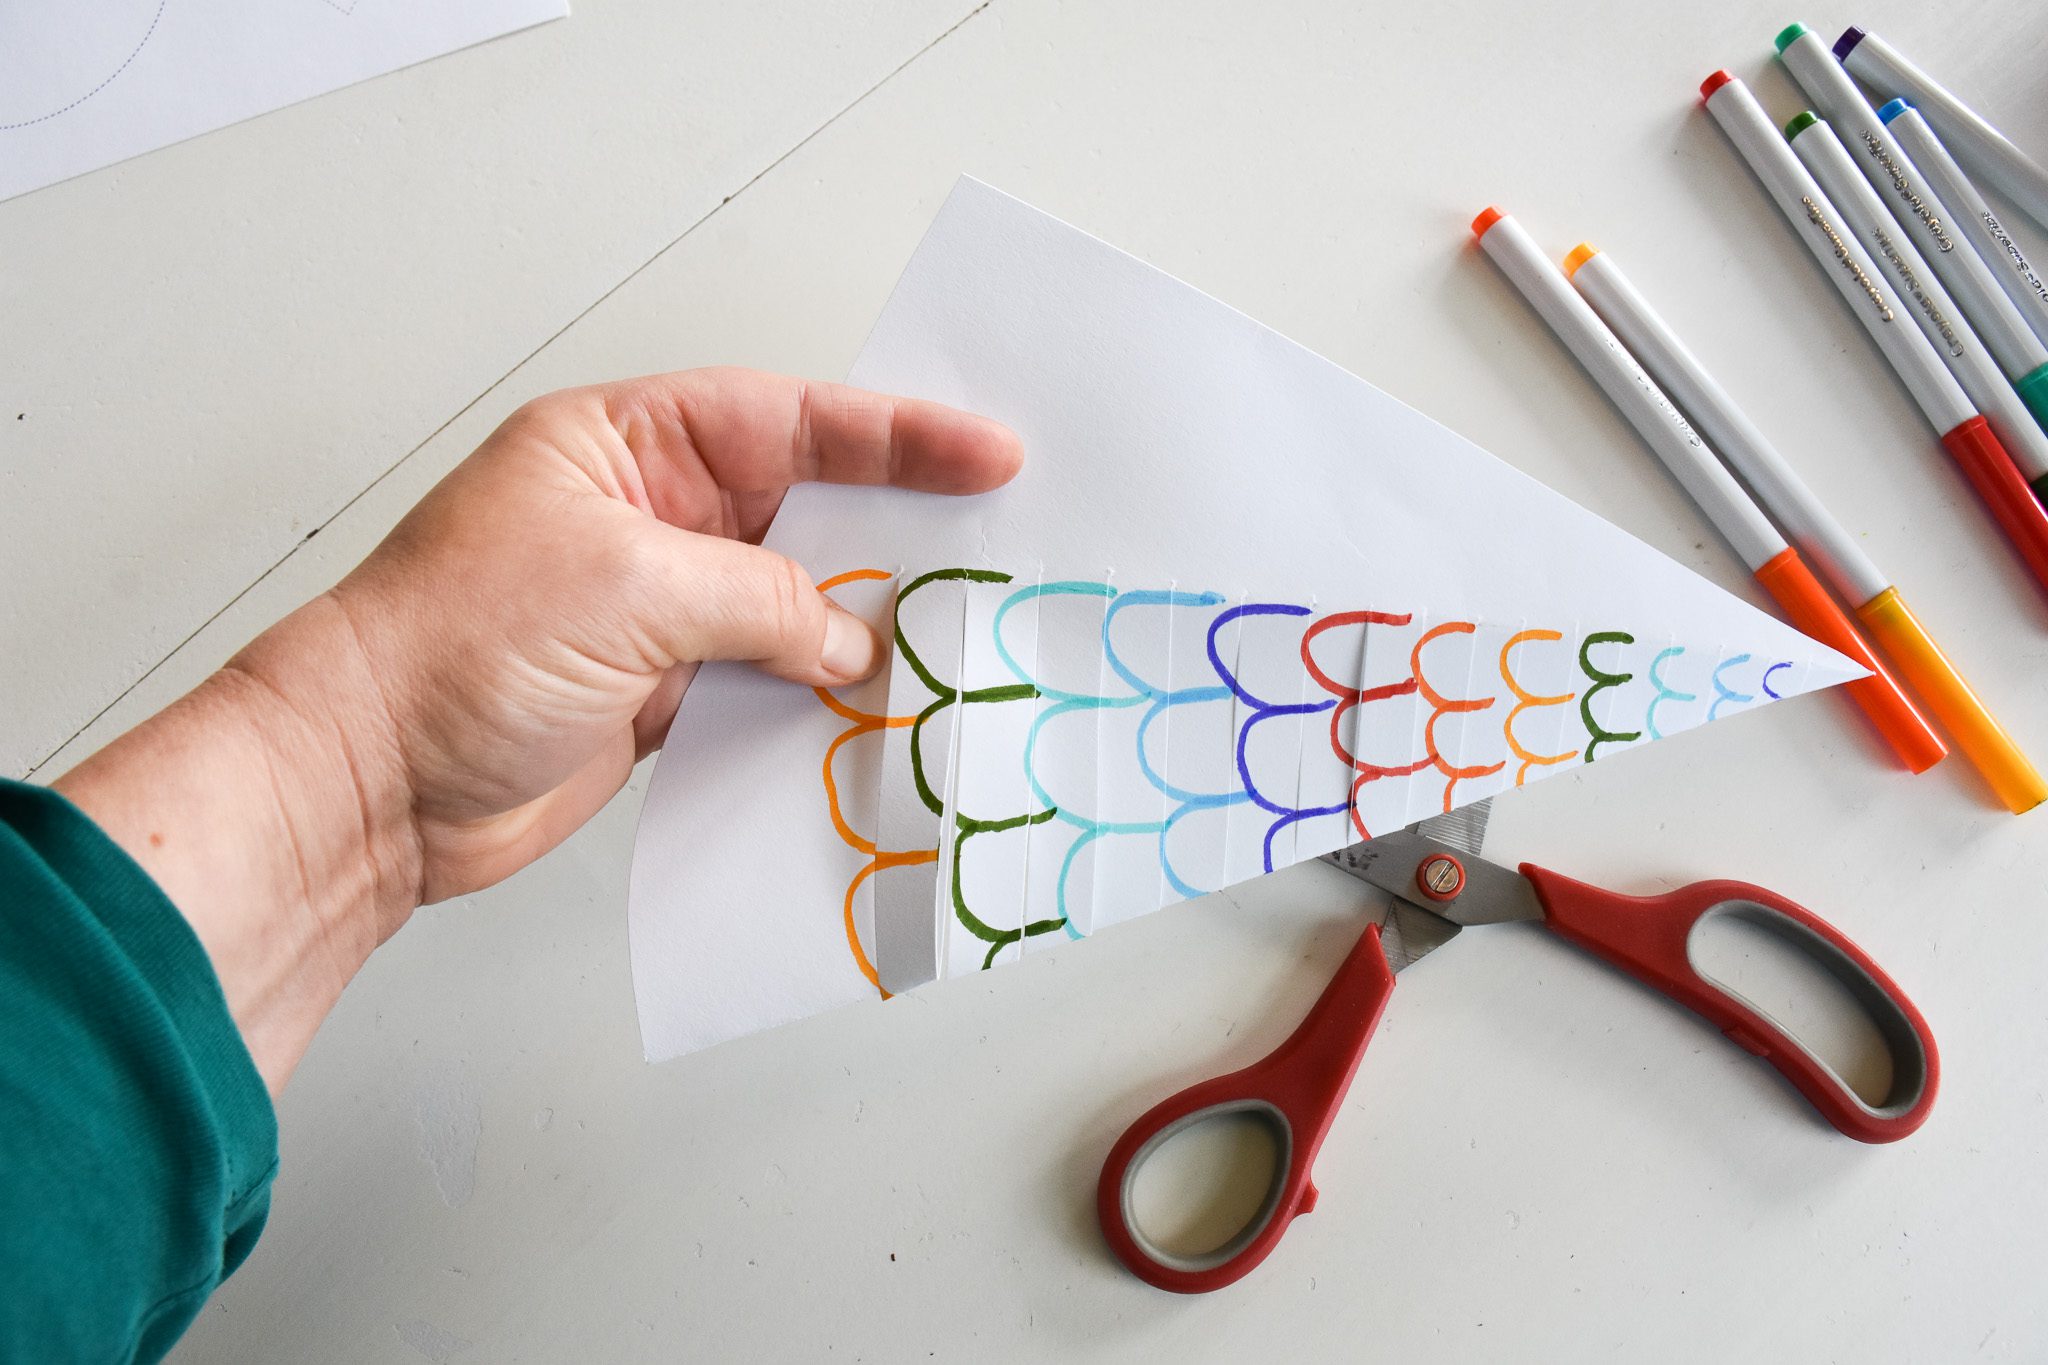
End the cuts with room for the fish face.
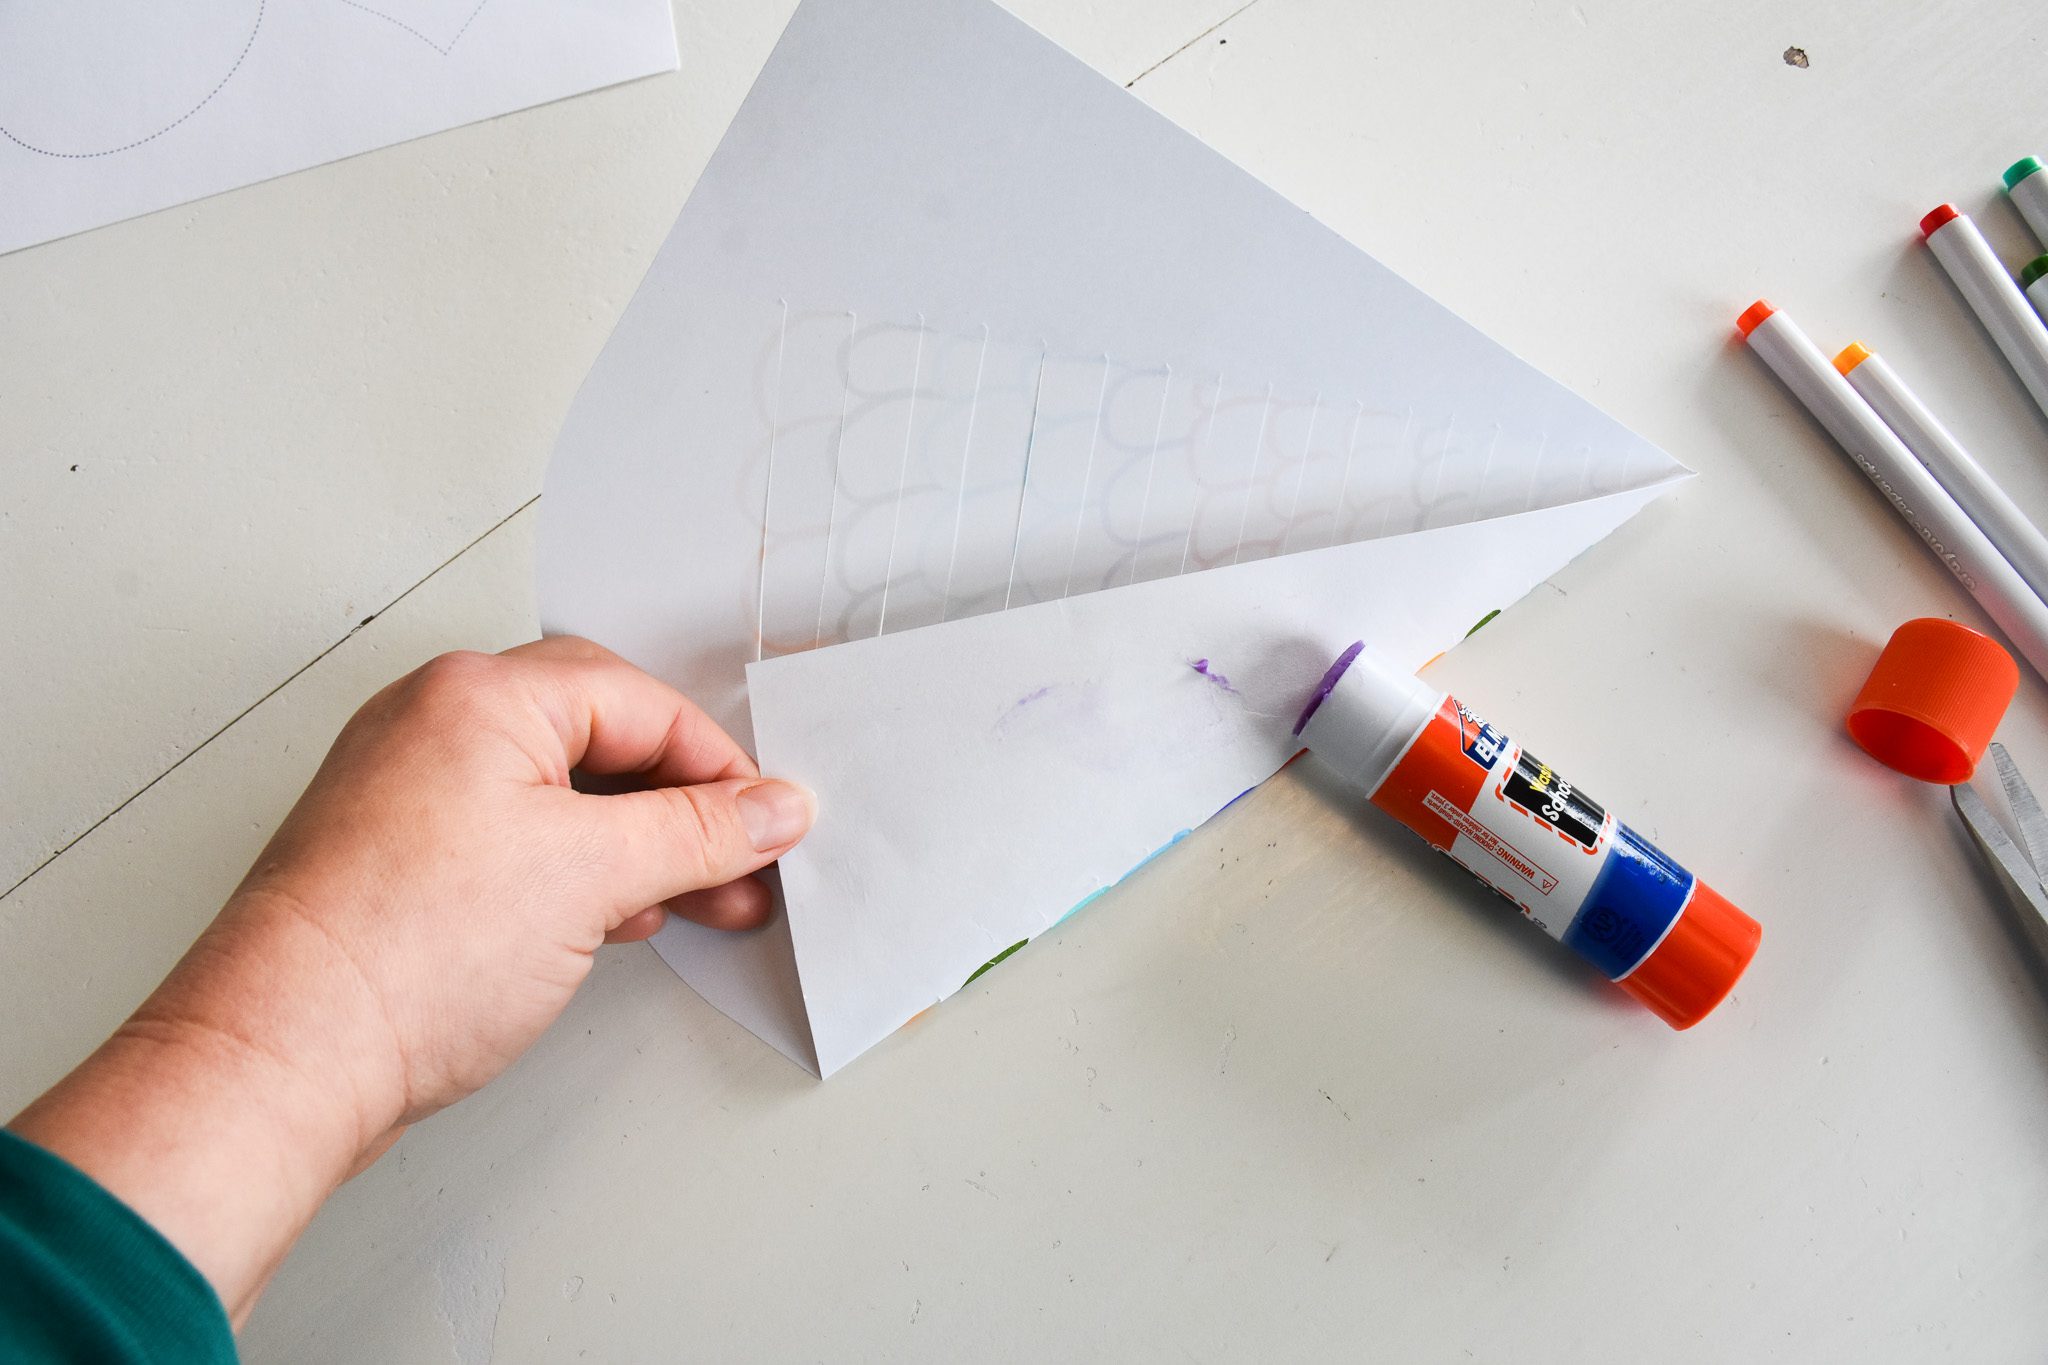
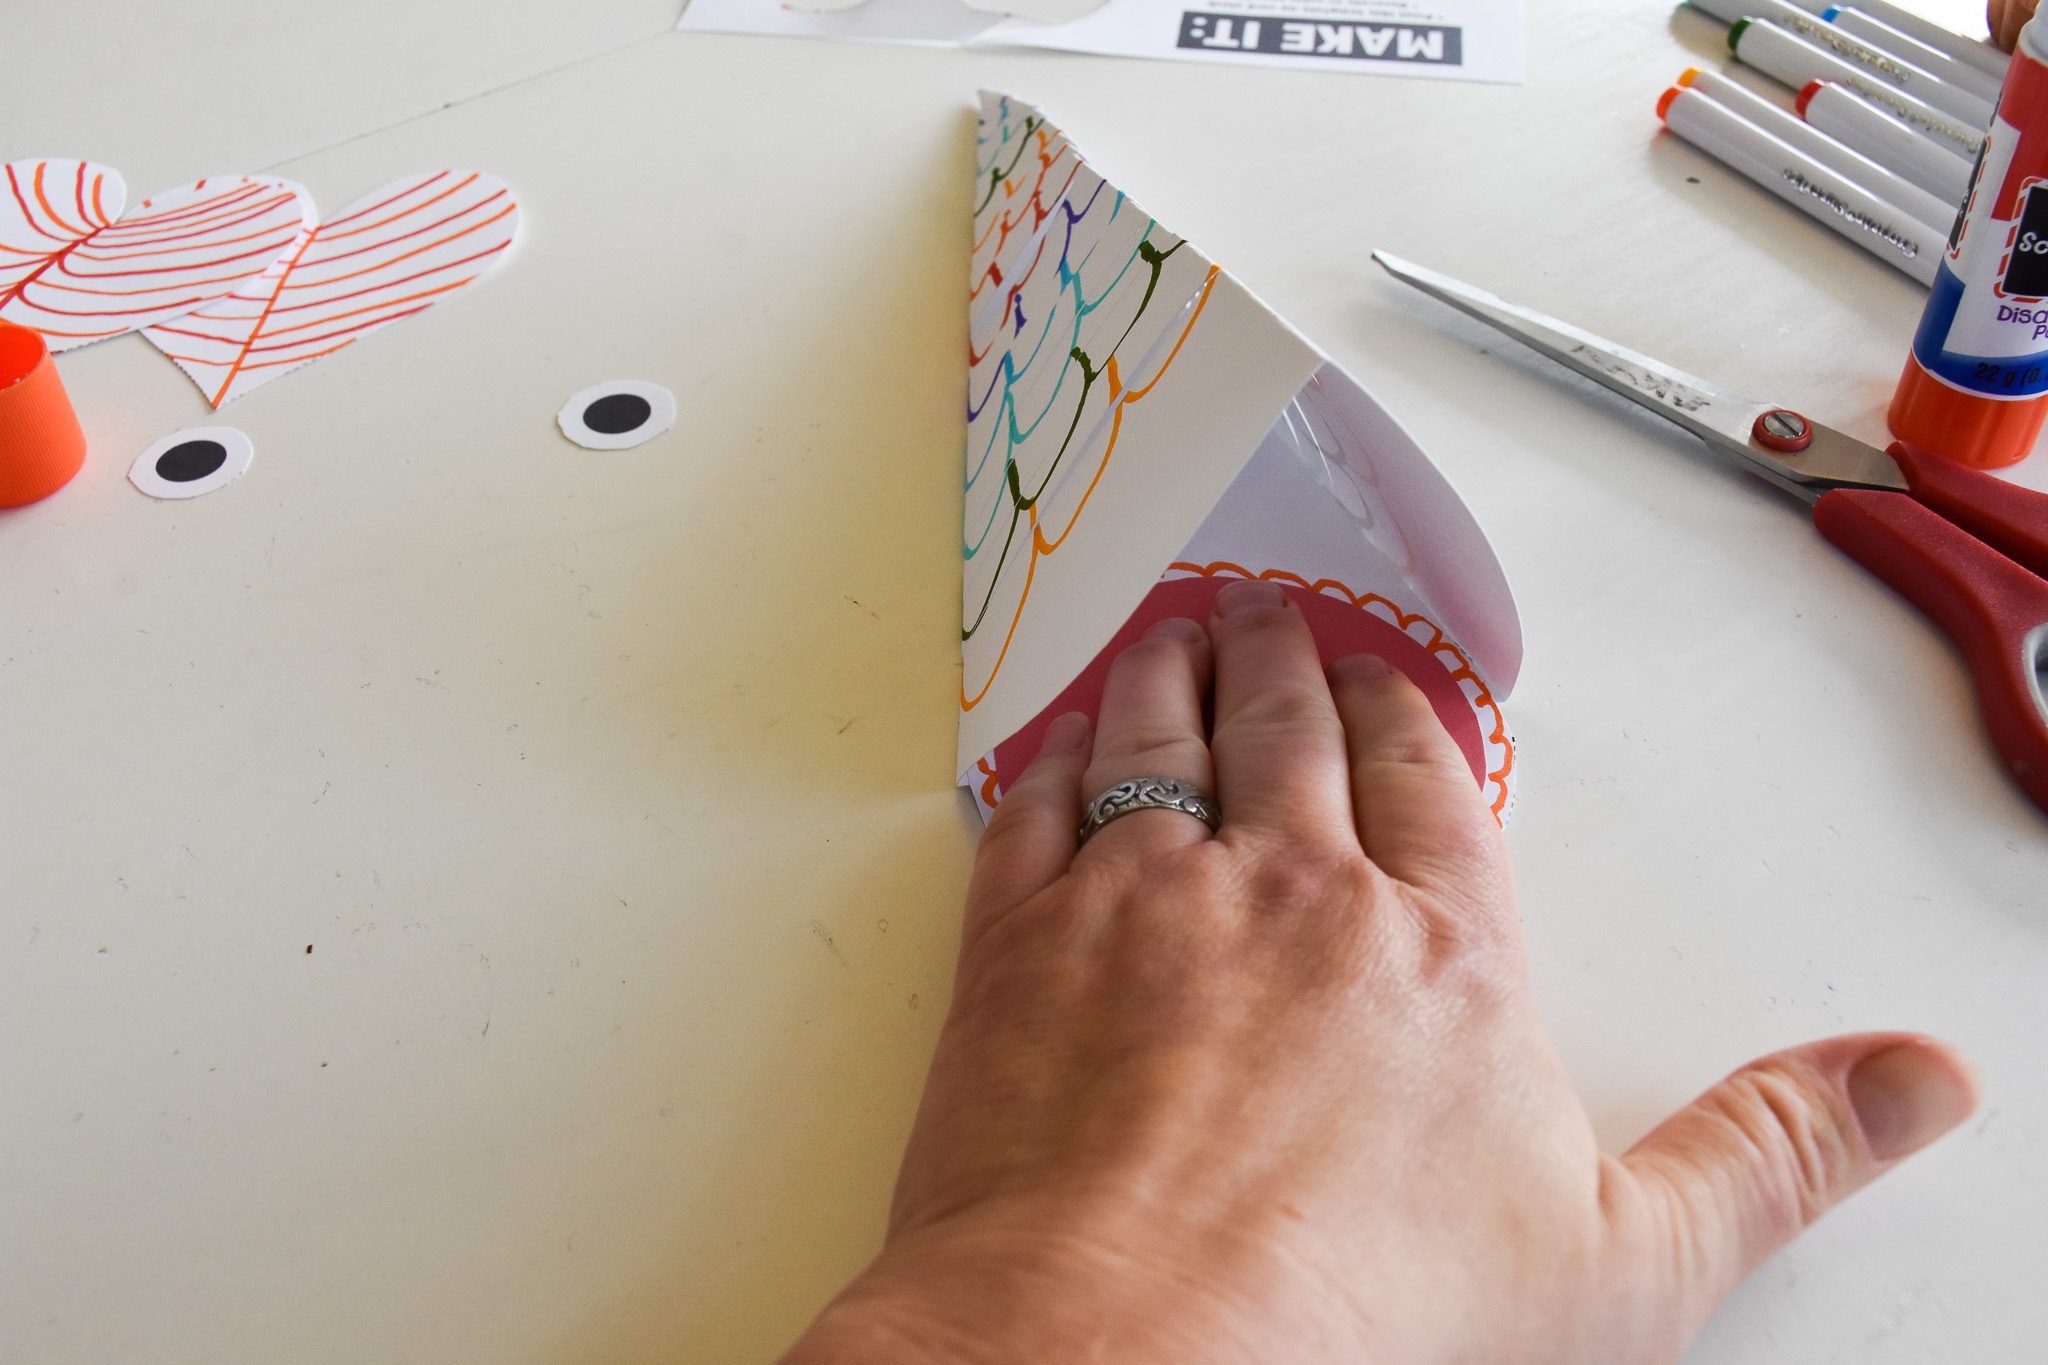
Grab your glue stick and glue the inside flaps of the fish.
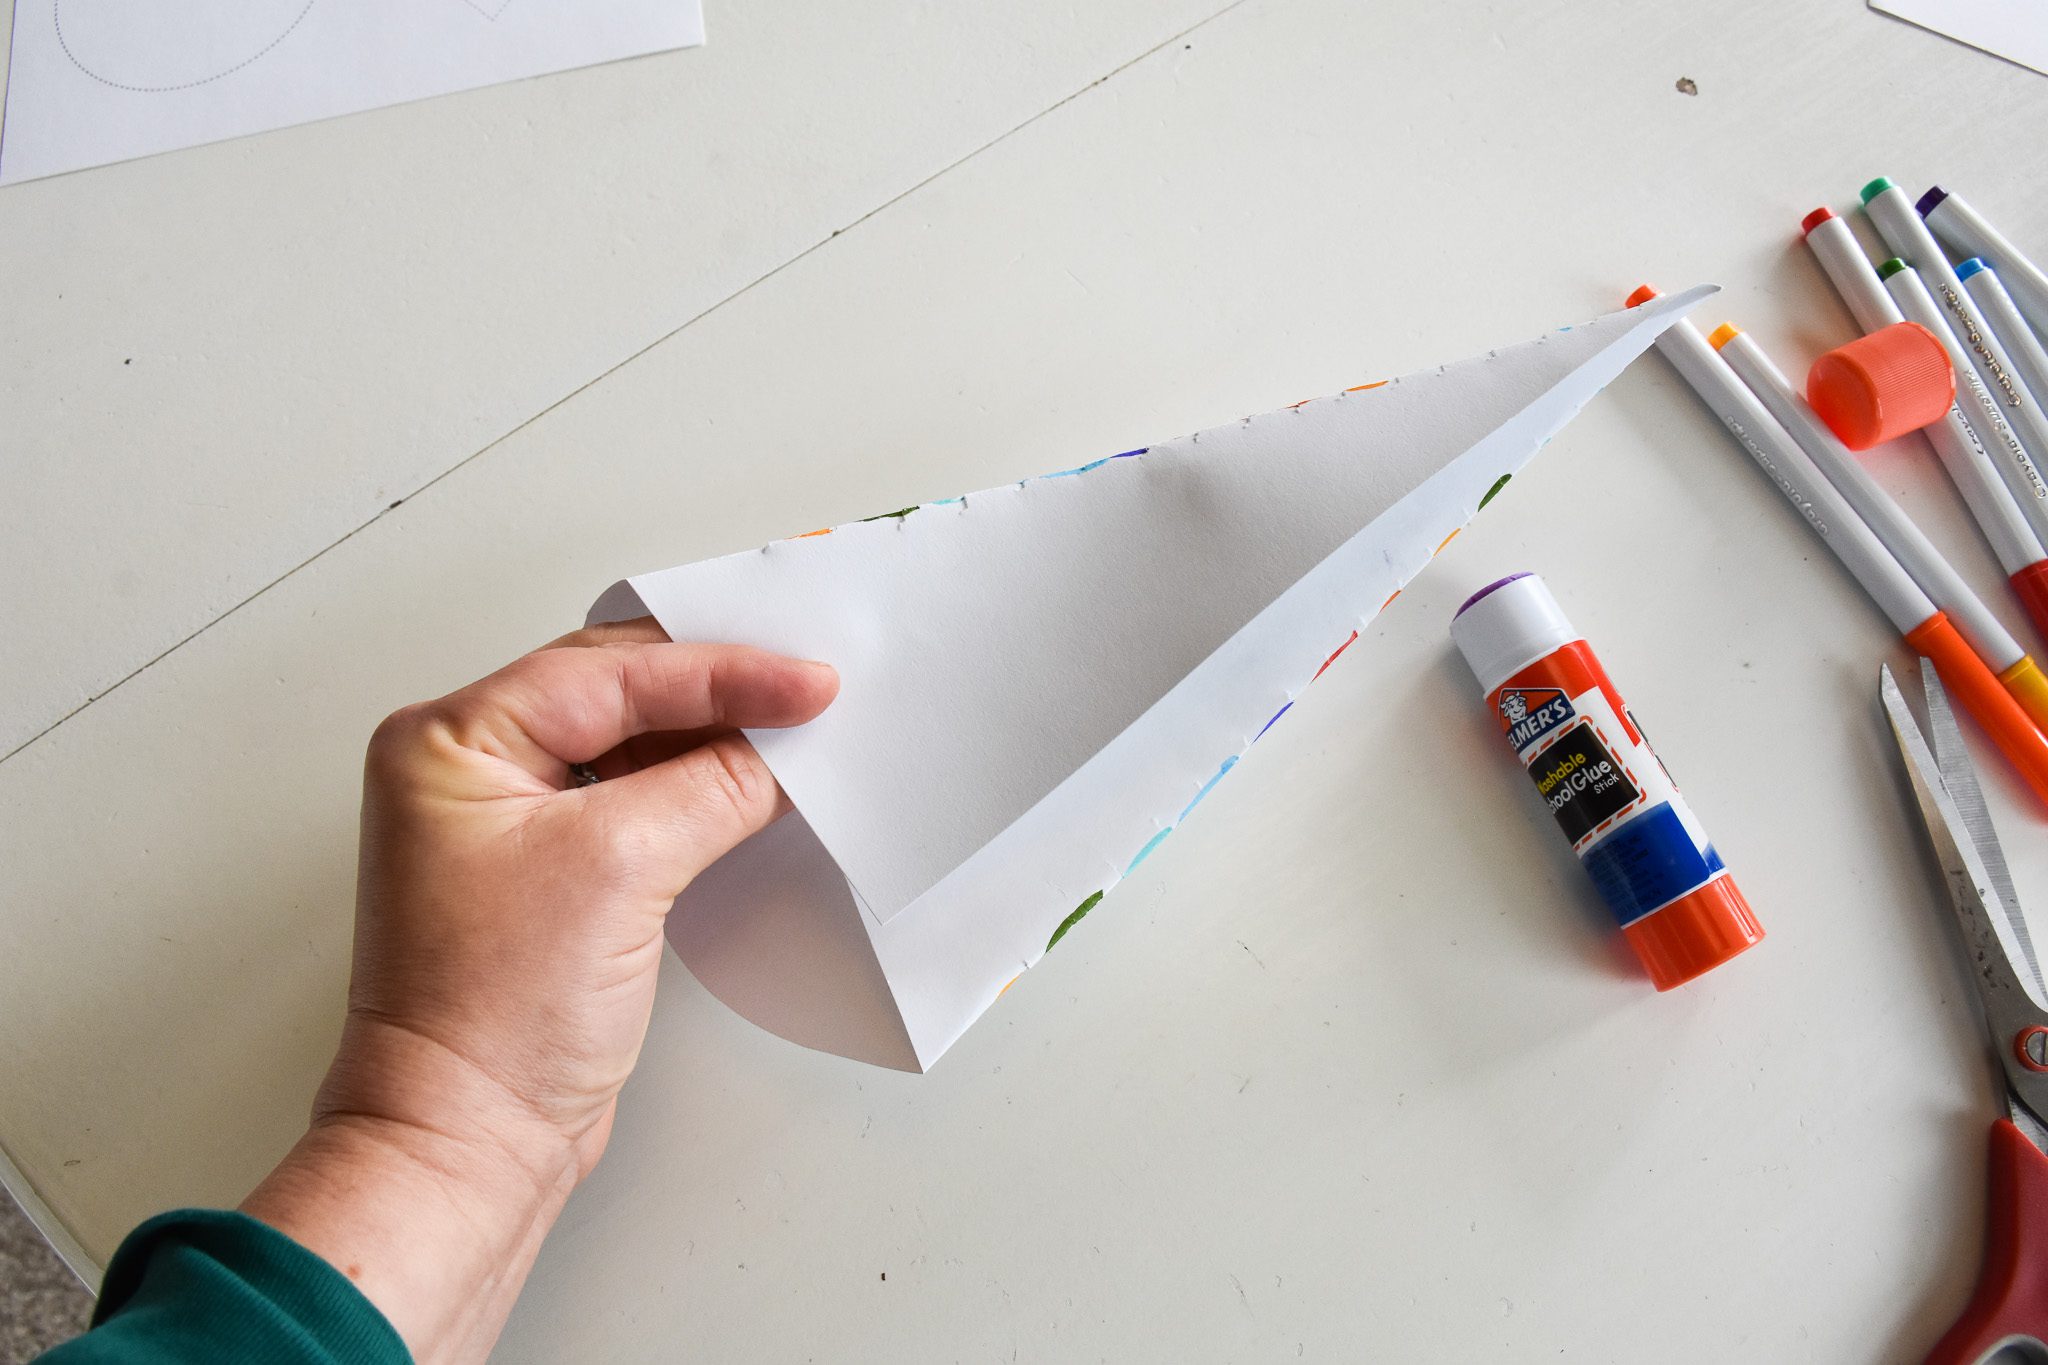
Fold the outside flap onto the inside flap, and press them together.
Hold it down for a bit so you know the glue has set.

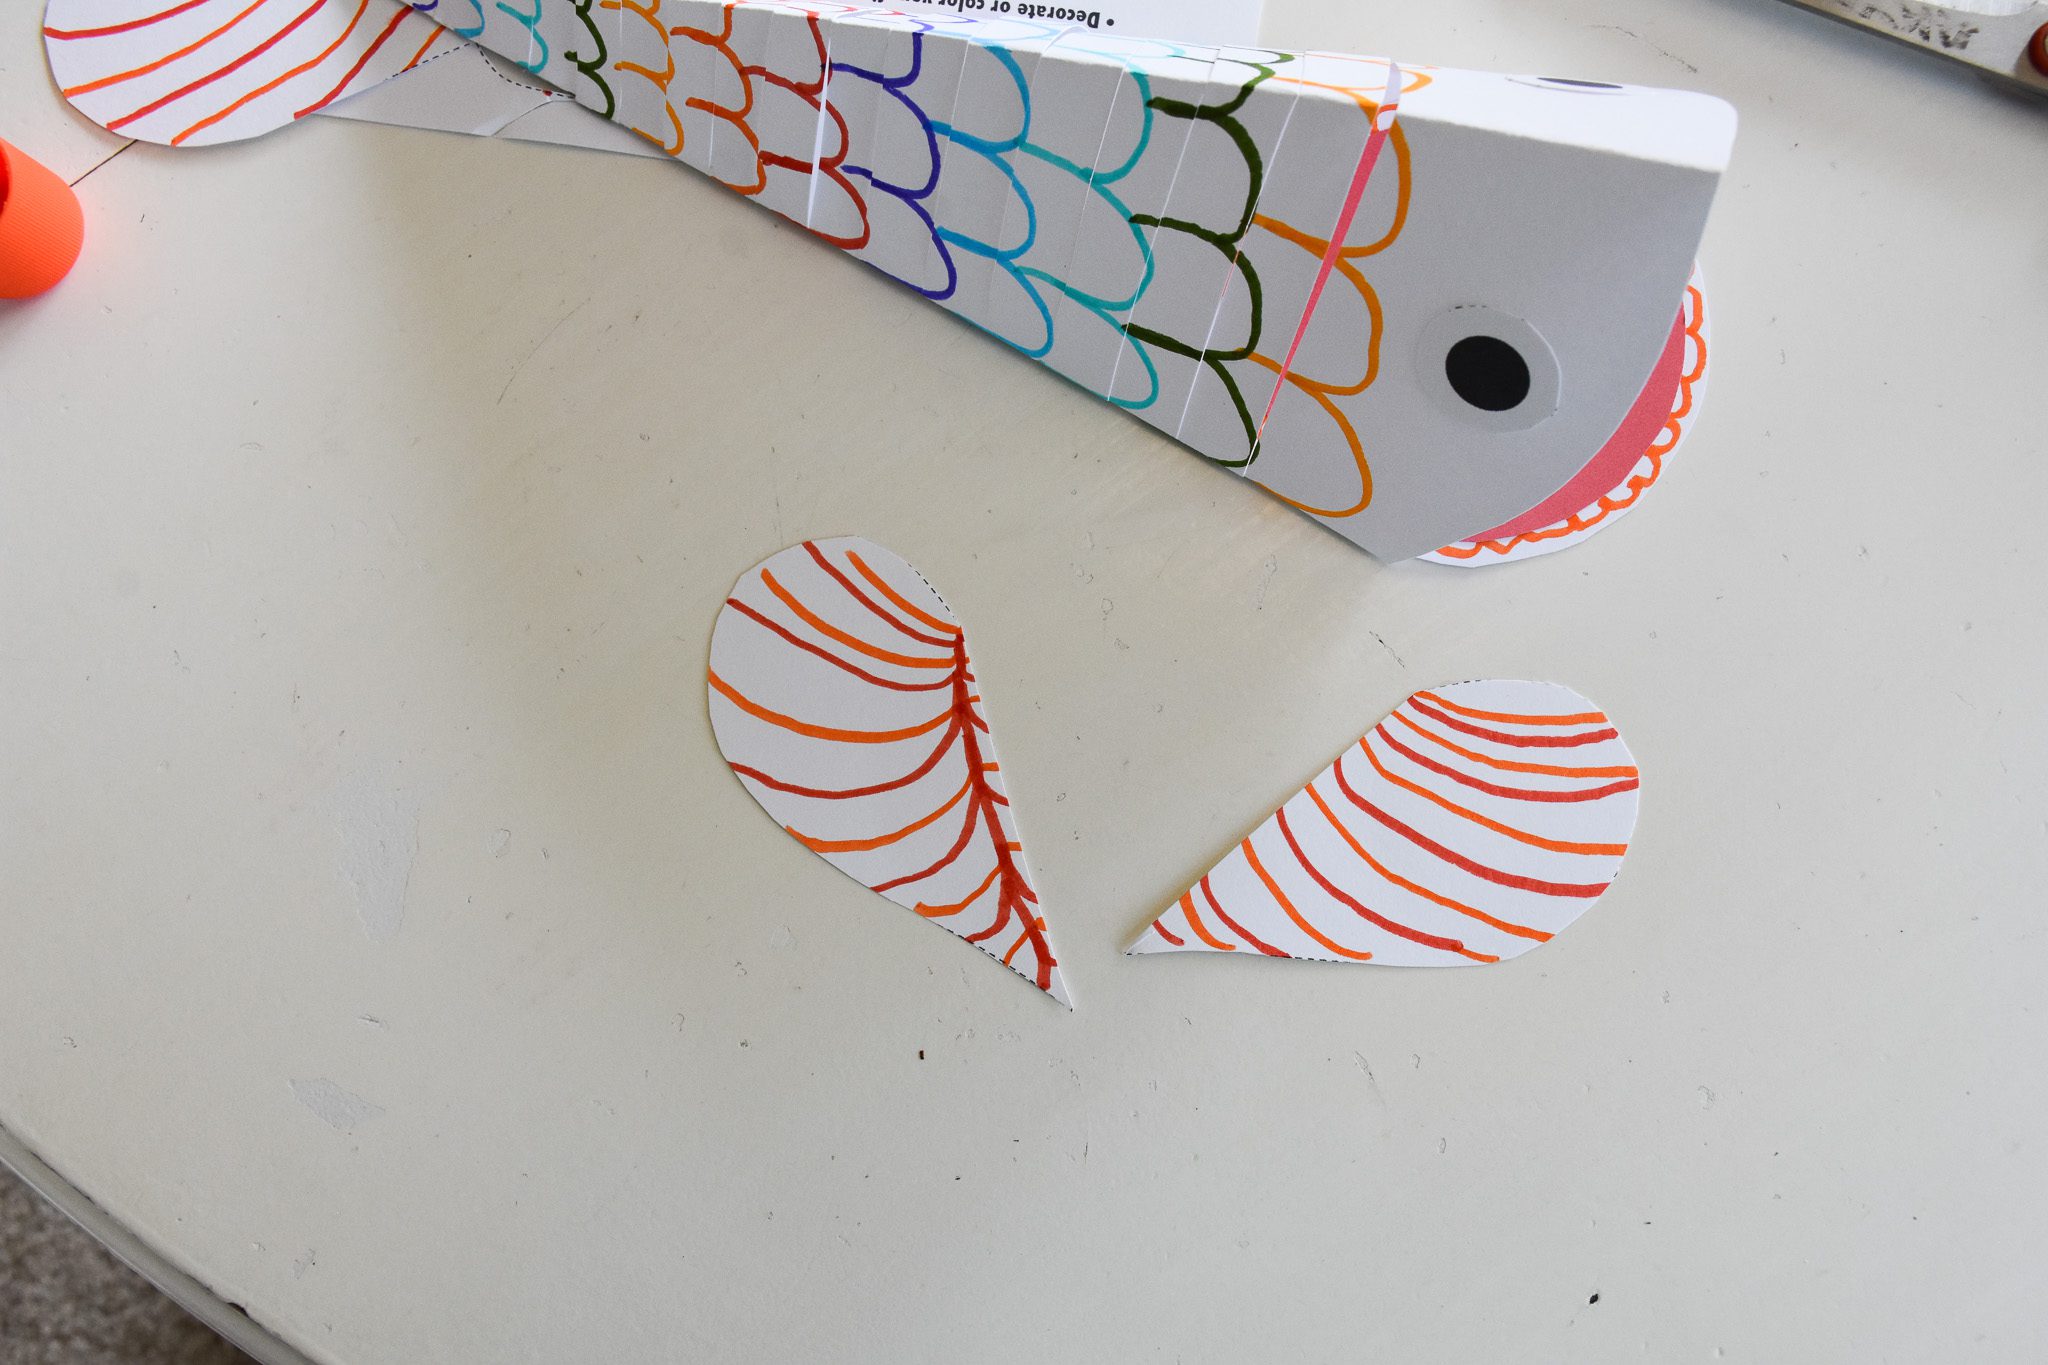
Decorate the hearts and edge of the fish fidget parts from our template page. One heart will be the tail, and one will be the fins (you’ll cut it in half).
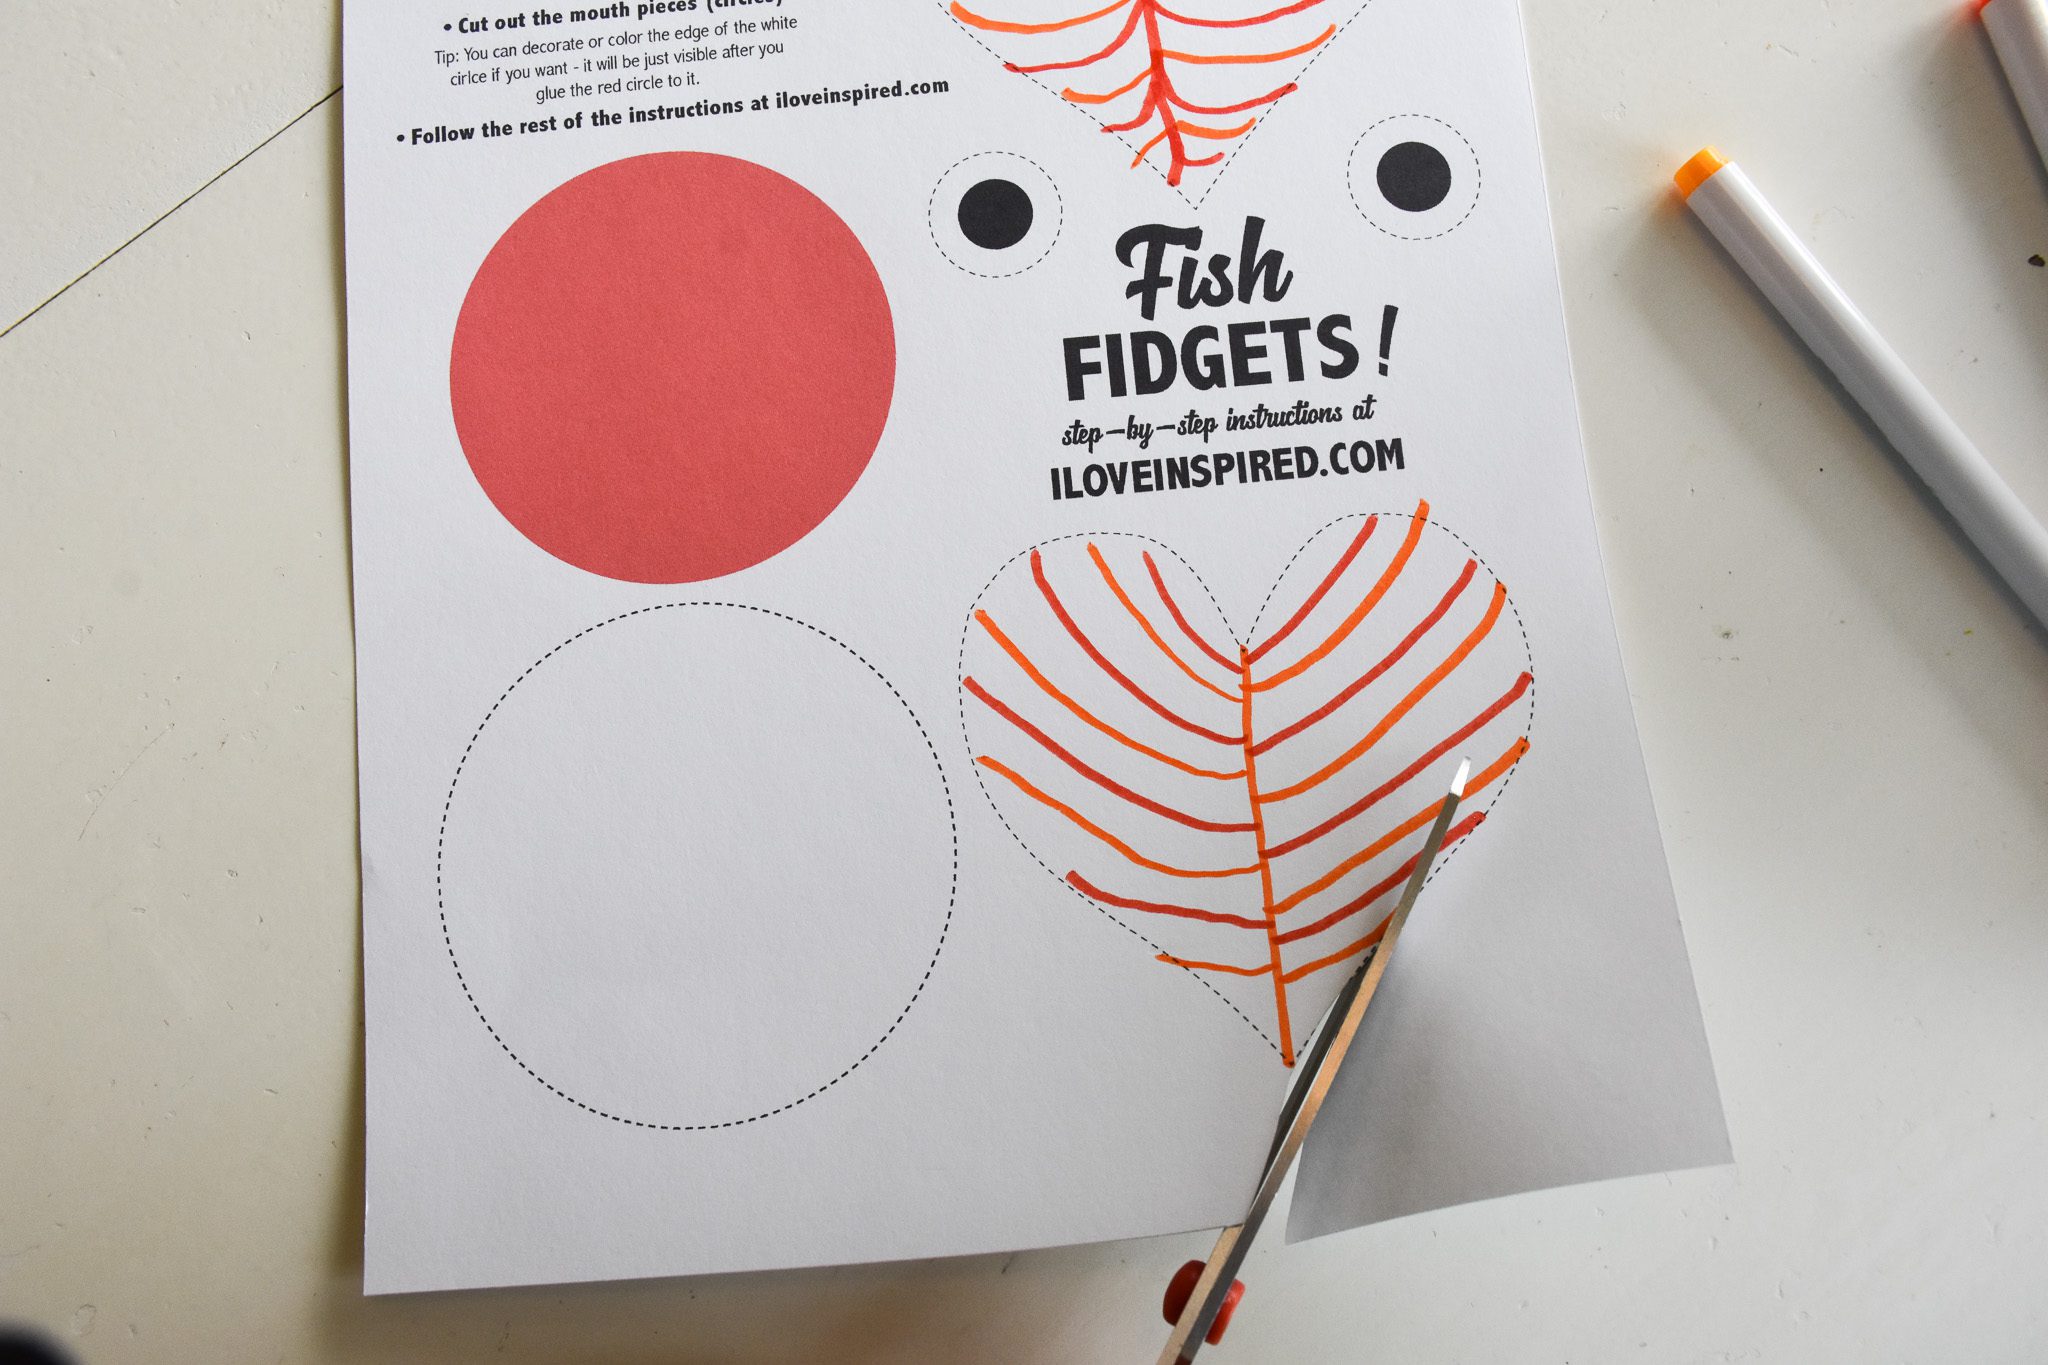
Cut out the shapes (including the red circle and the eyes). Note: I didn’t decorate the edge of the mouth circle until I was ready to glue them together.

Here are your parts!
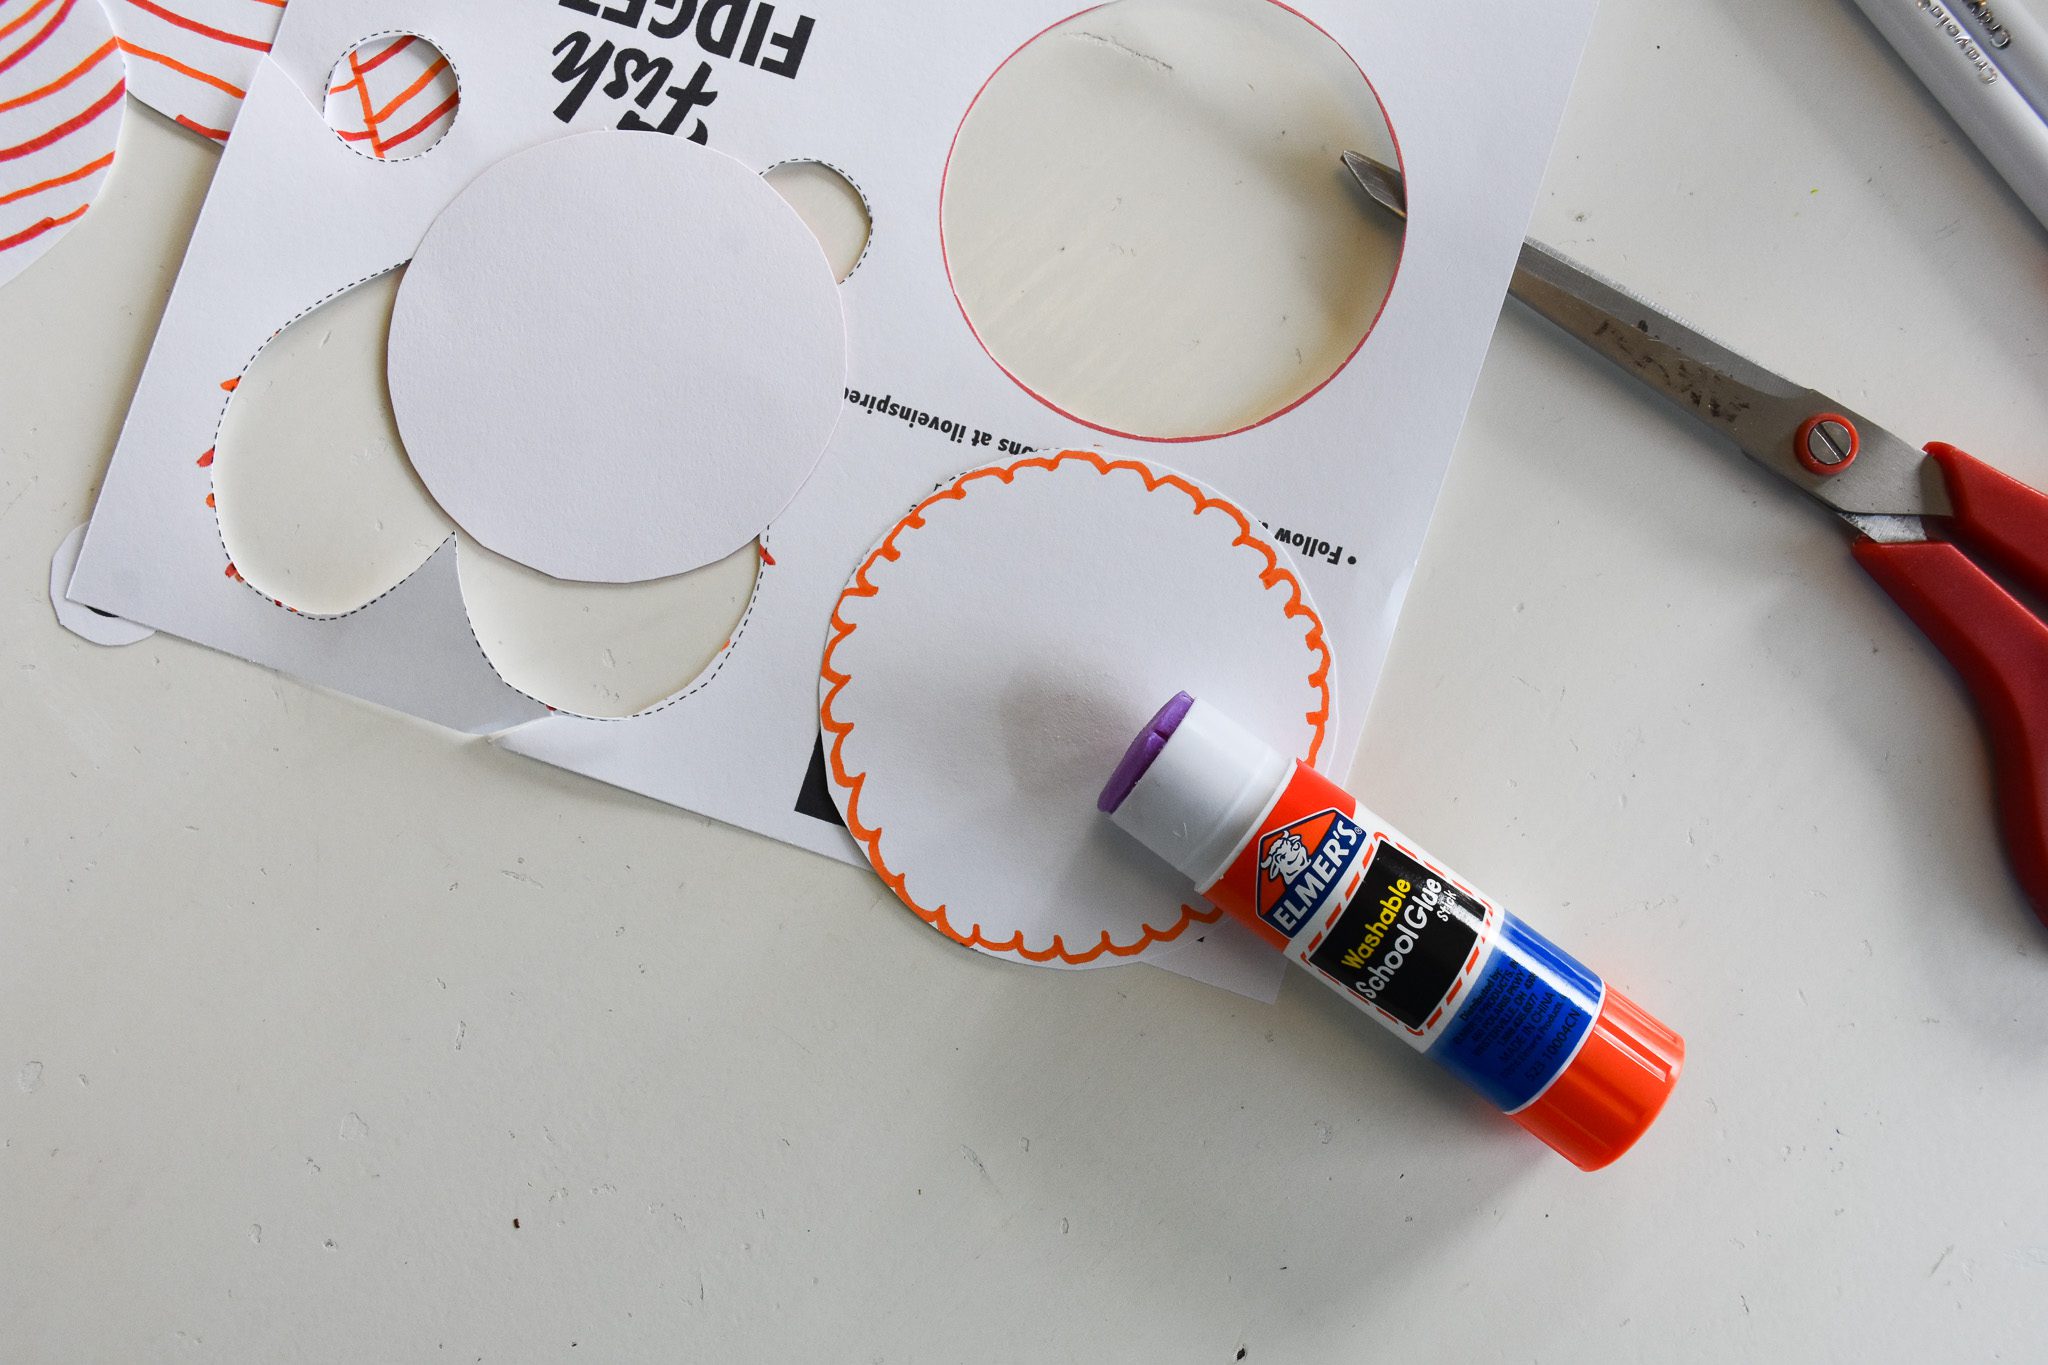
Here are the little decorations I added to my fish mouth. This is optional, obviously, but I found they looked like teeth when the project was finished. Put glue on the inner area of the circle, and stick the red circle on top.
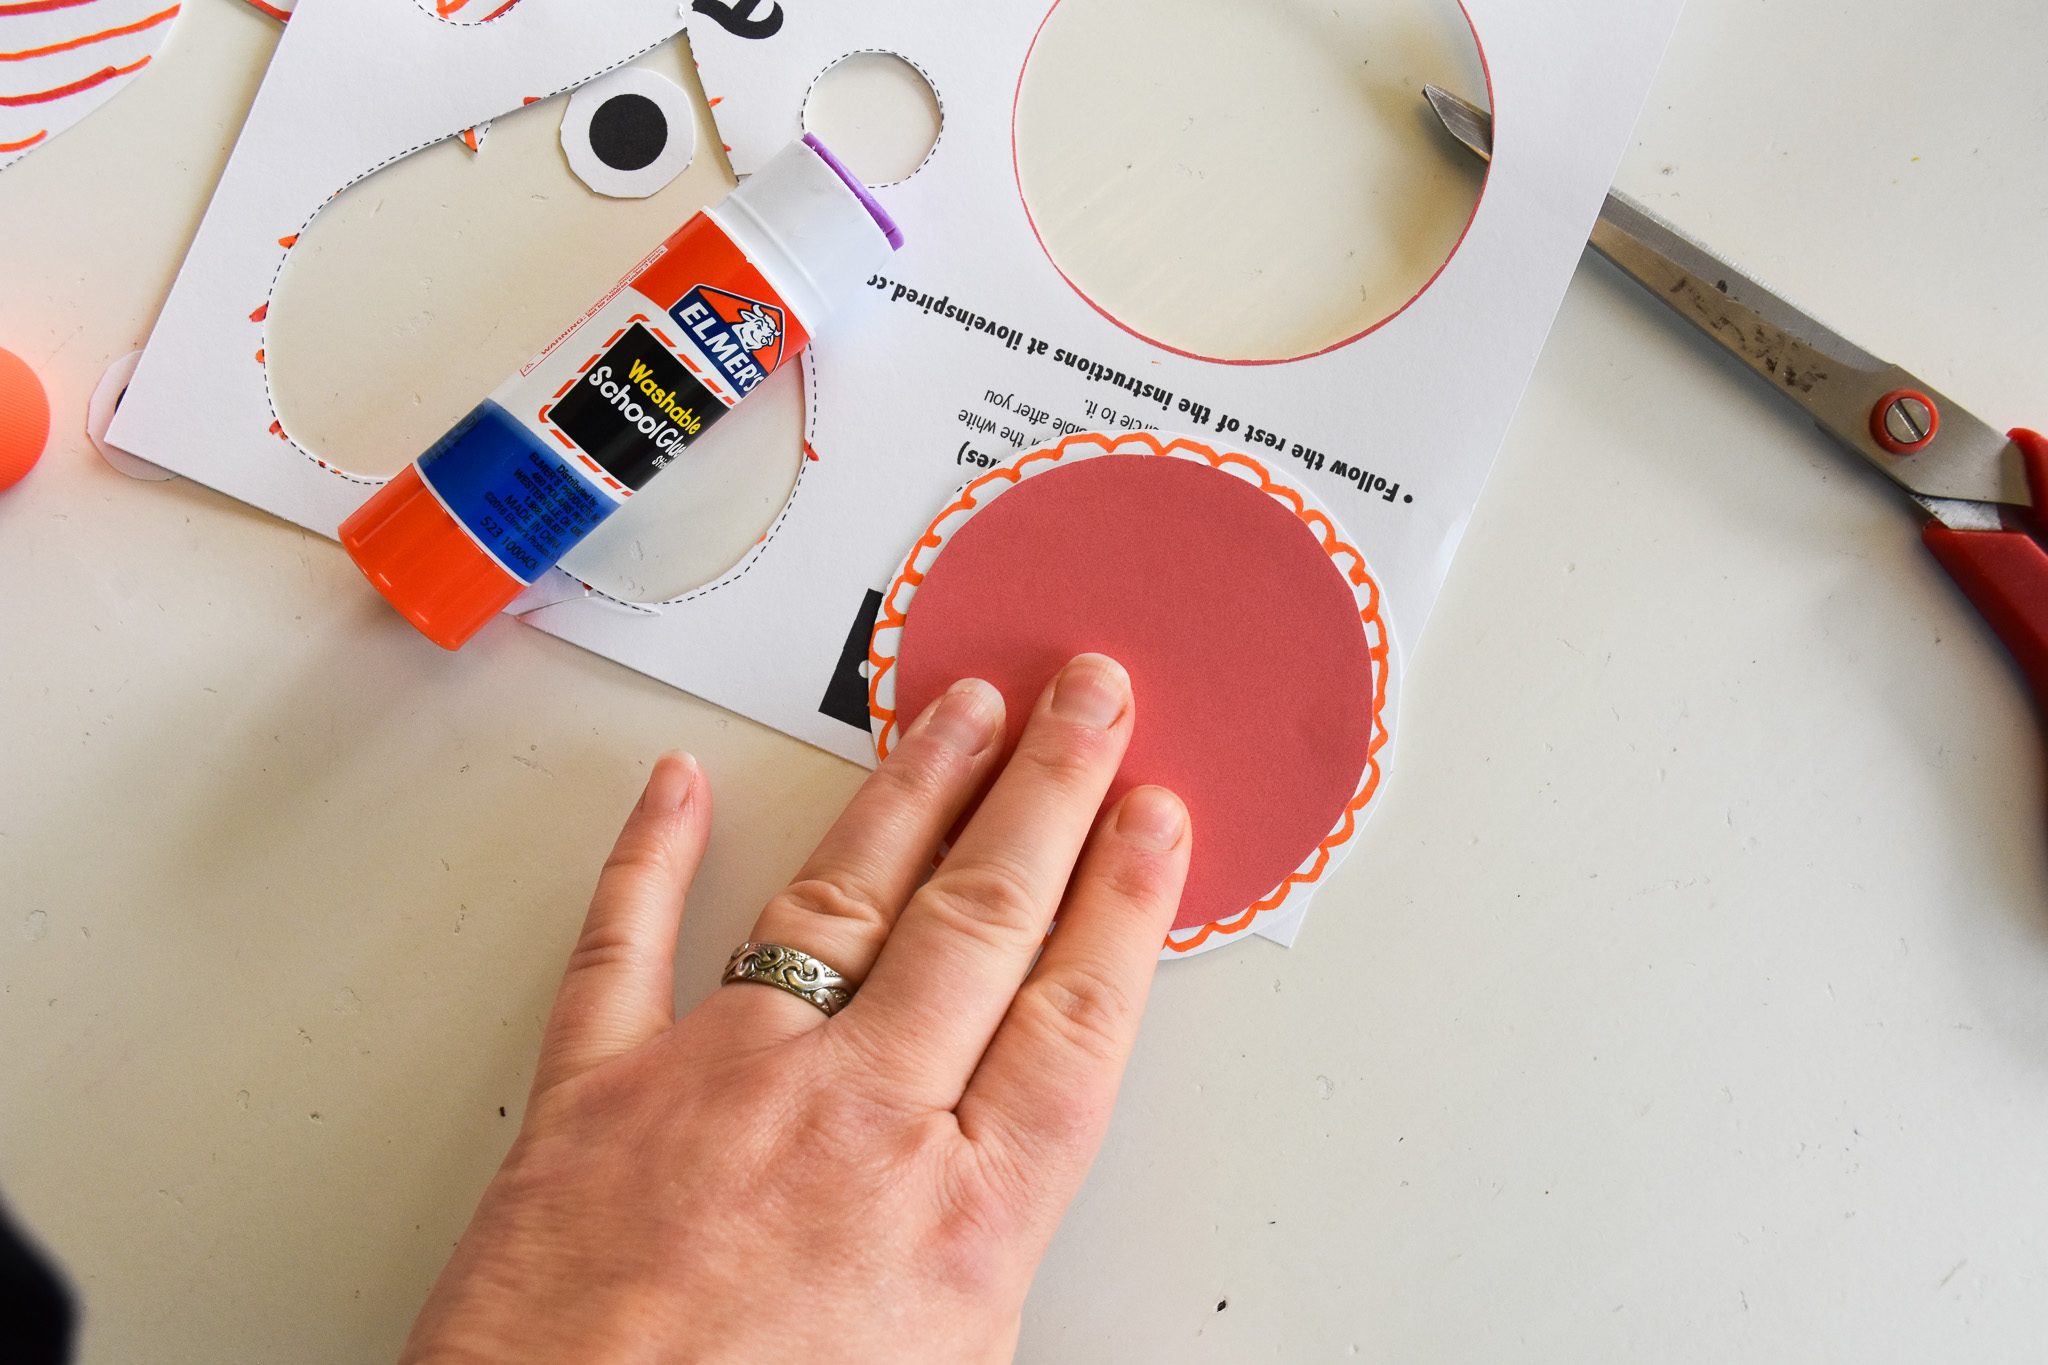
This will be the inside part of the mouth.
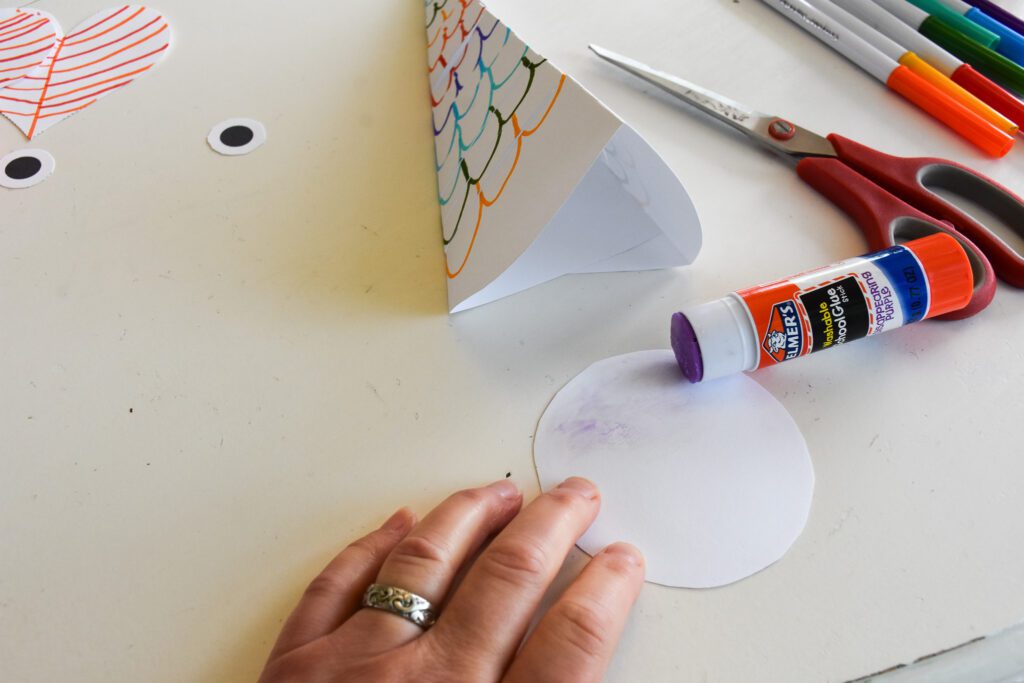
Flip the mouth part over, and put glue on half of the circle (this will go into the fish body).
Press the mouth piece down into the fish body and hold for a bit so the glue can set.
The mouth will stick out of the body just a bit.
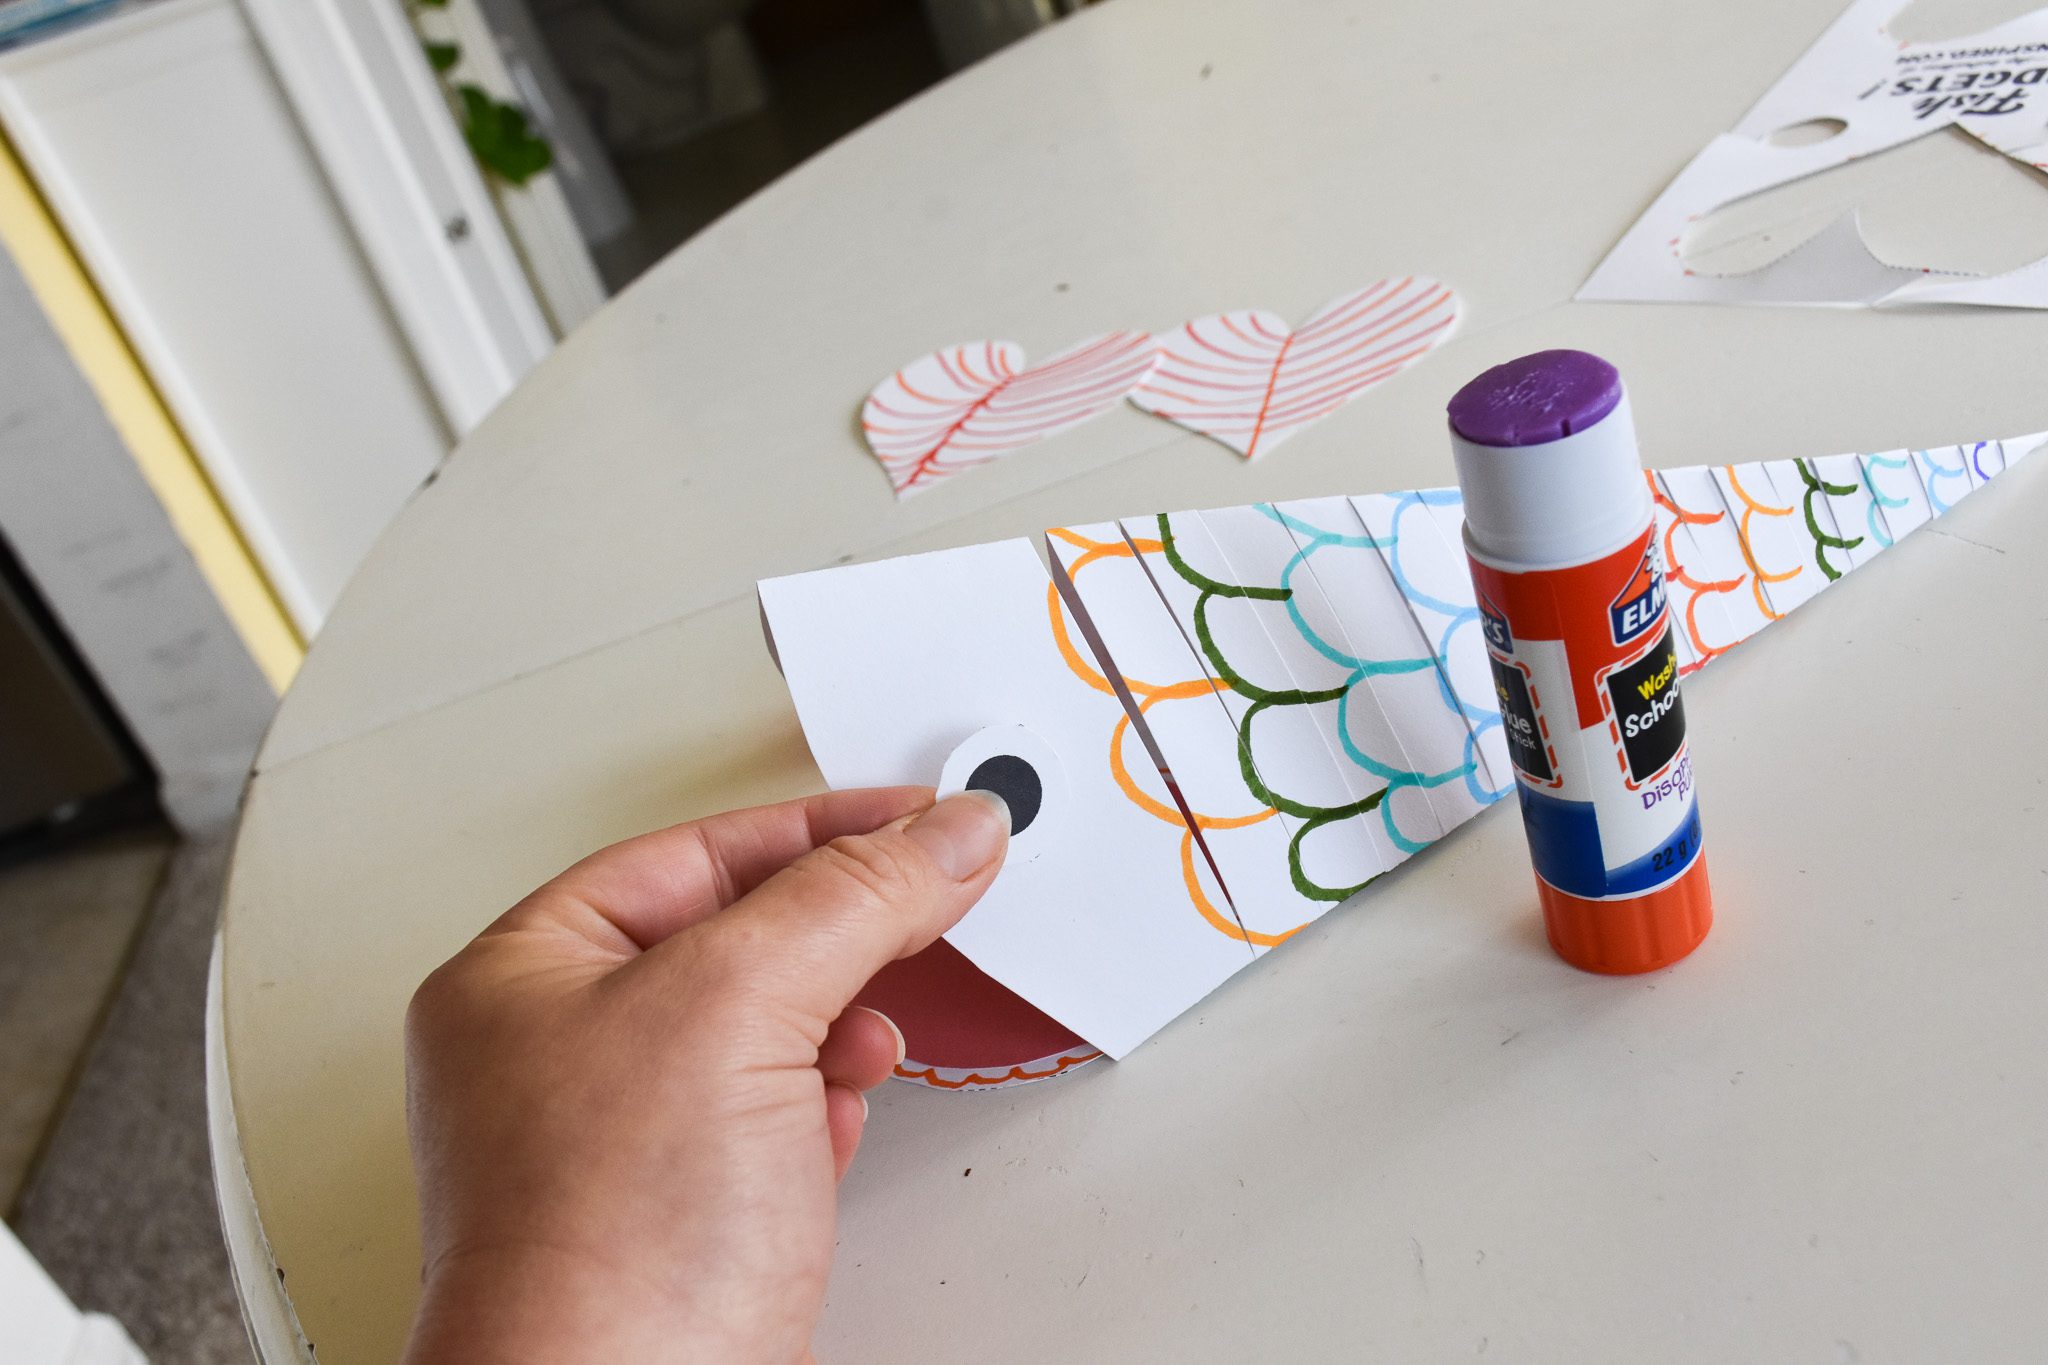
Glue the eyes on each side.

Pick which heart you want to make the tail, and put glue on the tip. Add some glue to just a bit of the tail too (but not too much, because you want as much of the cut parts of the body unhindered as possible, so it will move nicely).
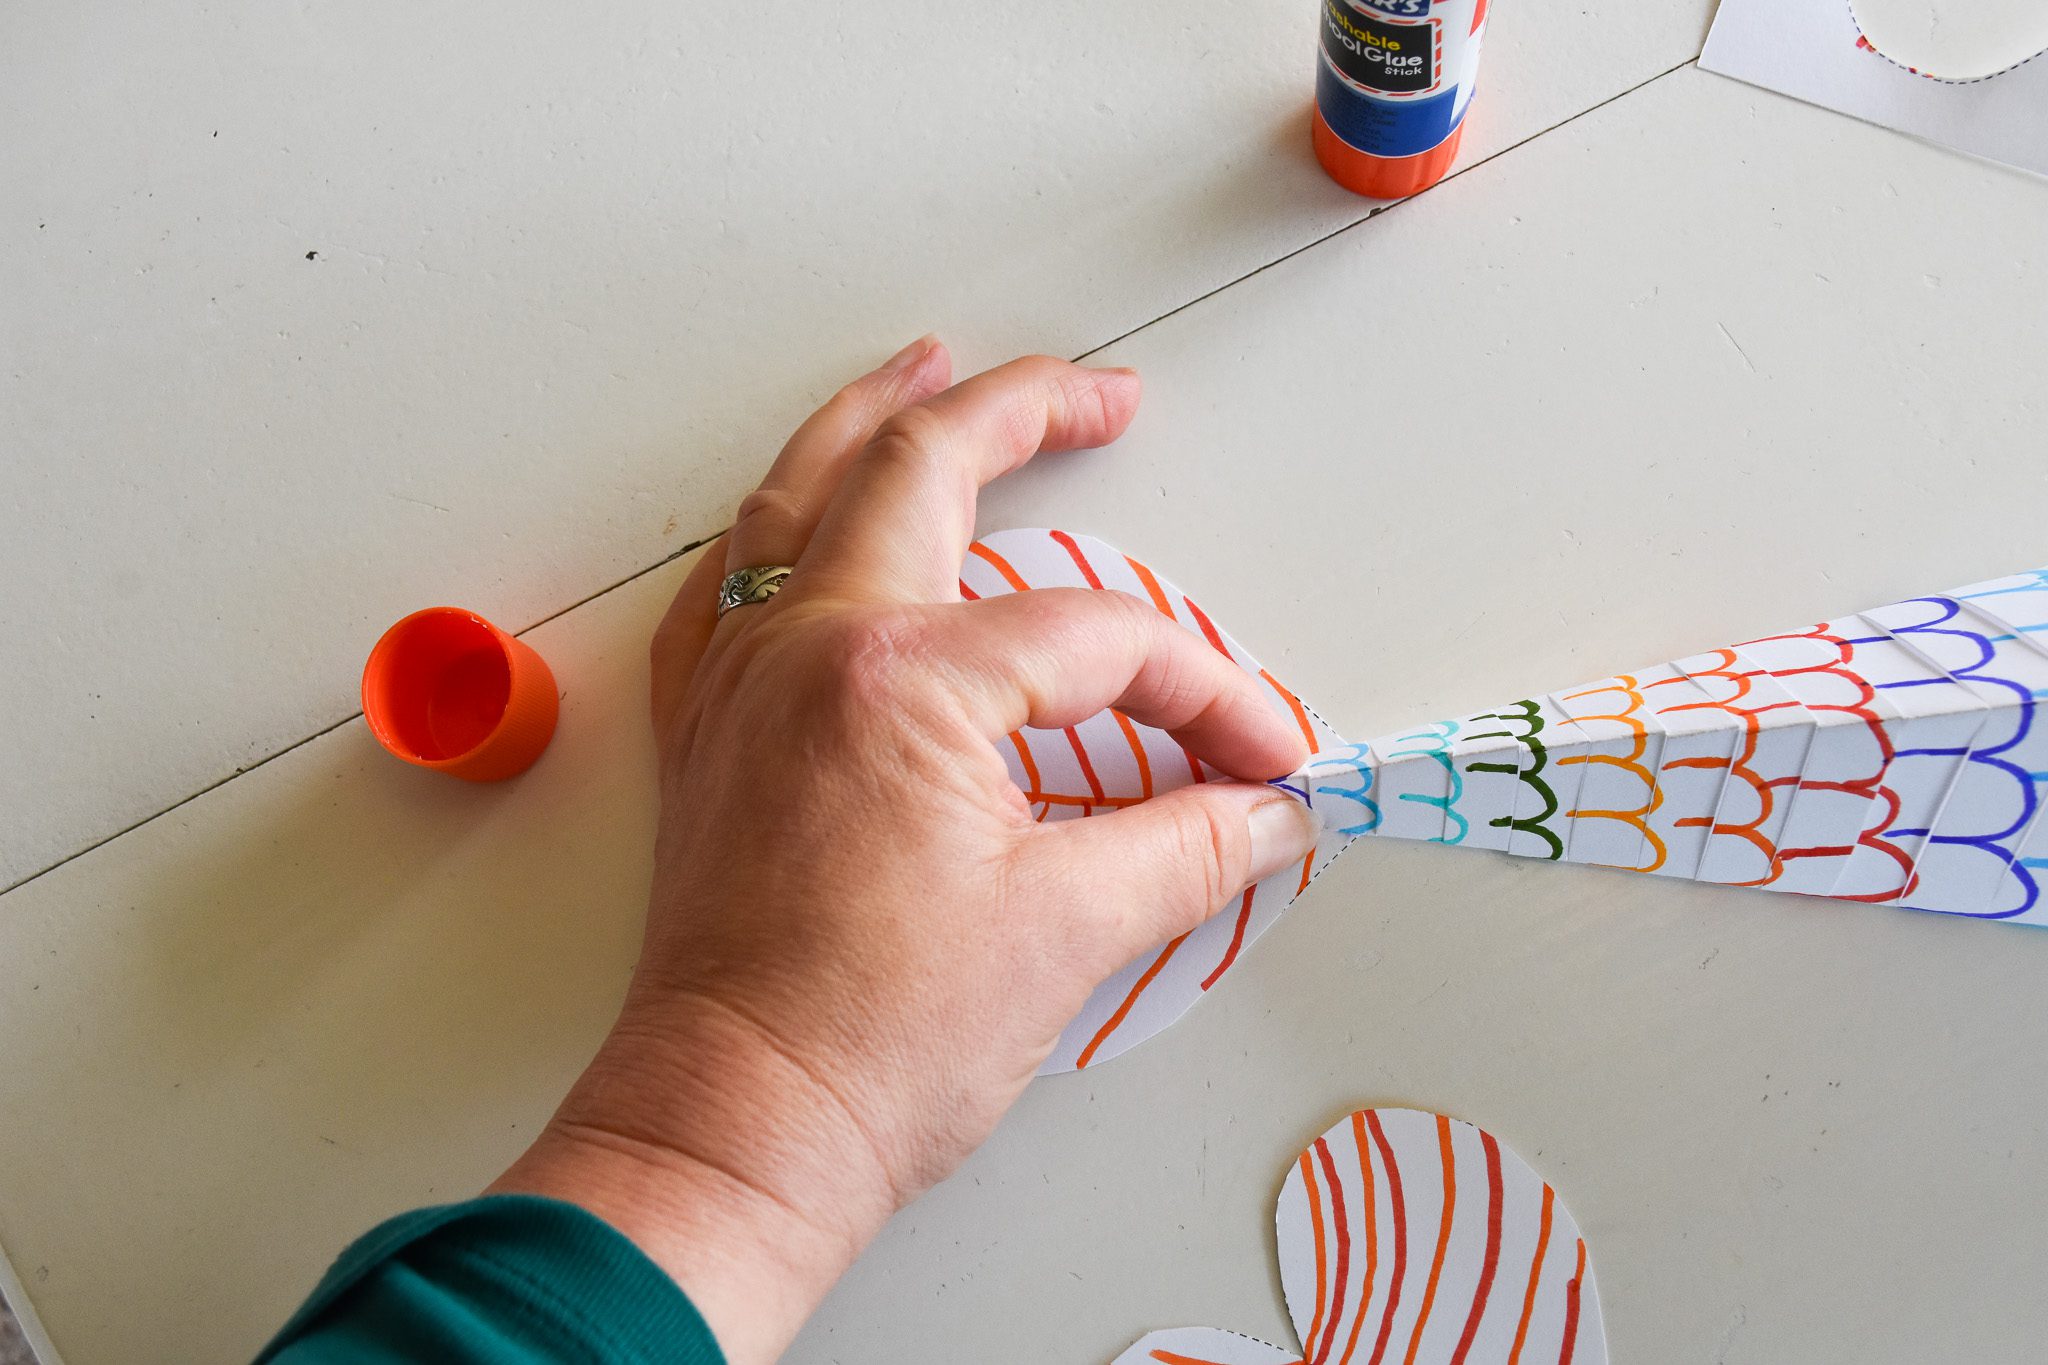
Attach the body to the tail fin and press down.

I used my scissors to press the end down even more.
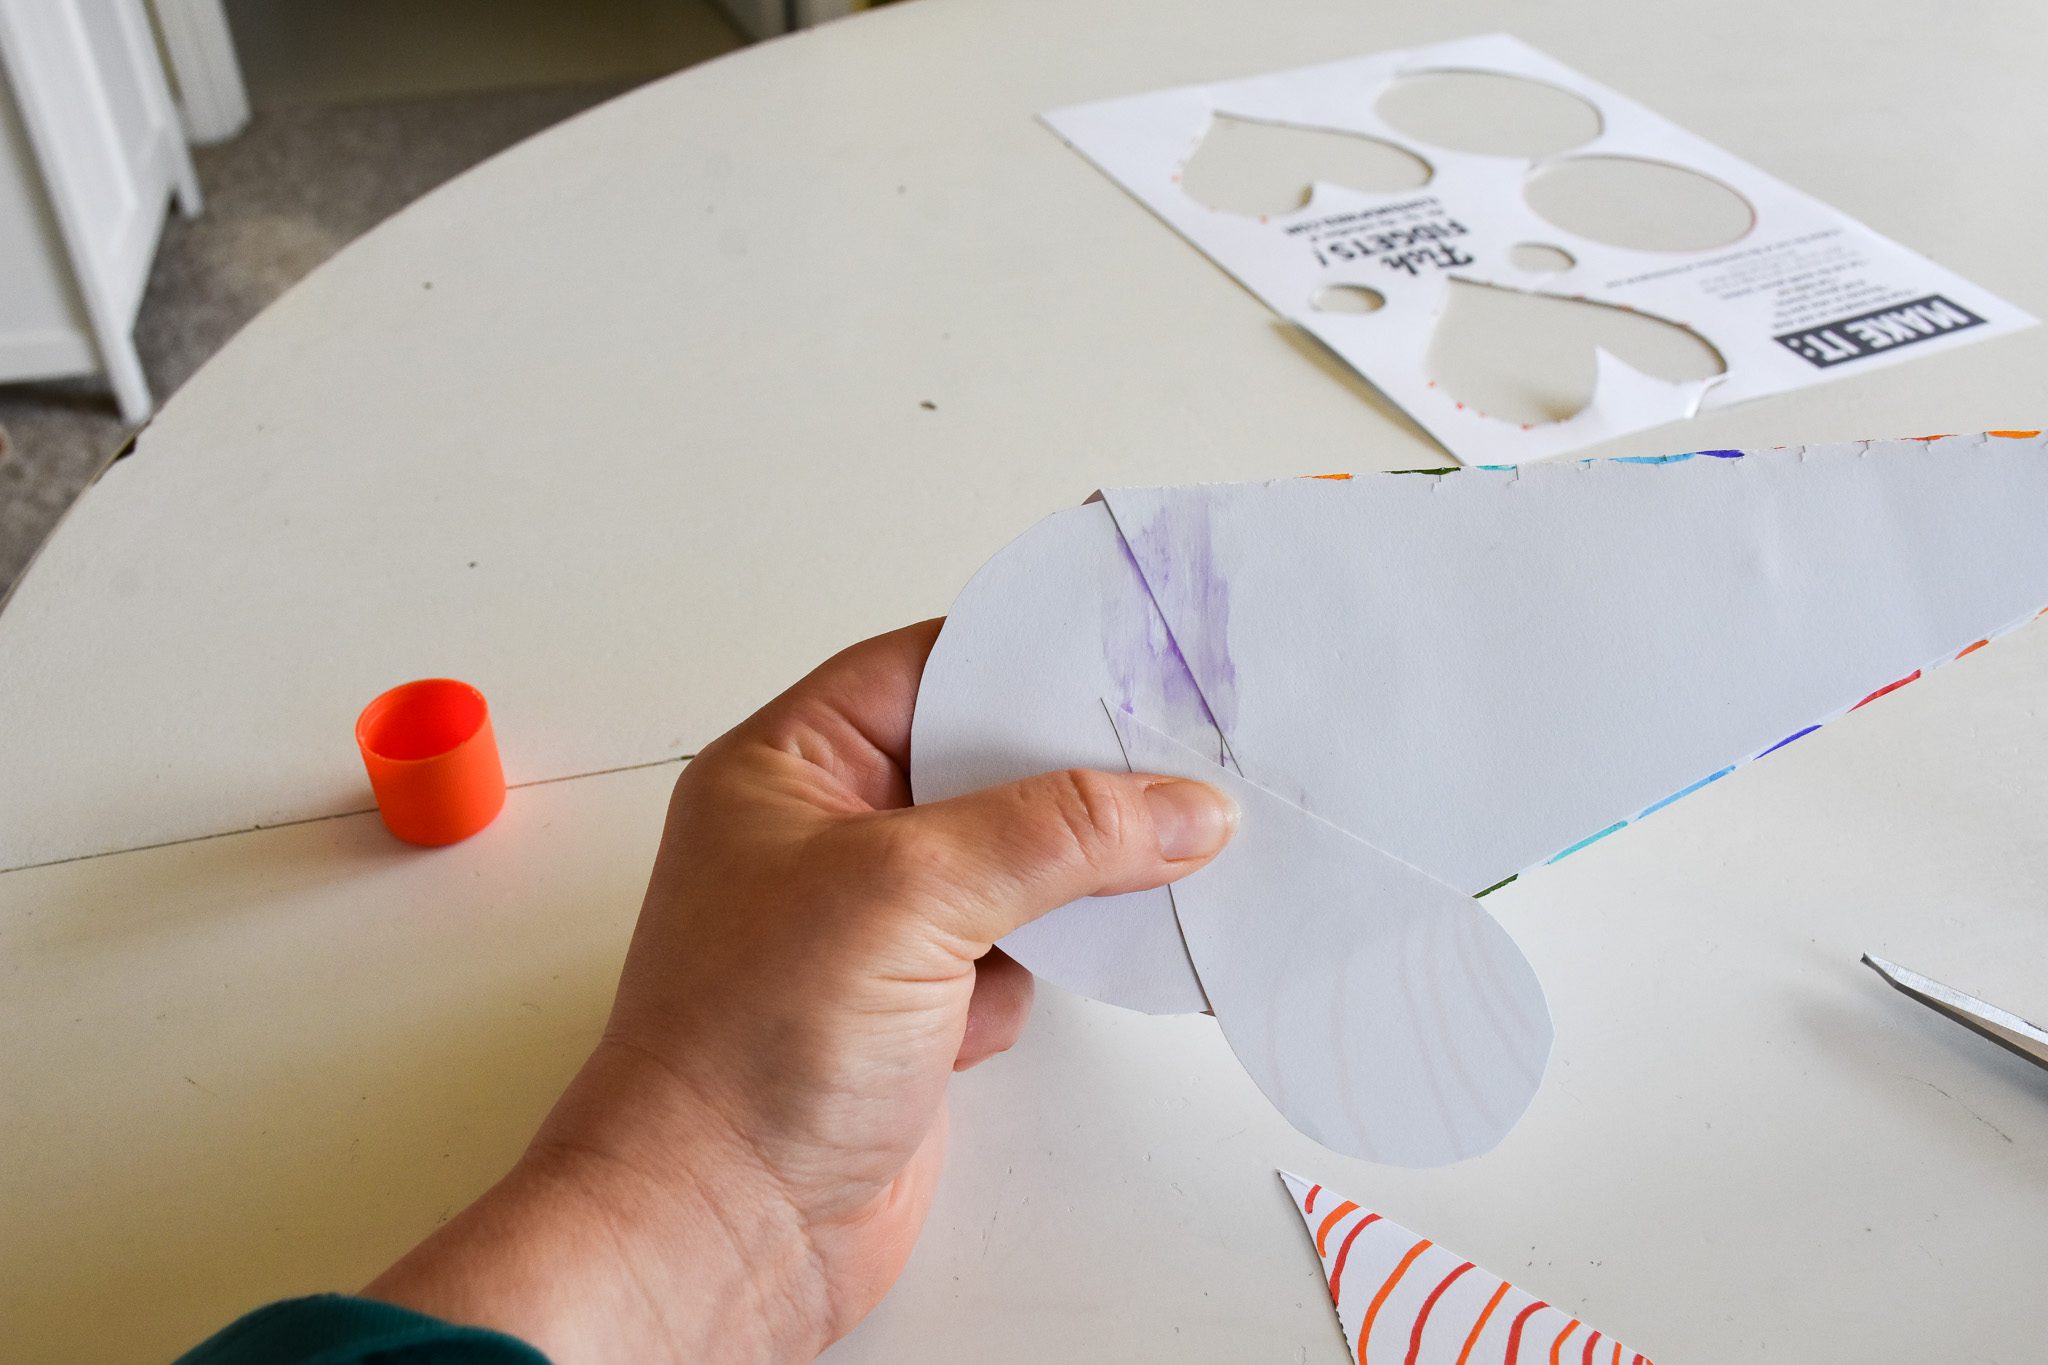
Cut the other heart in half.
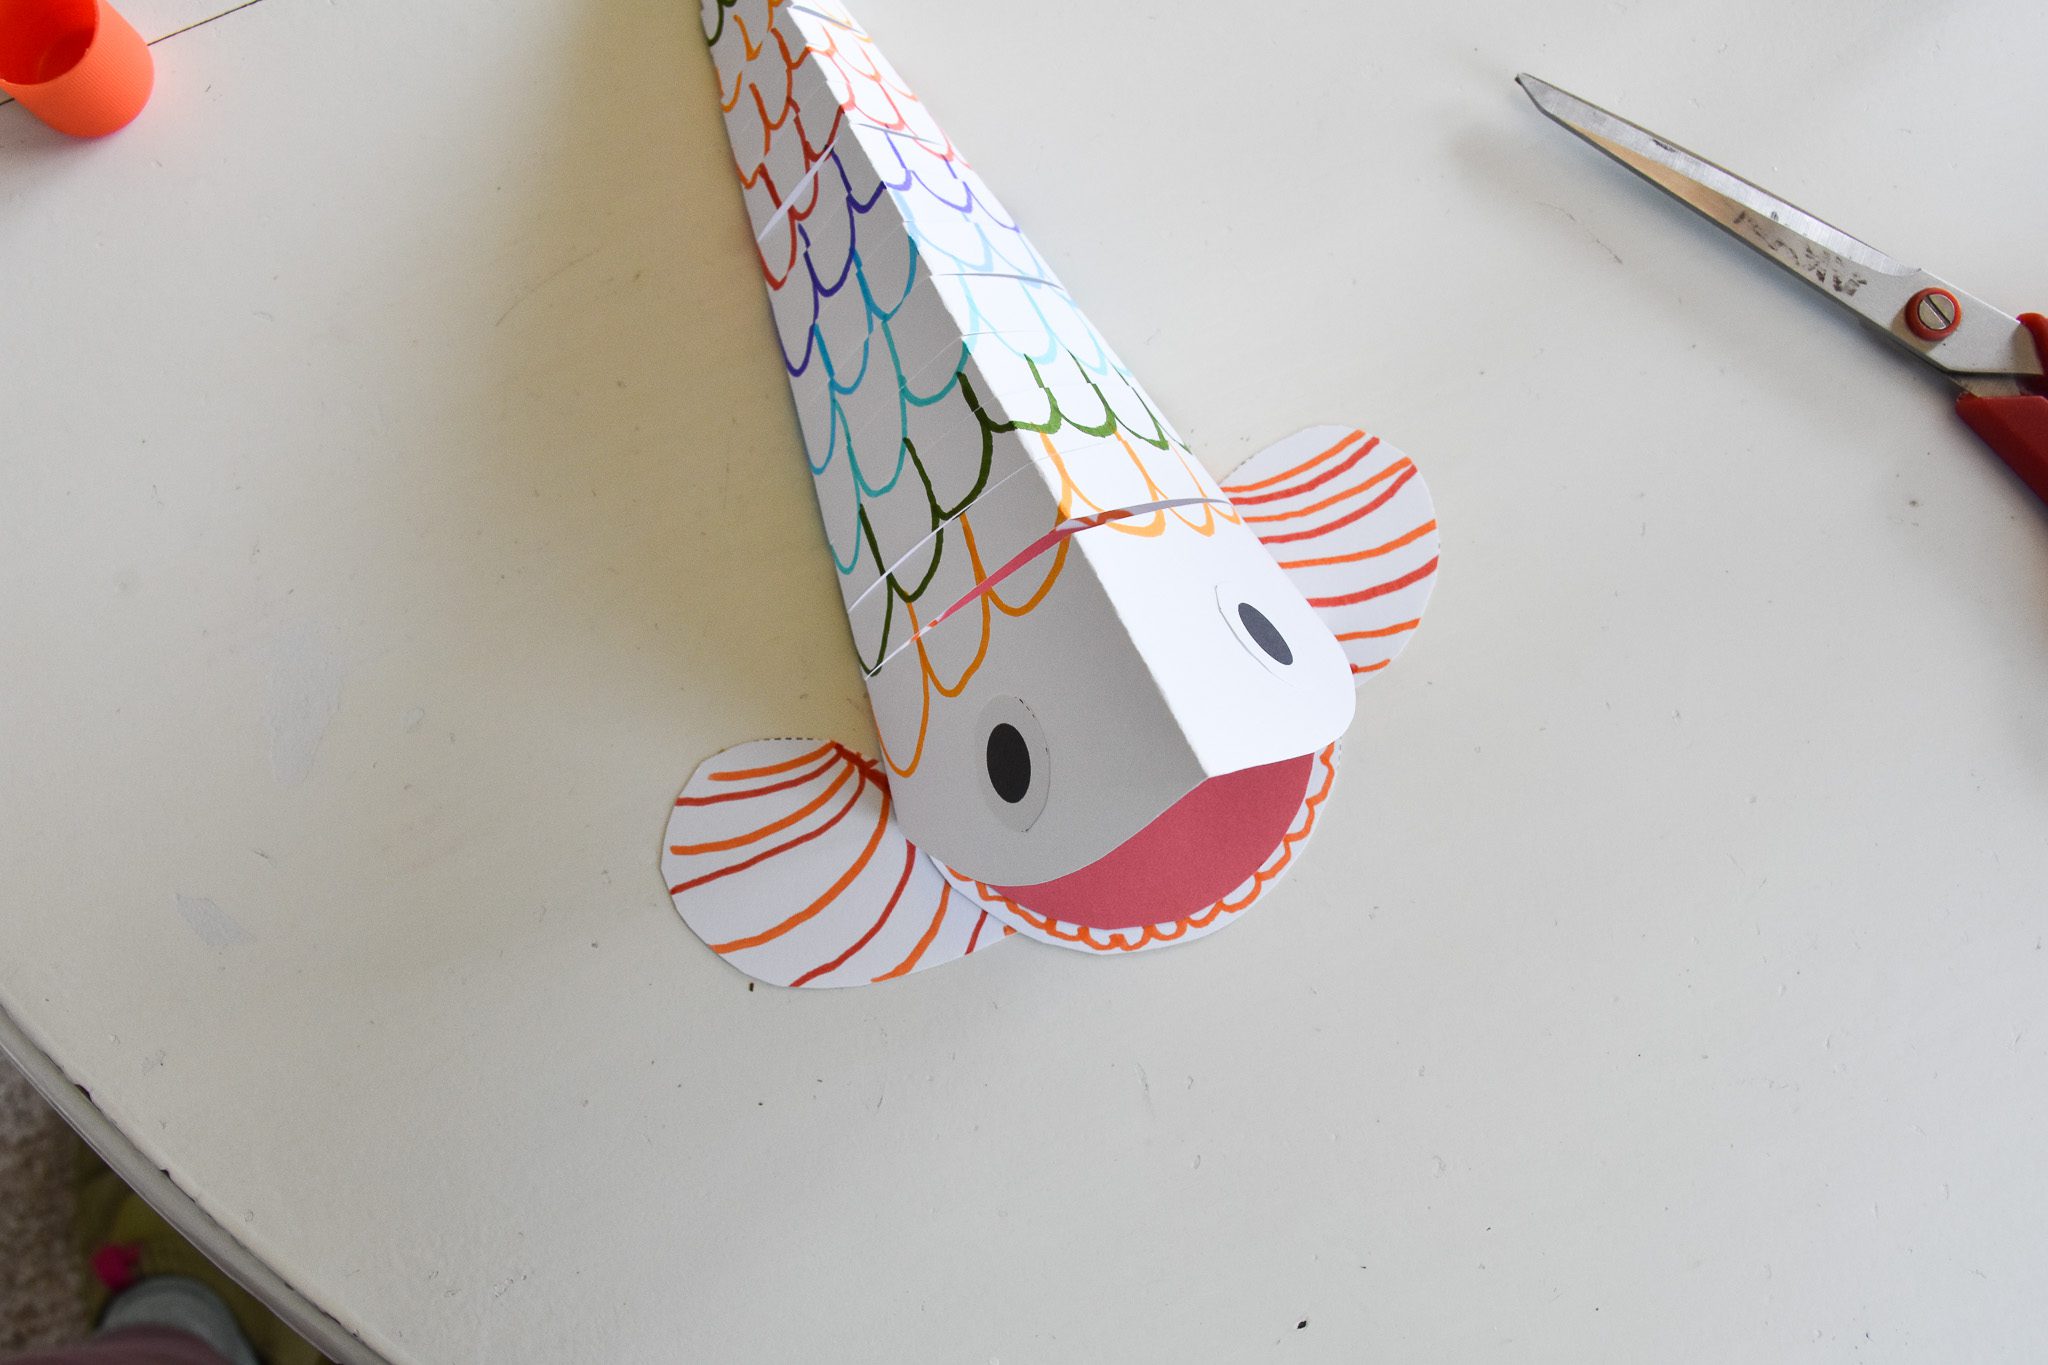
Position the side fins toward the head (again, to leave as much of the body free as possible).
Glue both side fins in place.
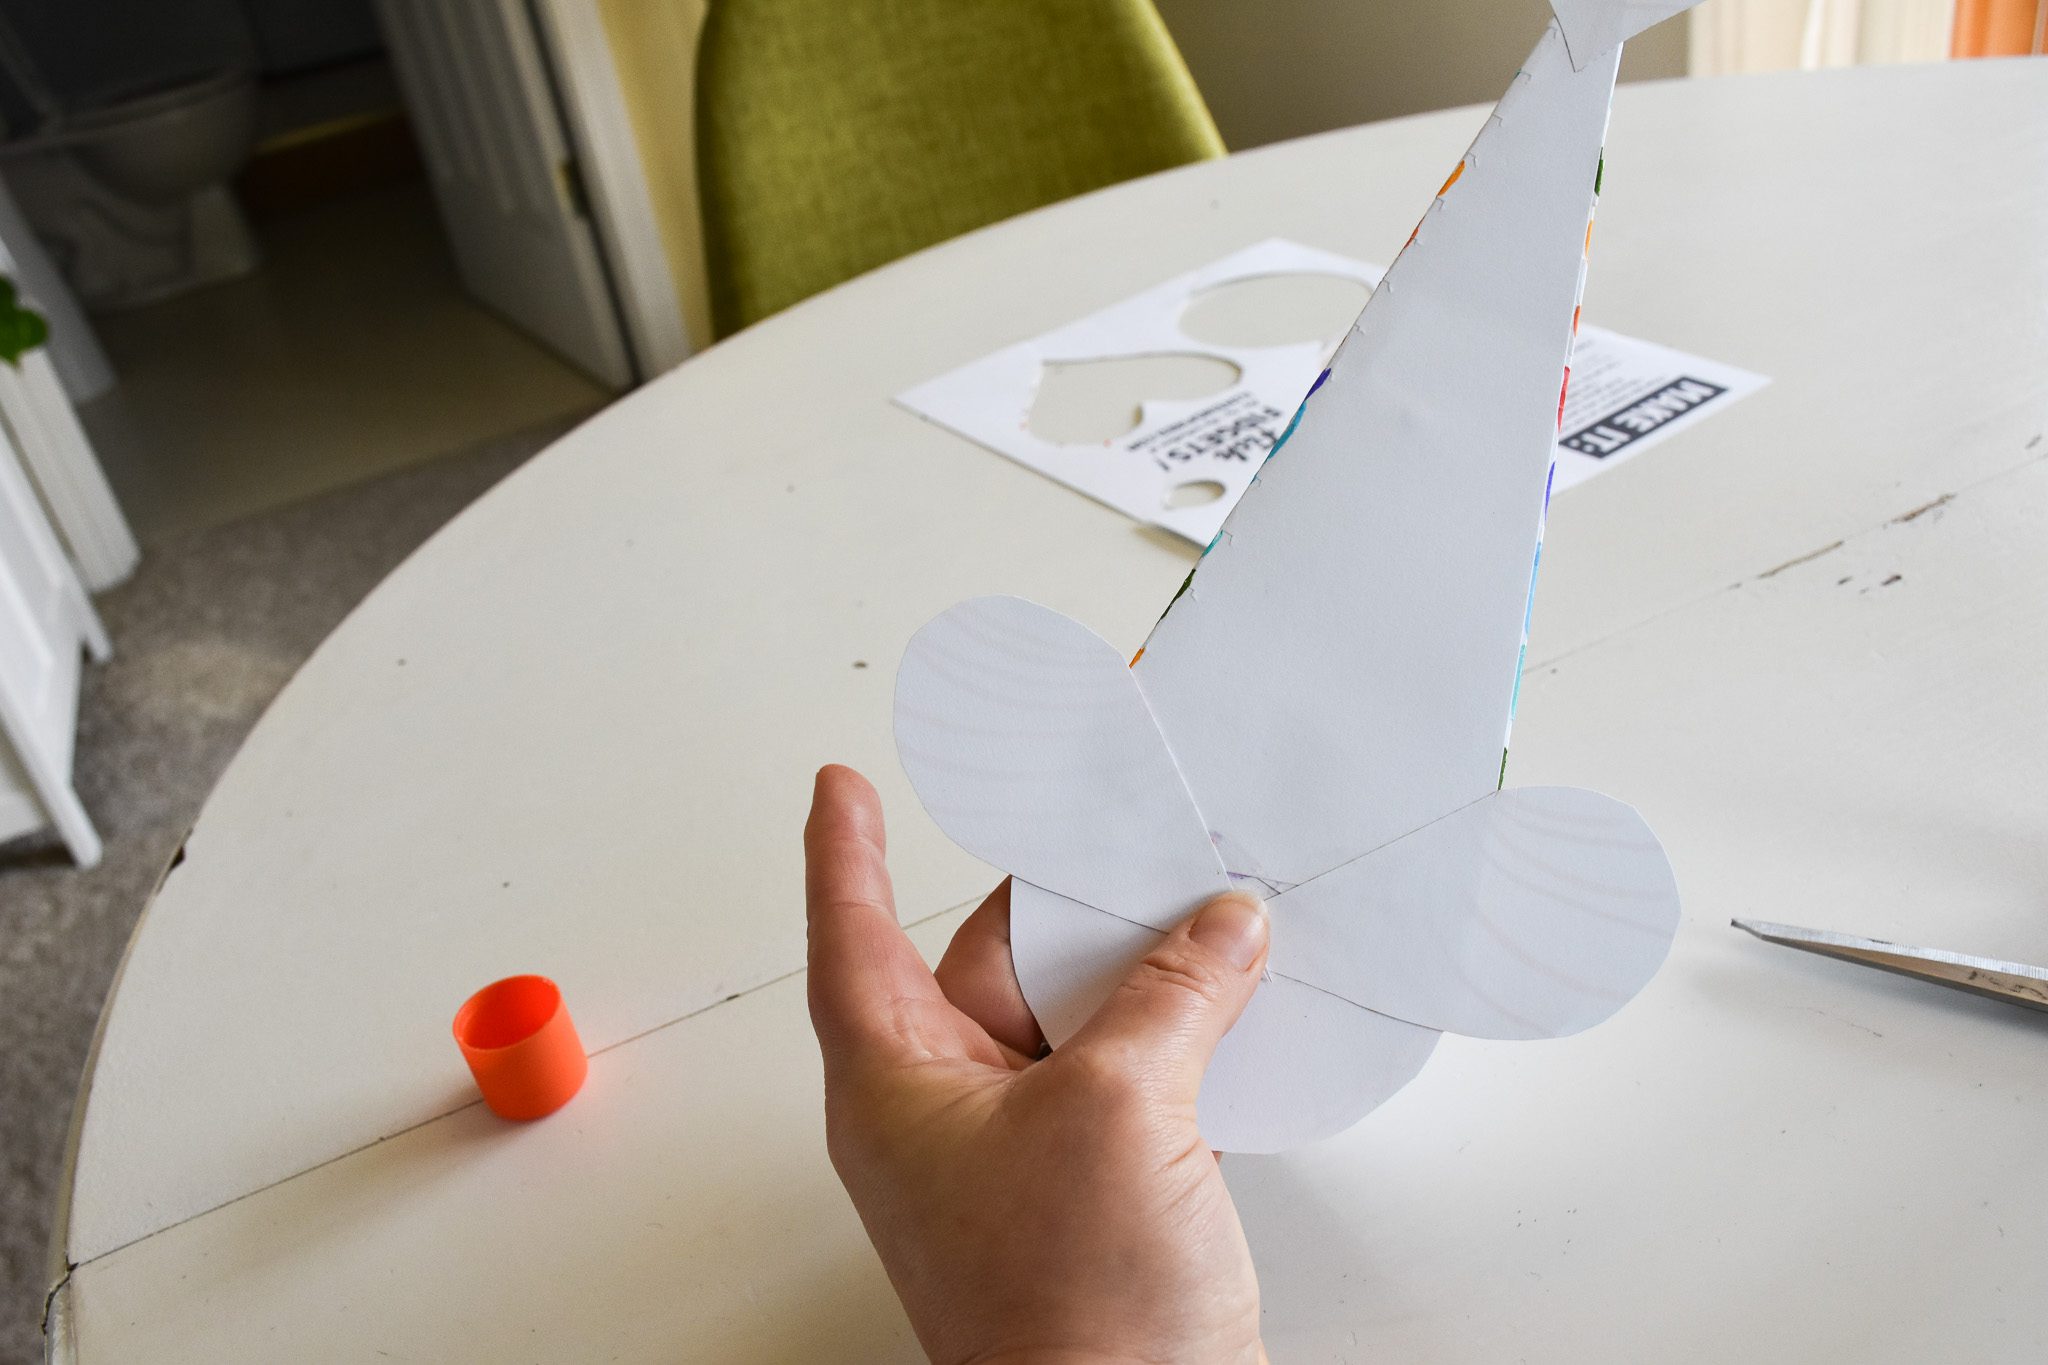
Hold in place for a bit so the glue can set.
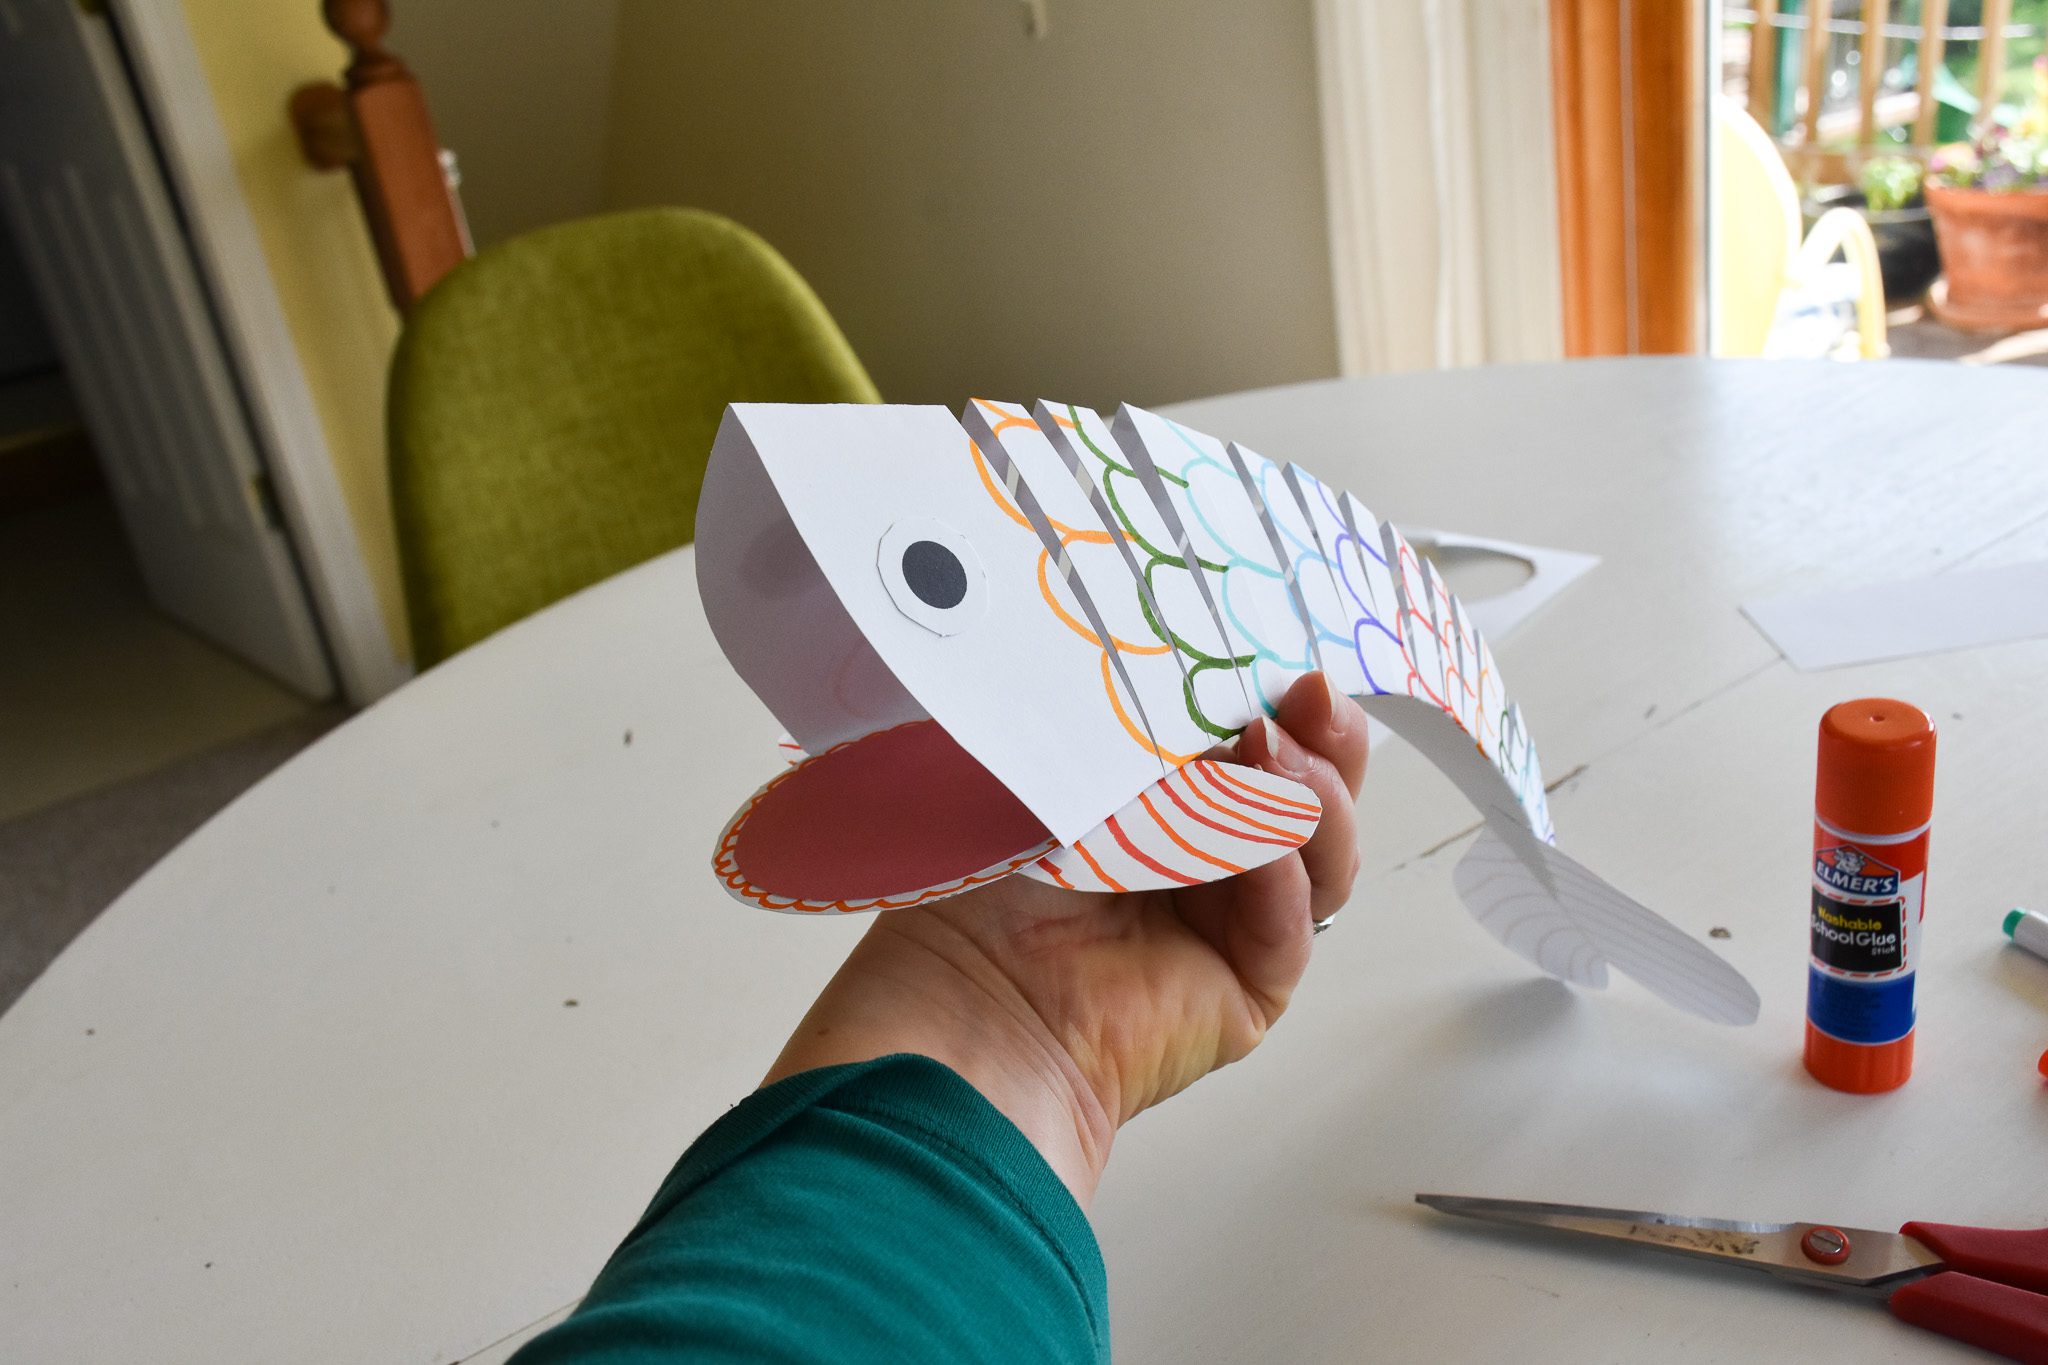
Now your fish is done! Hold the head and the tail, moving them up and down, and watch it move like a slinky!