Paper Heart Wreath
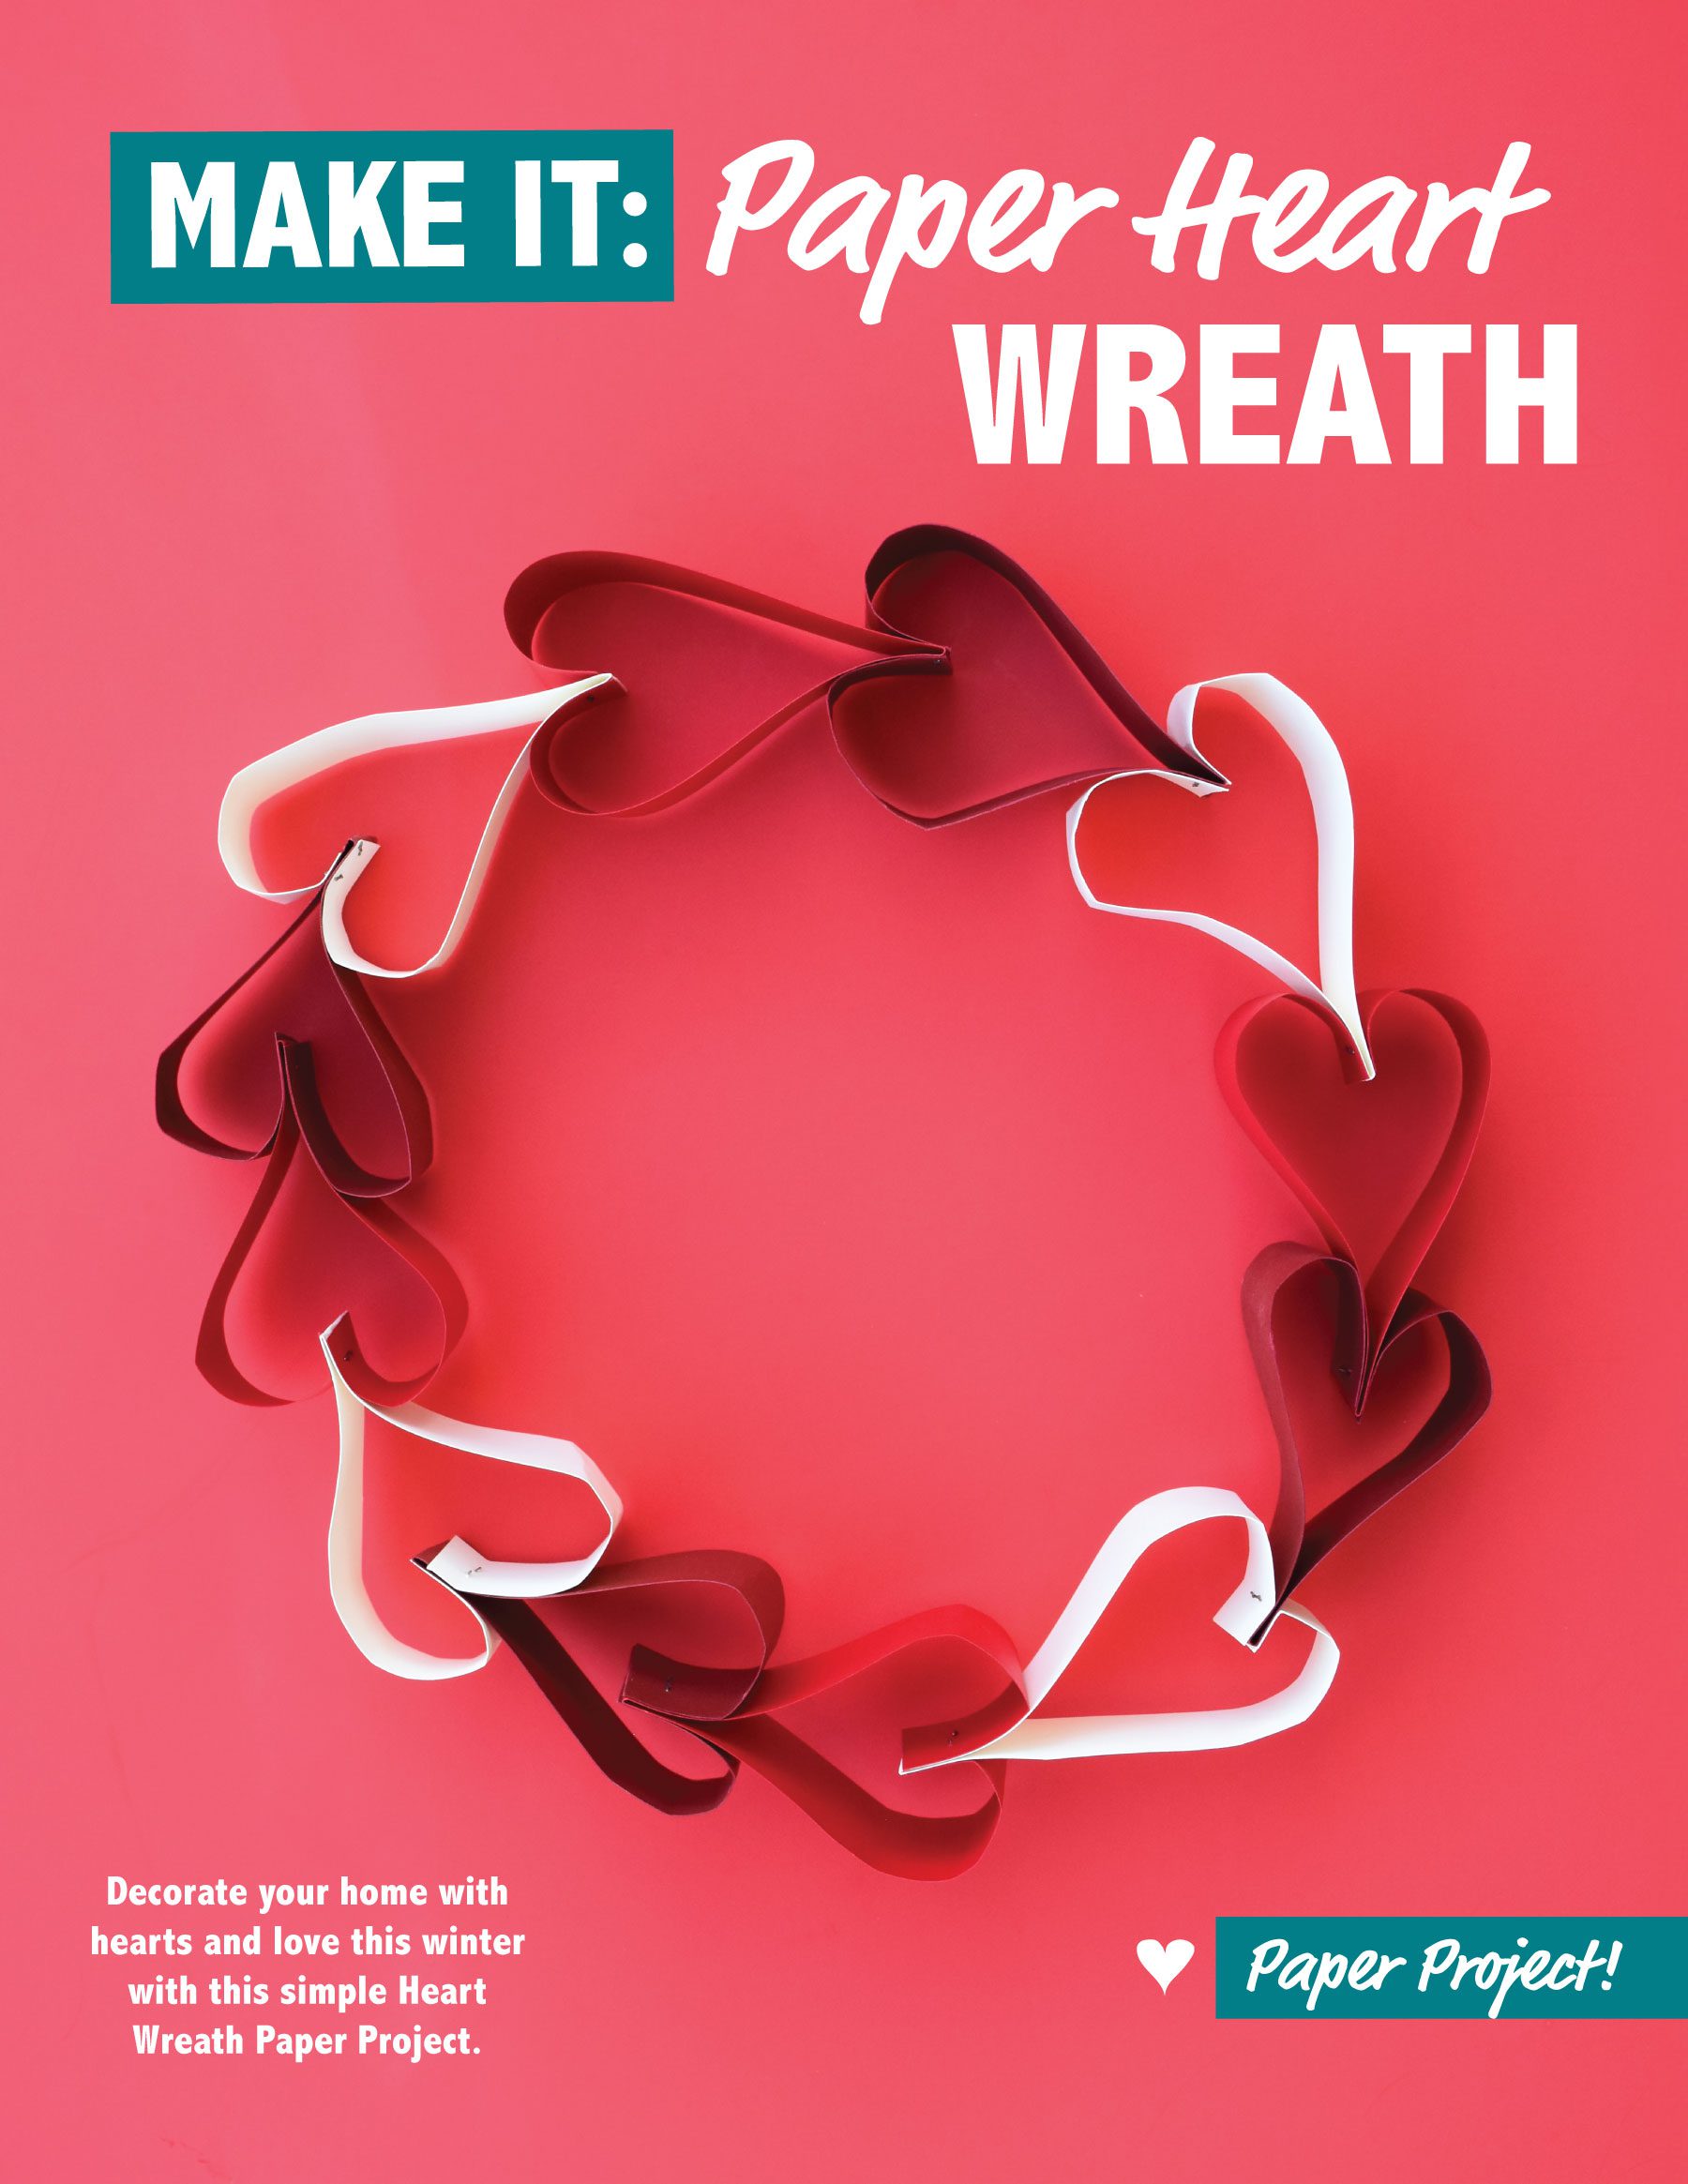
Decorate your home with hearts and love this winter with this simple Paper Heart Wreath Project!
(Check out those moody, shadowy pics, haha – this Paper Heart Wreath project certainly had a winter sun photoshoot!)
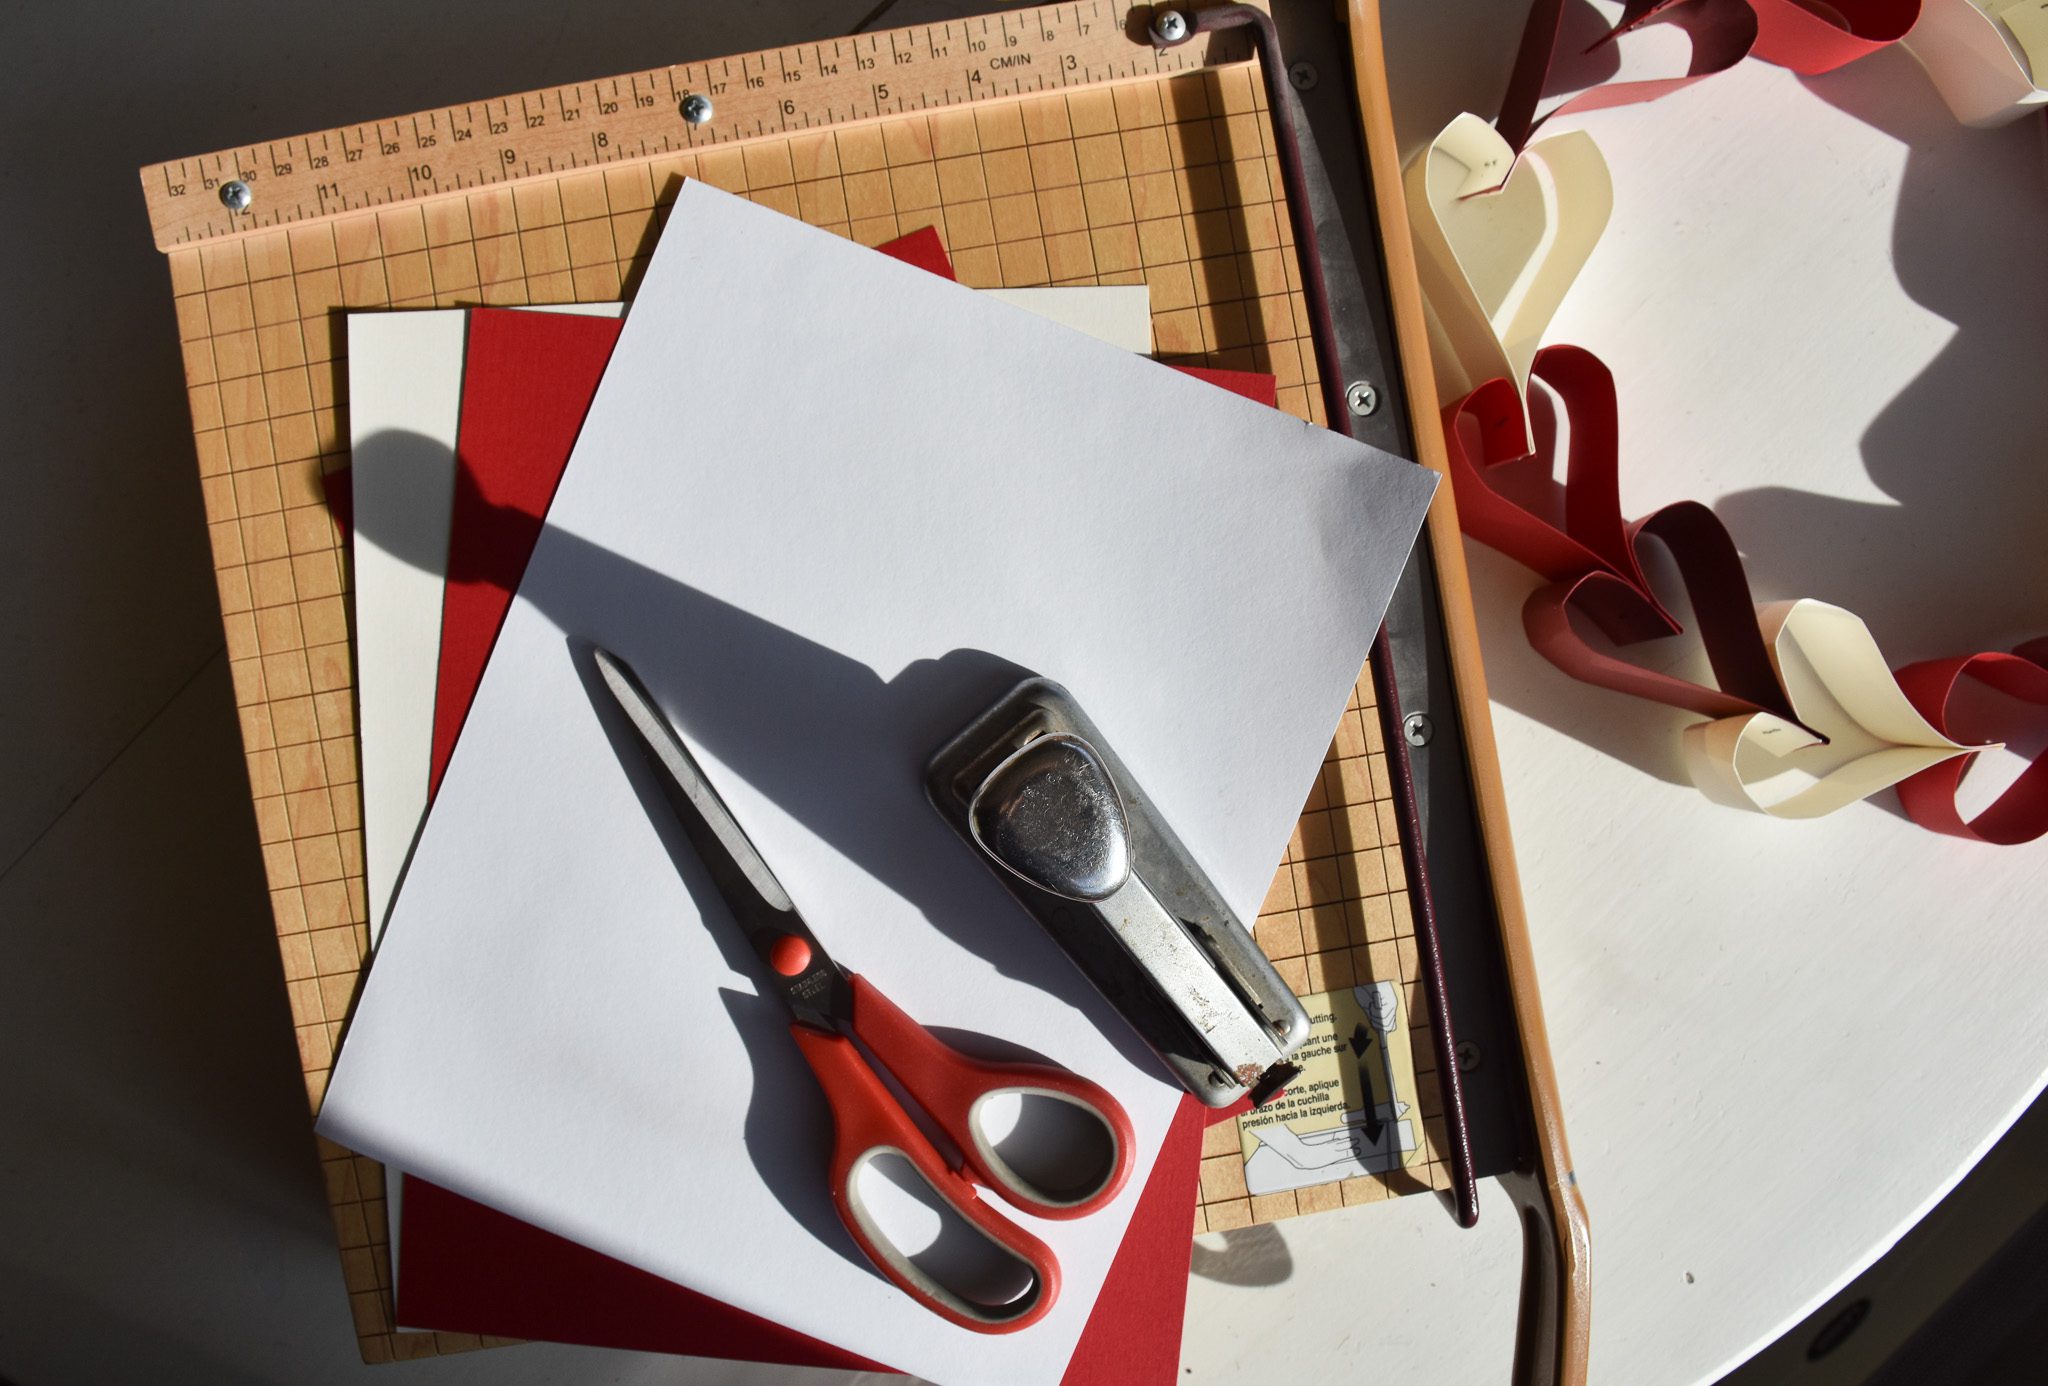
Supplies:
• Card stock in whatever colors you’d like (I had a red and white page for this tutorial)
• Guillotine paper cutter (if you have one)
…otherwise scissors will do (you will need a ruler then)
• Stapler
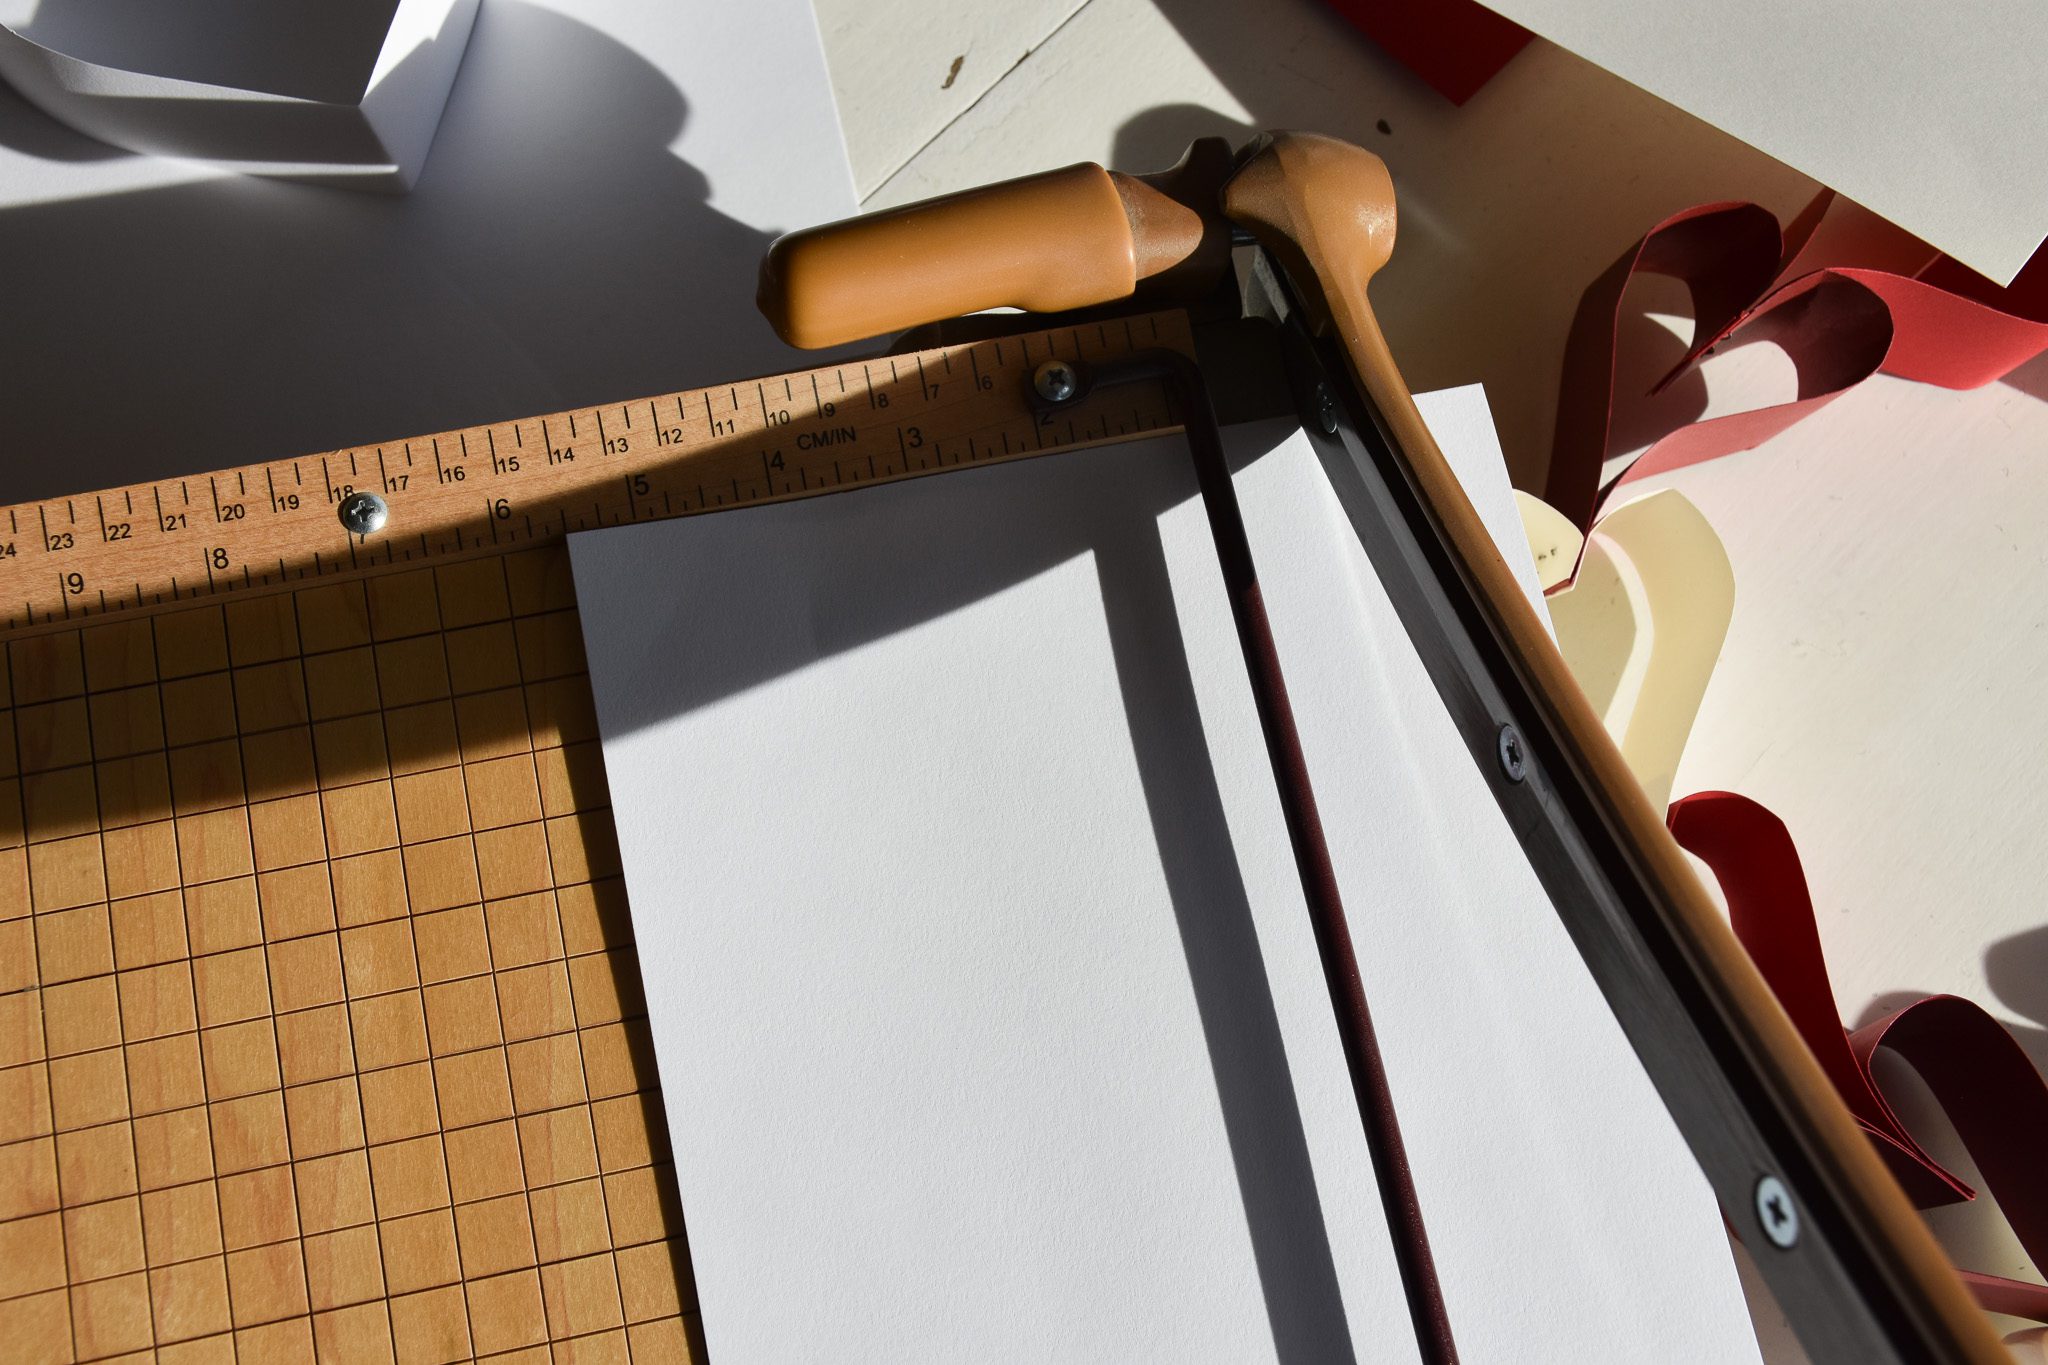
Position your card stock pages so they’re upright (you’re cutting along the 11-inch side). Cut into a one-and-a-half inch strip. Repeat until you have five strips.
If you’re using scissors, use a ruler to mark the one-and-a-half inch strips and cut along the lines to get your five strips.
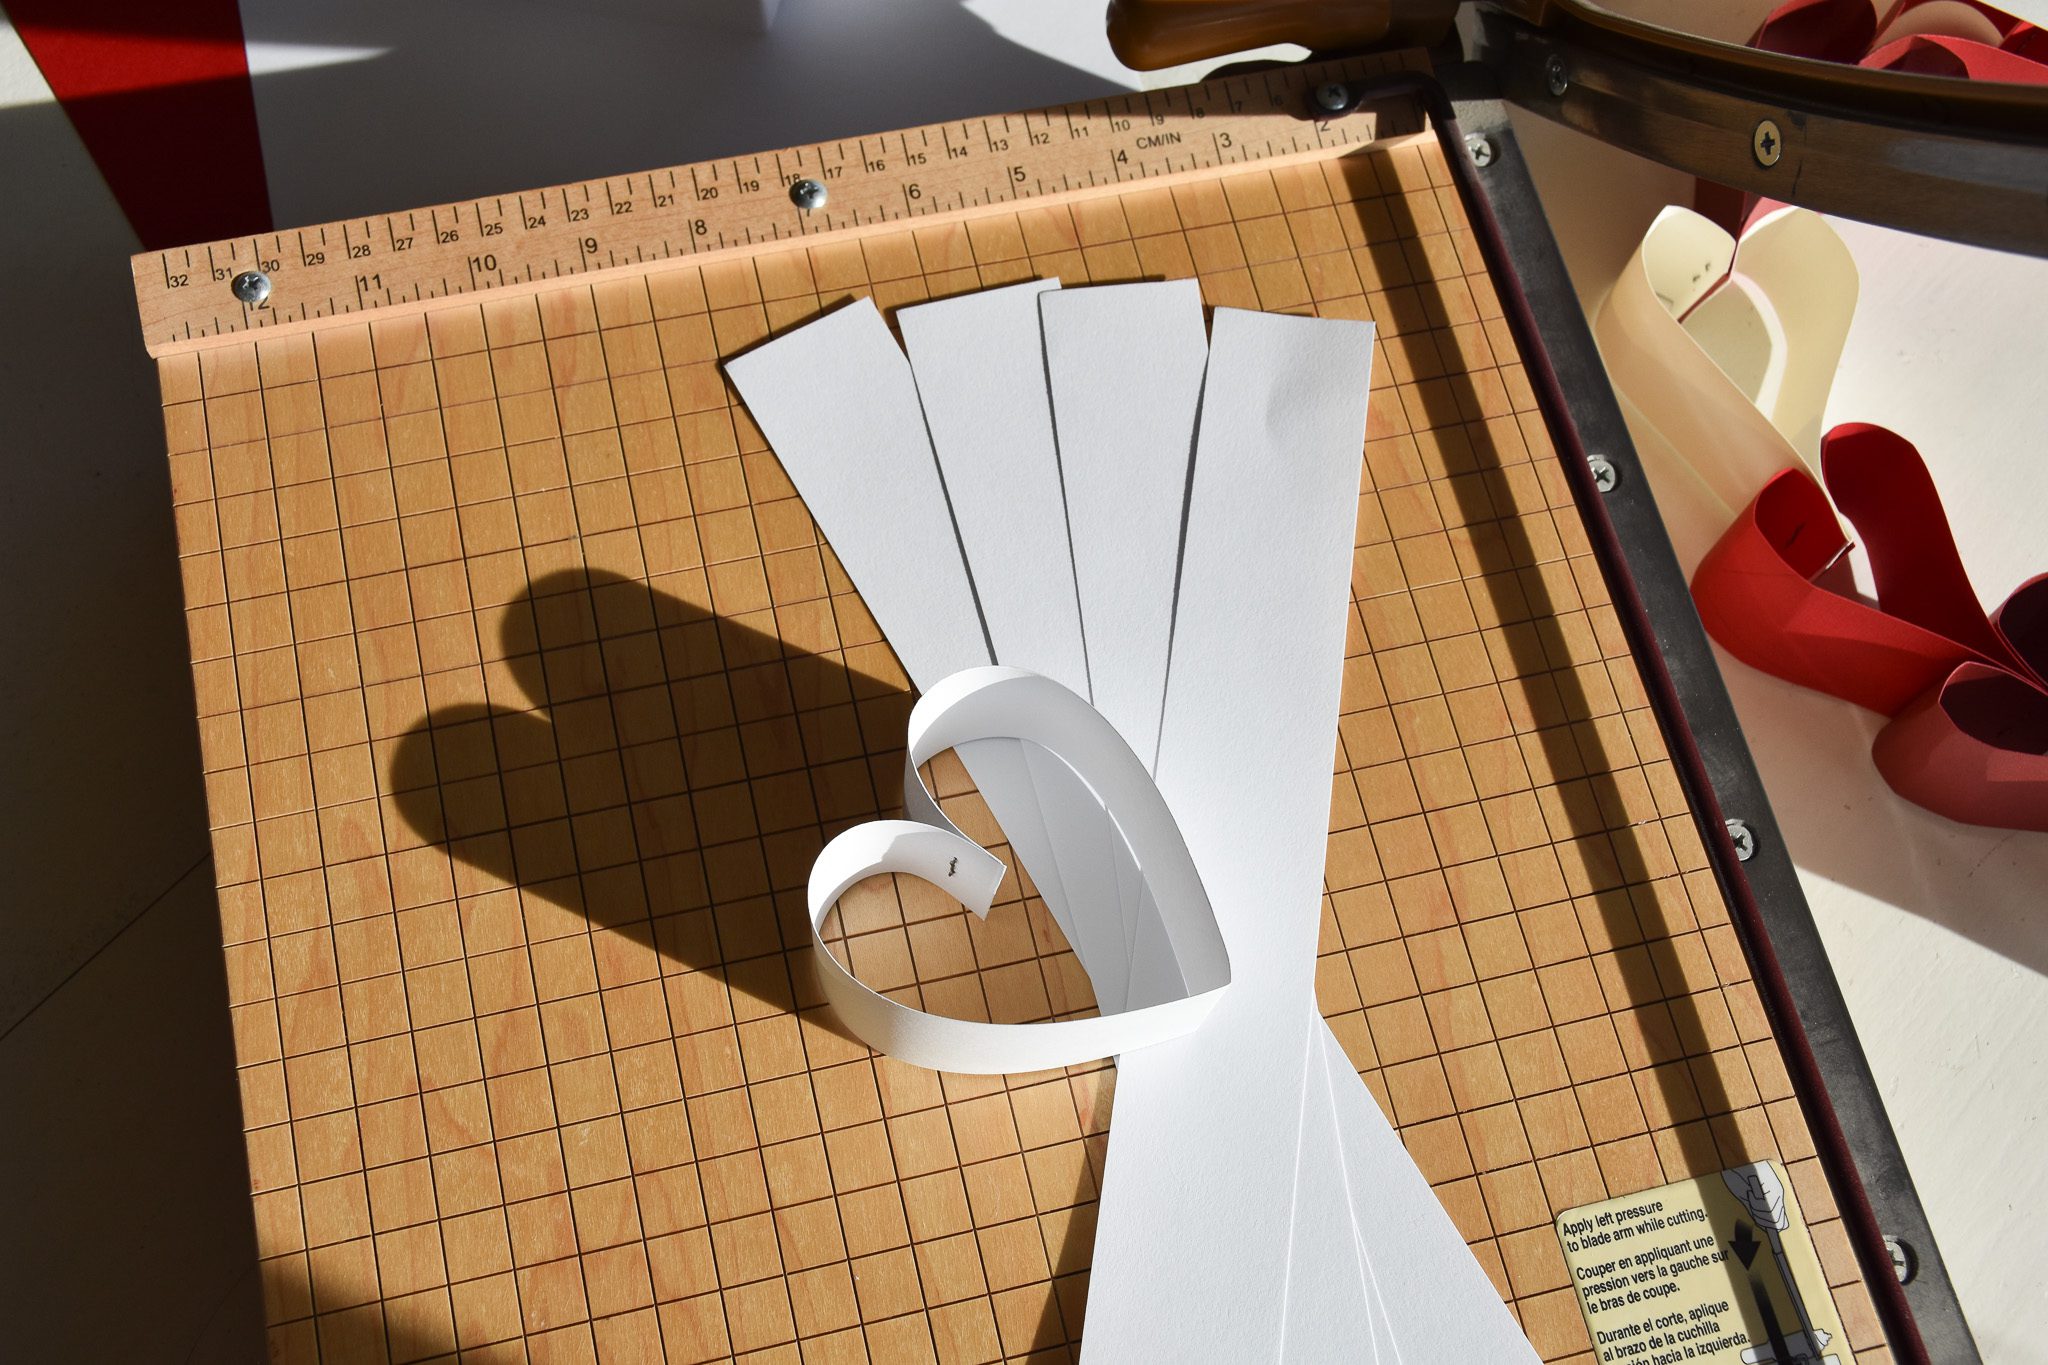
Here are my white strips with one heart already formed.
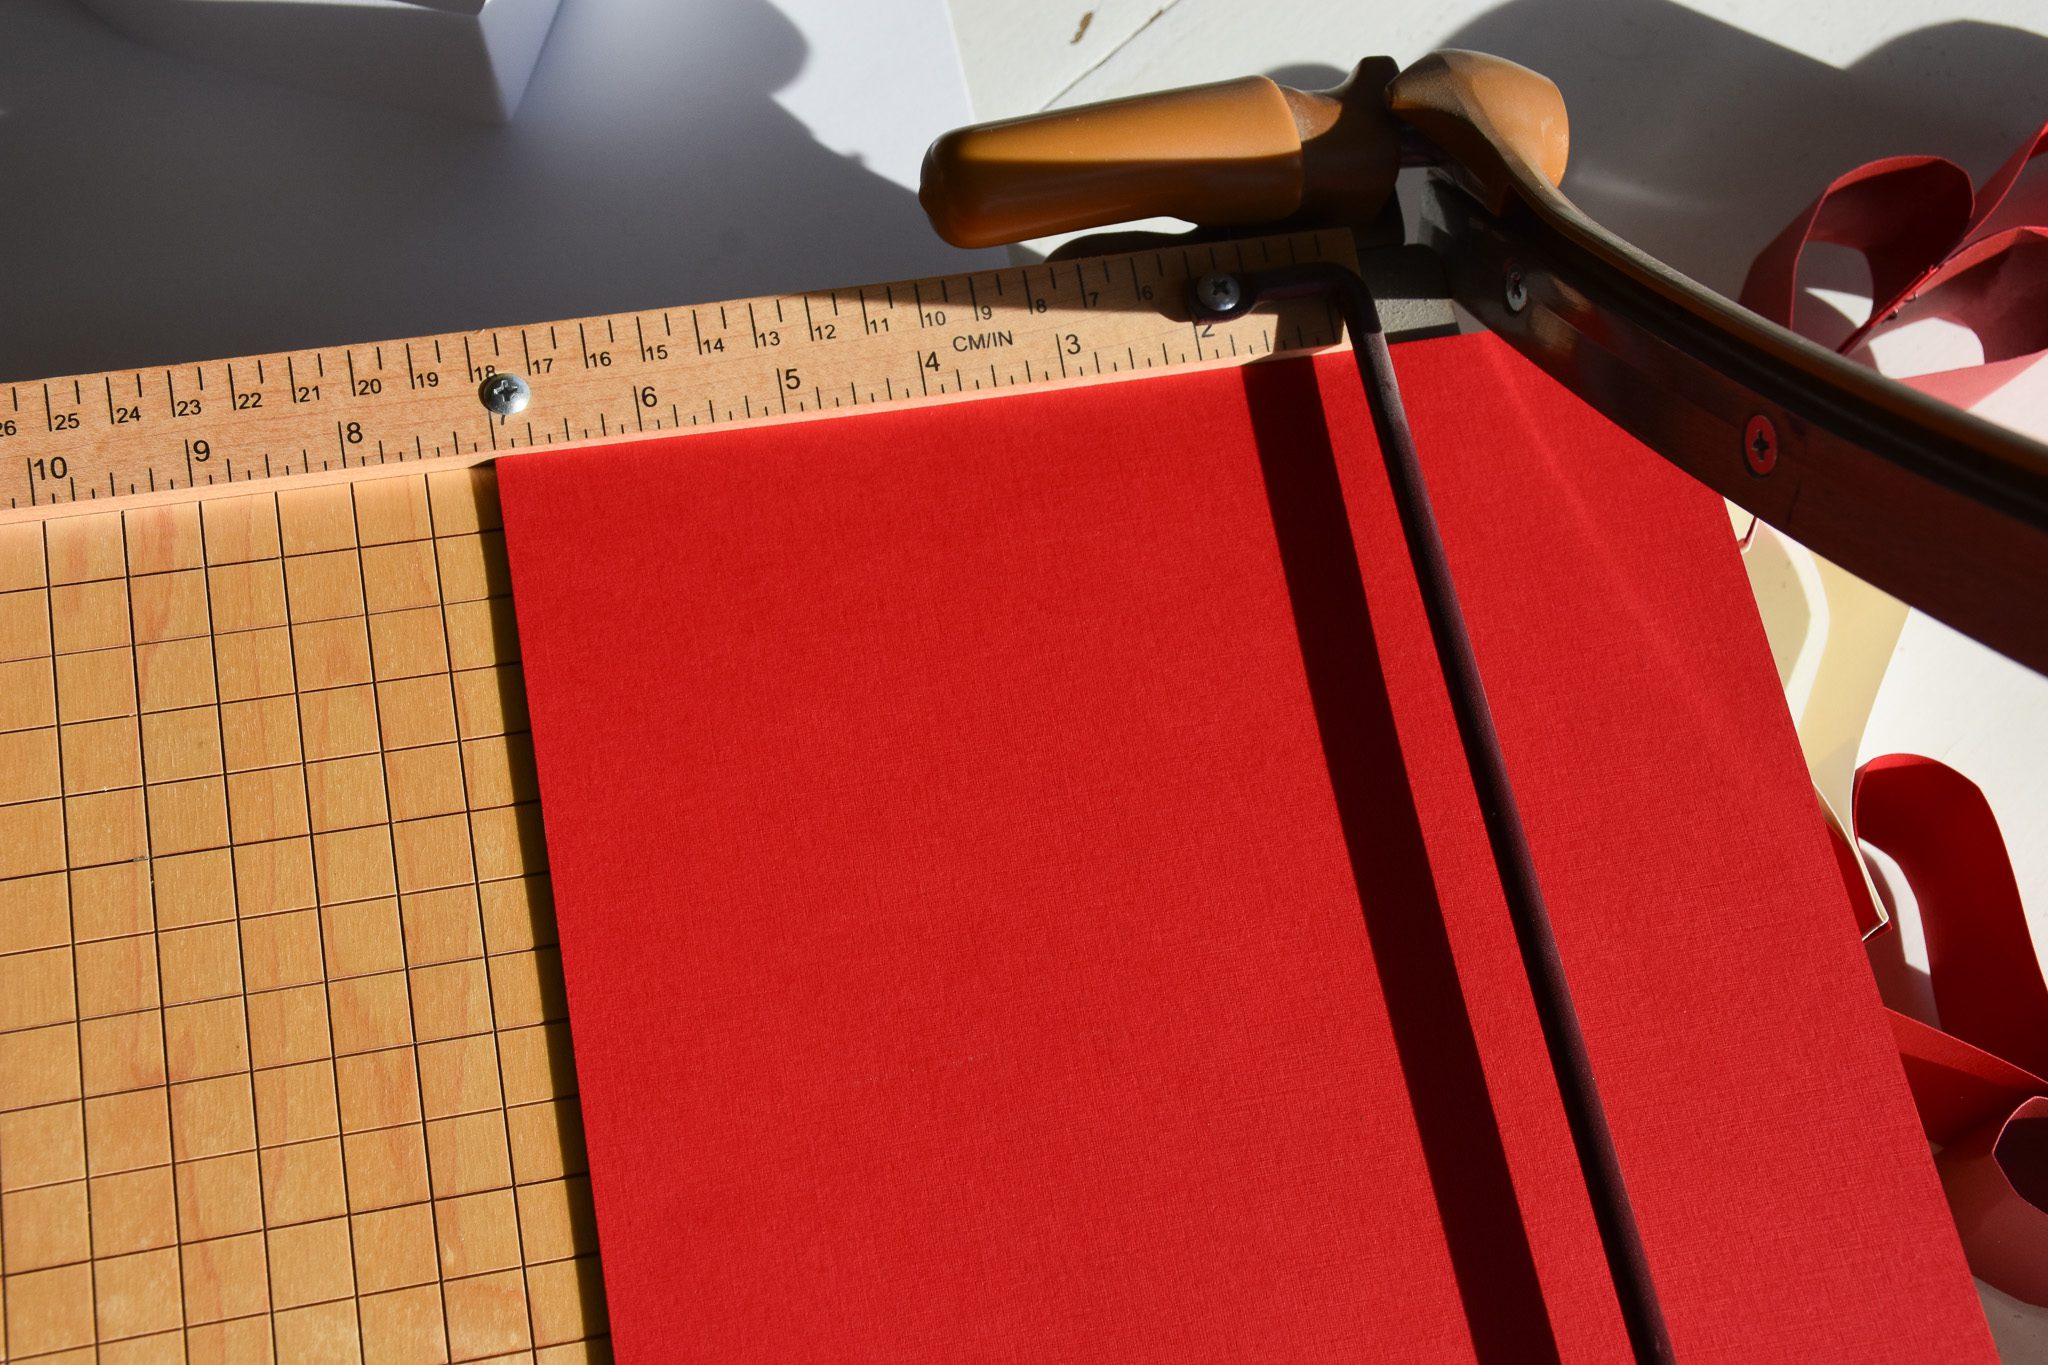
Repeat the strip cutting with your other paper color. If you’re doing more than two colors, you can adjust the number of hearts and strips – I found 10-12 a nice number…nine would probably work too. So you could do three of each color to make nine hearts, or four to make 12, etc.
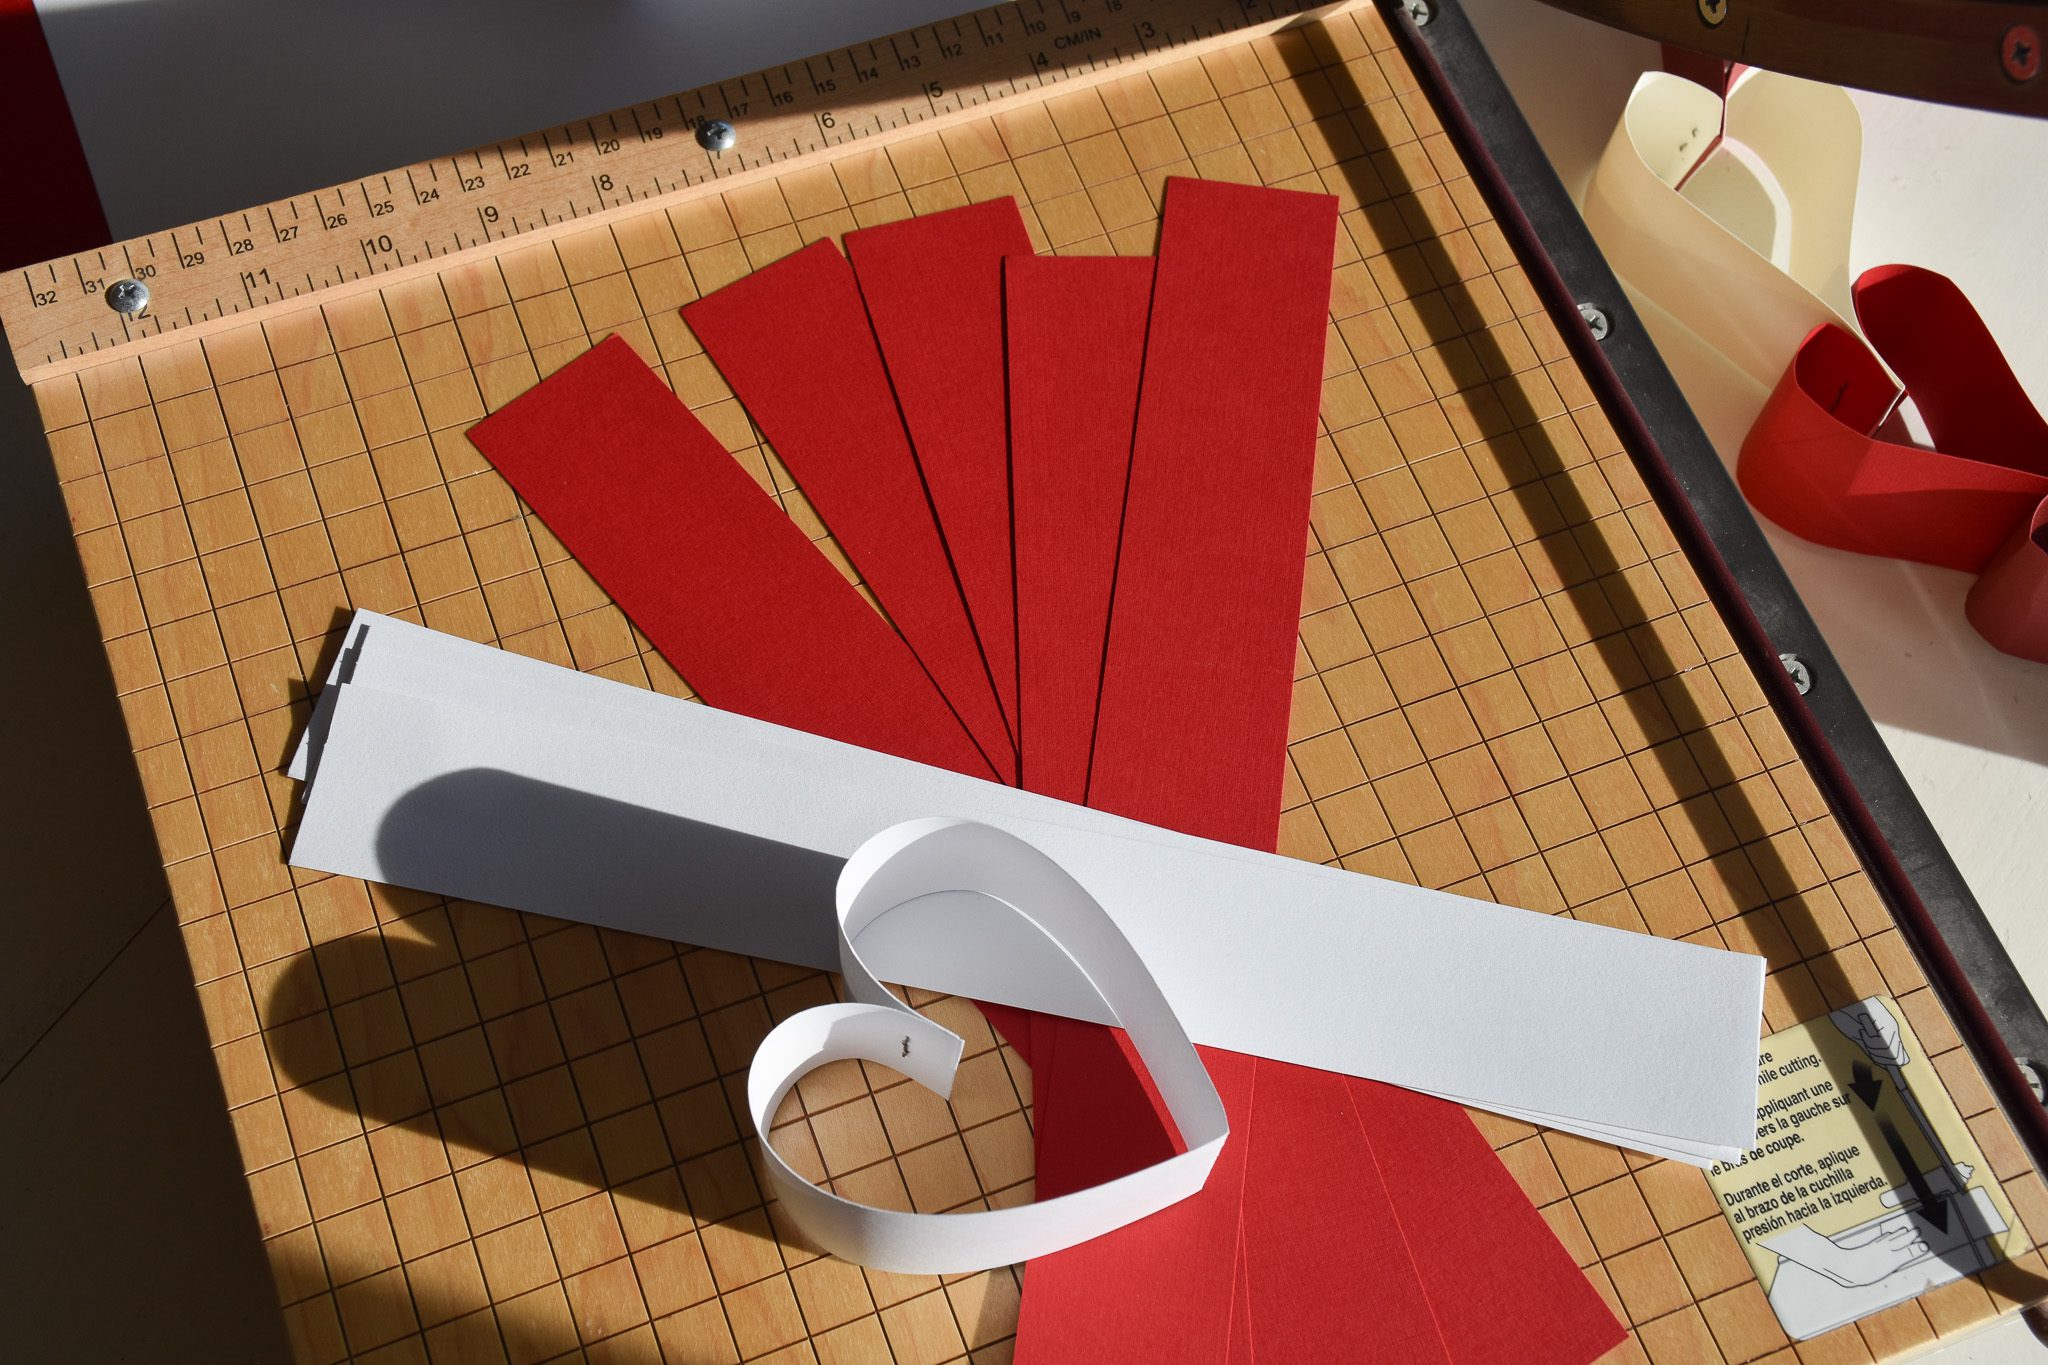
Here are my 10 strips ready to be folded (okay, one is already folded)!
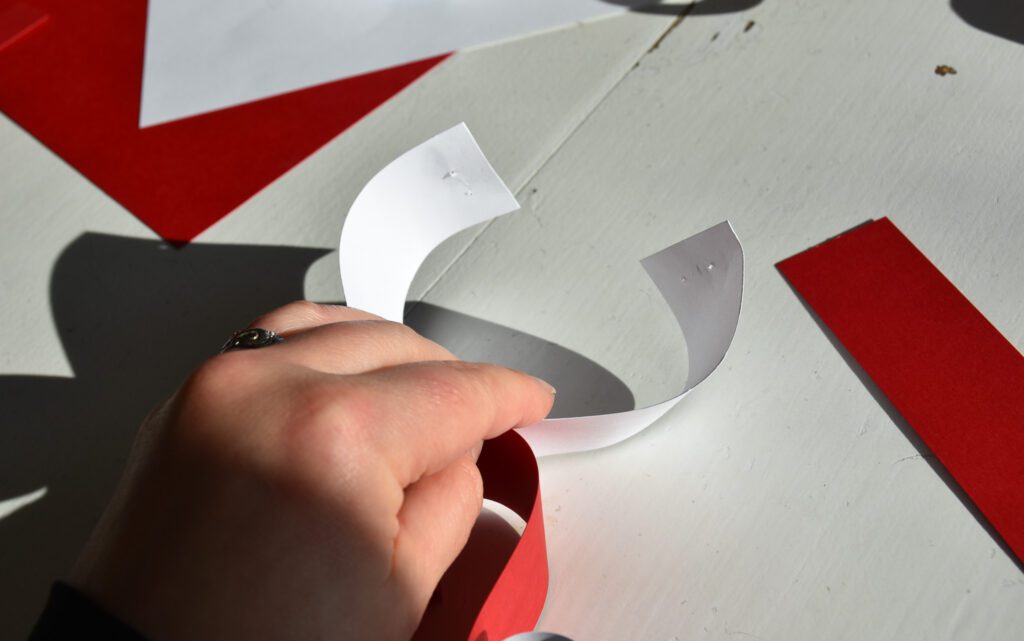
NOTE: I made a mistake on this first one. You should fold your first heart, but NOT staple it (so you can attach it to the last heart to make a circle wreath at the end). So imagine that first white heart is folded, but not stapled yet. Like above (where I had to remove the staple)!
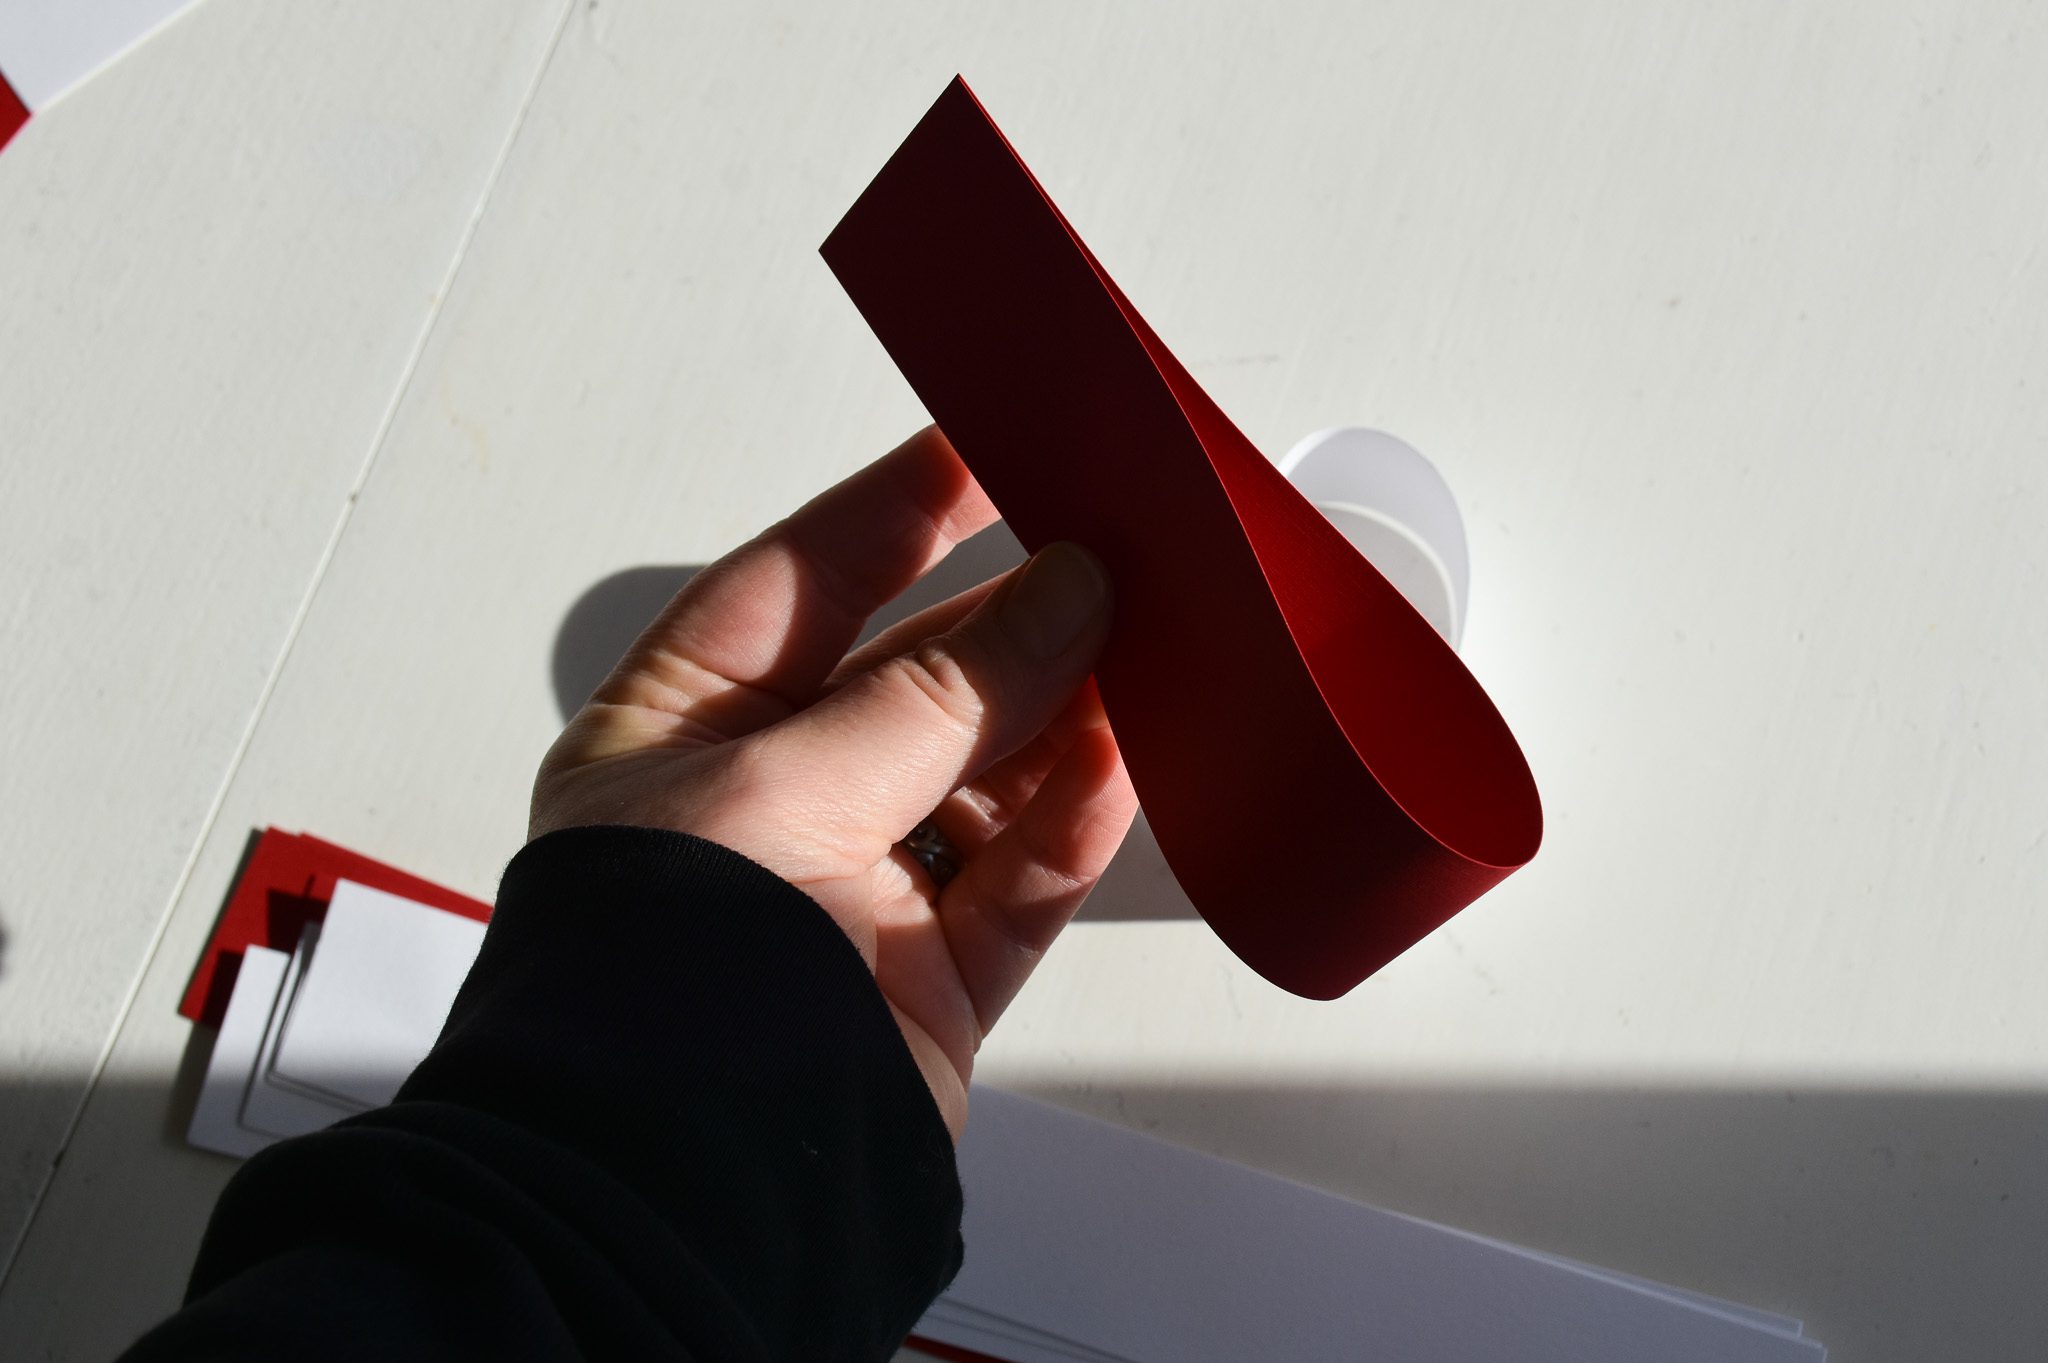
Okay, back to it! To make your hearts, fold the strip in half and crease it.
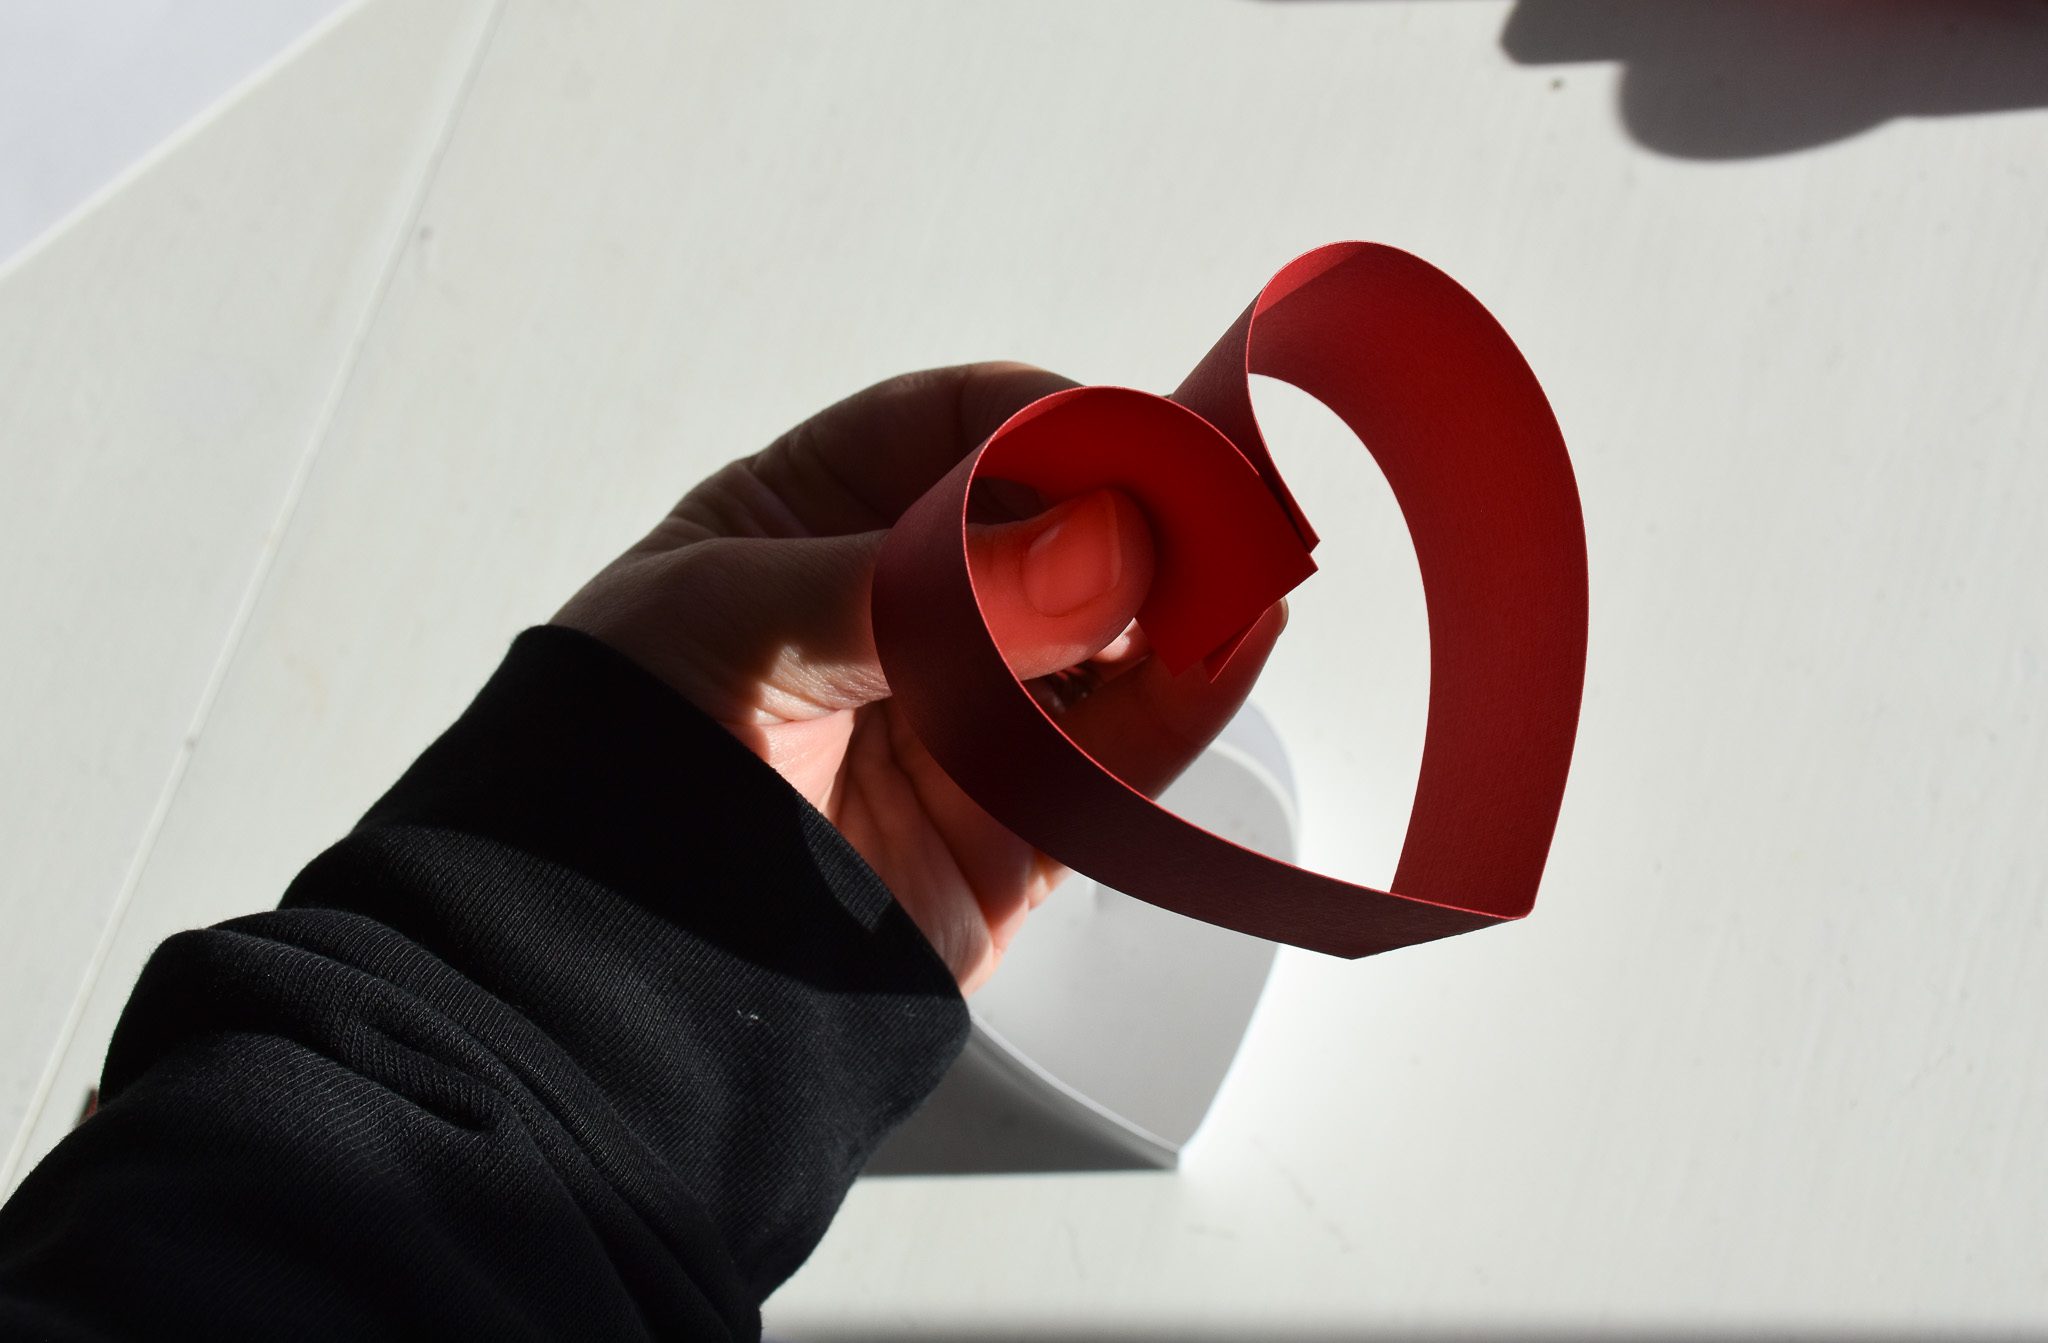
Take the open ends, and roll them together to form a paper heart.
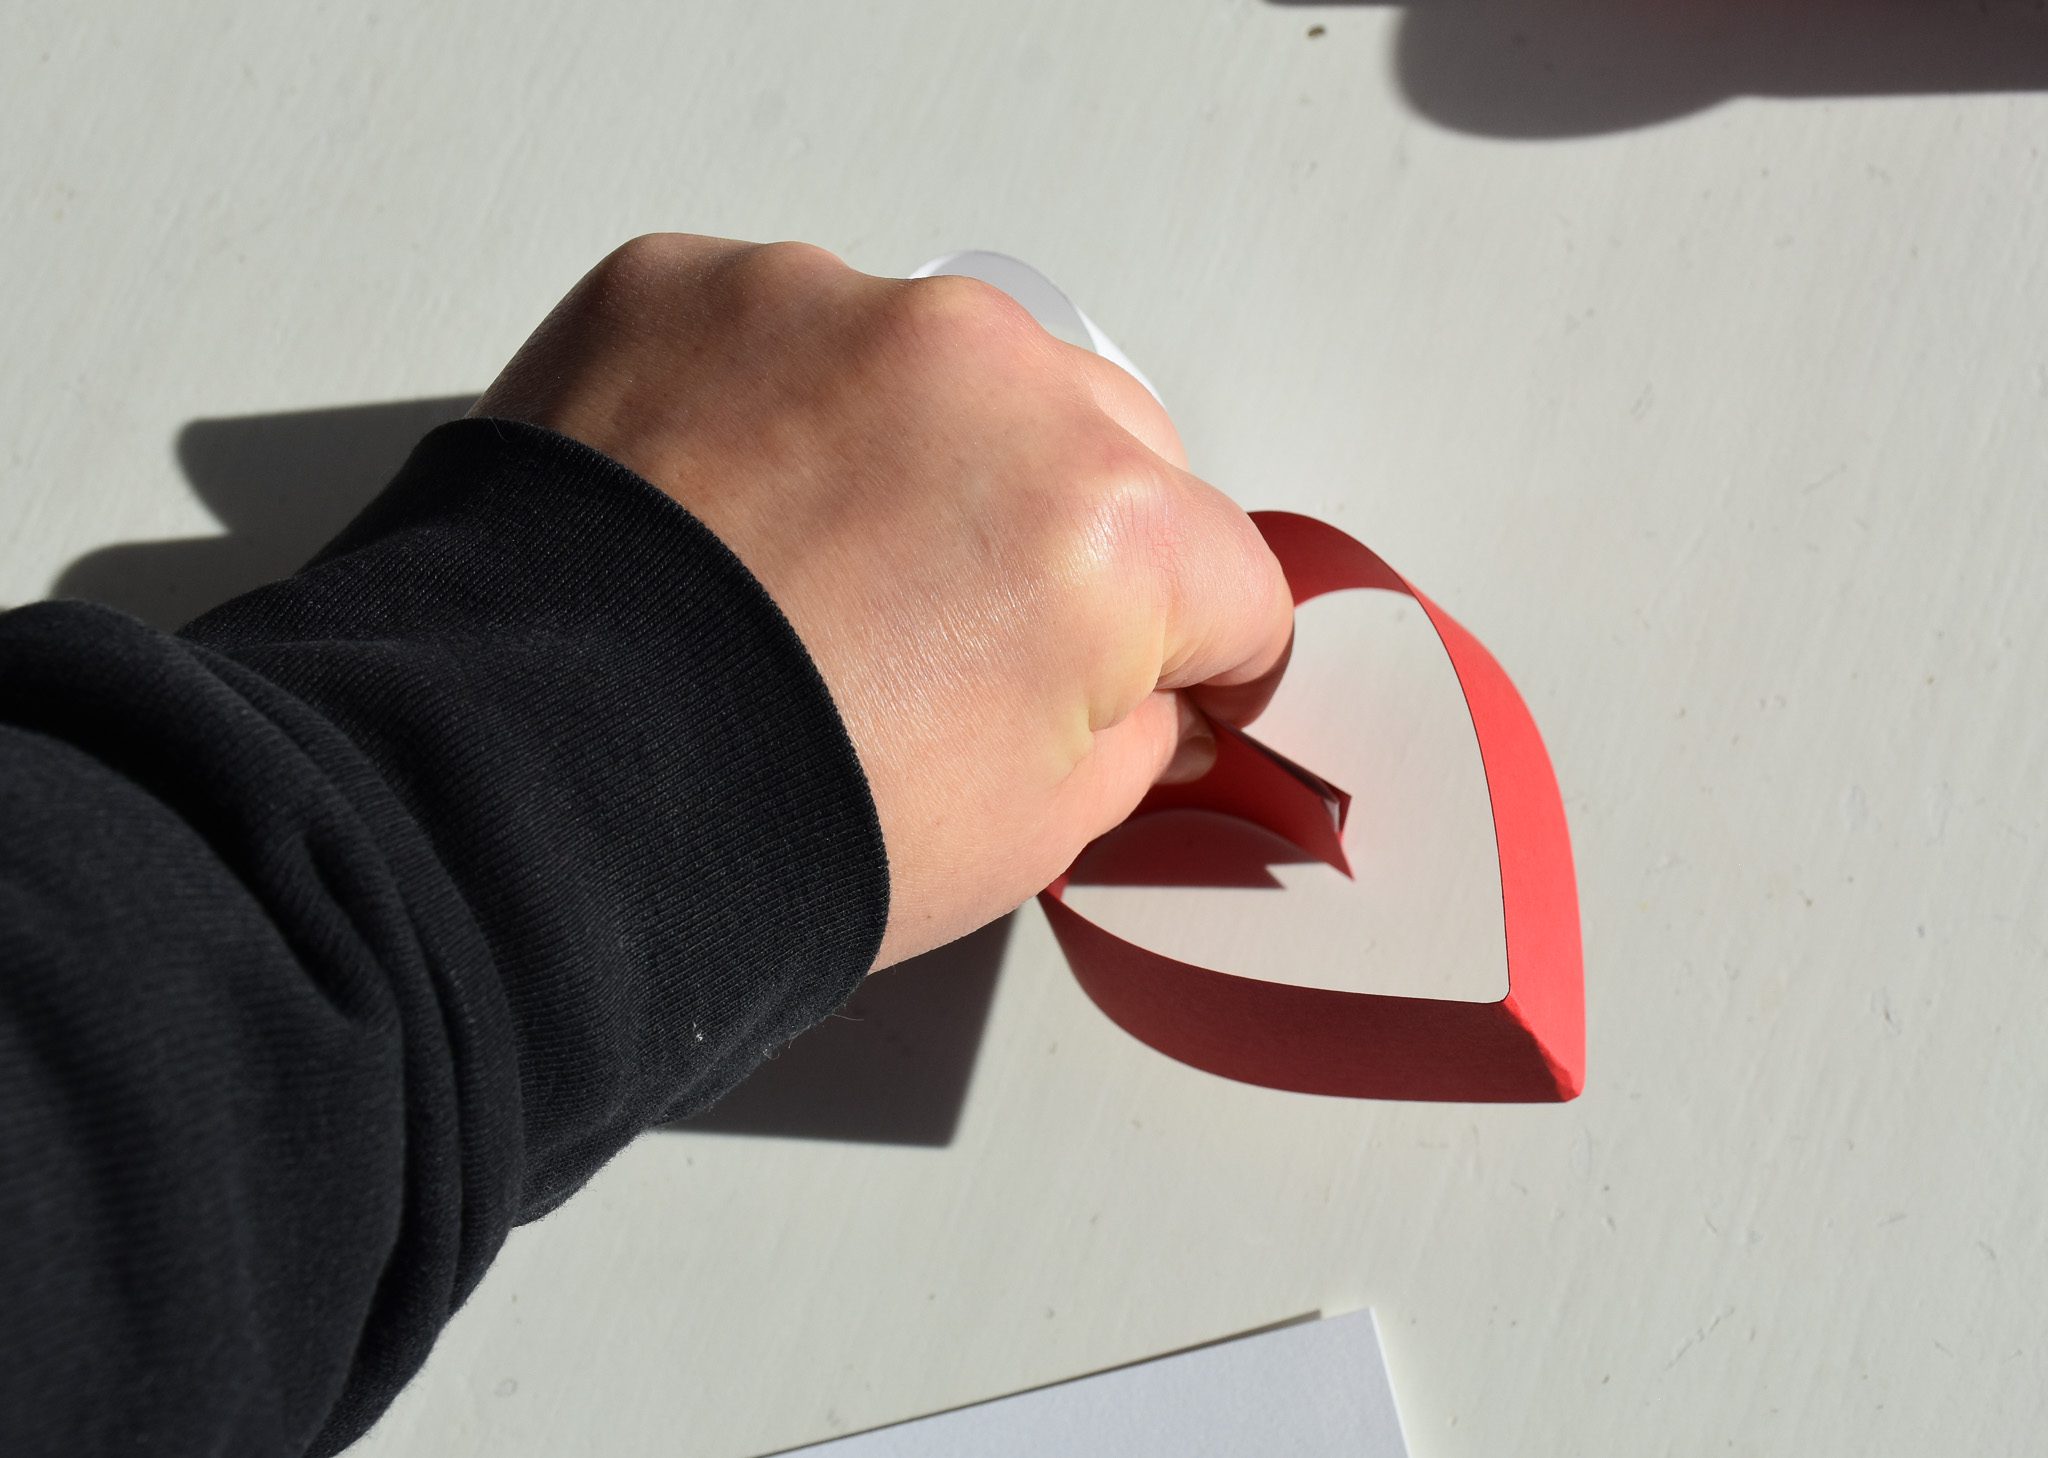
Take the first heart by the folded end, and place it inside the rolled-in heart flaps.
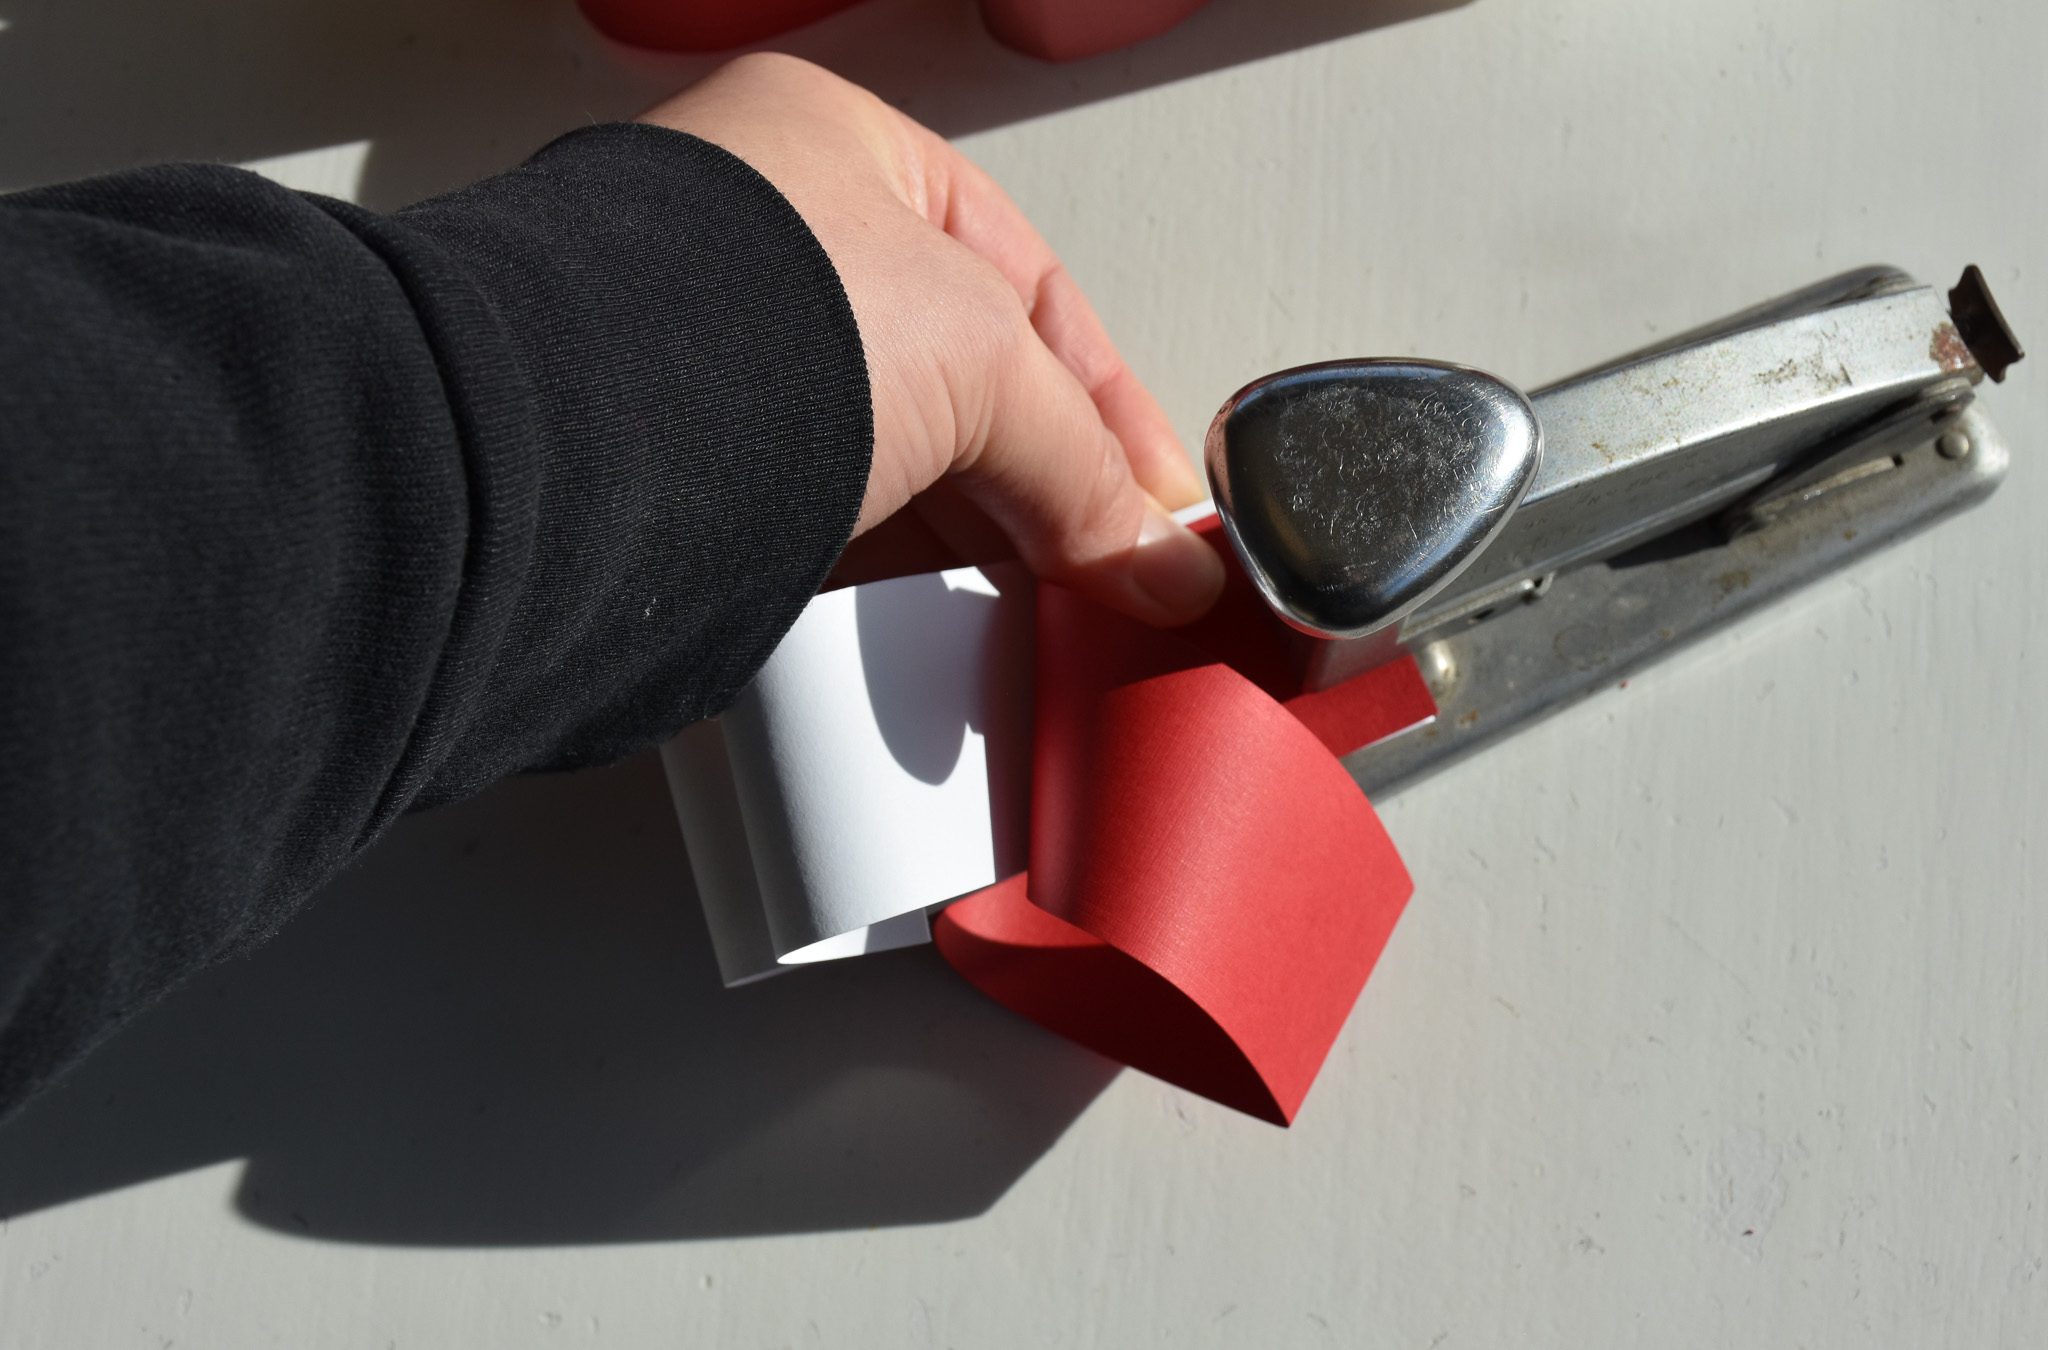
Holding those two paper hearts together, slide the second heart over a bit to fit into the stapler, and staple.

It will look like this!
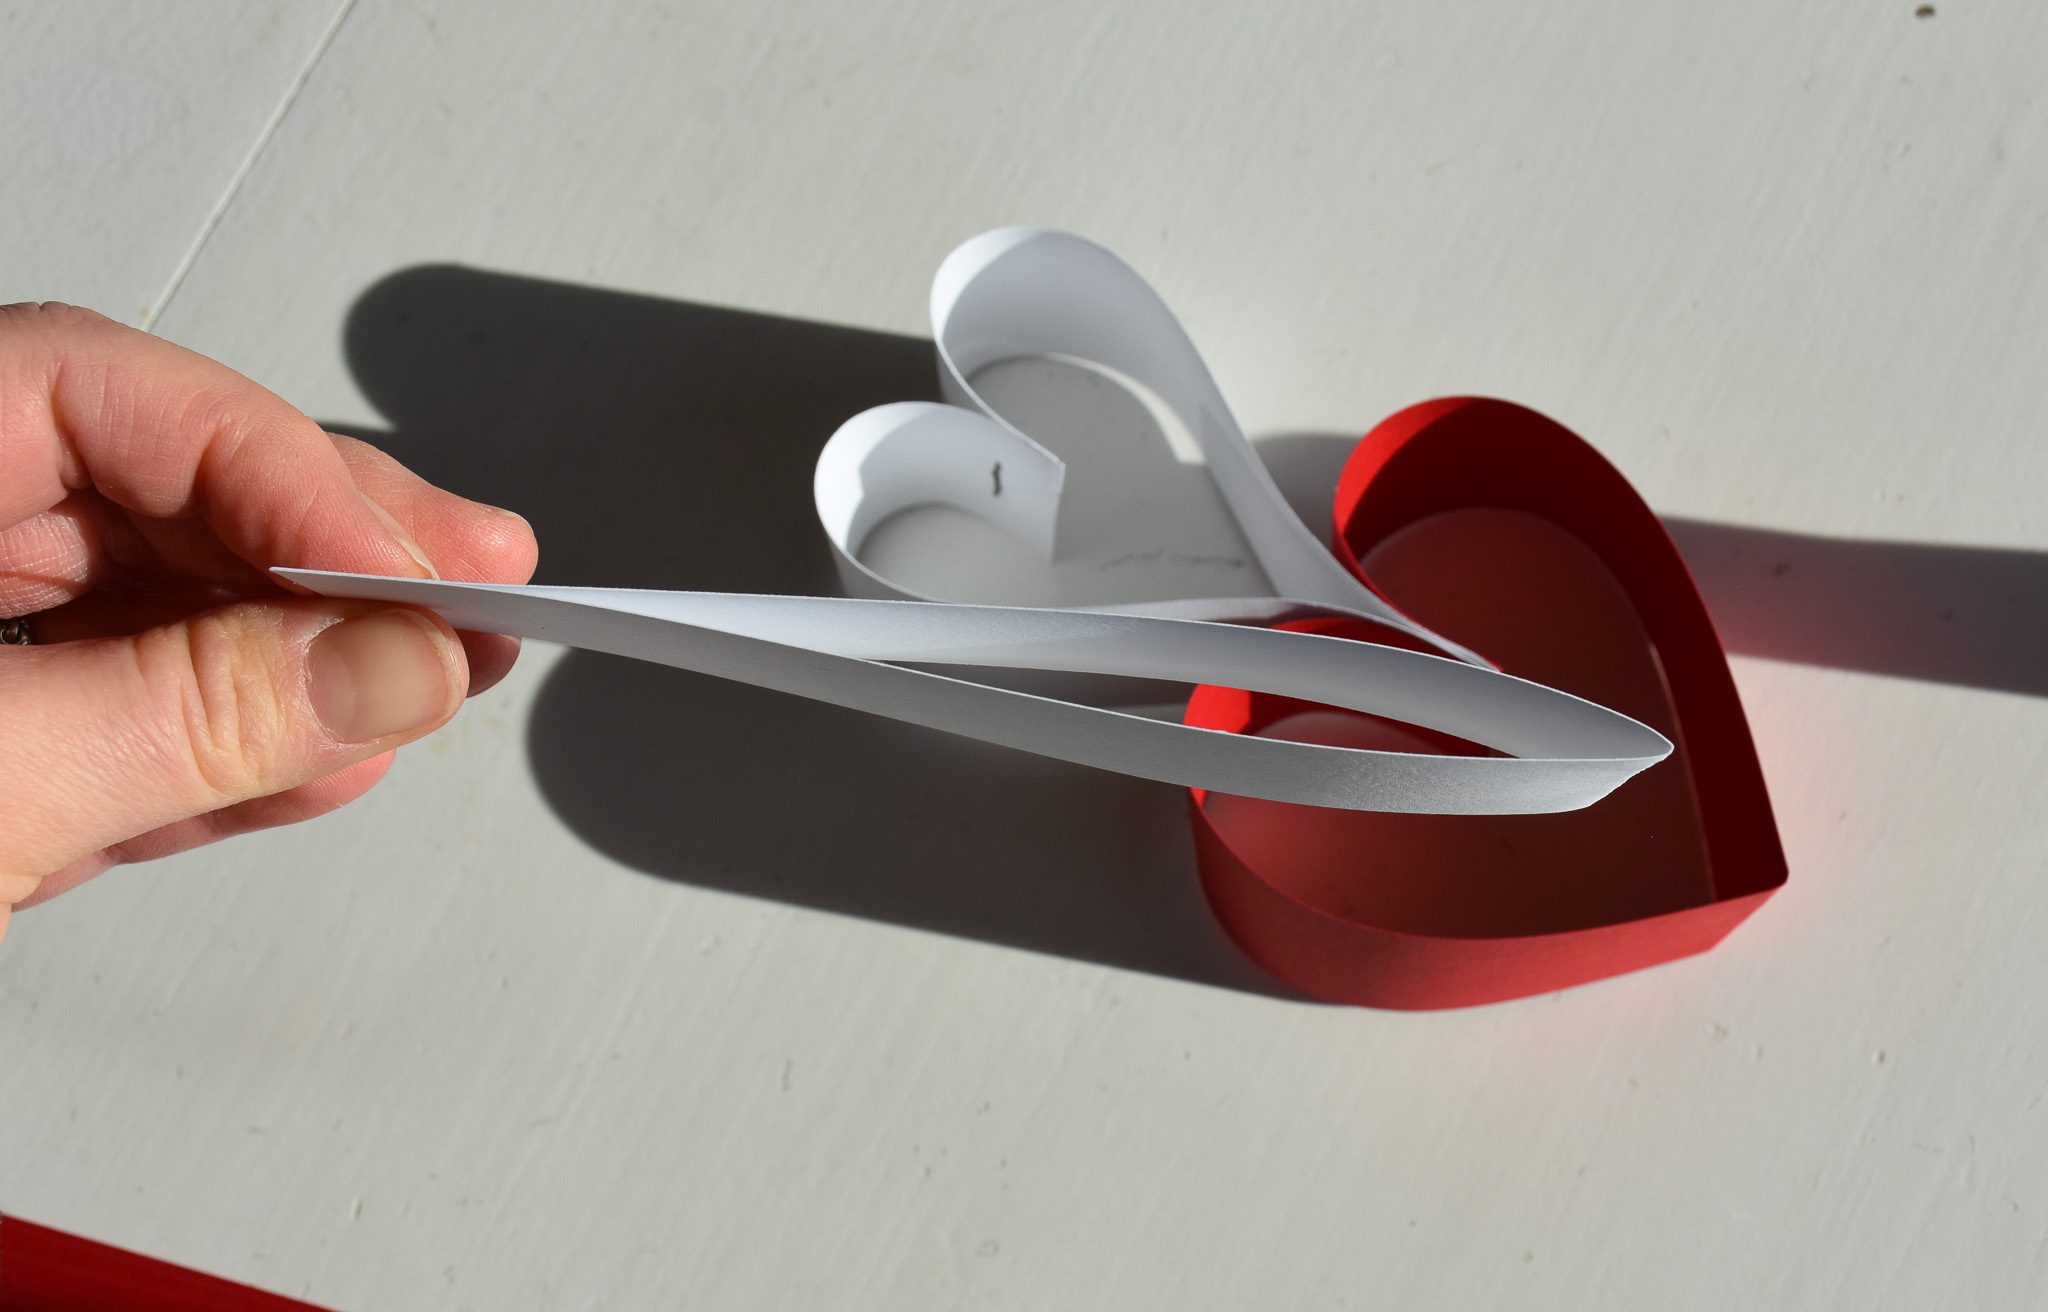
If you’re alternating colors, switch to the next one and repeat. Make a crease in your strip…
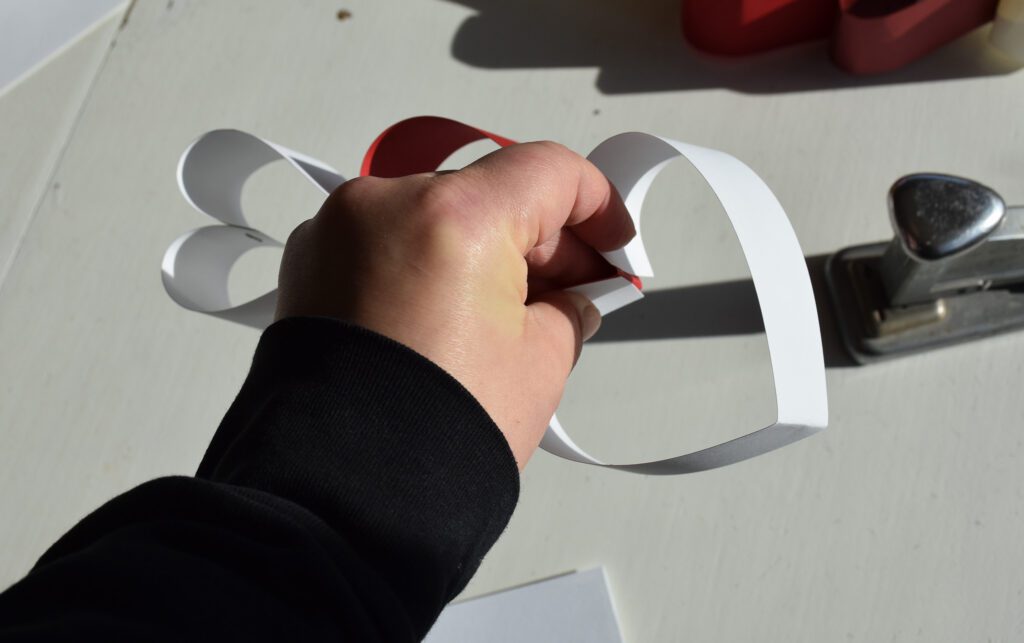
Round the heart flaps, placing the last heart’s folded end inside those flaps…
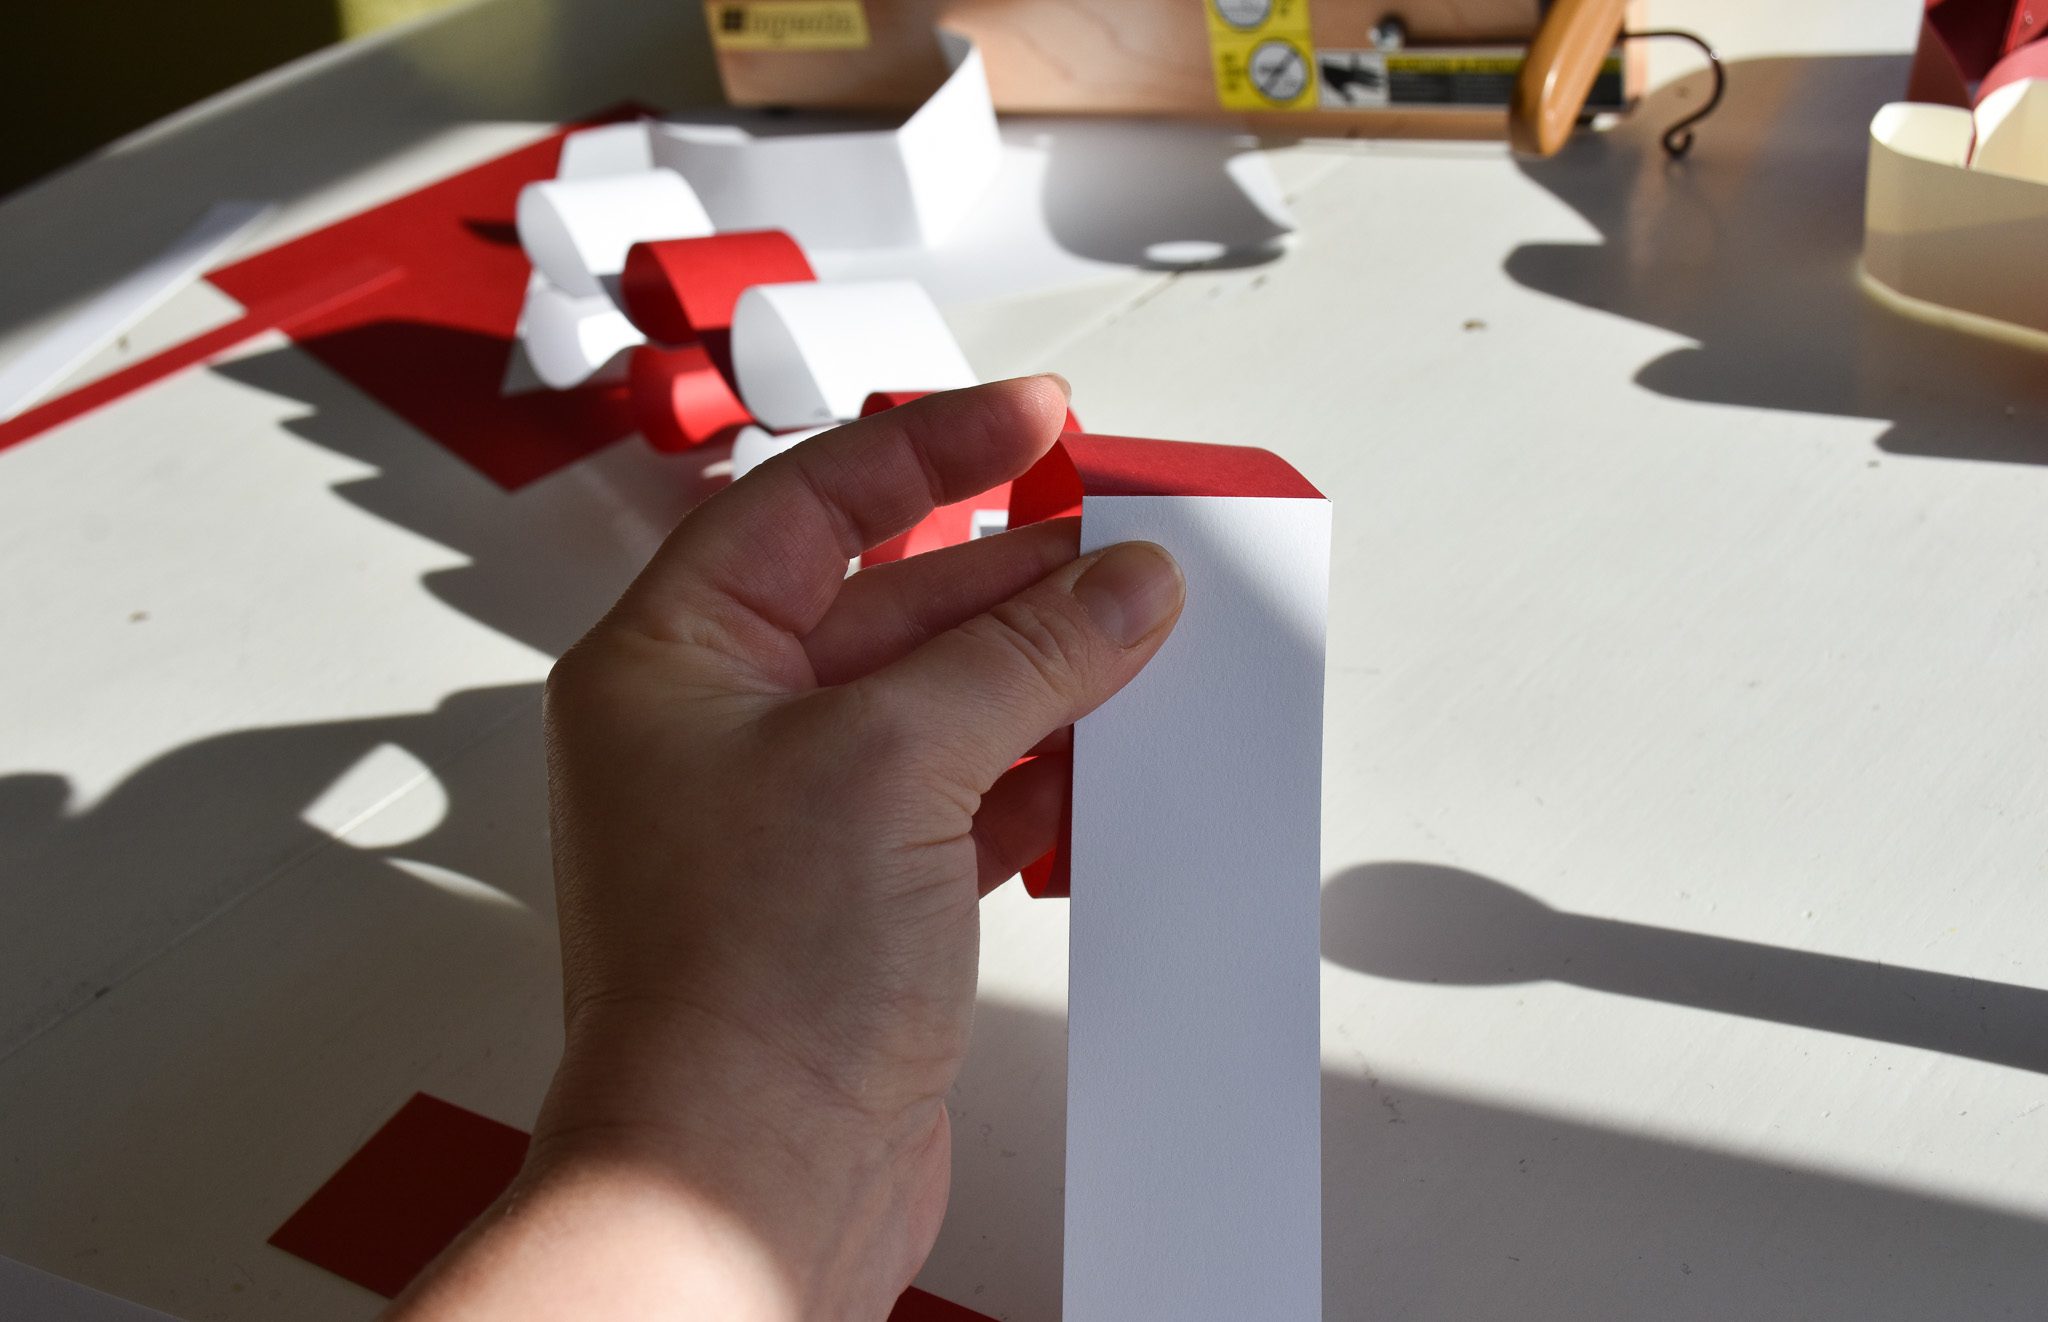
Here’s a closer look at the process of connecting one paper heart to the other. Hold the last paper heart’s creased end. Grab the current paper heart’s left edge…
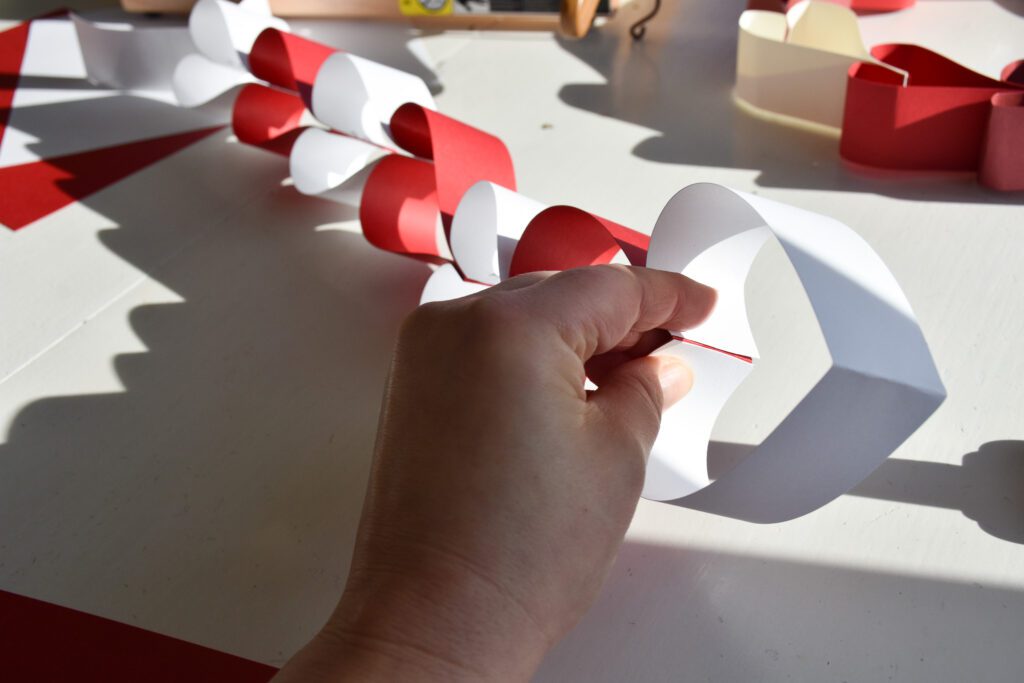
…then wrap the right edge over to meet the left. Like above.
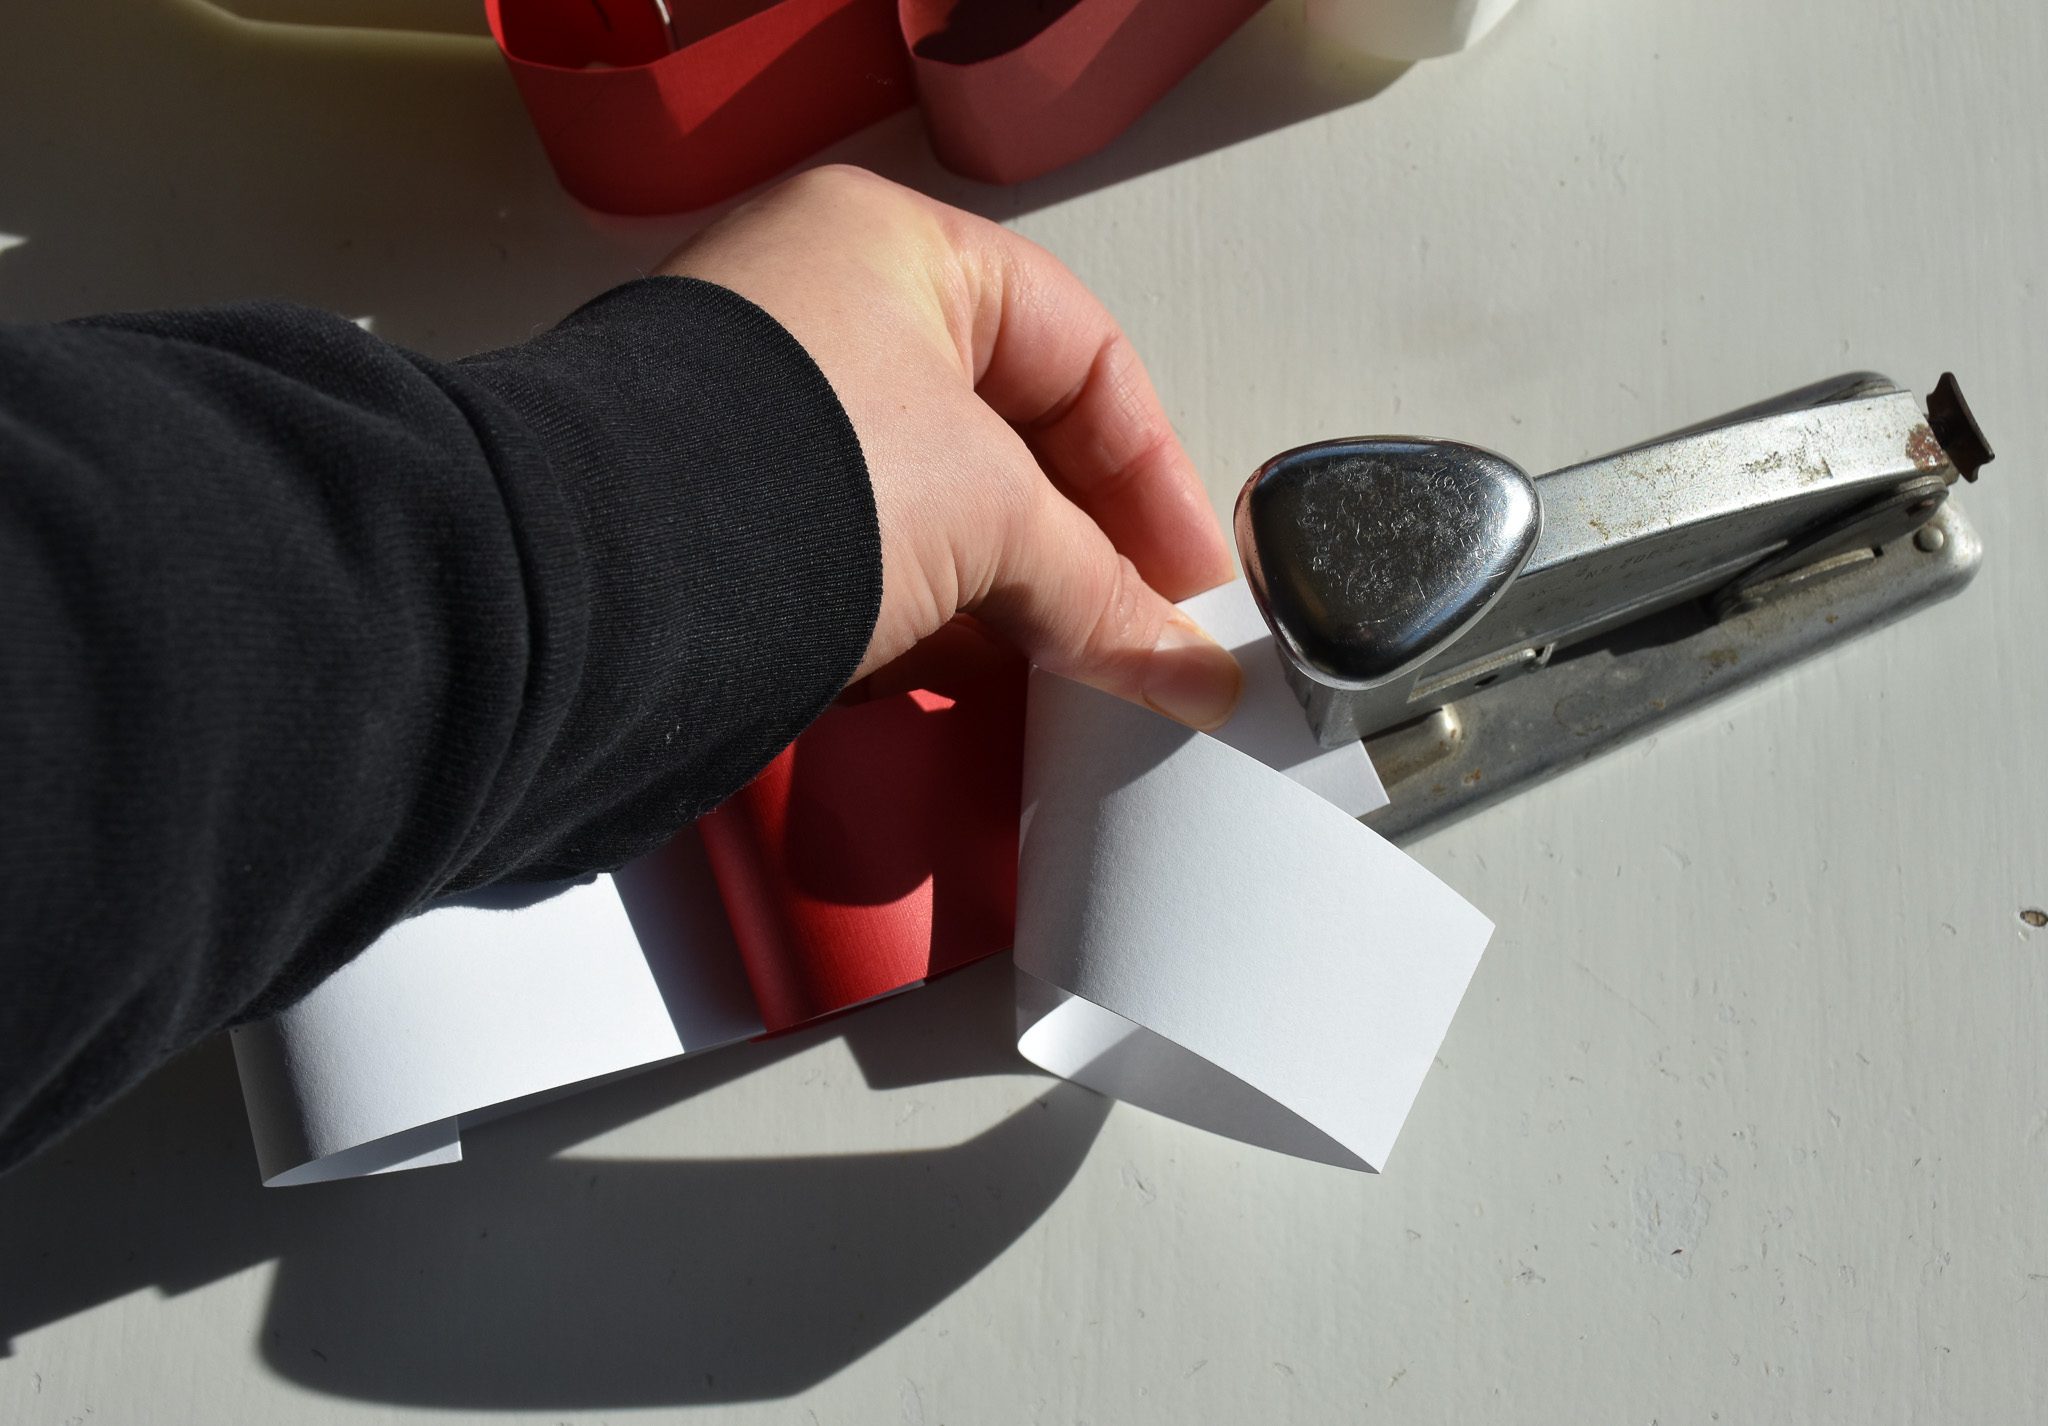
Slide the heart bottom over so you can staple the two together! Repeat until all your hearts are attached. You should have a line of hearts. Now it’s time to make it a wreath!

As I mentioned, I should have left the very first heart unstapled so I could attach it to the last paper heart in the line, making it a wreath. I removed my first staple so I could make it happen!
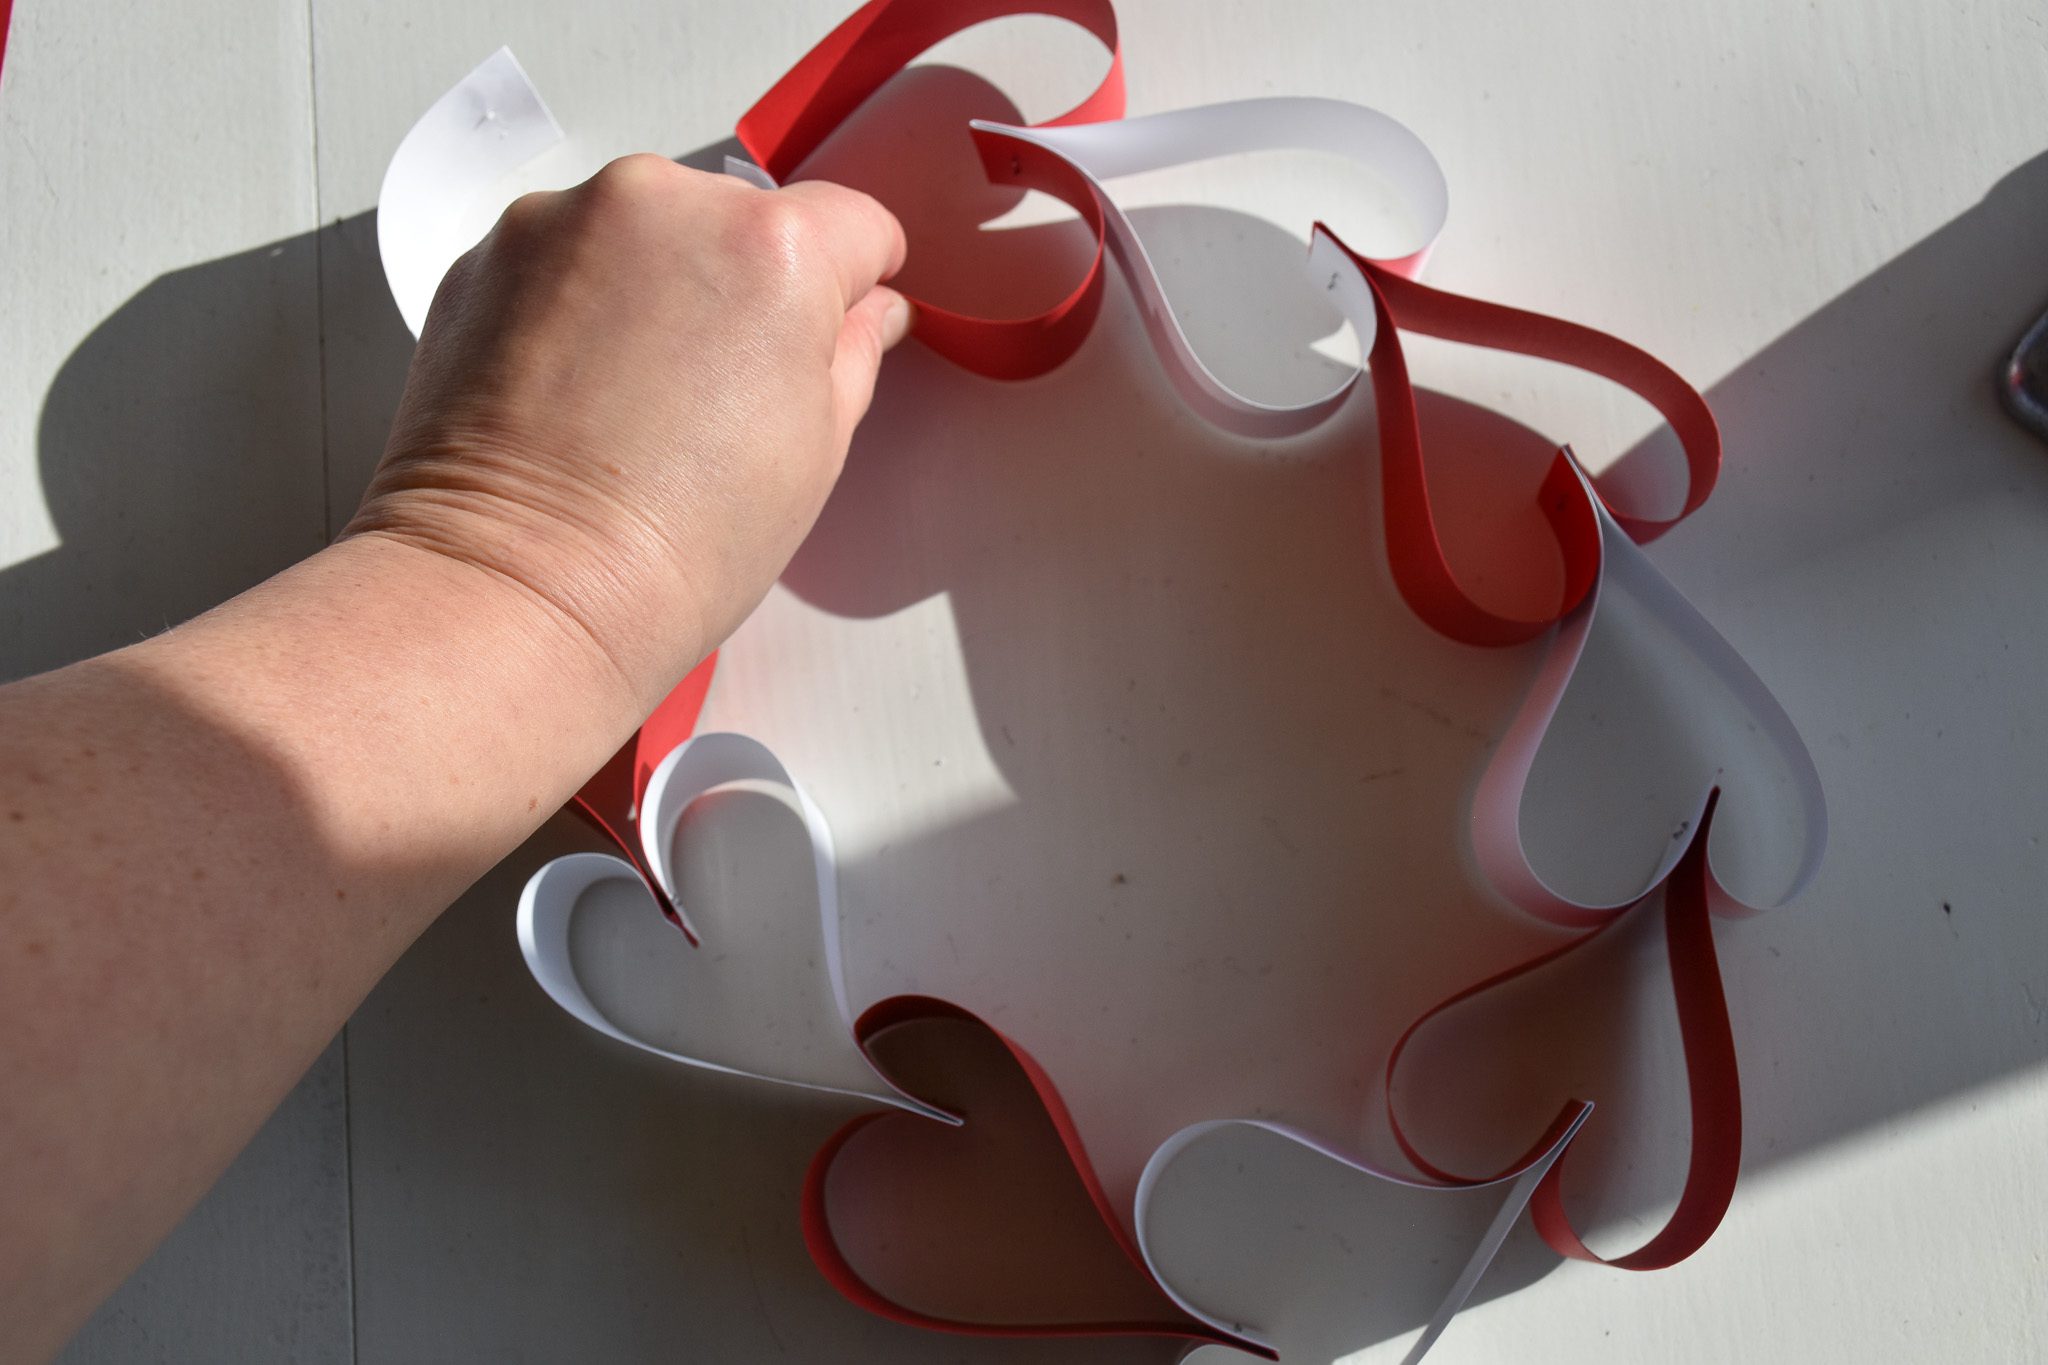
You can take a look at it at this point to see if you’re happy with the size if your Paper Heart Wreath.
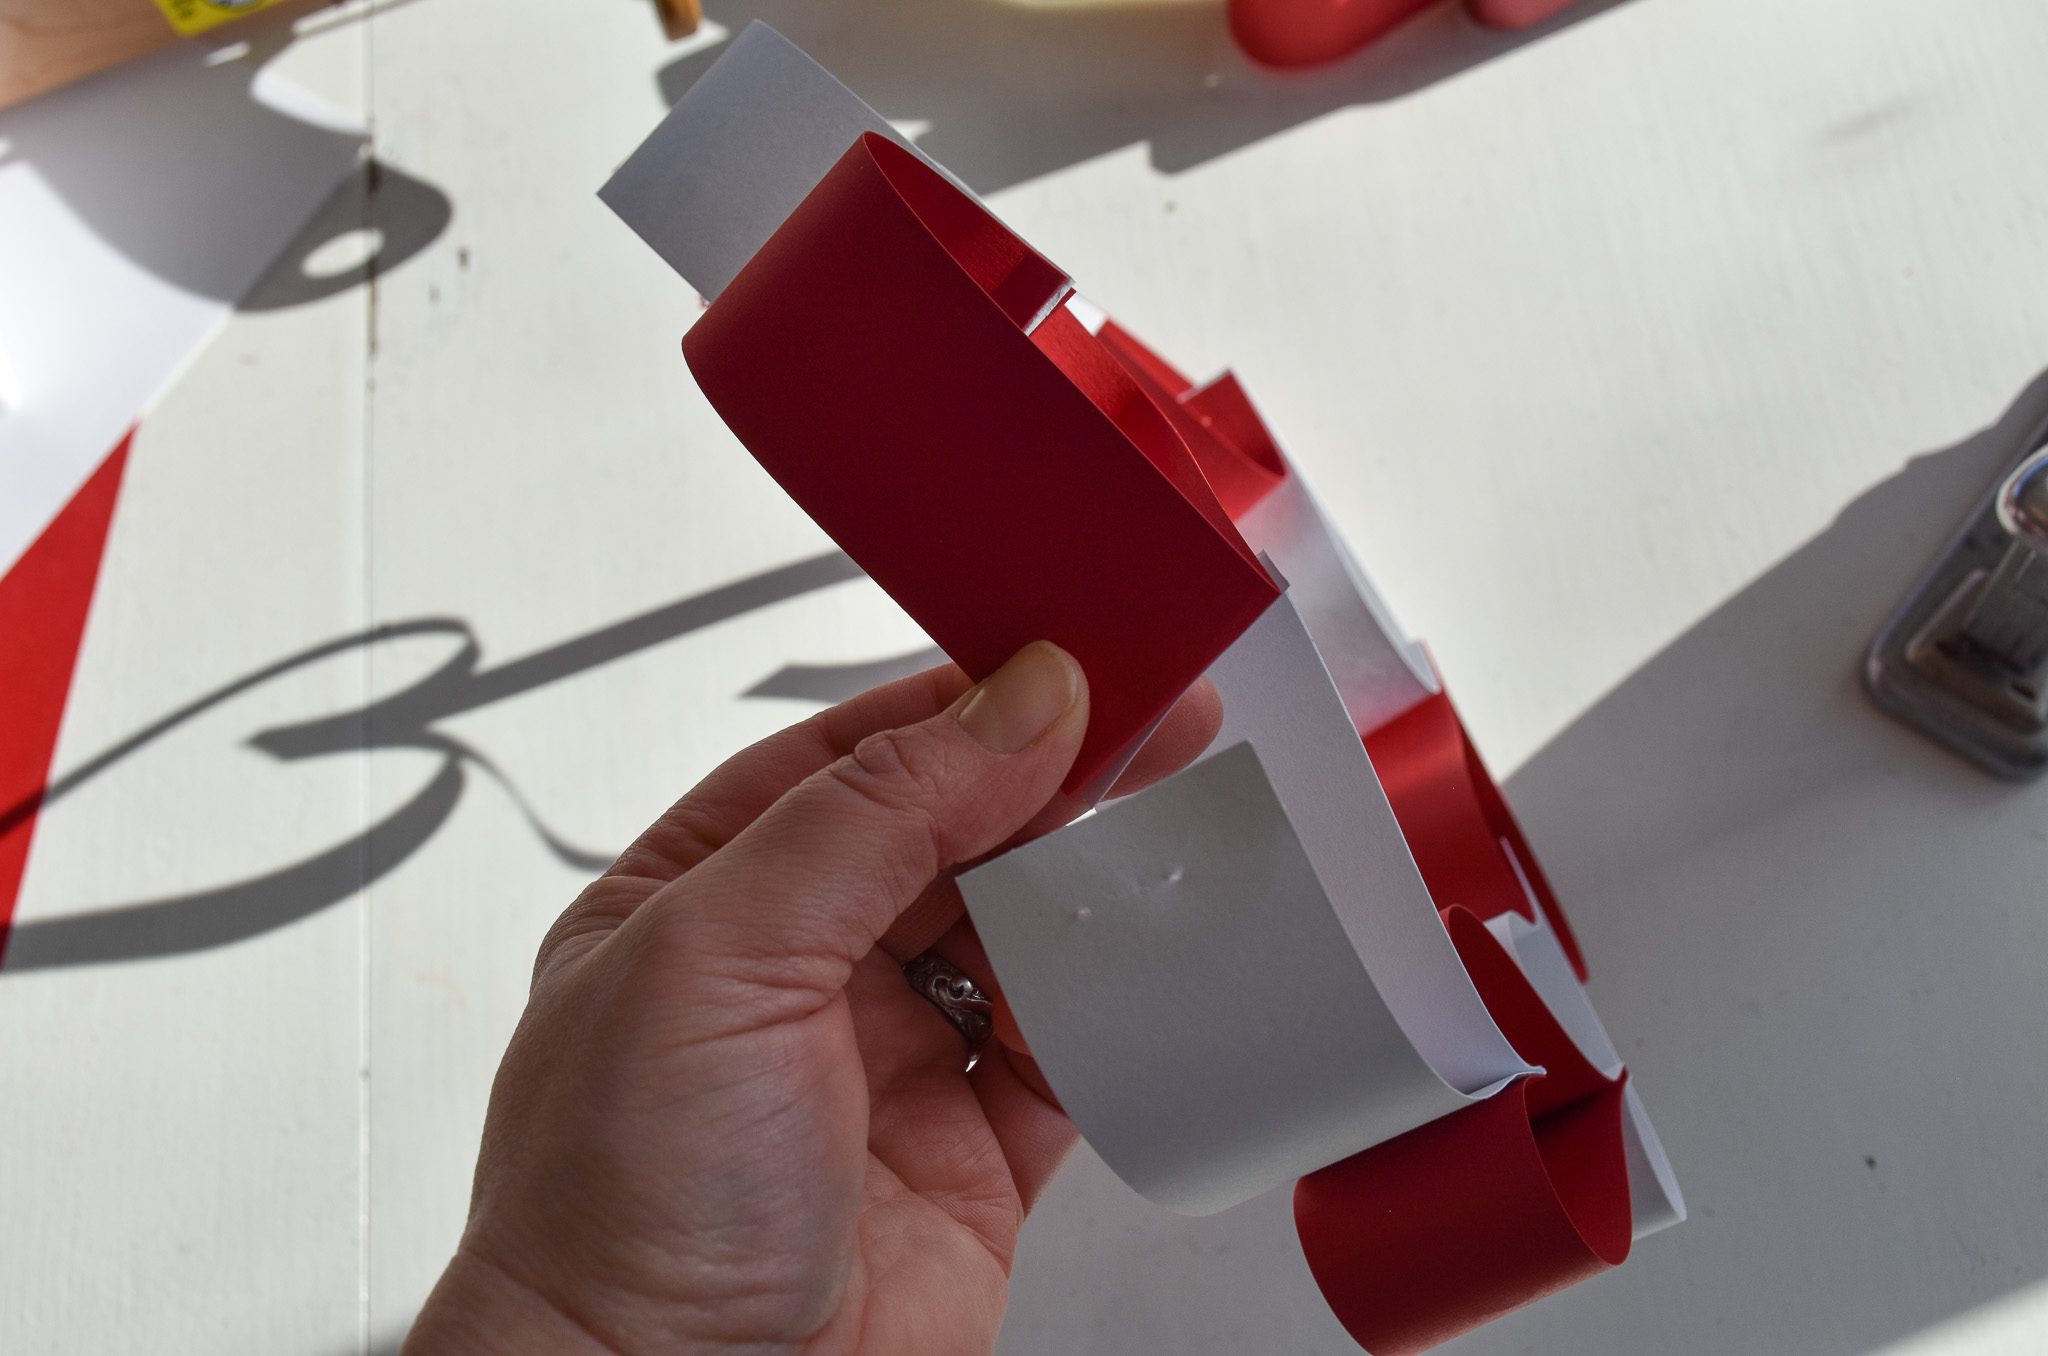
Take the first paper heart’s unstapled edges and wrap it around the last paper heart’s crease (just like you’ve been doing this whole time, but this time it’s closing the circle).
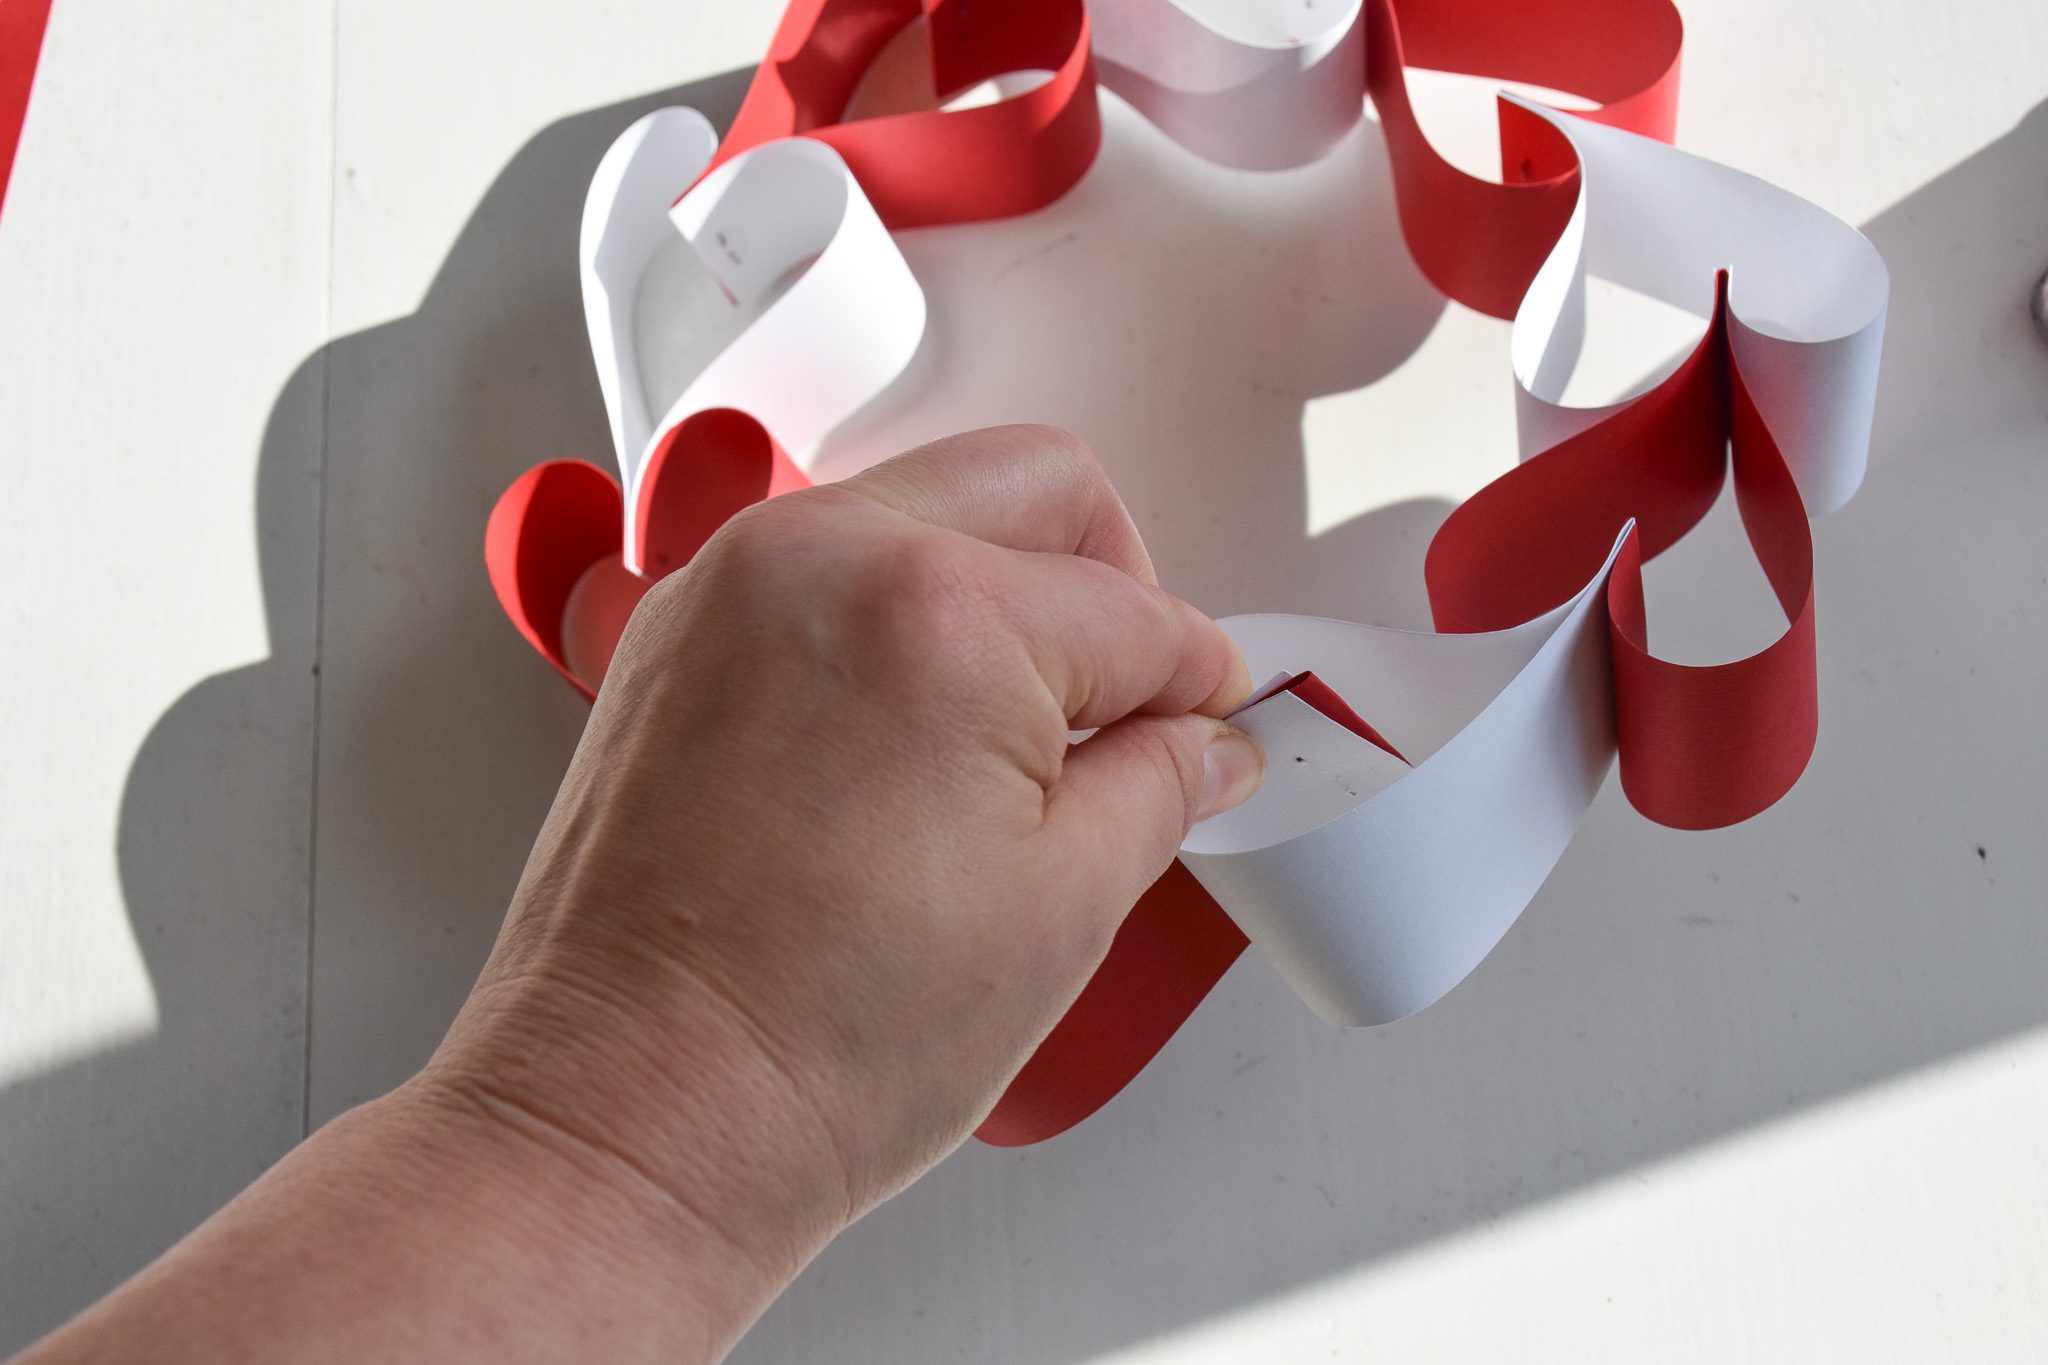
Fold the other flap around…
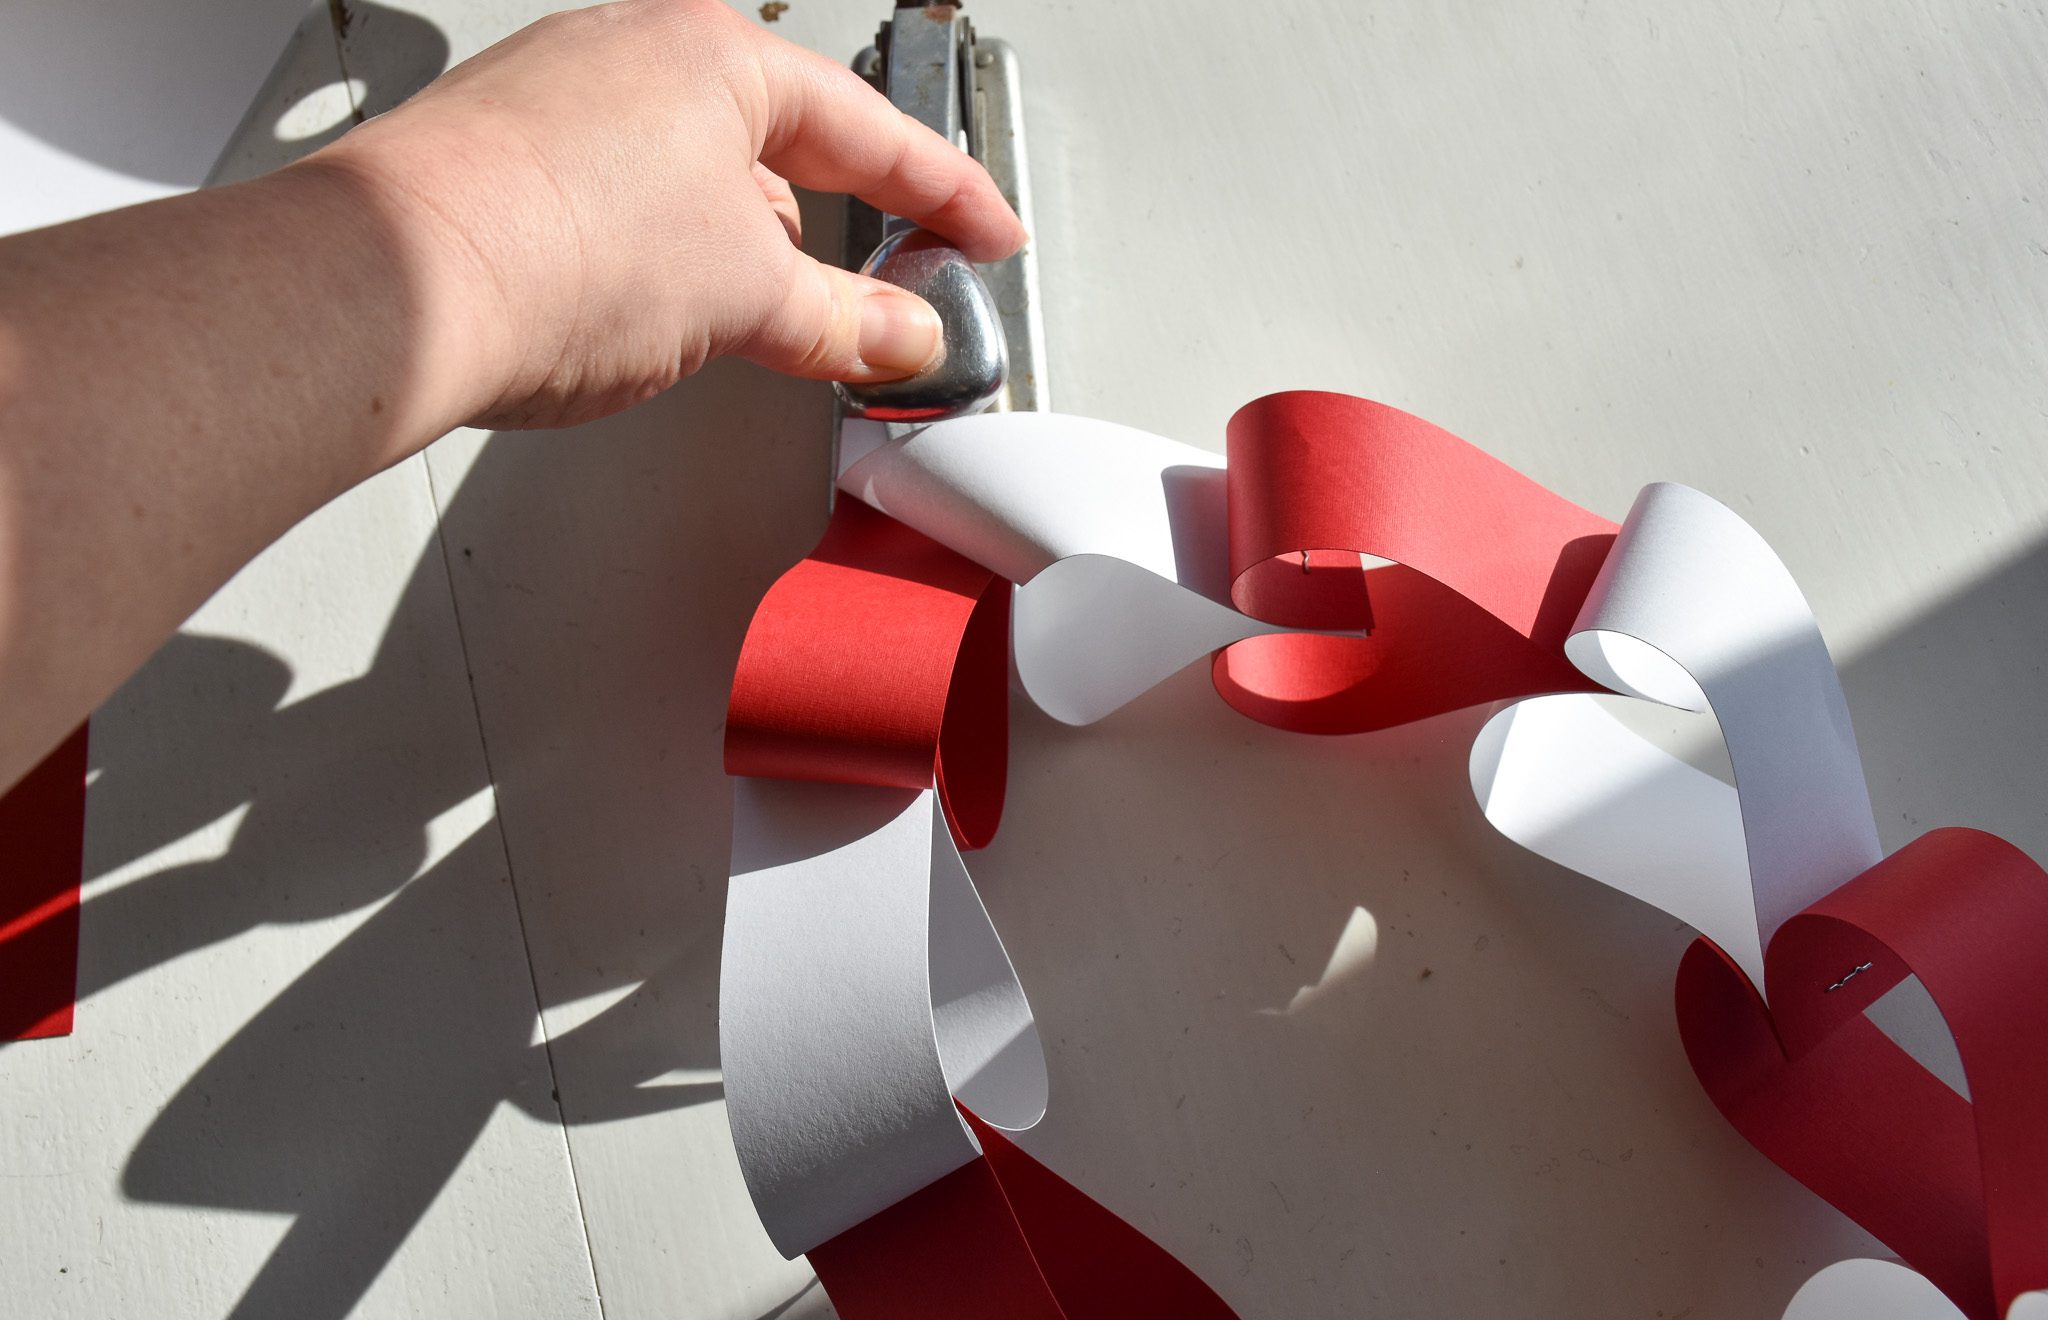
And staple!
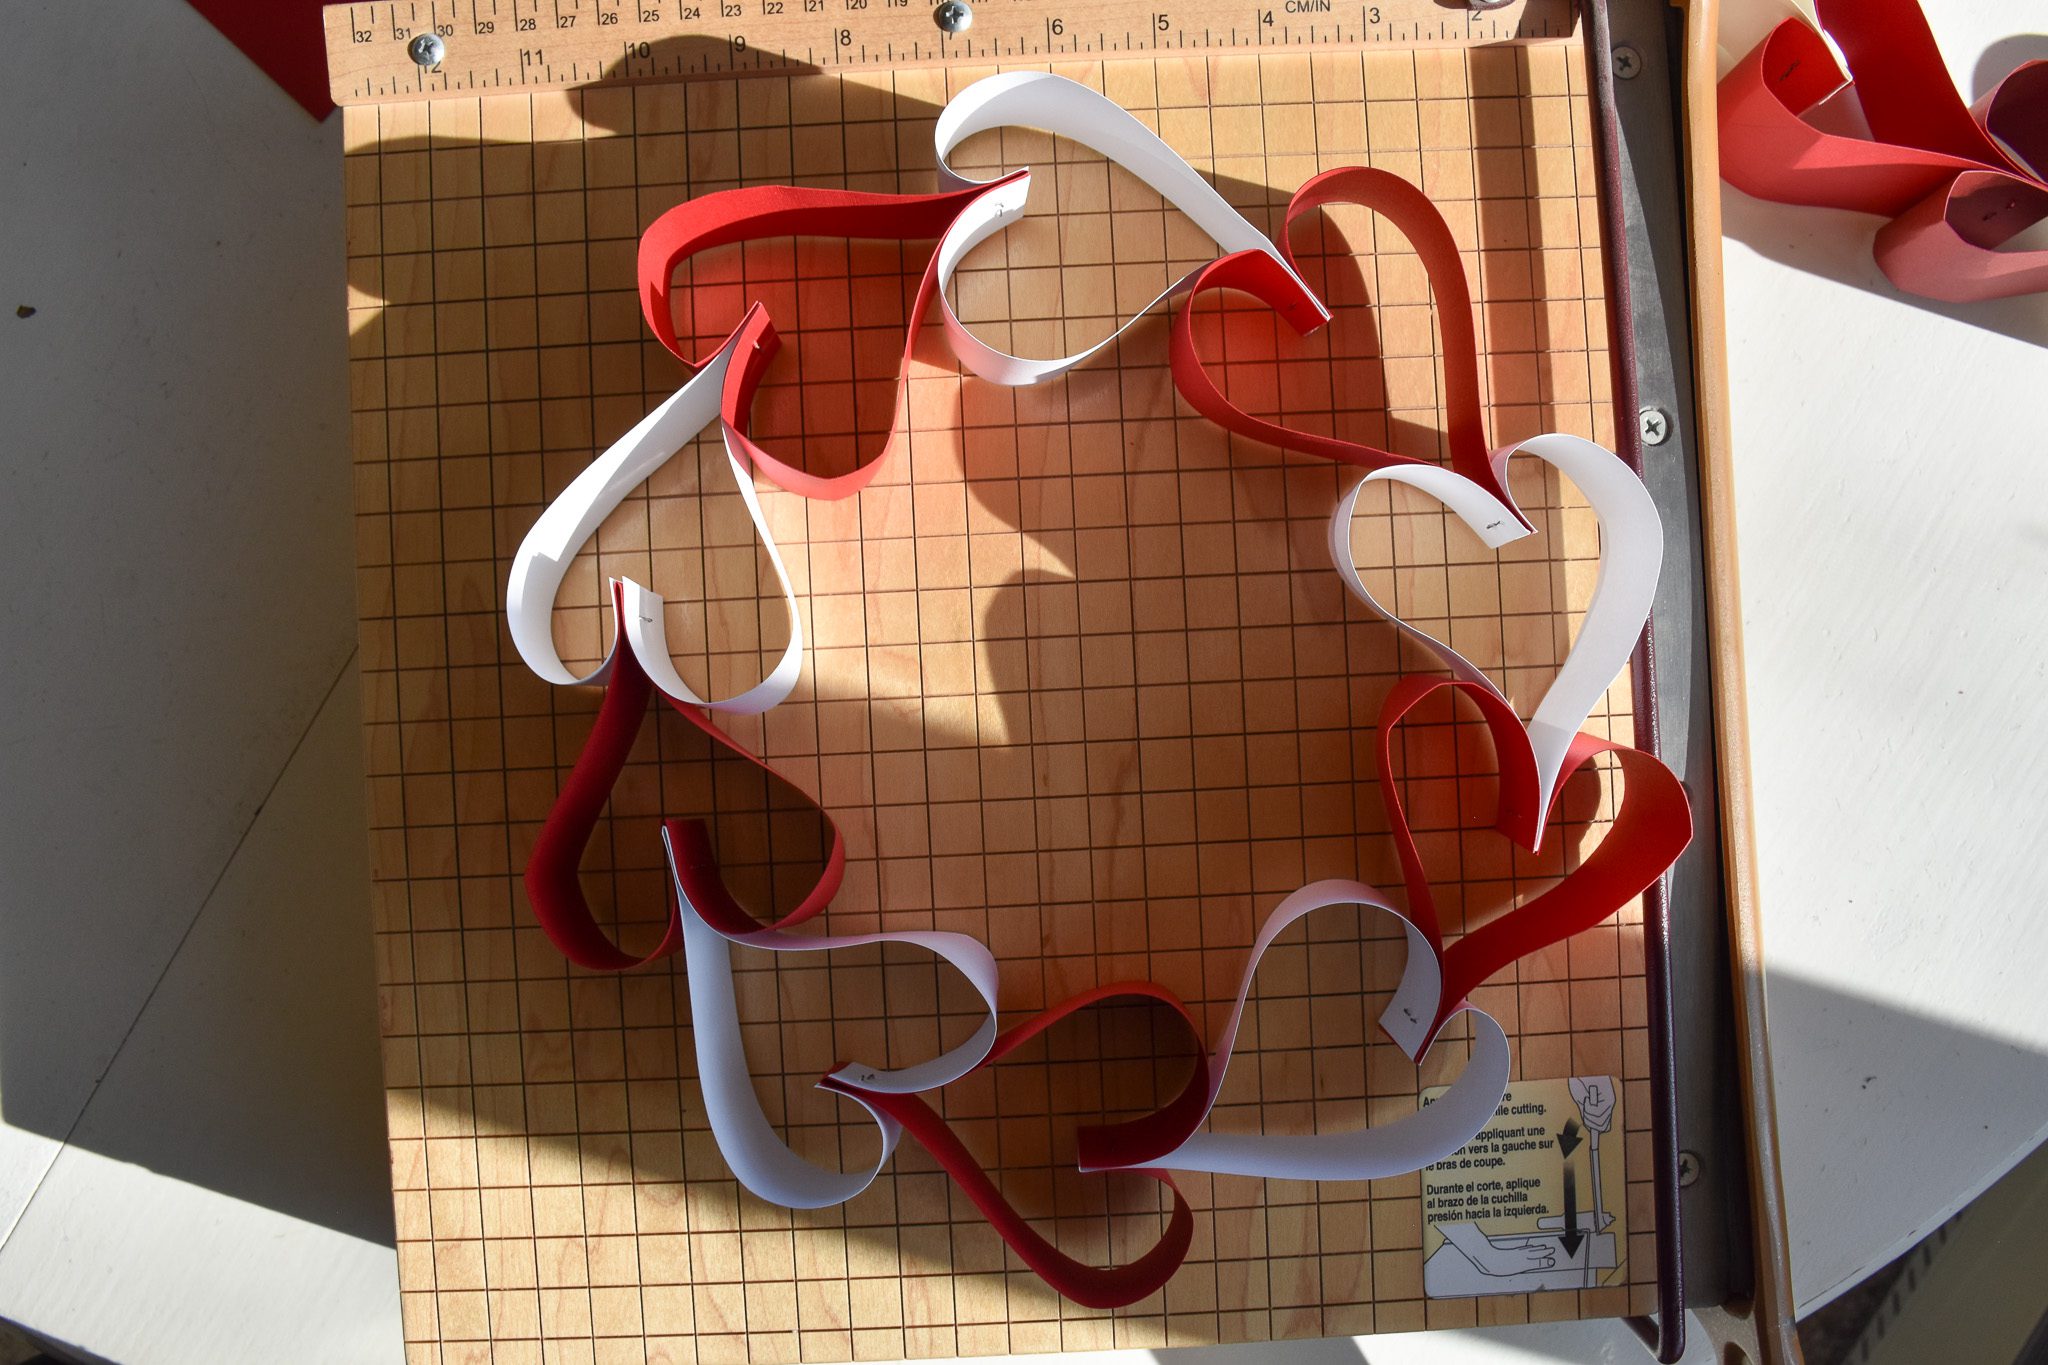
Woot, you now have a Paper Heart Wreath! You can adjust the way the hearts fold and curl a bit until you’re happy with how it all looks. Then you can hang these in your windows or on your walls, make various sizes, etc. Hearts are my favorite shape (is it weird to have a favorite shape?) and I love putting love on display around our house. I hope you do too! <3
XOXOX – Aryn
