How to Make a Kaleidocycle
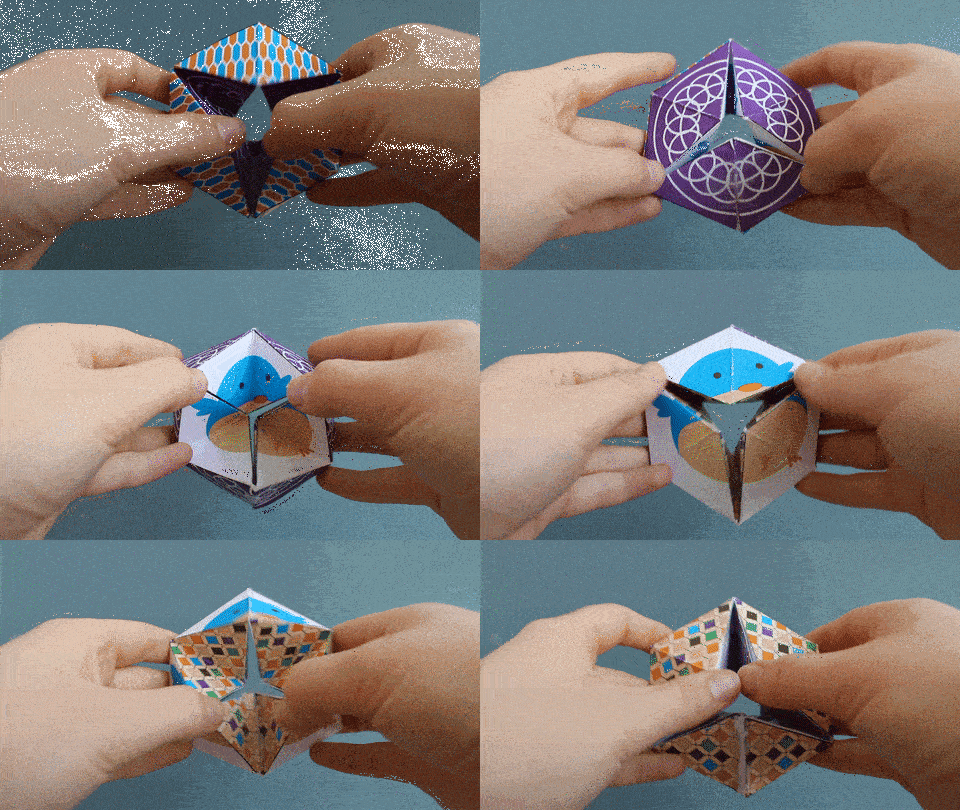
Remember the Kaleidoscope? This twisted little paper project operates by some of the same principles. Made up of a circular “chain” of pyramids, the kaleidocycle can be turned in on itself over and over again to produce cool optical effects! (Plus, the process of making one is kind of meditative.)
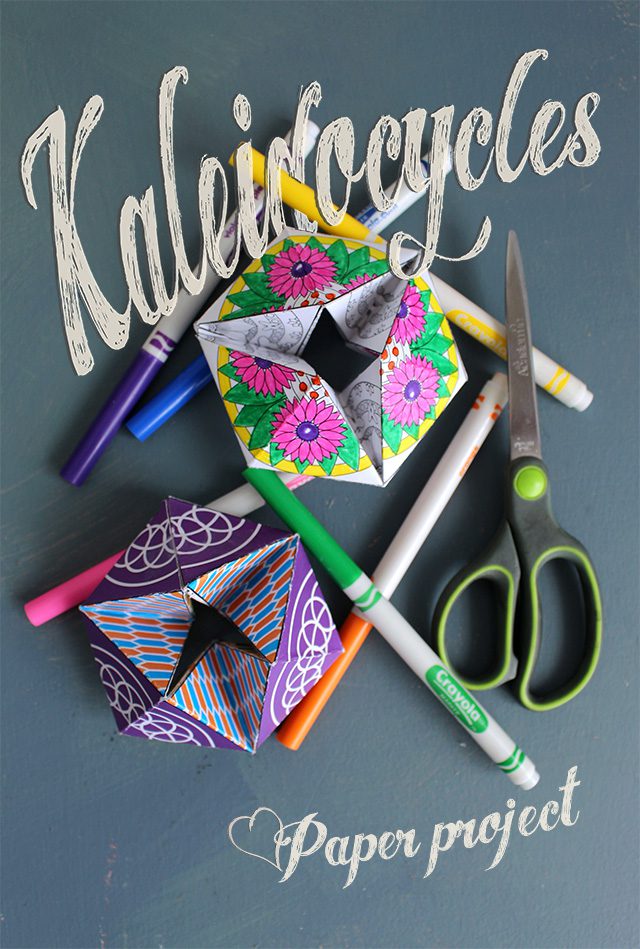
Before getting started, you’ll need to pick a template. Try coloring a Mandala kaleidocycle or, if you’re feeling extra spicy, you can design your own from scratch! Either way, it’s best to do all of the coloring before you start folding.
What You’ll Need:
Scissors, Glue (a glue stick or mod podge might work better than school glue), Chubby Bird Kaleidocycle, Color Your Own Mandala, or Design Your Own Template

Print out a template on cardstock and and color it as you please.

Make creases along all diagonal lines of the template. You may have to crease them several times to make sure that they fold back and forth easily. These creases will allow the kaleidocycle to turn.

Crease, Crease, Crease. Making sure to fold right on the lines.

When that’s done, crease down the middle of each parallelogram (see dotted lines below). Once again, folding both ways will make the kaleidocycle for flexible and easy to turn.

Fold the template hot dog style so that it overlaps itself and glue. Be sure to match up the middle crease of the “glue” segment with that of the top parallelogram so that they will bend together.

Glue all sections keeping the tabs out. (It’s a Kaleido-worm!) You may have to wait until the glue dries before proceeding to the next step.

Bend the Kaleidocycle into a circle and put glue on the outside of each flap.

Tuck the flaps into the inside of the last pyramid and hold it until the glue is secure. Wait for your kaleidocycle to dry completely before trying to turn it.

After the glue has dried you may need to slowly turn the kaleidocycle several times to redefine the creases and “loosen the hinges”. Enjoy you’re twisty turny kaleidocycle!


