Sponsored by
Bloom Flower Farm
Bloom is a small flower farm in Northeast Iowa run by Jen Opheim and family. At Bloom, we love to watch things grow and to be creative. It all begins with a vision. Maybe you want fresh locally grown flowers for your DIY wedding bouquets. Maybe you want to promote your business with a petite posy giveaway. Or maybe you have a flower friend who would love a unique gift of blooms through our seasonal CSA. Whatever your flower needs are, we’re happy to help. Let’s create something beautiful together!
Pumpkin Surprise Balls!
Sponsored by
Bloom Flower Farm
Bloom is a small flower farm in Northeast Iowa run by Jen Opheim and family. At Bloom, we love to watch things grow and to be creative. It all begins with a vision. Maybe you want fresh locally grown flowers for your DIY wedding bouquets. Maybe you want to promote your business with a petite posy giveaway. Or maybe you have a flower friend who would love a unique gift of blooms through our seasonal CSA. Whatever your flower needs are, we’re happy to help. Let’s create something beautiful together!
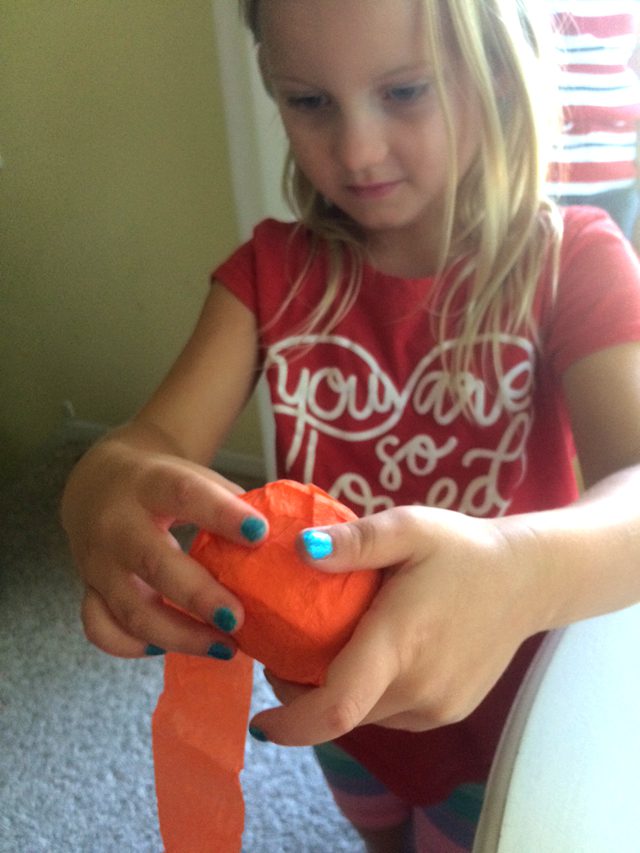
Once I heard of surprise balls, I knew I wanted to make one for Roxie! Plus, I thought pumpkins would be perfect for the Fall Inspire(d) – thus, Pumpkin Surprise Balls were born. You start with a bunch of tiny presents, and wrap and wrap them into a ball filled with fun! It would be a cute Halloween present, or table settings at Thanksgiving, or just because! Here’s the how-to:
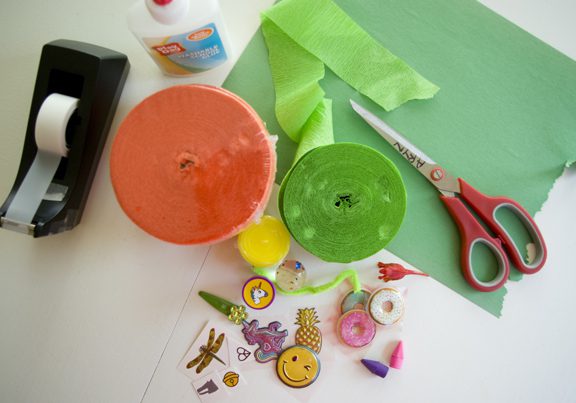
Supplies:
Orange & green streamers
Small bit of pipe cleaner
Tiny presents
Tape
Glue
Scissors
Paper (if adding a note)
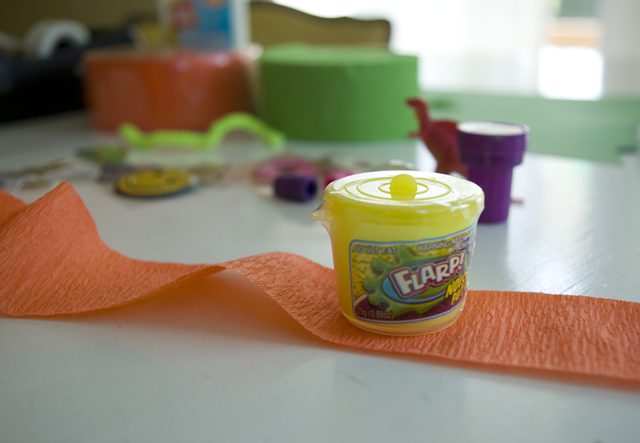
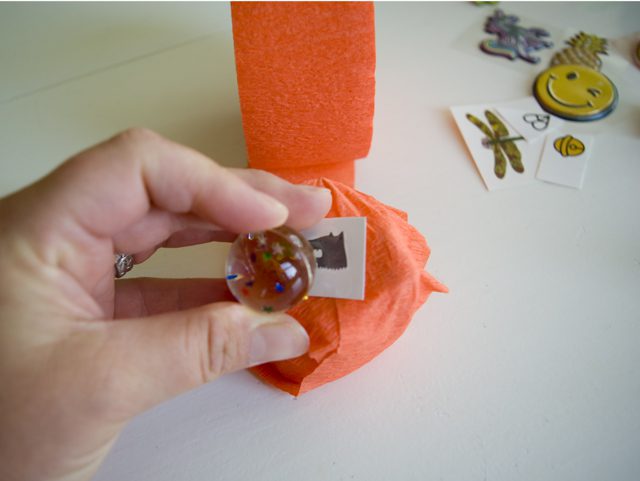
1. Find the best present to create the base of the ball (we went with Flarp).
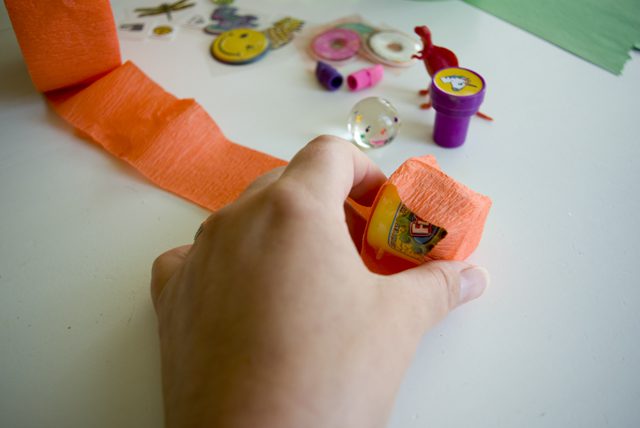
2. Start wrapping the orange streamers around it. Make sure it’s wrapped all the way around before you add in the next tiny present. Don’t rip the streamers – keep it in tact to make for more fun unwrapping!
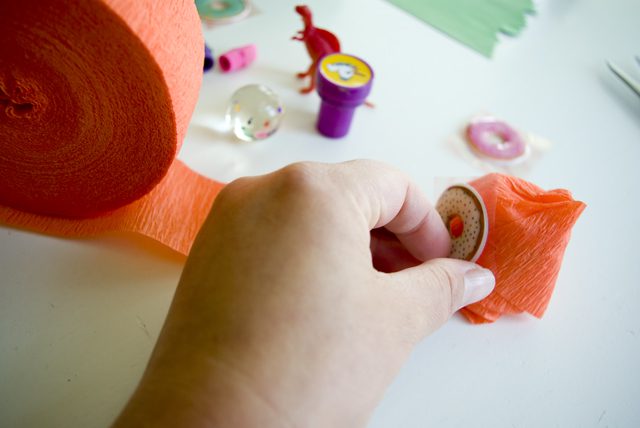
3. Try to plan out the way you add in the tiny presents so the pumpkin shape begins to take form.
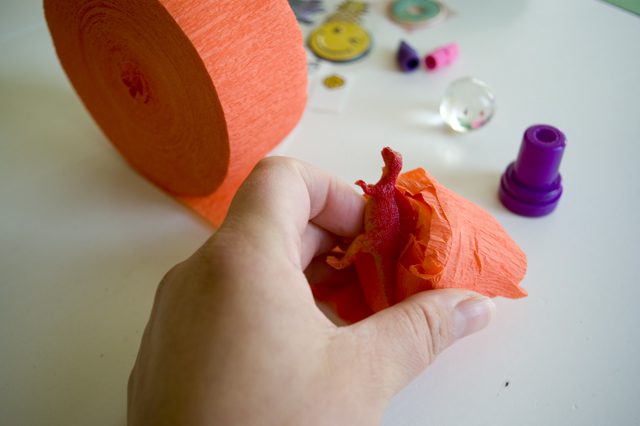
4. Keep adding presents…
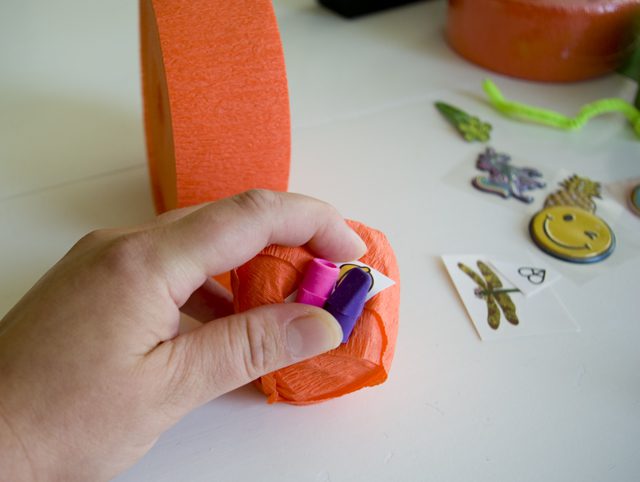
5. …until you’ve got them all added to the pumpkin.
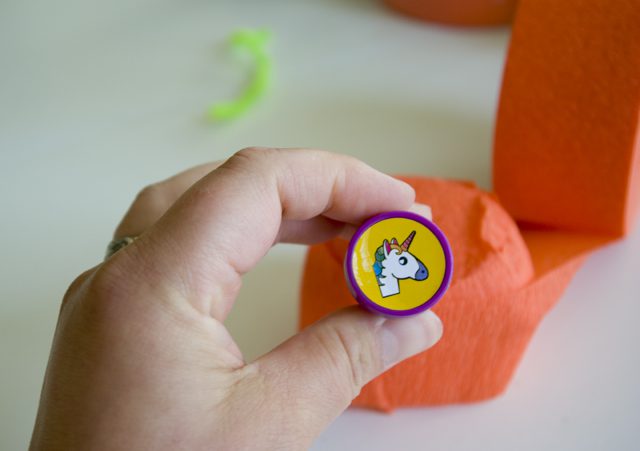
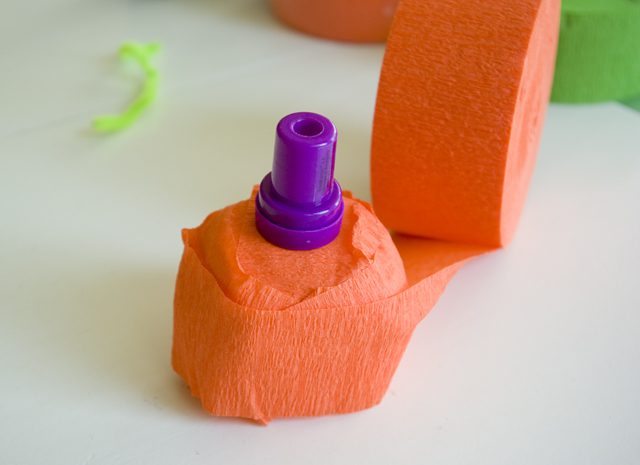
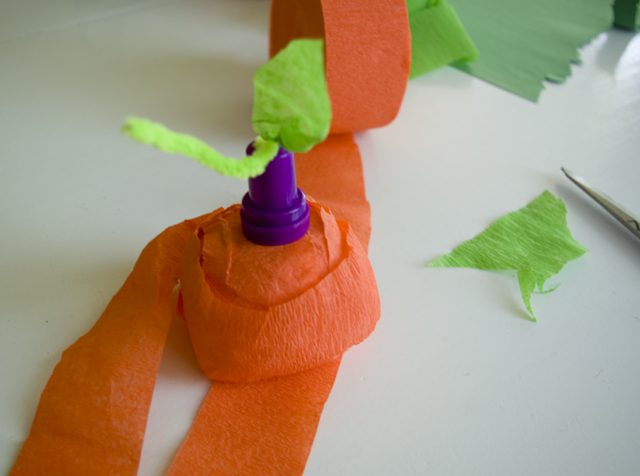
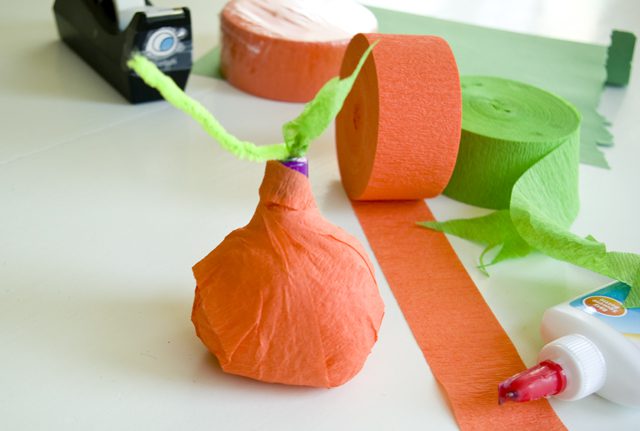
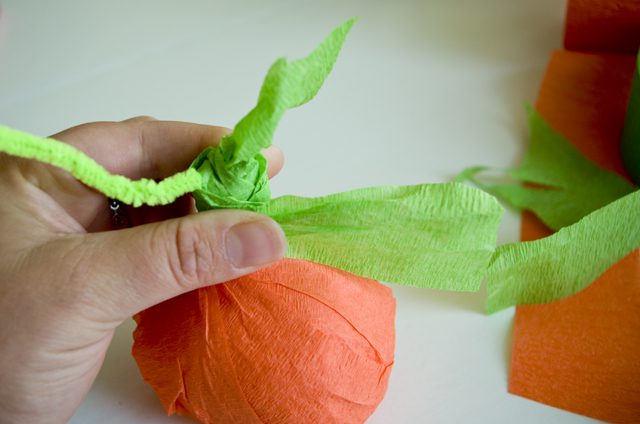
6. I happened to have this stamper that looked like it would make a great pumpkin stem! You don’t have to add this, though – you could make the stem with just a bit of pipe cleaner and green streamer.
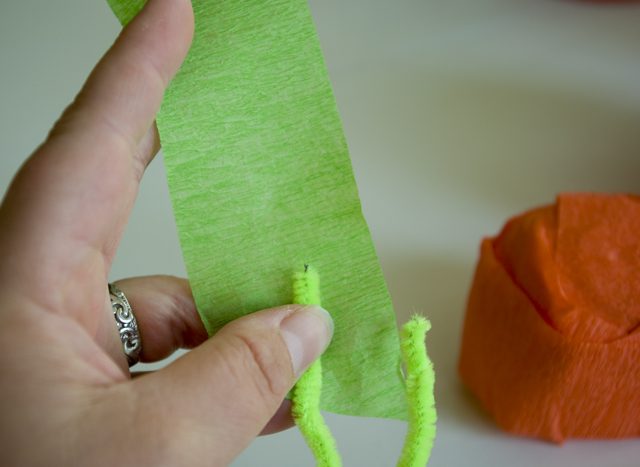
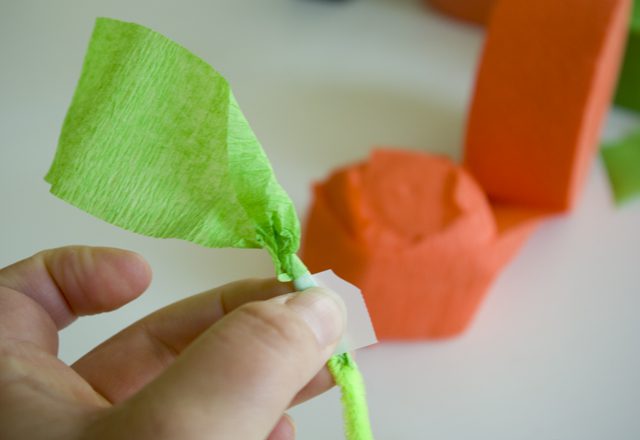
7. Attach a bit of green streamer to the green pipe cleaner on one side. Trim it up to look like a pumpkin leaf.
8. I stuck the pipe cleaner into the stamper.
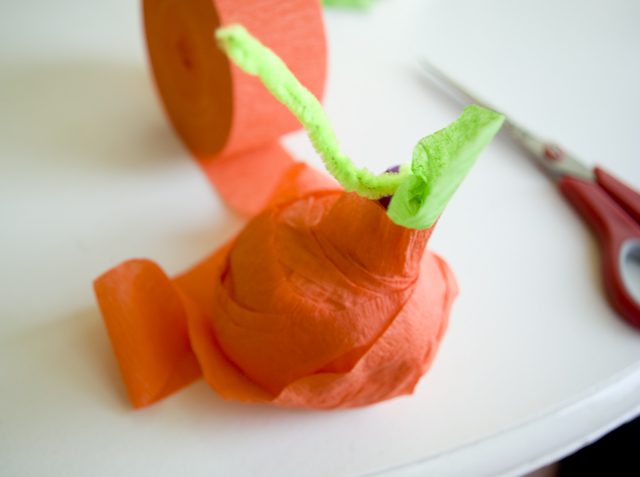
9. Then wrapped the stamper to be part of the pumpkin.
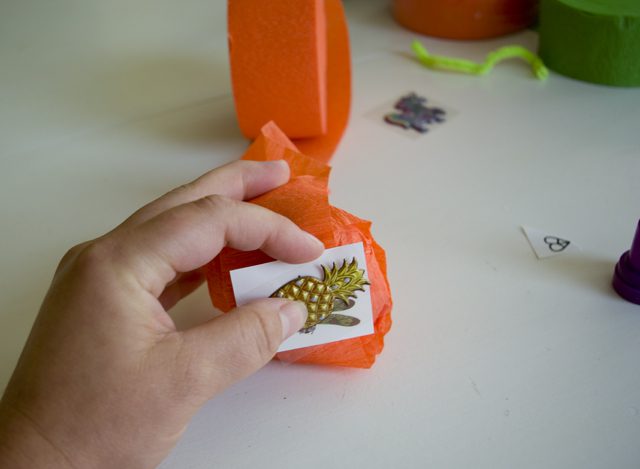
10. Continue to wrap the ball until it seems like the streamers are on tight and the pumpkin will hold together.
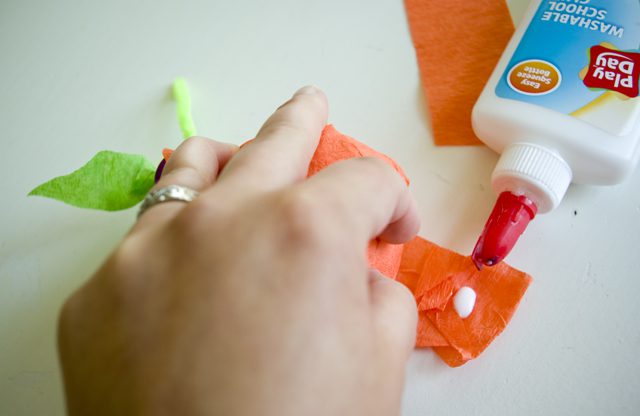
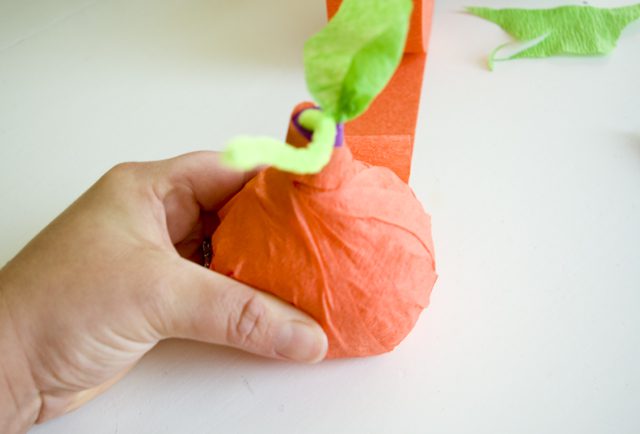
11. Then add a bit of glue to the end of the streamer and tuck it under the bottom.
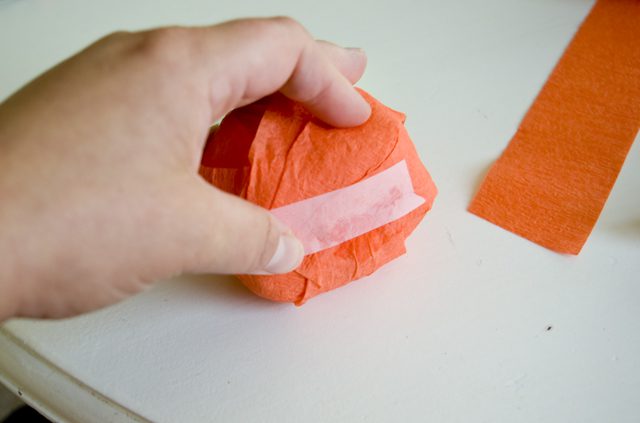
12. Add a piece of tape to keep it all secure.
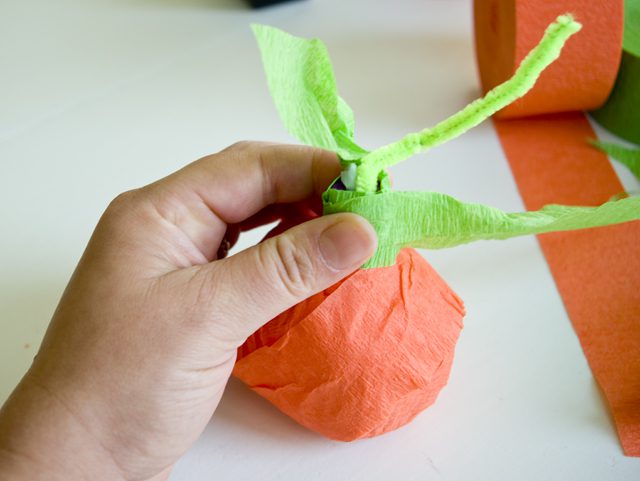
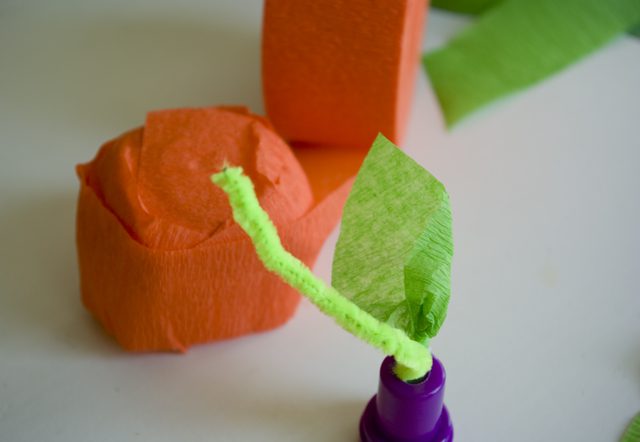
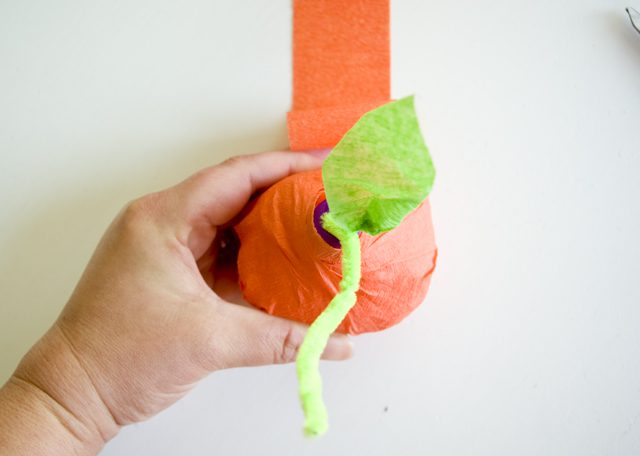
13. Wrap some green streamer around the stamper to look more like a stem.
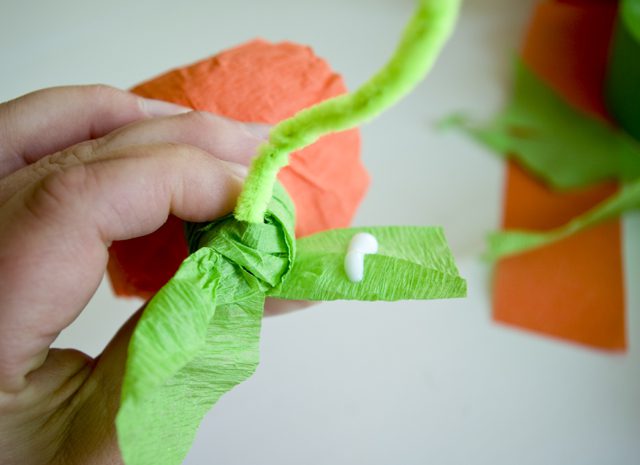
14. Then glue the end and hold until it stays in place on the stem.
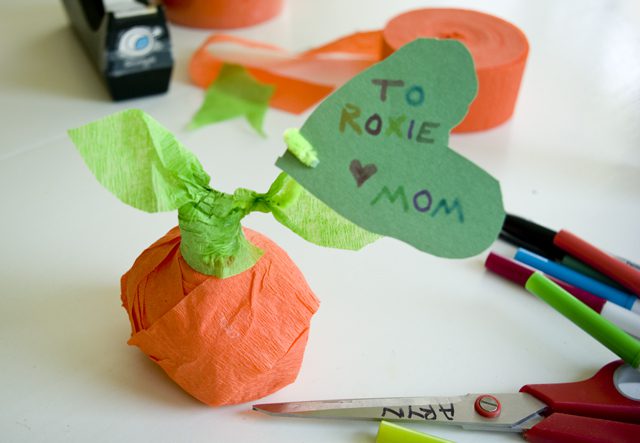
15. I added a note for Roxie (that’s supposed to look like a pumpkin leaf) and attached it to the second side of pipe cleaner, then wrapped the extra bit of green streamer to also look like a leaf. And it’s done! All that’s left is watching someone unwrap, and unwrap, and unwrap all the tiny surprises inside! I know Roxie had fun! Enjoy!