Sponsored by
Bloom Flower Farm
Bloom is a small flower farm in Northeast Iowa run by Jen Opheim and family. At Bloom, we love to watch things grow and to be creative. It all begins with a vision. Maybe you want fresh locally grown flowers for your DIY wedding bouquets. Maybe you want to promote your business with a petite posy giveaway. Or maybe you have a flower friend who would love a unique gift of blooms through our seasonal CSA. Whatever your flower needs are, we’re happy to help. Let’s create something beautiful together!
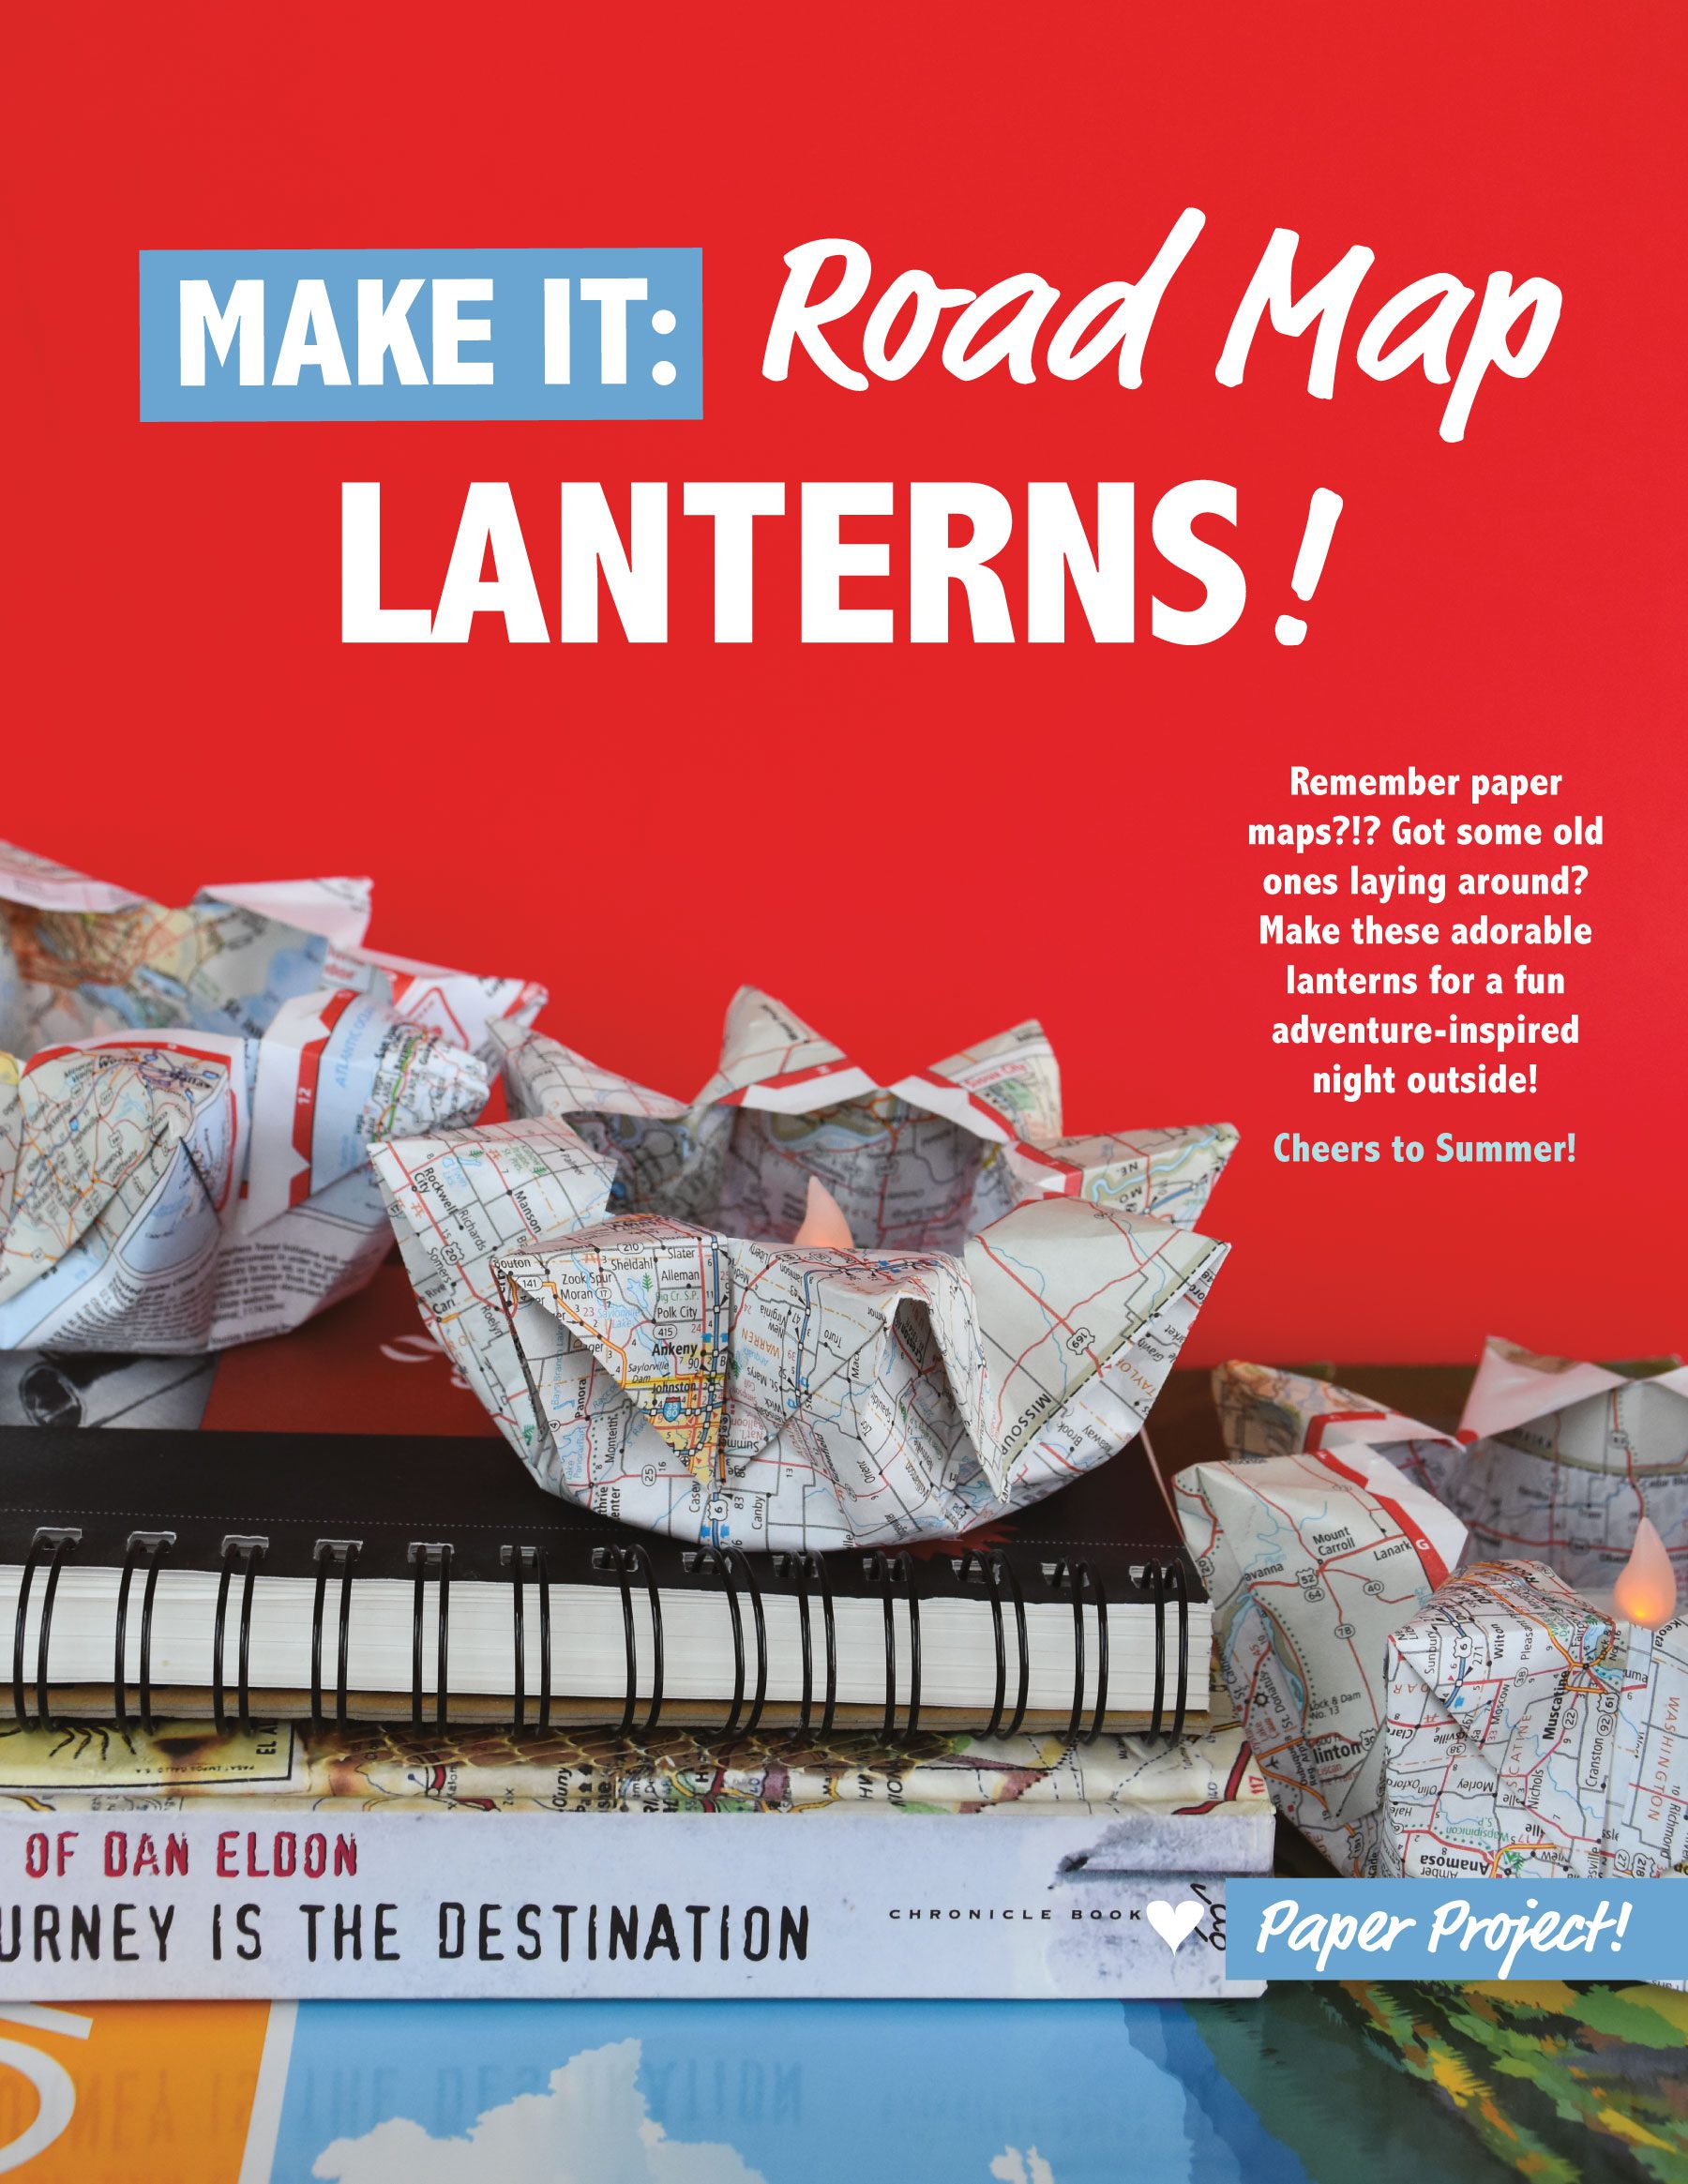
Road Map Lanterns
Sponsored by
Bloom Flower Farm
Bloom is a small flower farm in Northeast Iowa run by Jen Opheim and family. At Bloom, we love to watch things grow and to be creative. It all begins with a vision. Maybe you want fresh locally grown flowers for your DIY wedding bouquets. Maybe you want to promote your business with a petite posy giveaway. Or maybe you have a flower friend who would love a unique gift of blooms through our seasonal CSA. Whatever your flower needs are, we’re happy to help. Let’s create something beautiful together!
Make it: Road Map Lanterns!
Remember paper maps?!? Got some old ones laying around? Make these adorable lanterns for a fun adventure-inspired night outside. Cheers to summer!
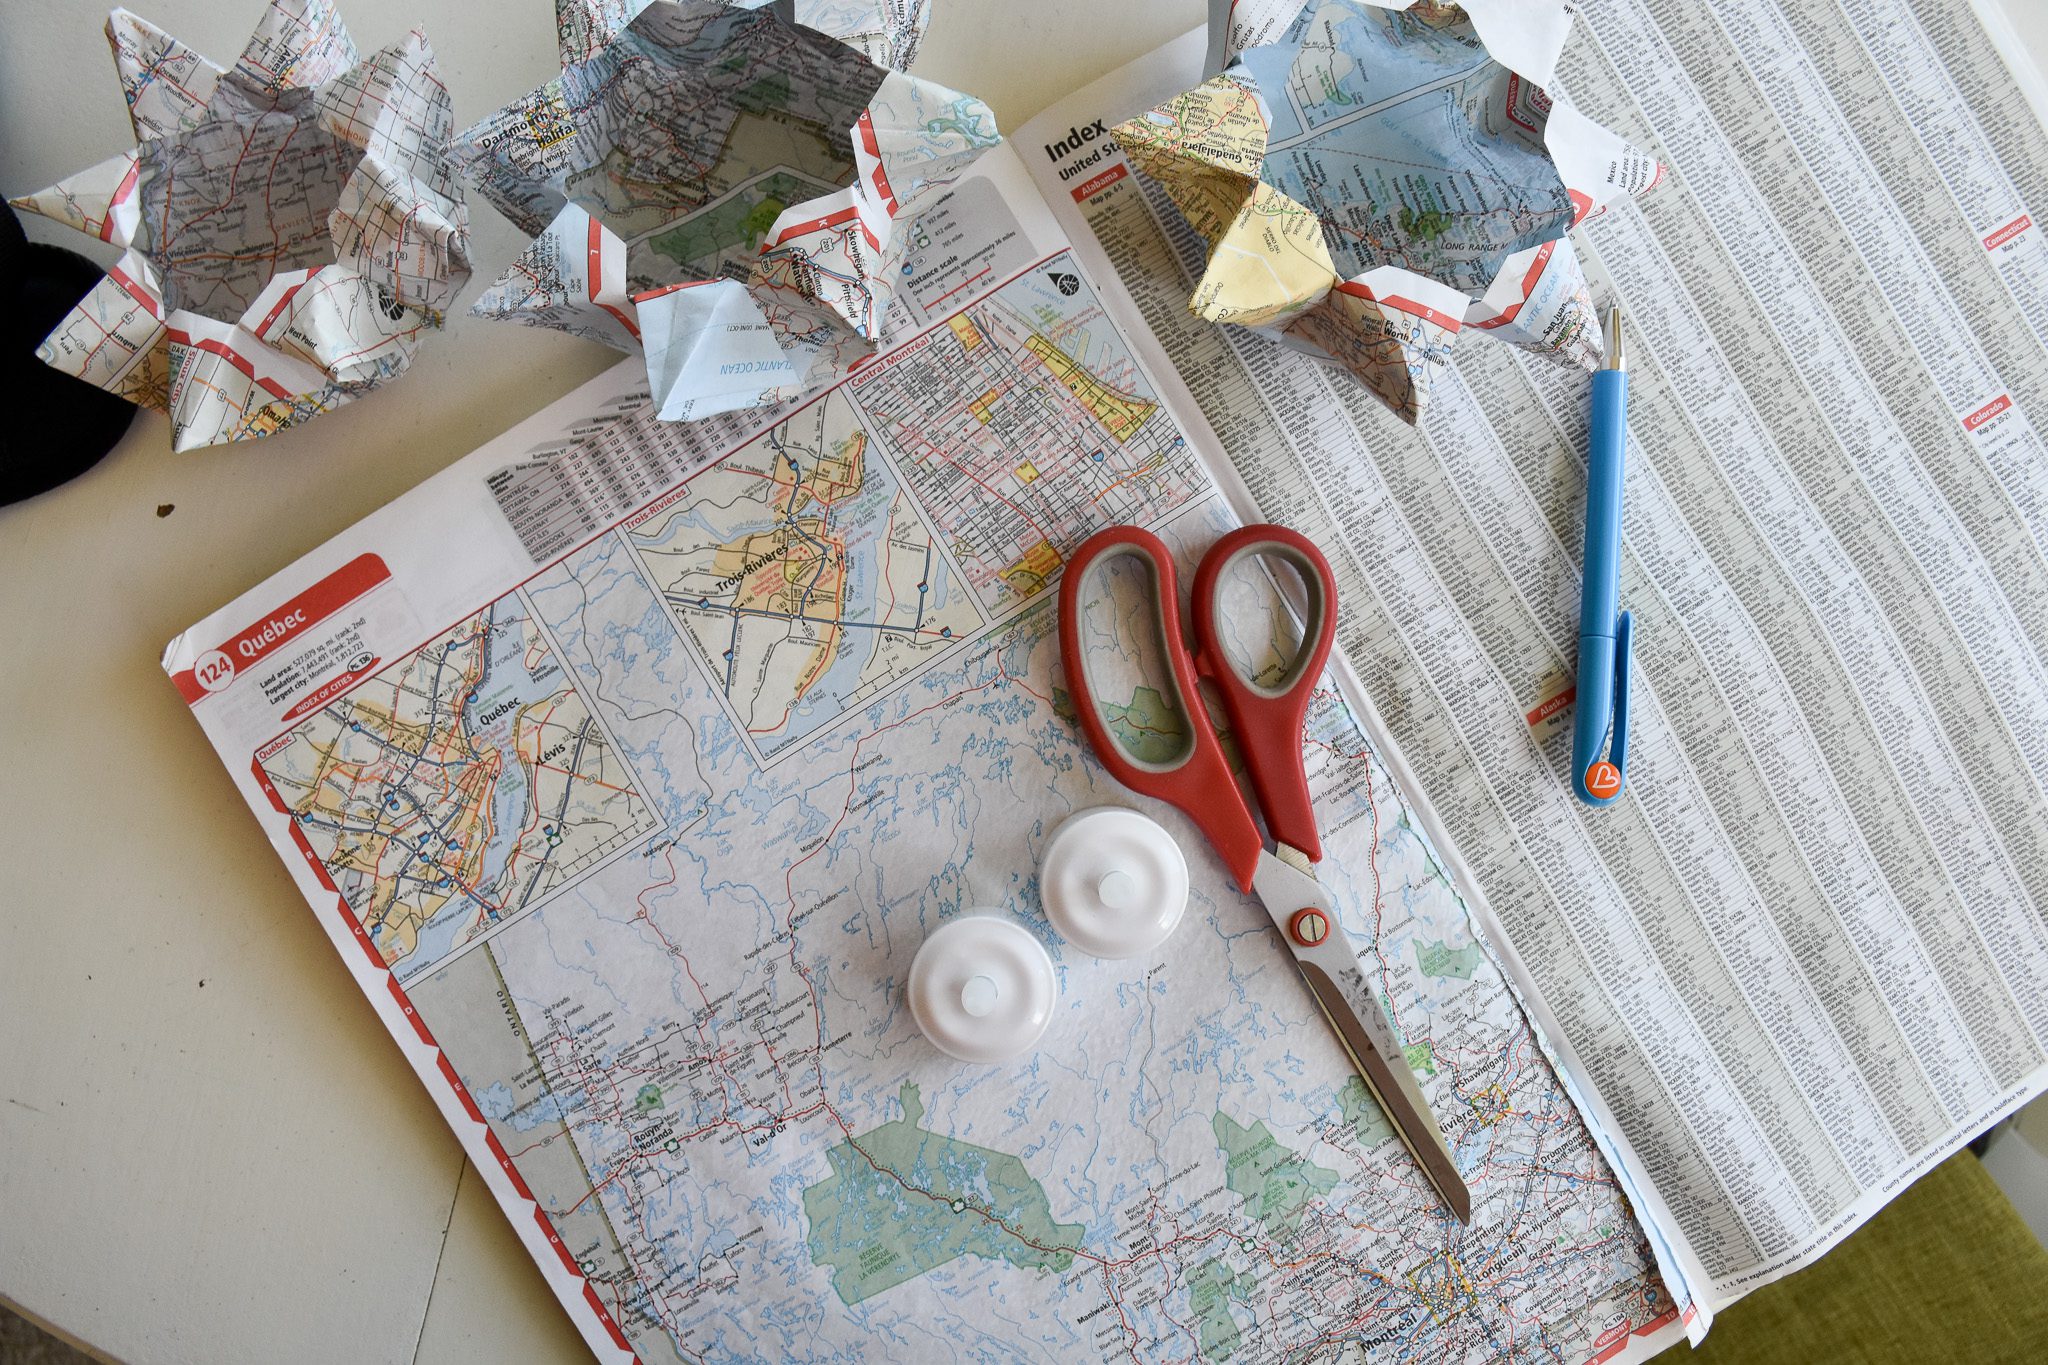
Supplies:
• One map page from a large road atlas (this will make a square roughly 11 x 11 once we’ve done our cutting)
• Scissors
• Battery-operated tea light (to be on the safe side…)
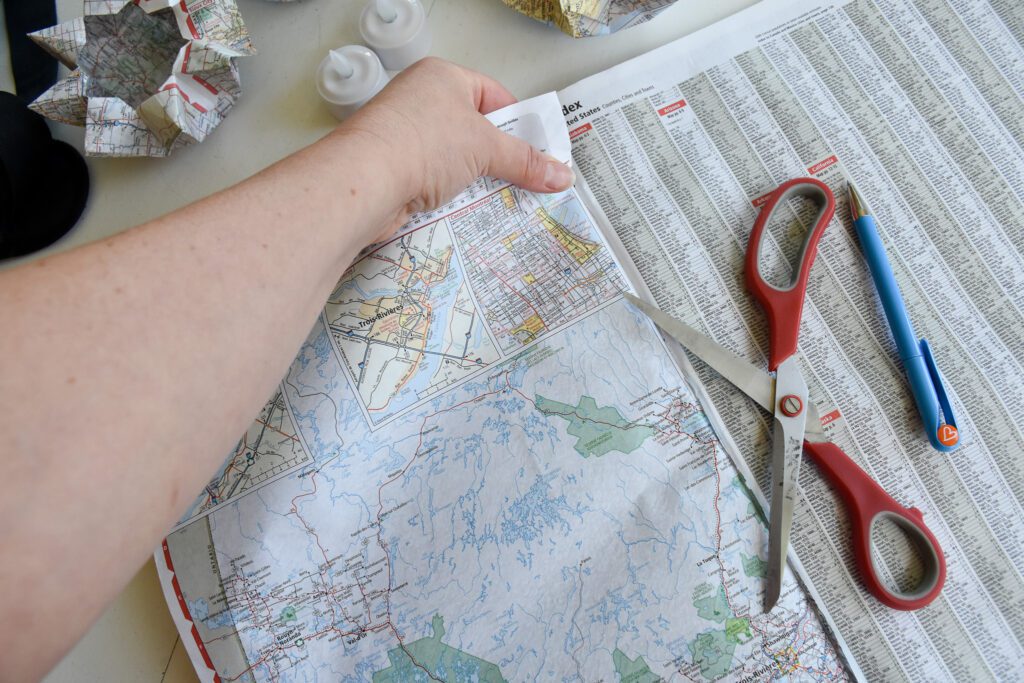
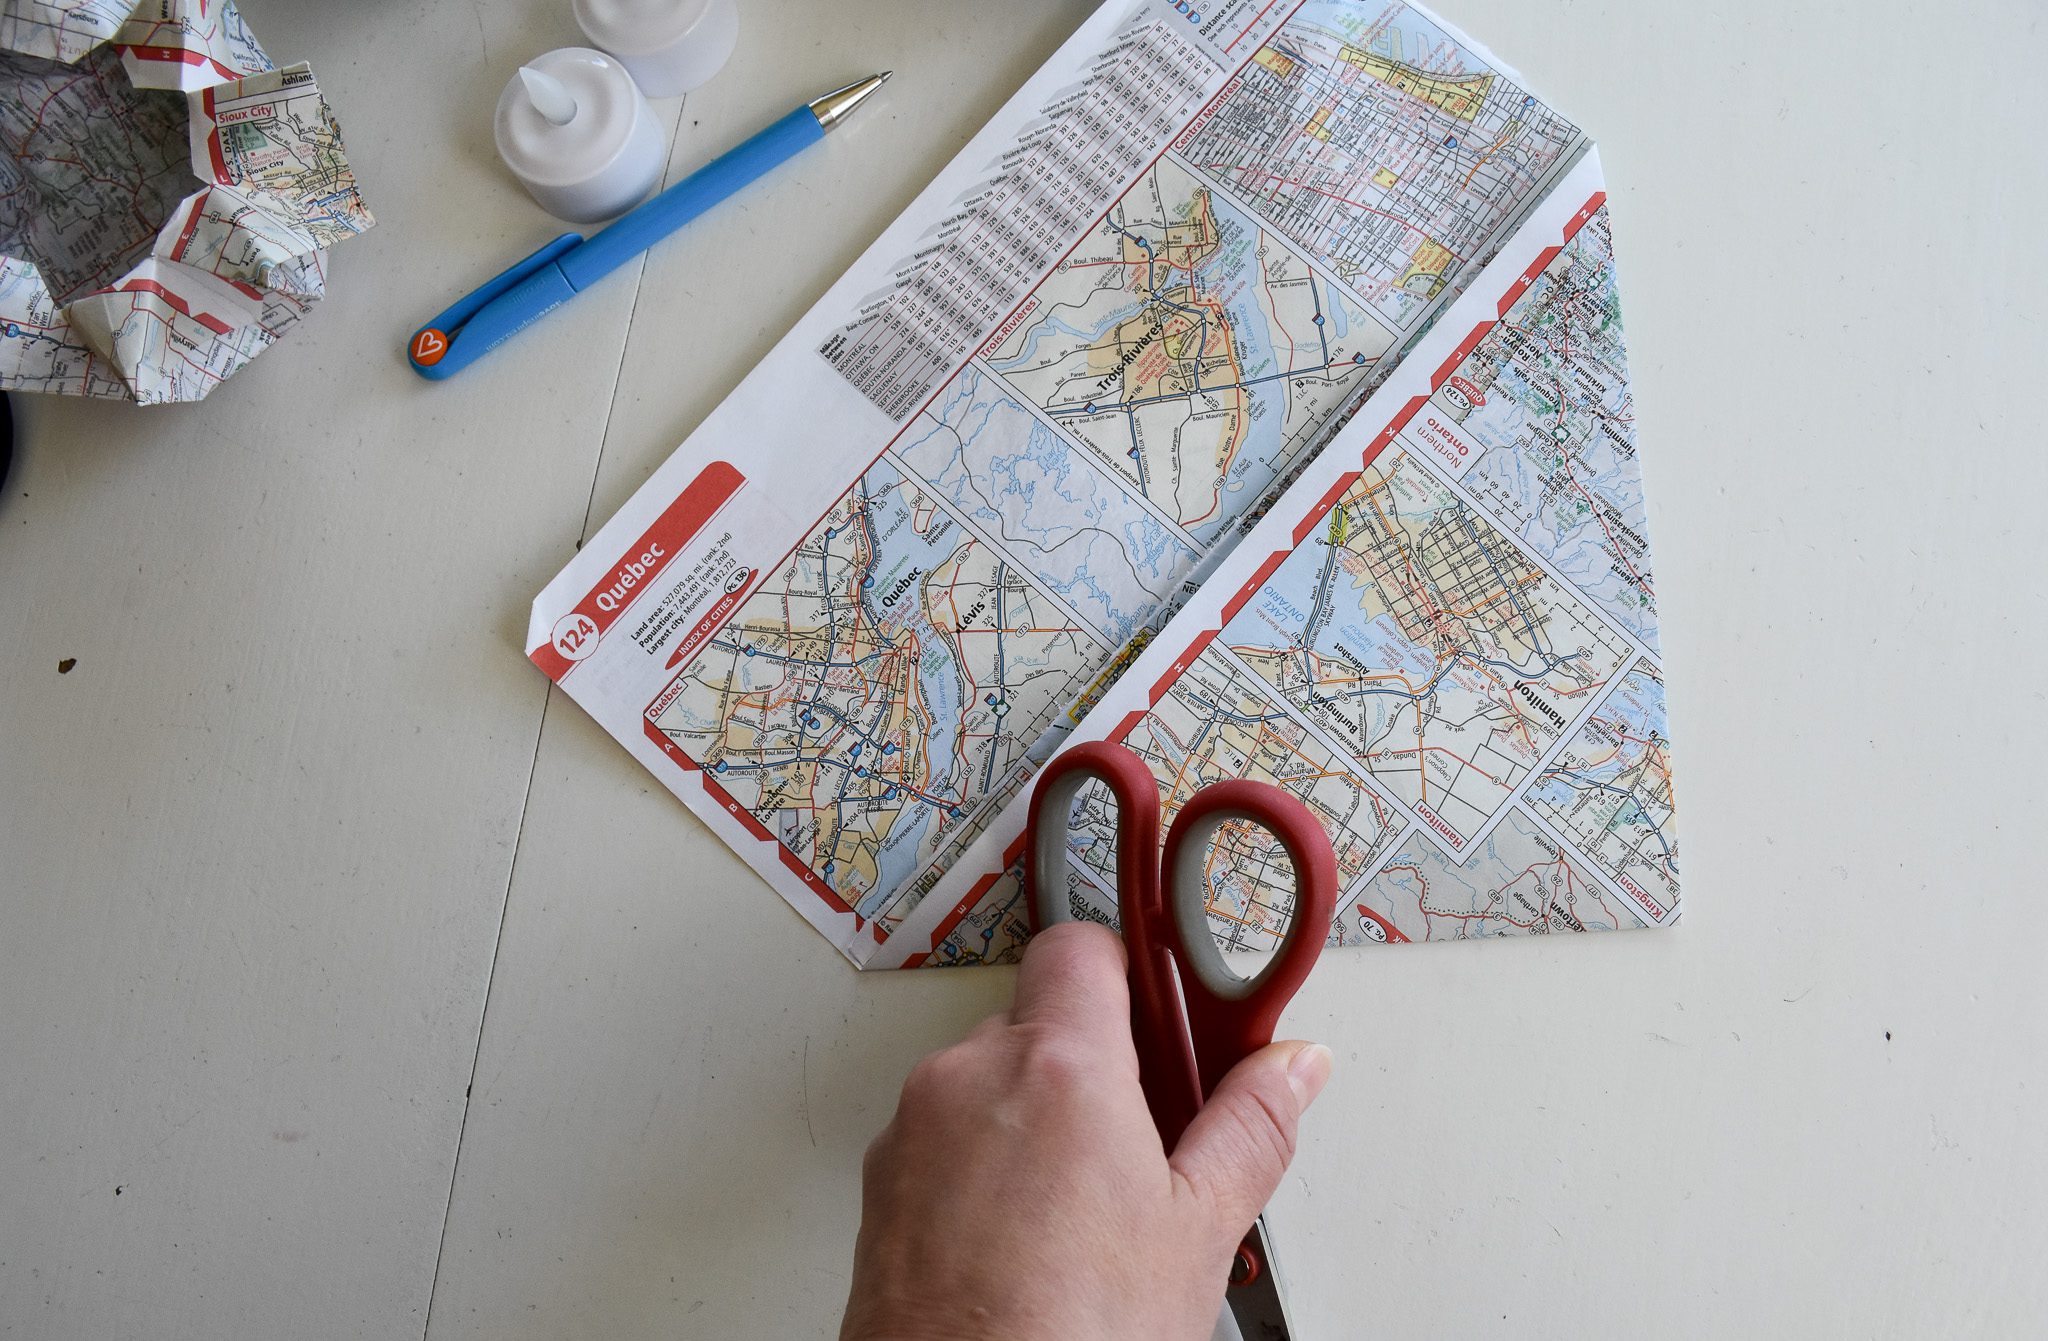
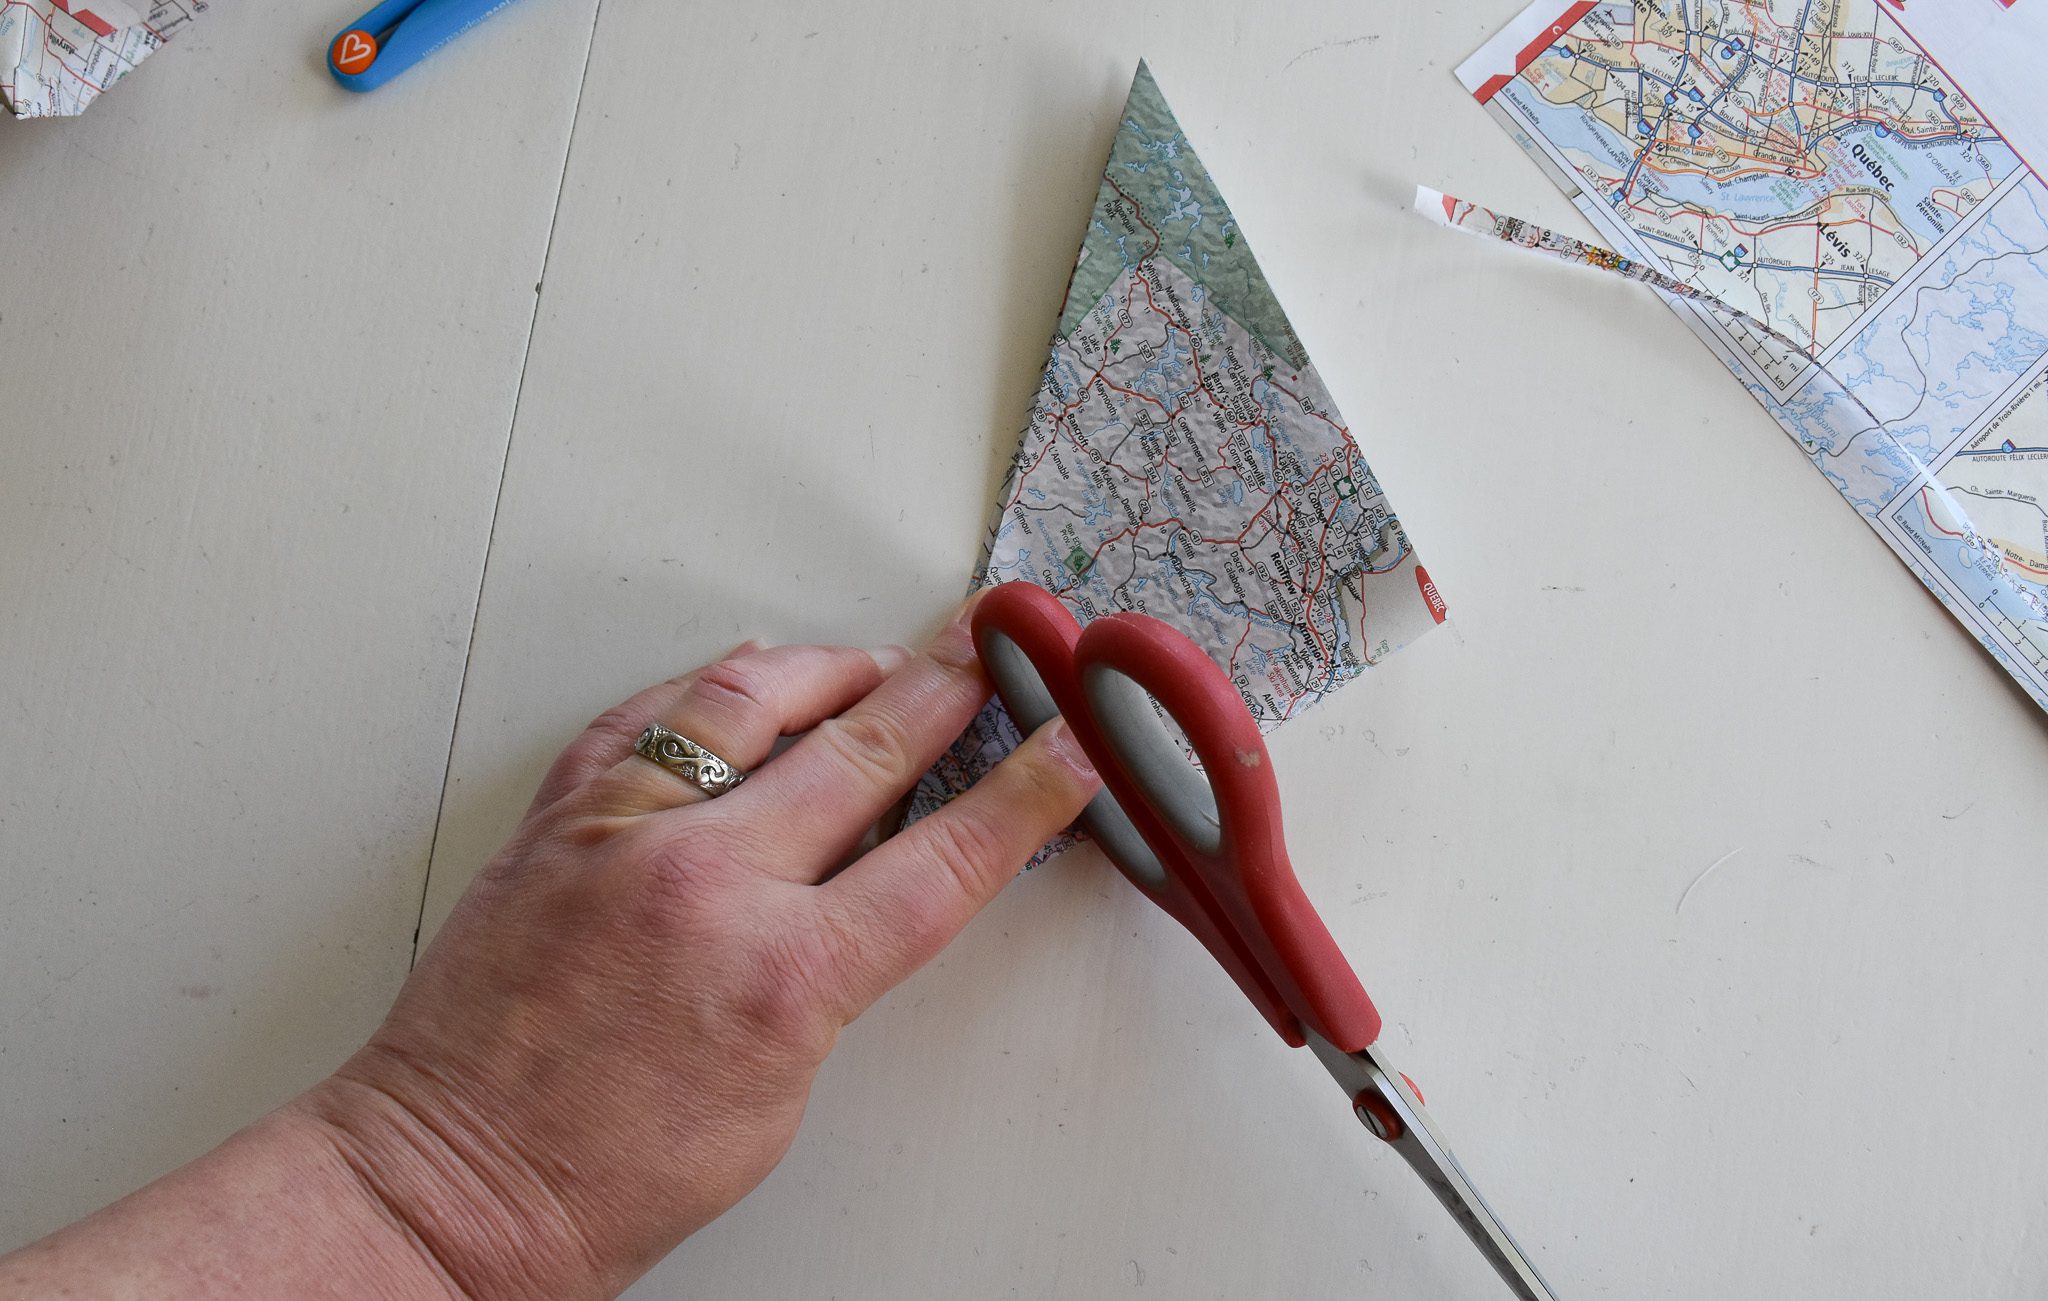
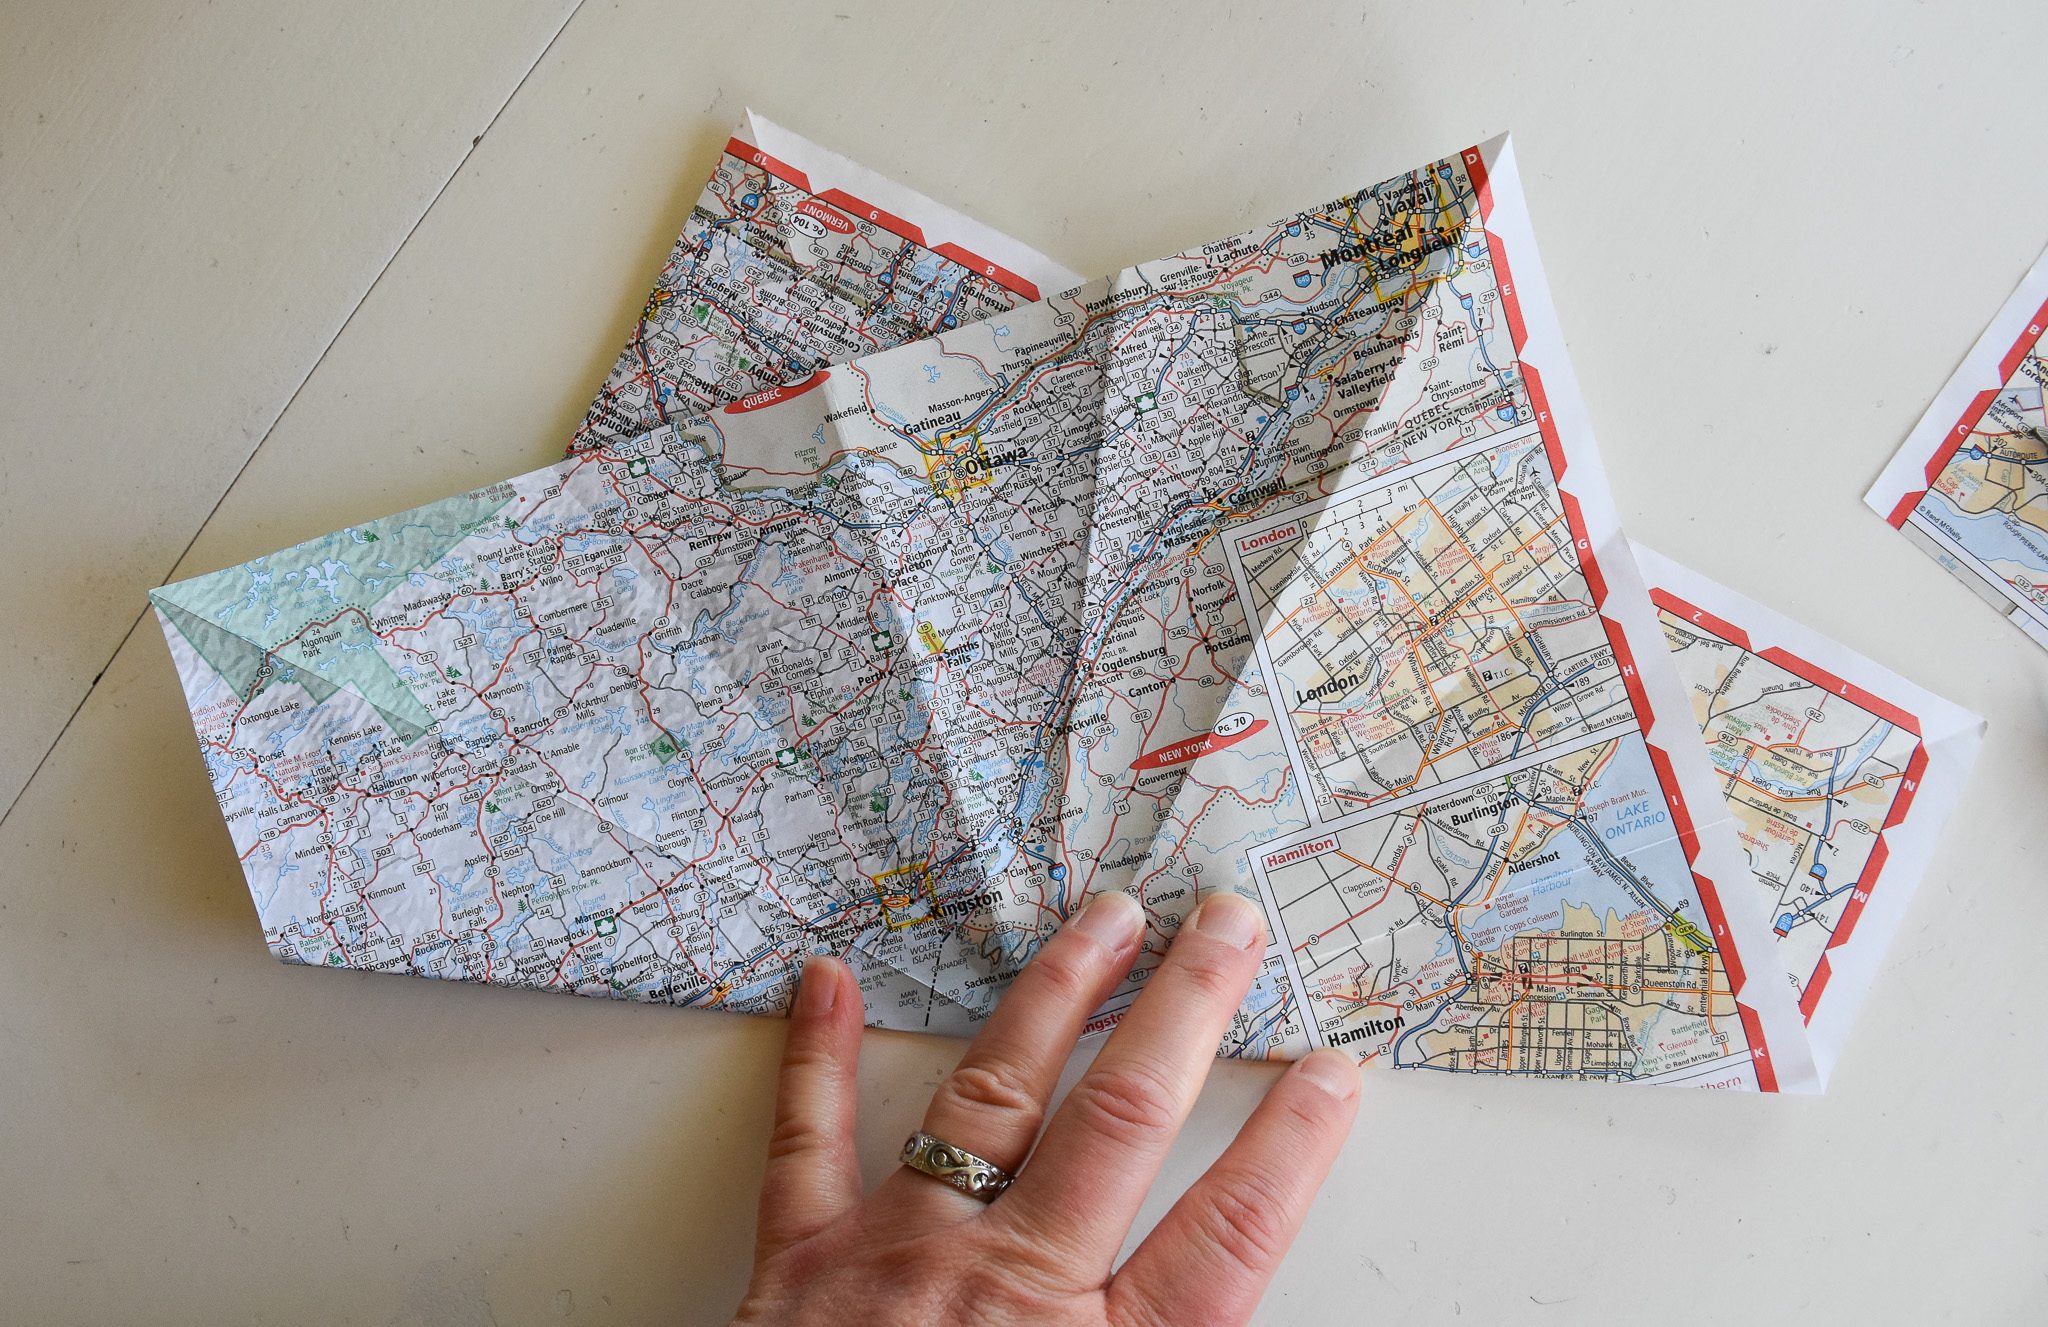
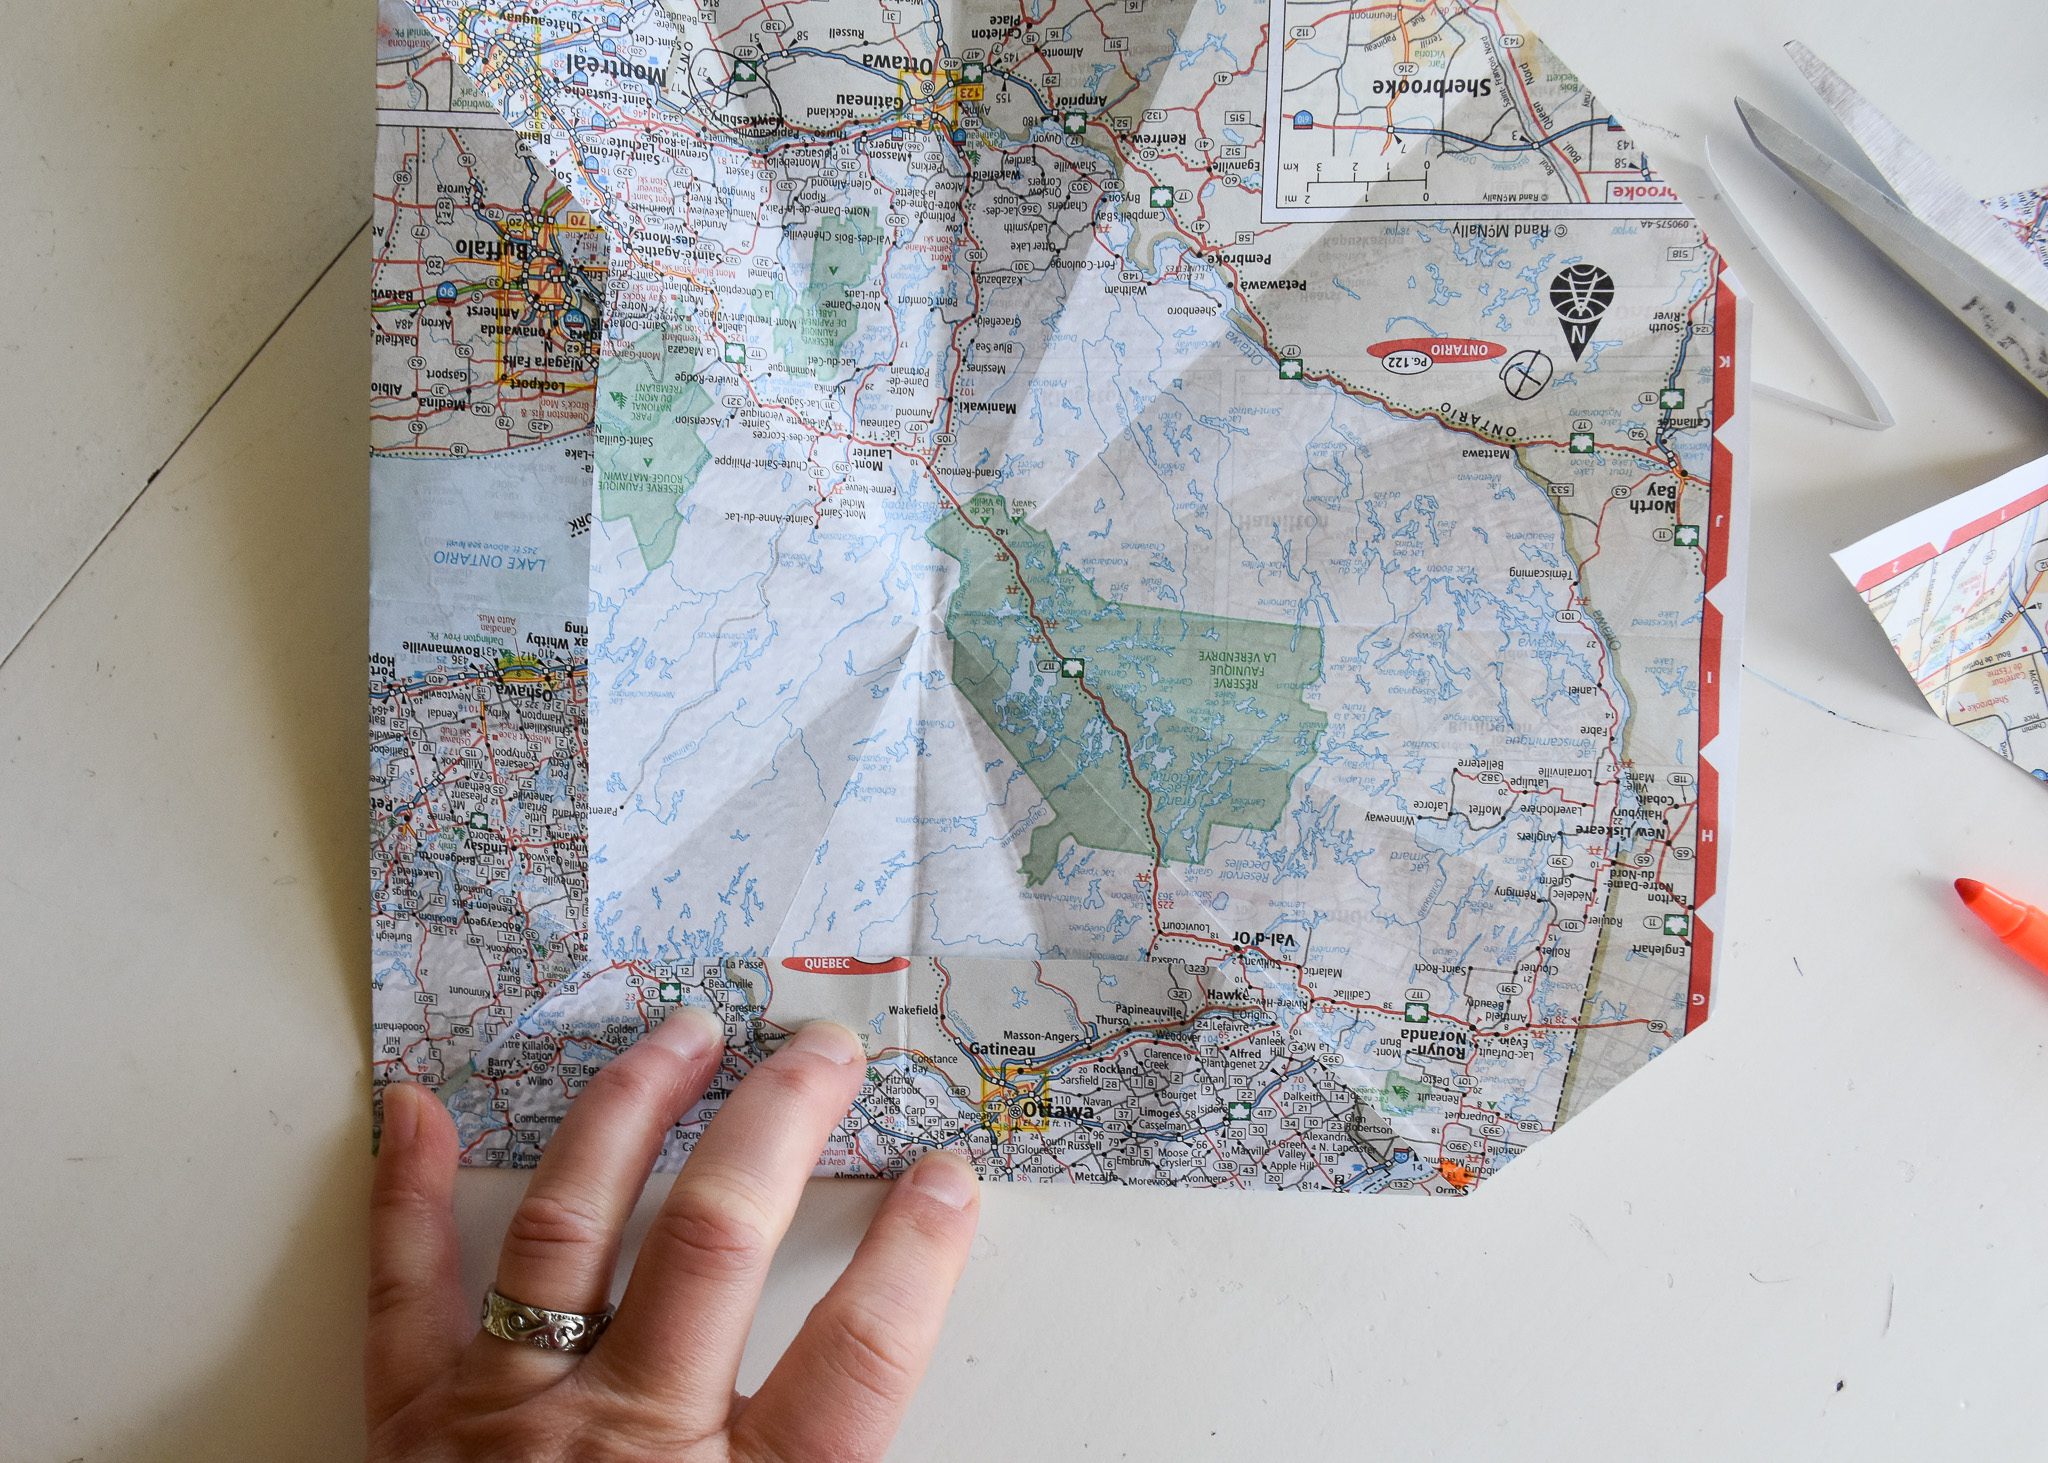
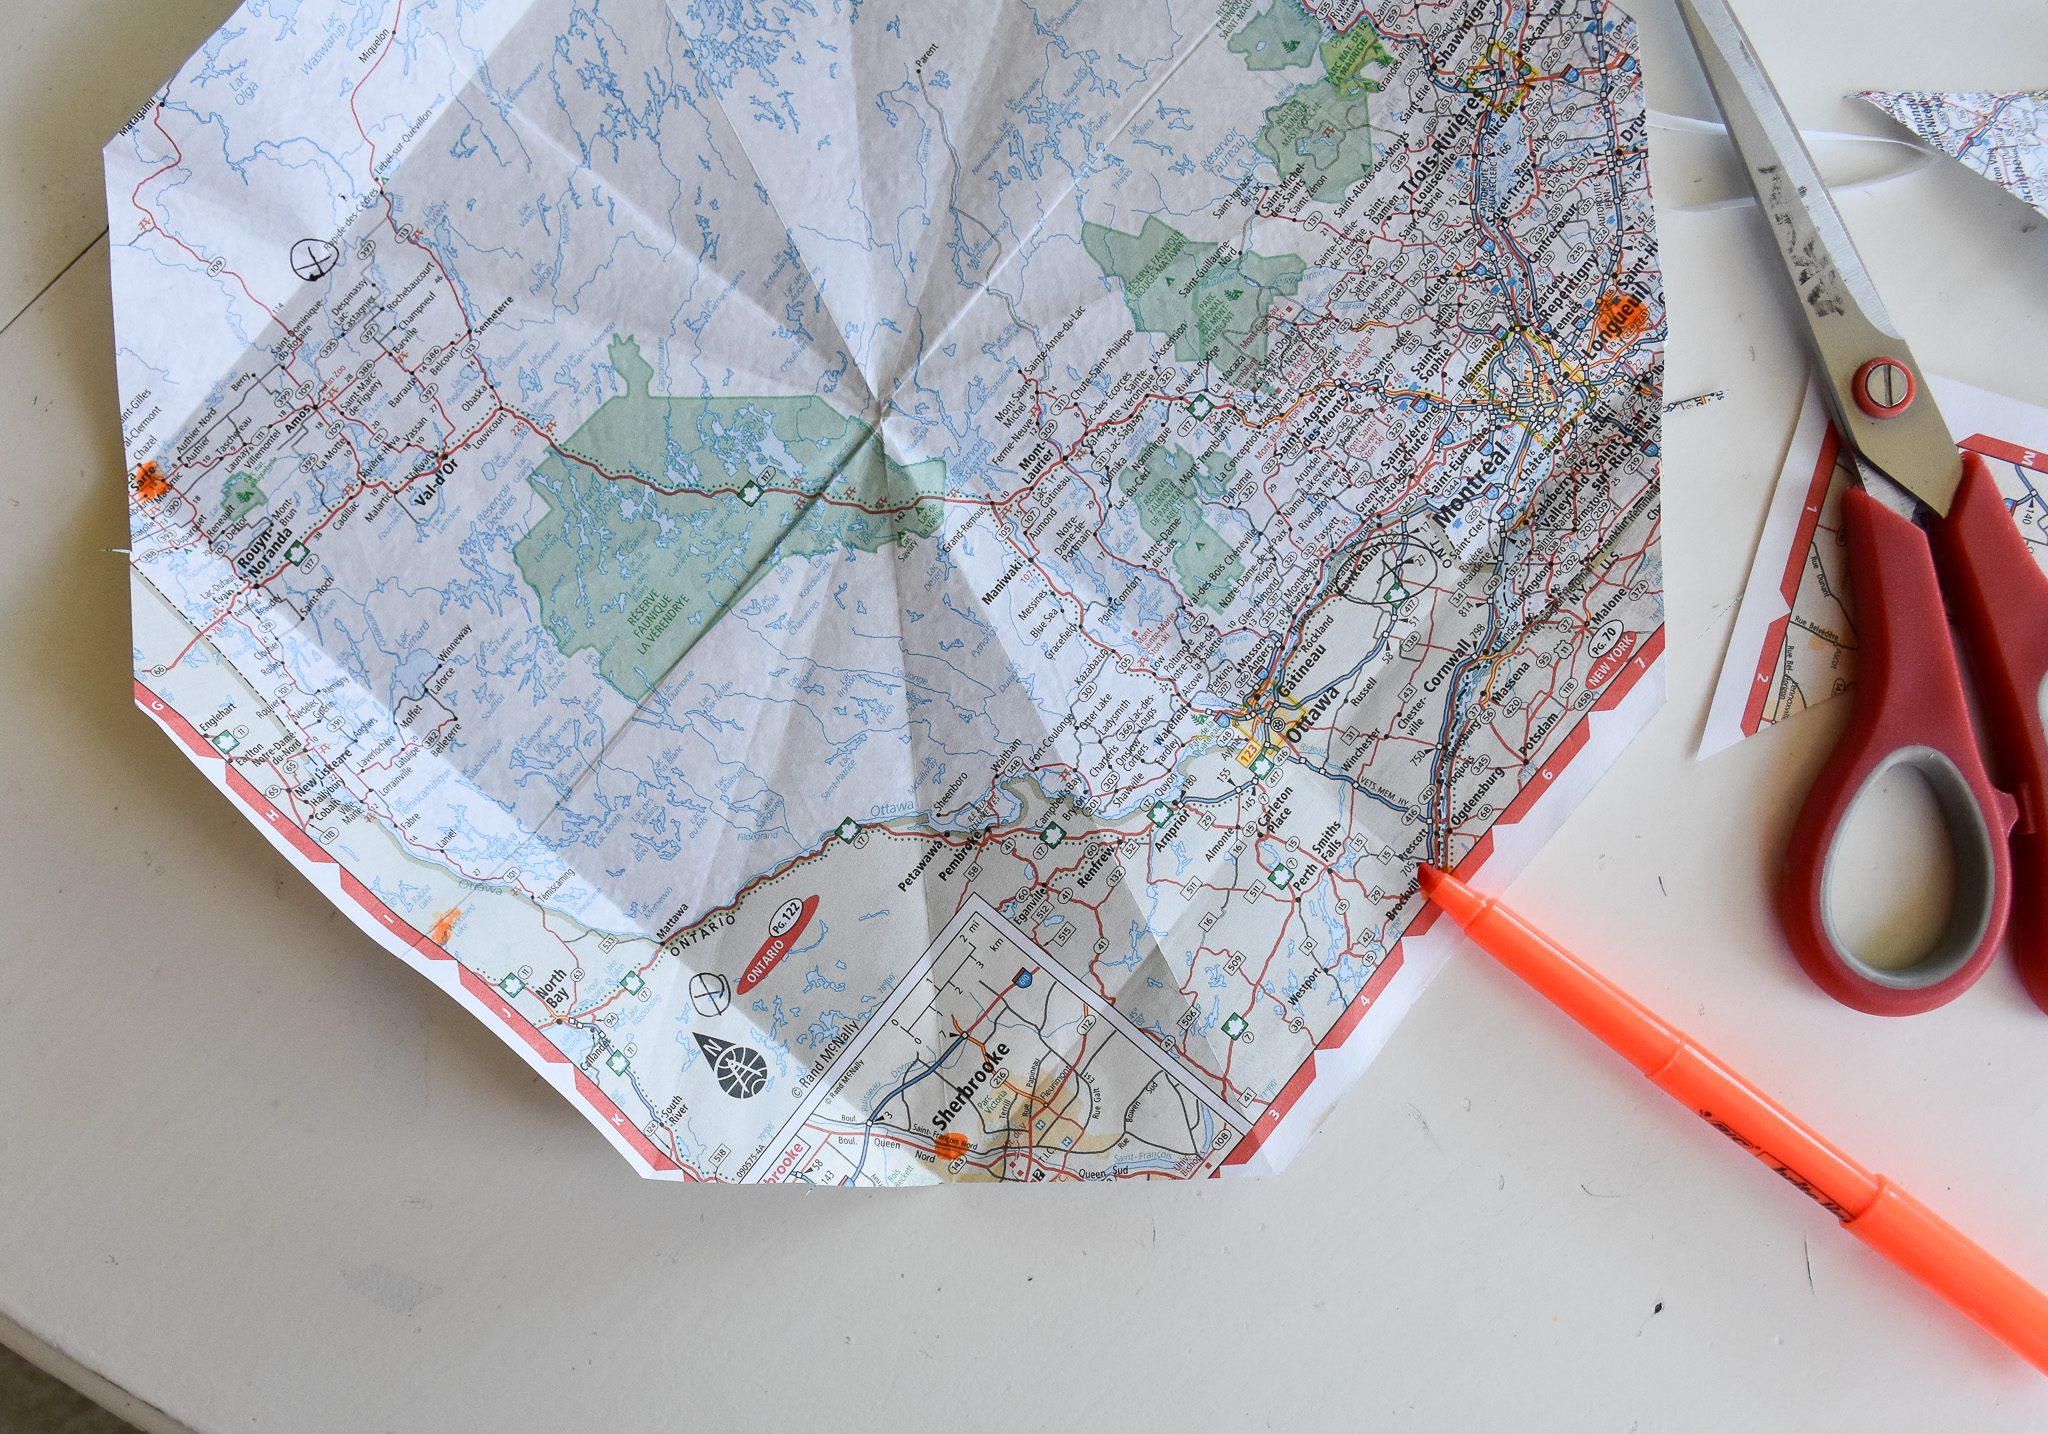
Carefully rip one page out of your road atlas.
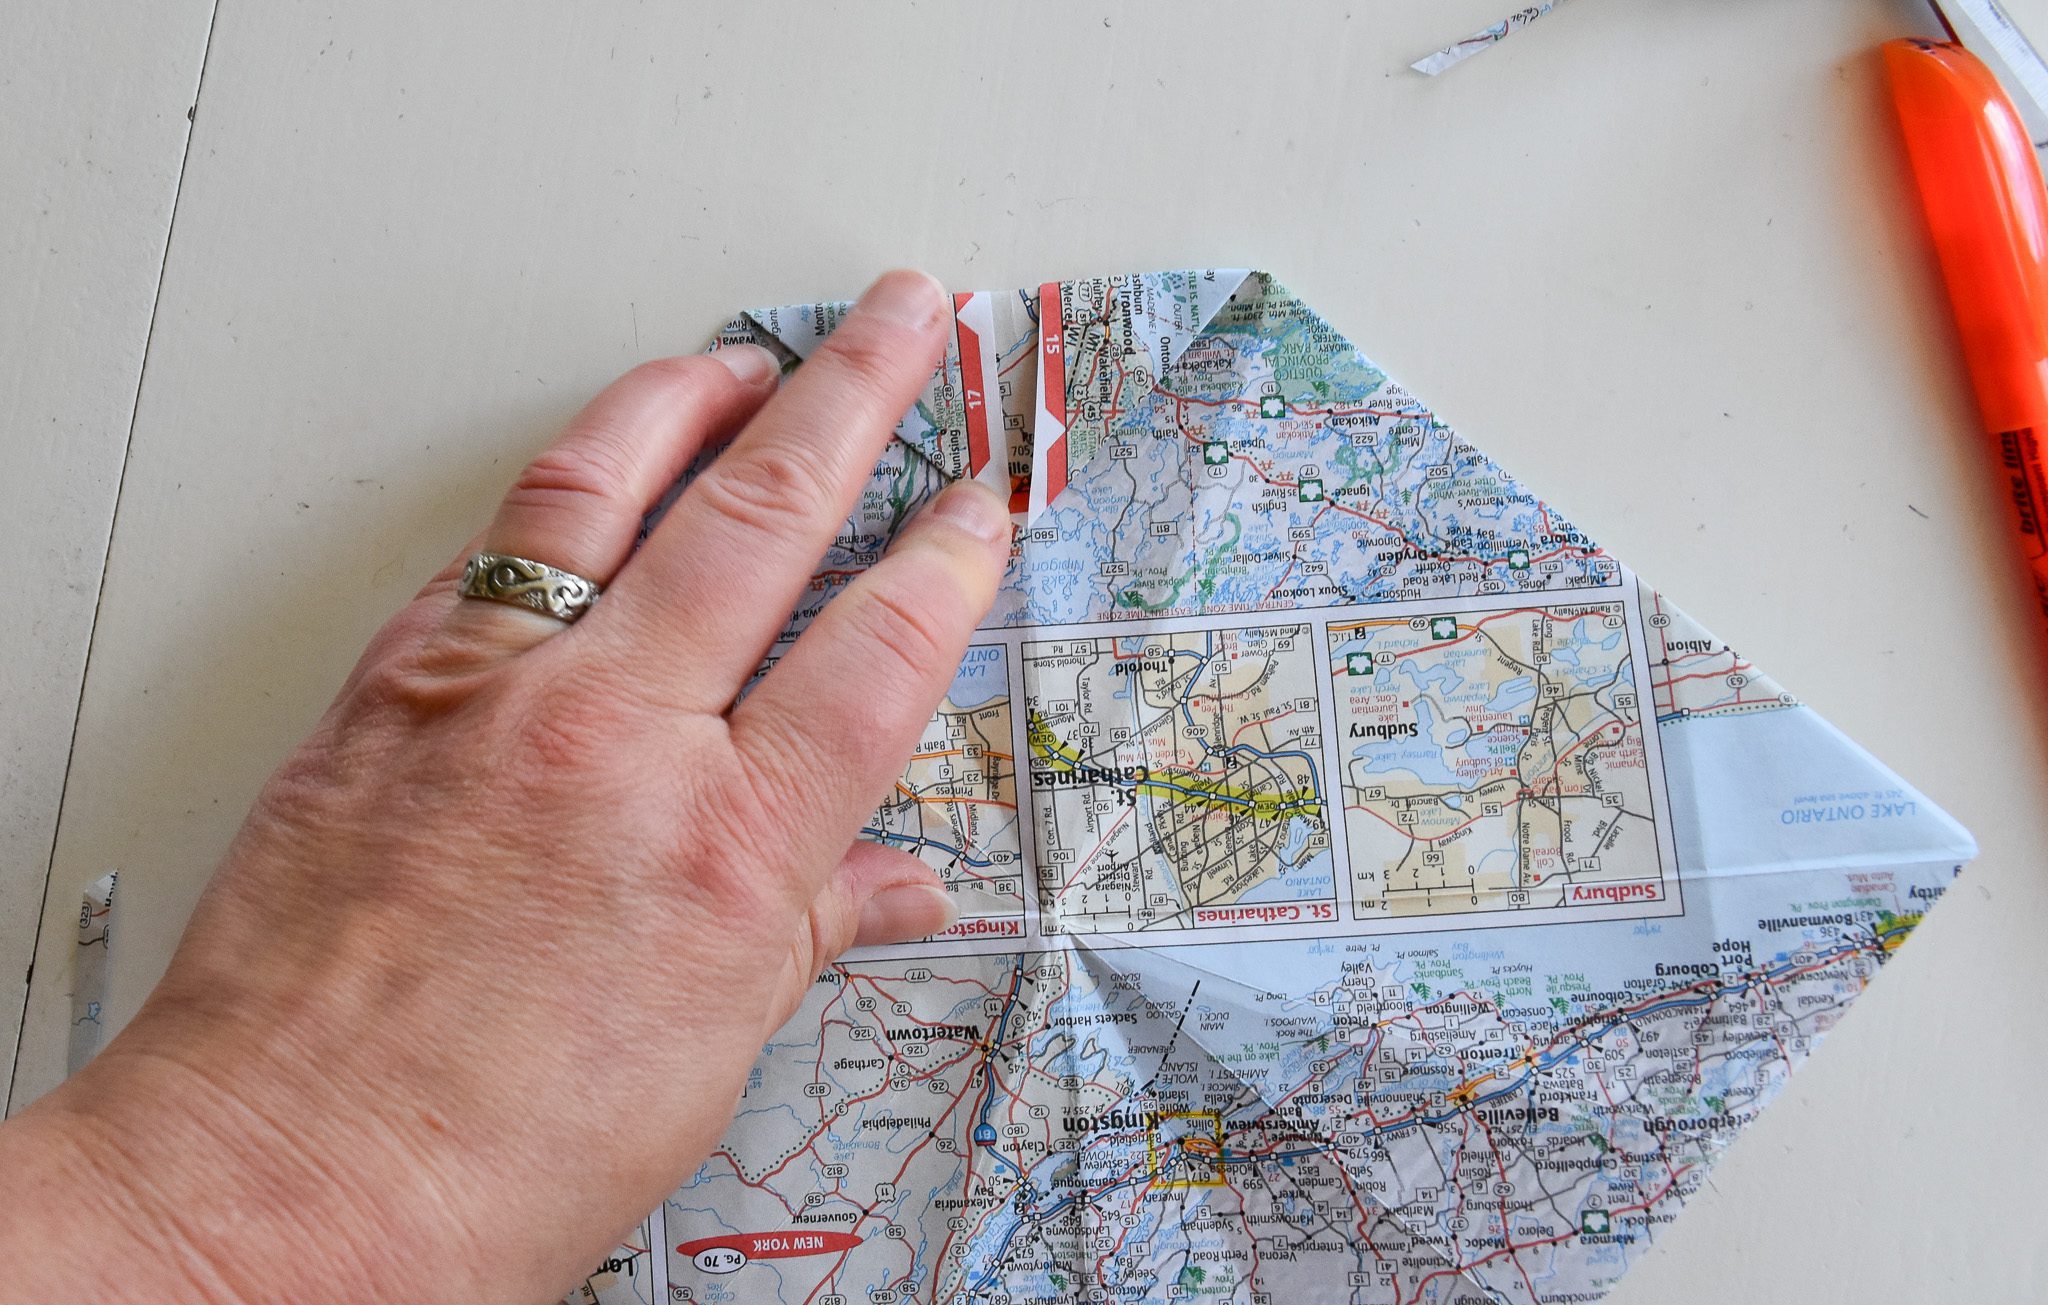
Fold one corner up so the bottom edge of the paper meets the side edge.

Use the scissors handle to make a solid crease (as that will help with the future folding).
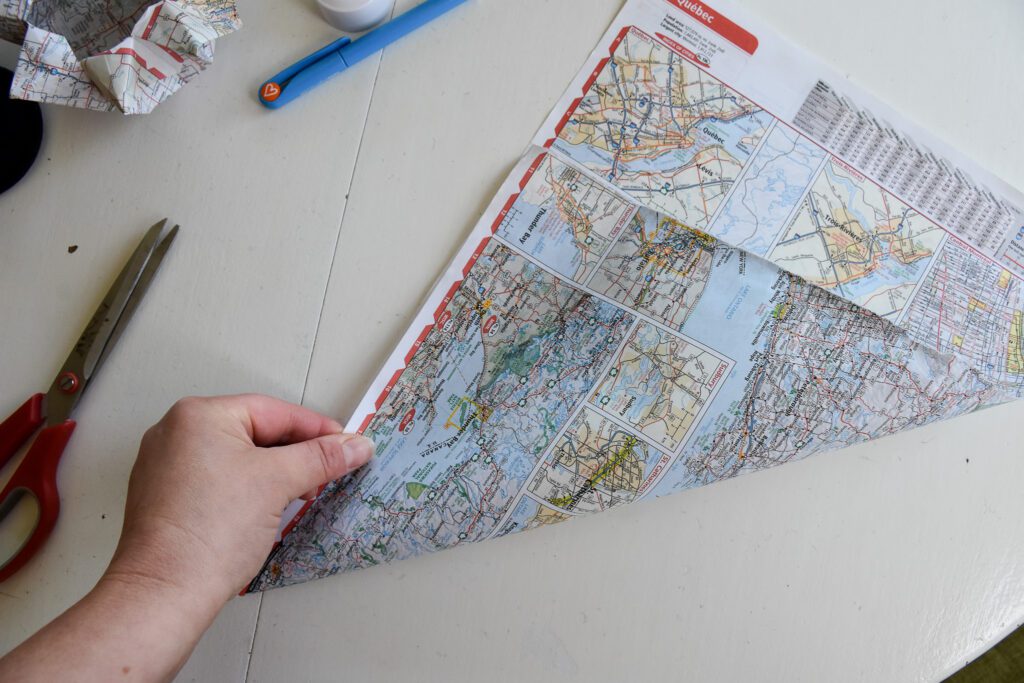
Take the bottom left corner and fold it to the right, back up over your already-folded section.
Use the scissors handle yet again to make the crease well-defined.
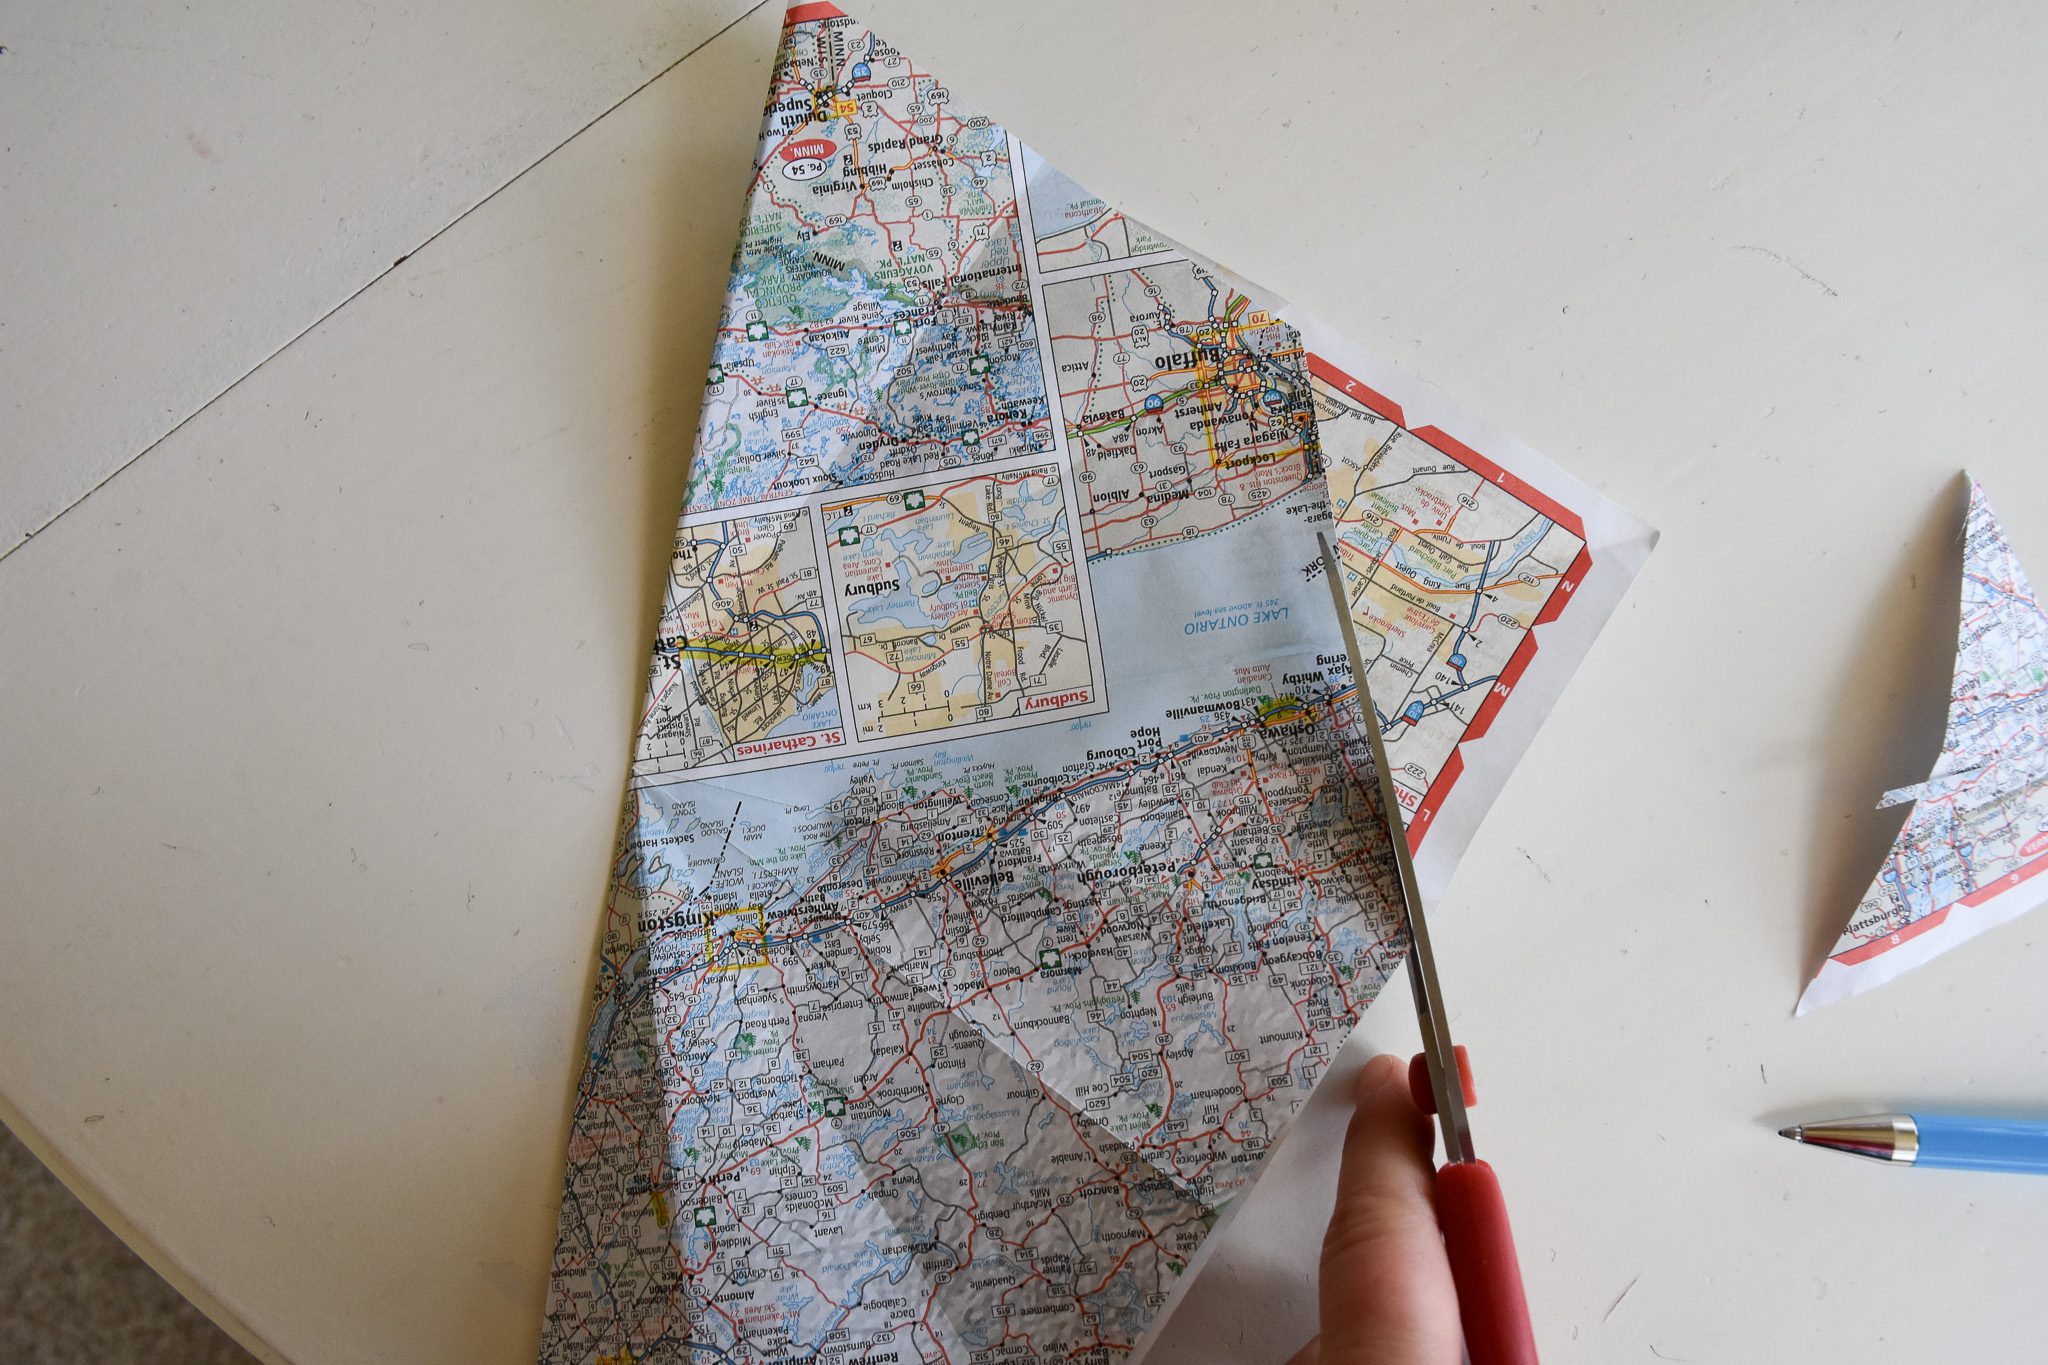
Cut the excess paper off the top. This should make your paper a square (if you wanted to just start with a square piece of paper – 11×11 or 12×12 – you fold the paper as stated, but obviously skip cutting any excess off)
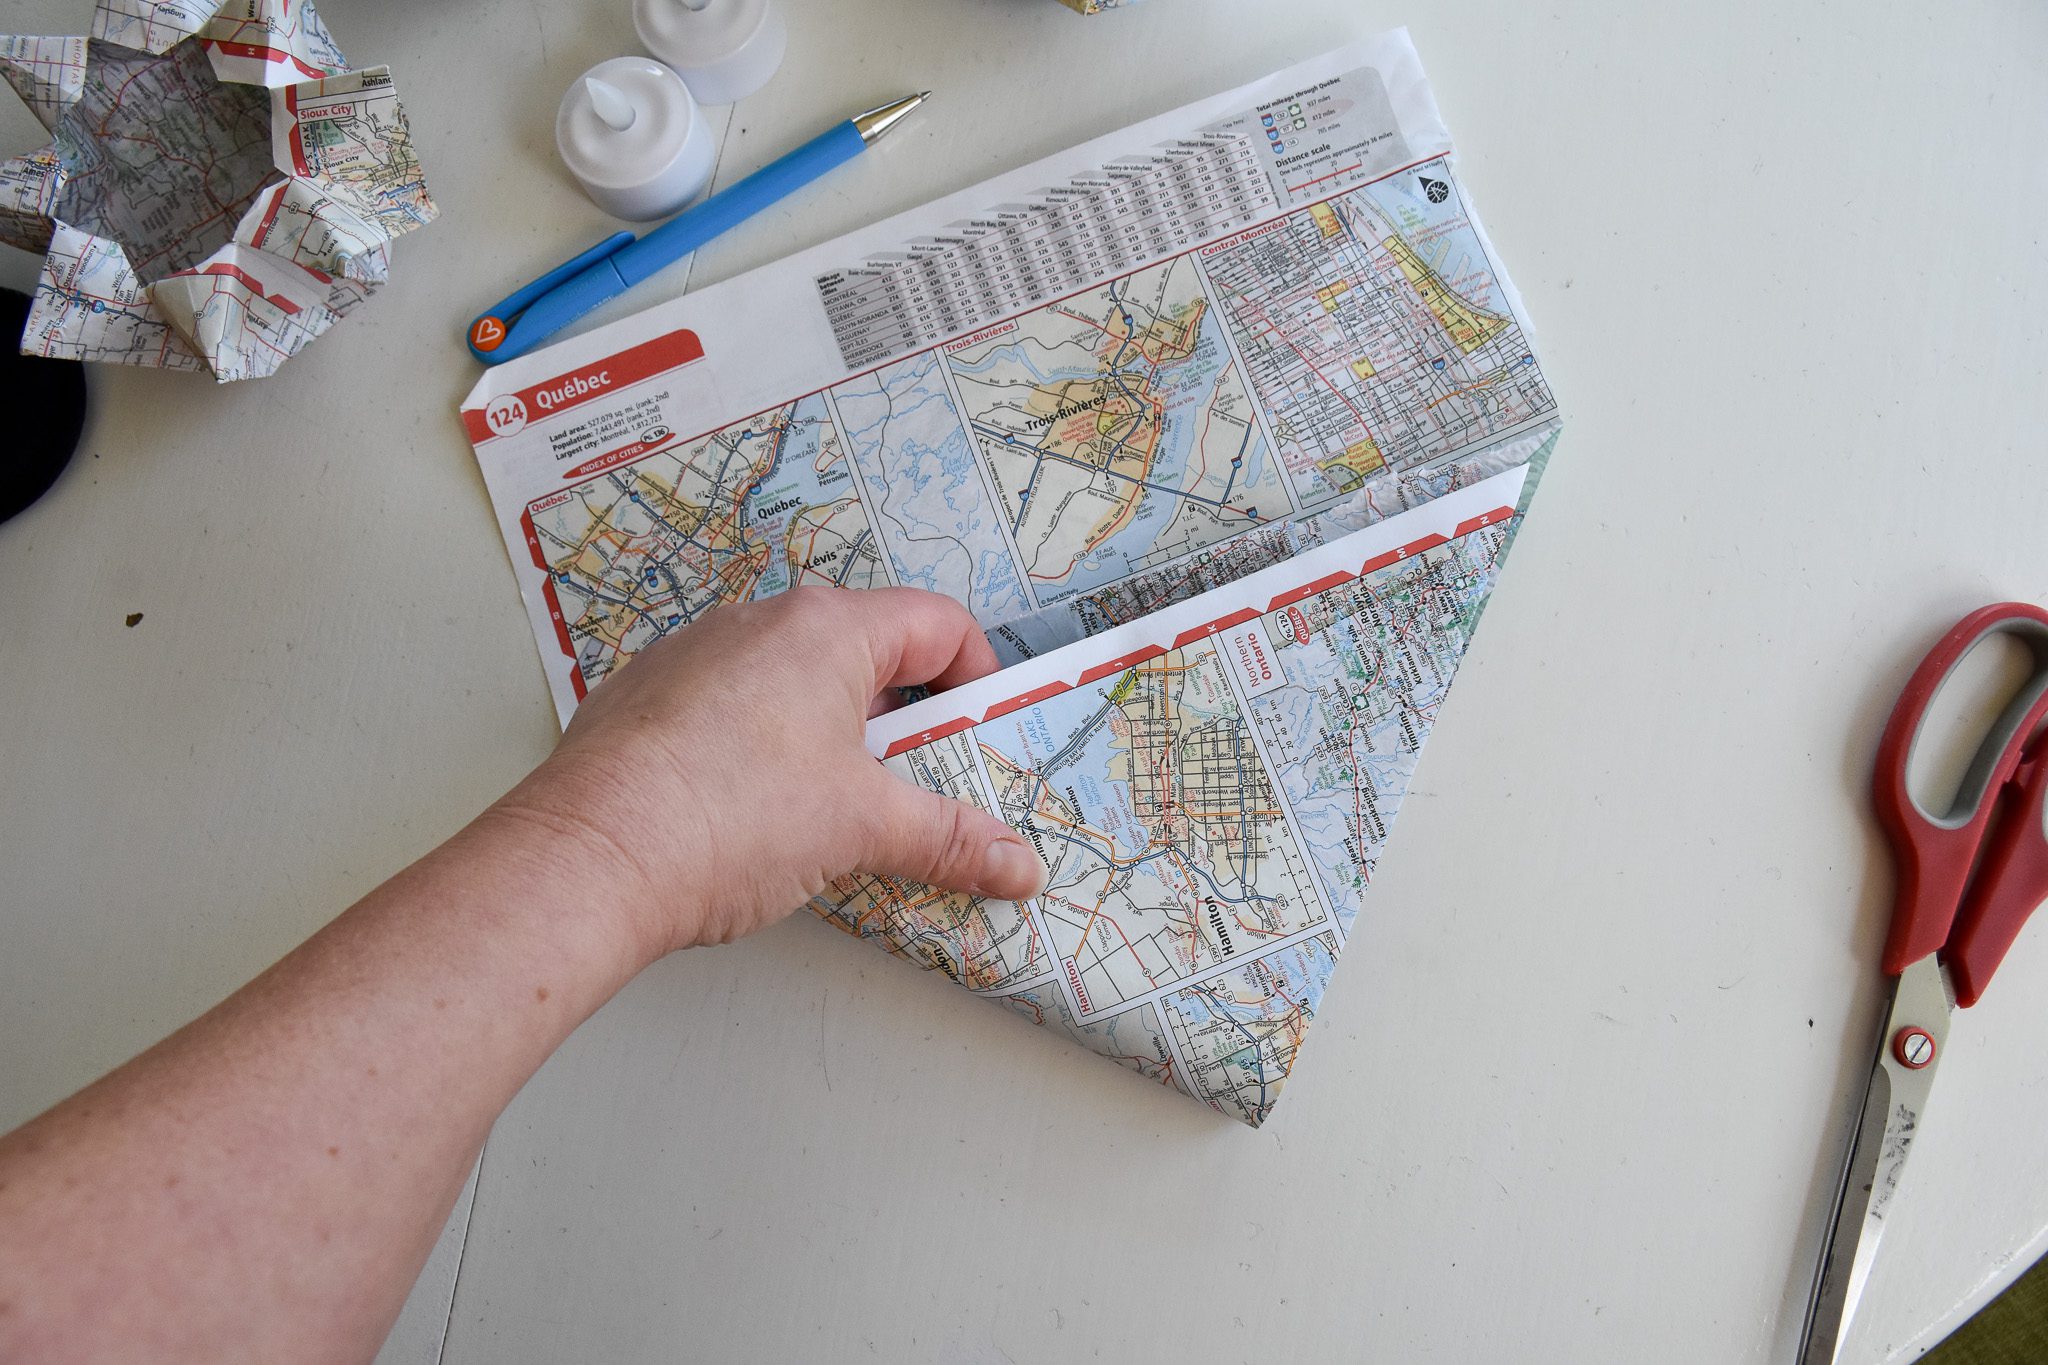
Align the middle point to the left, and get ready to fold the two opposite corners together.
Like so. This is kind of like the folding you do when you make a snowflake.
Use the scissors handle to make that crease defined again!

Keeping the middle point to the left, get ready to fold this in half again.
Like so!
Don’t forget to make a solid crease!
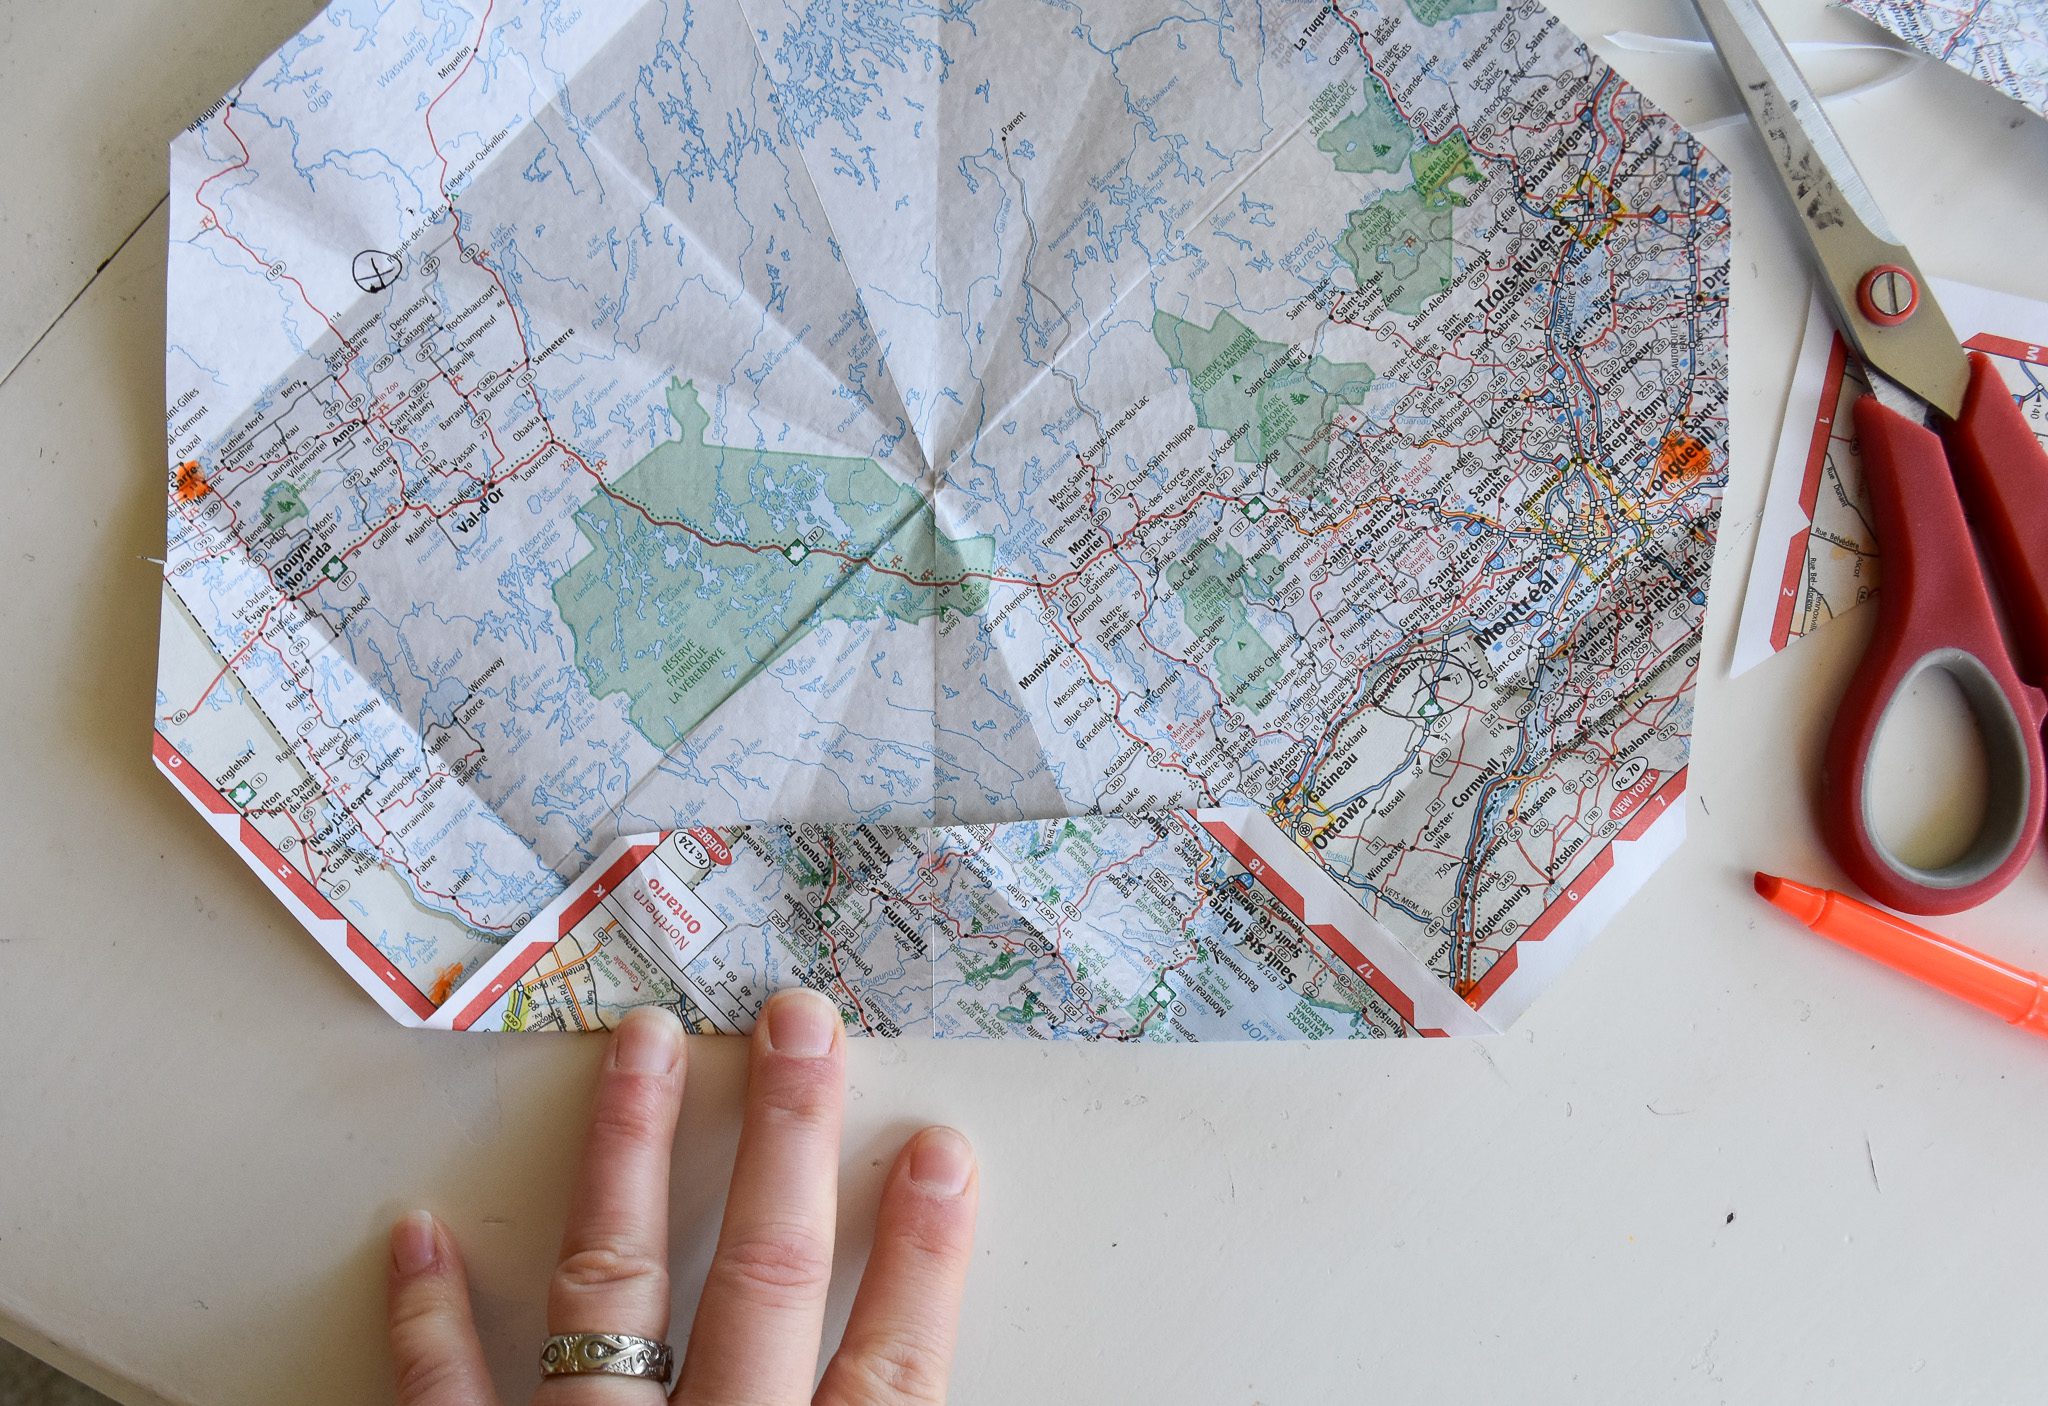
Unfold your paper to show all your creases.
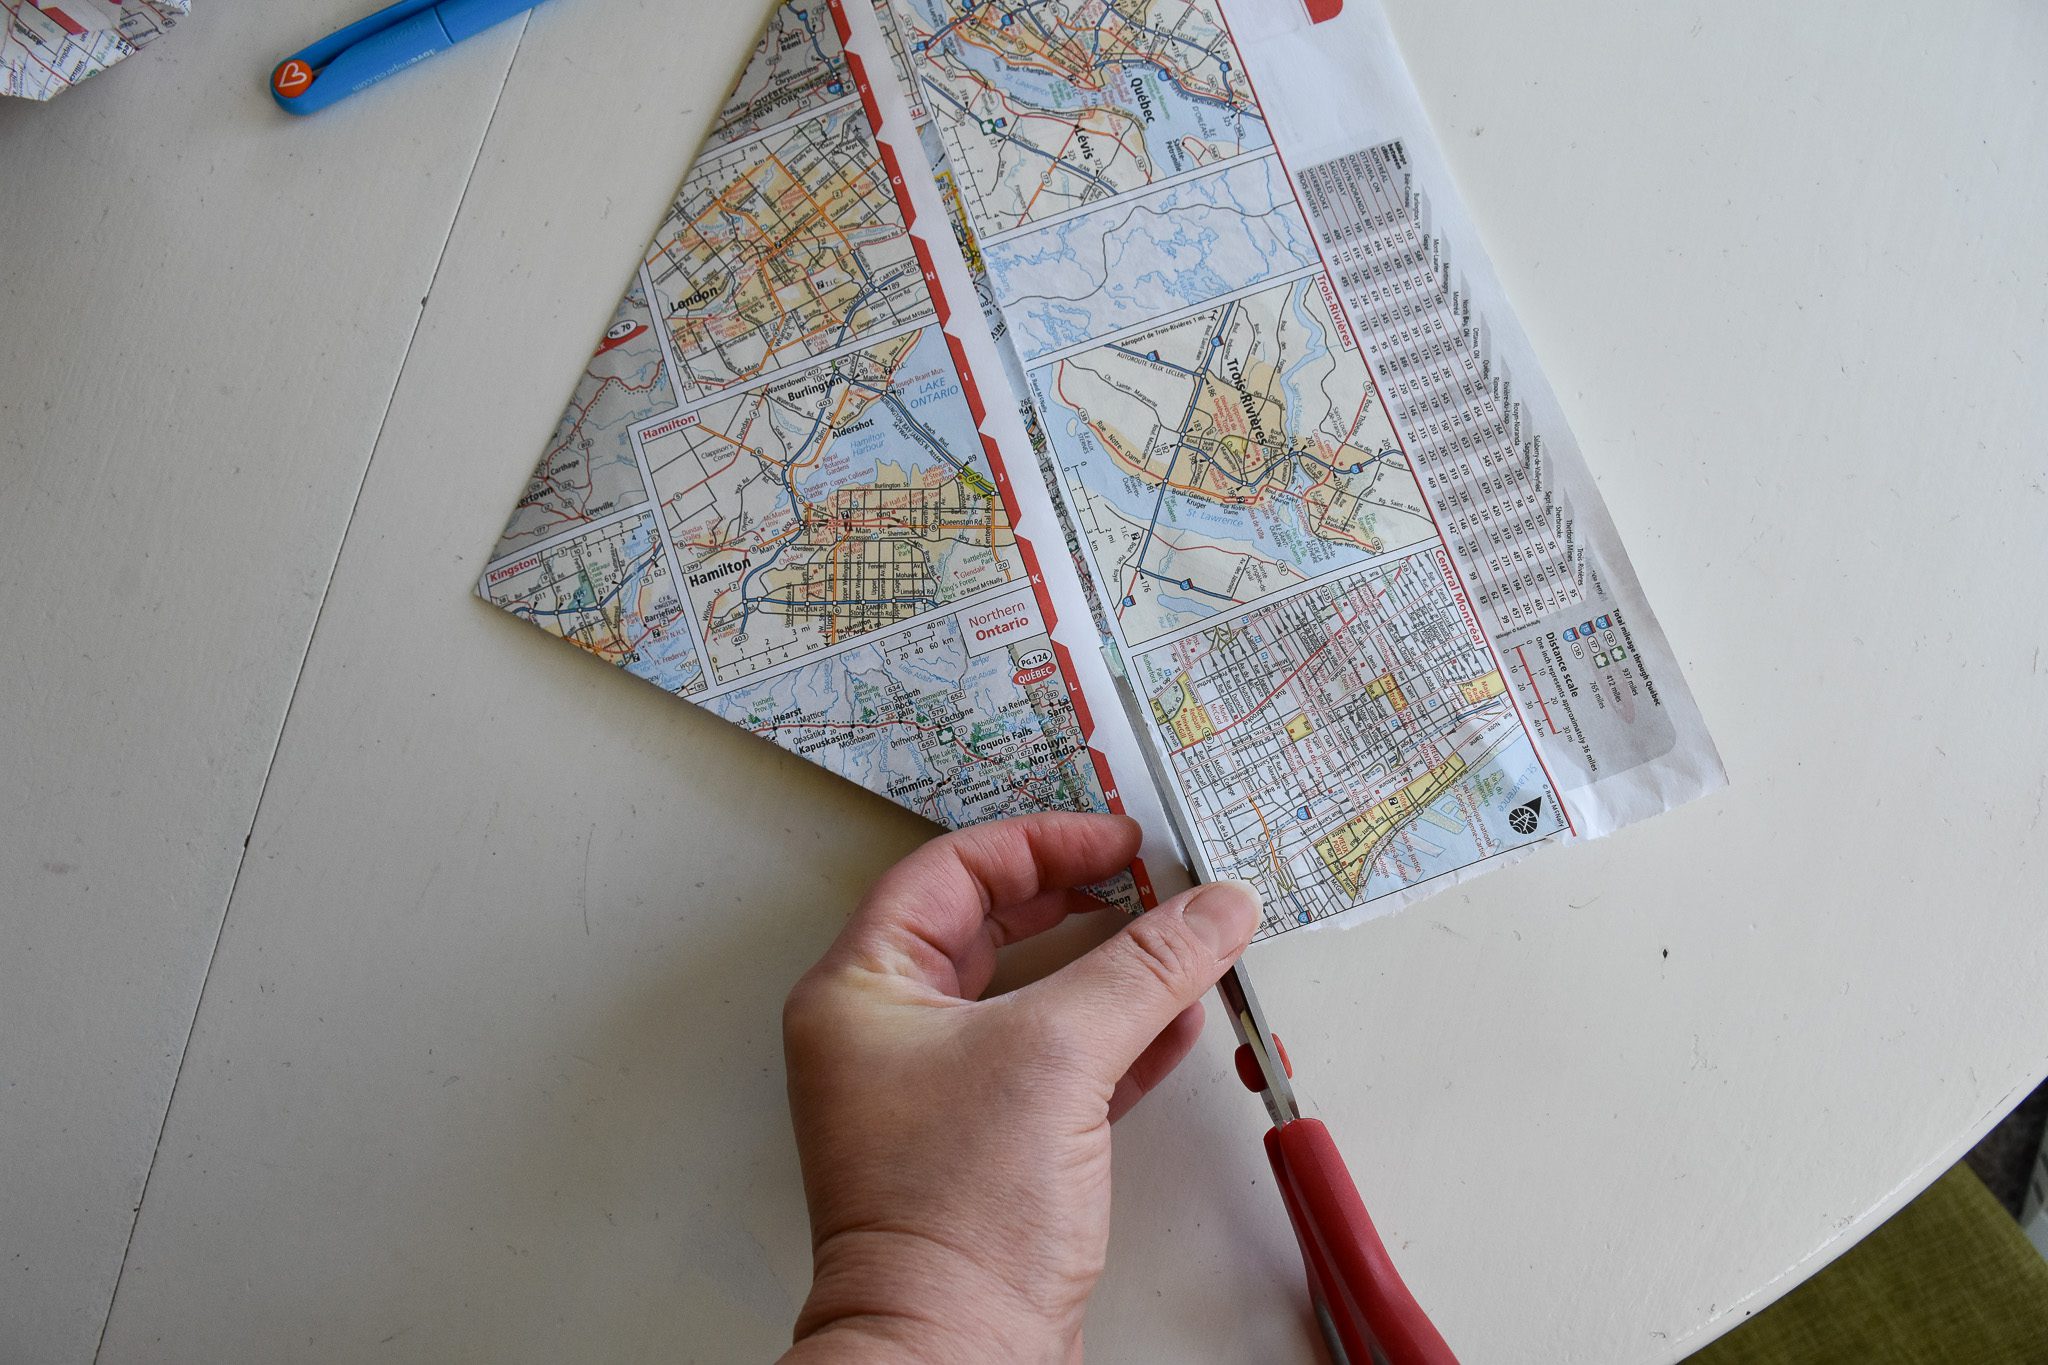
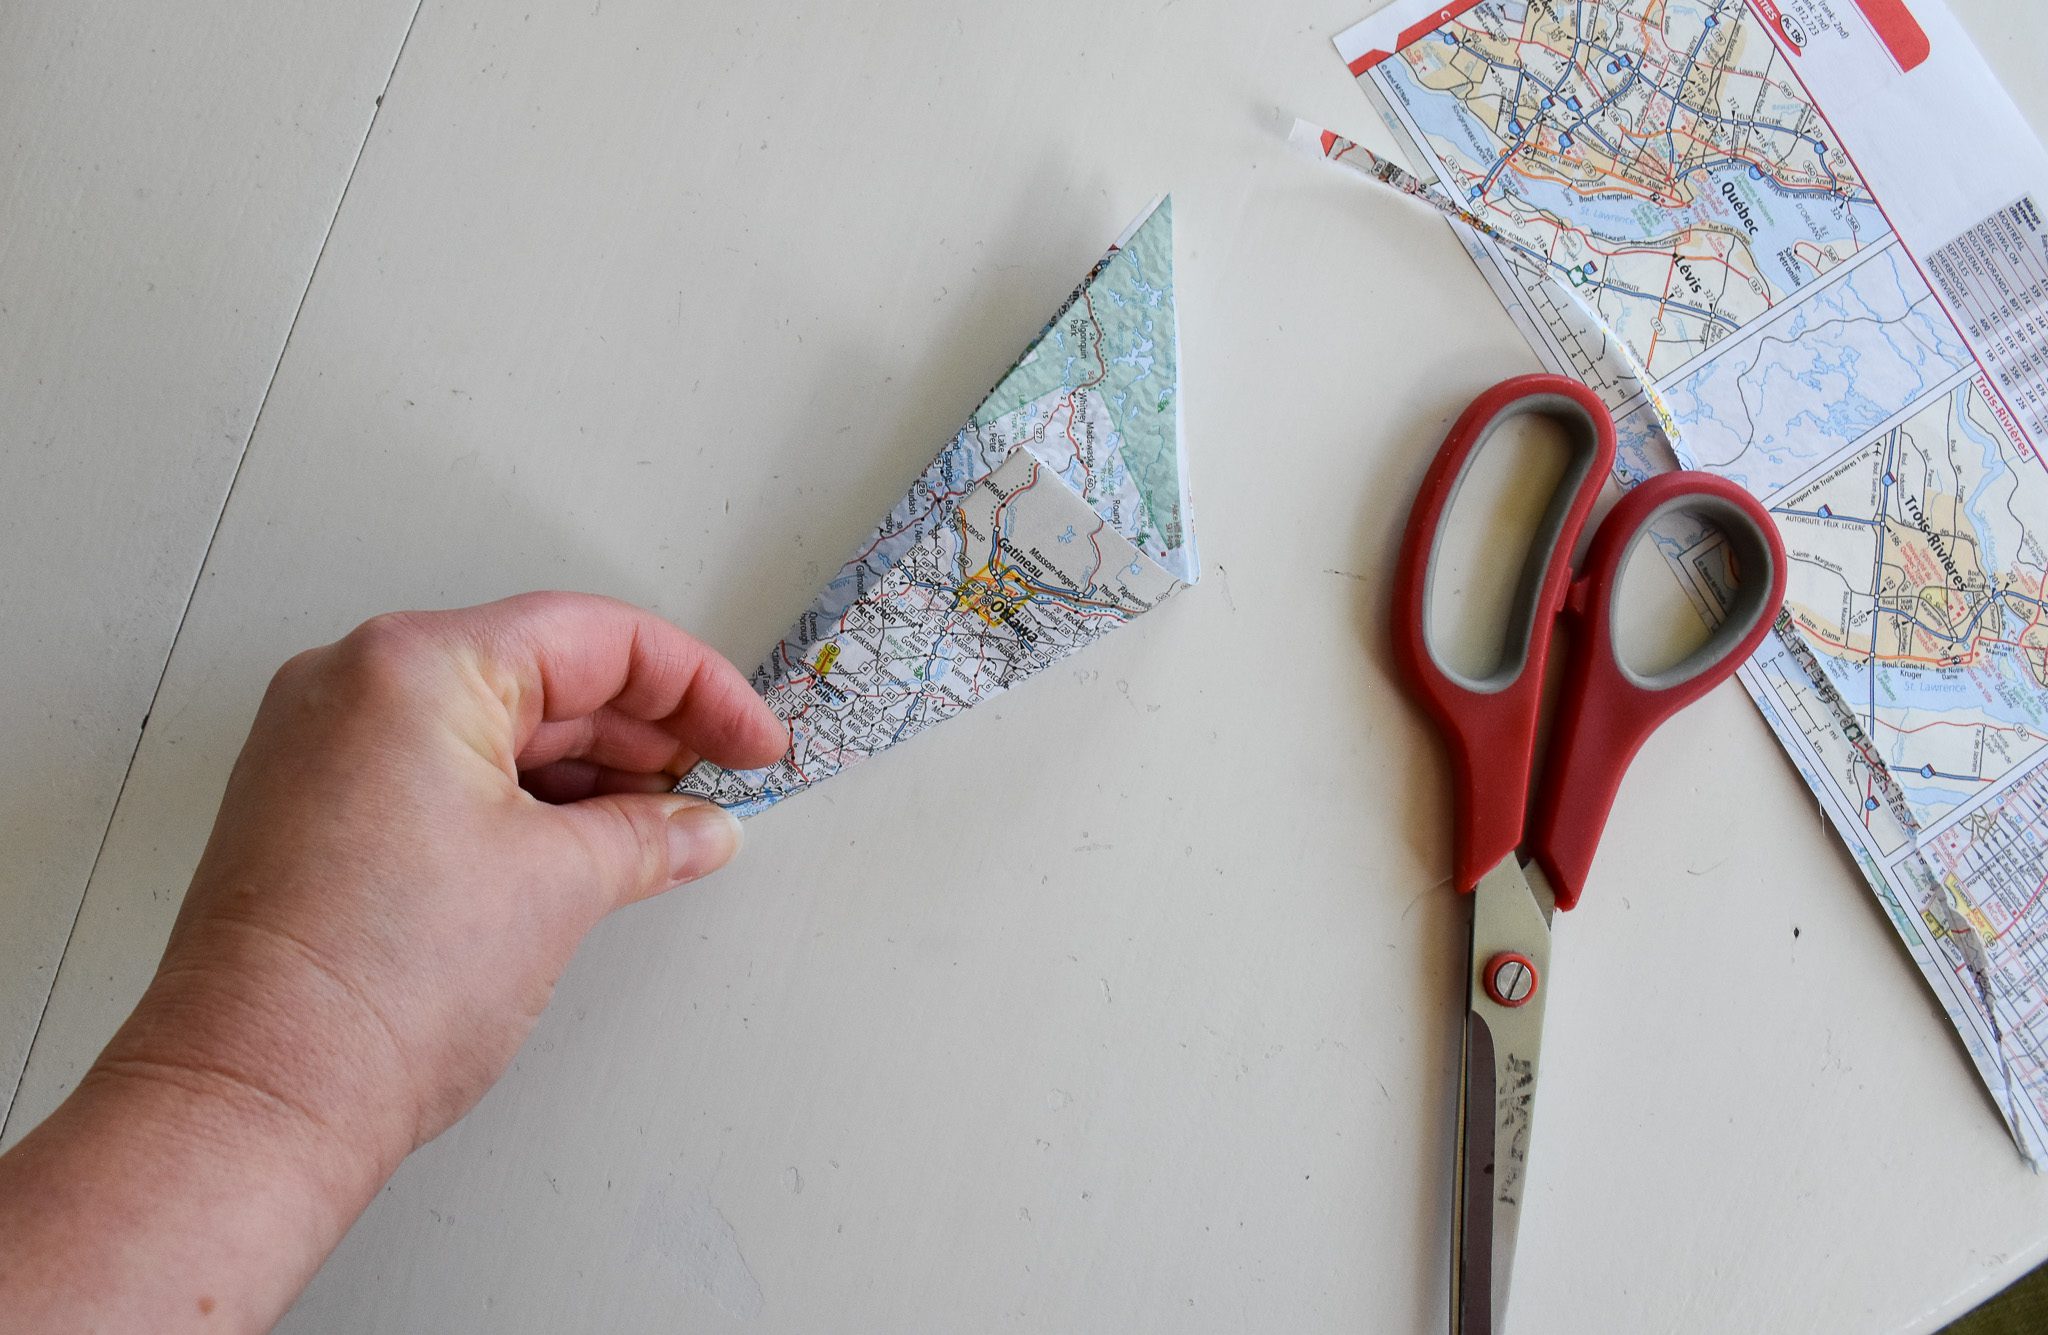
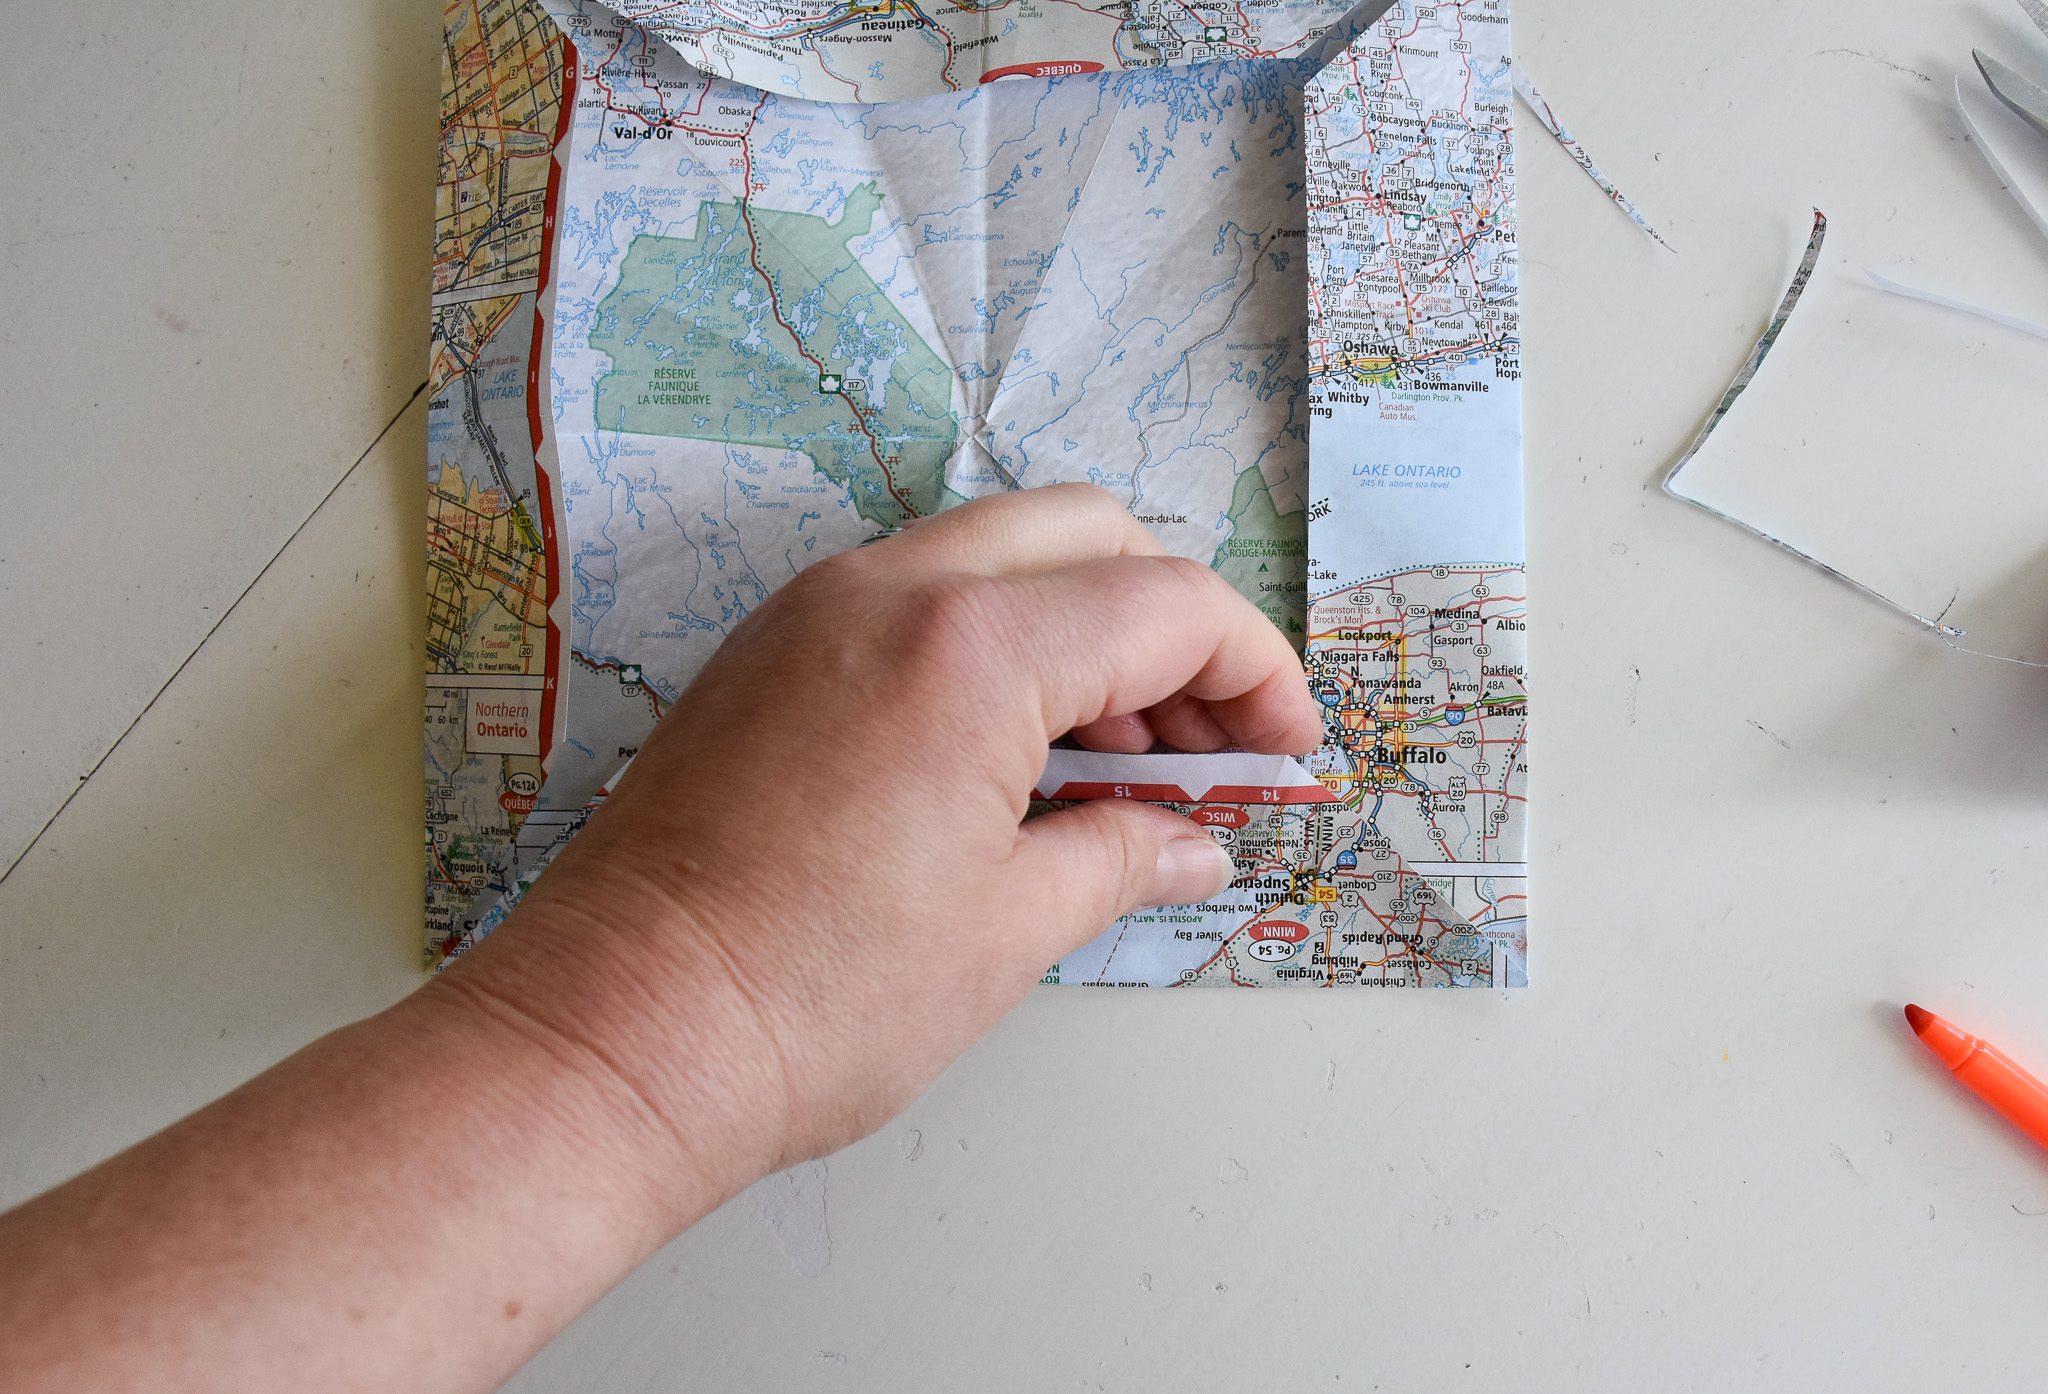
Here’s where it gets a little tricky. You’re going to fold the paper one line from the center line. I marked the line on the photo above.
Fold across. There will be a corner above the paper edge.
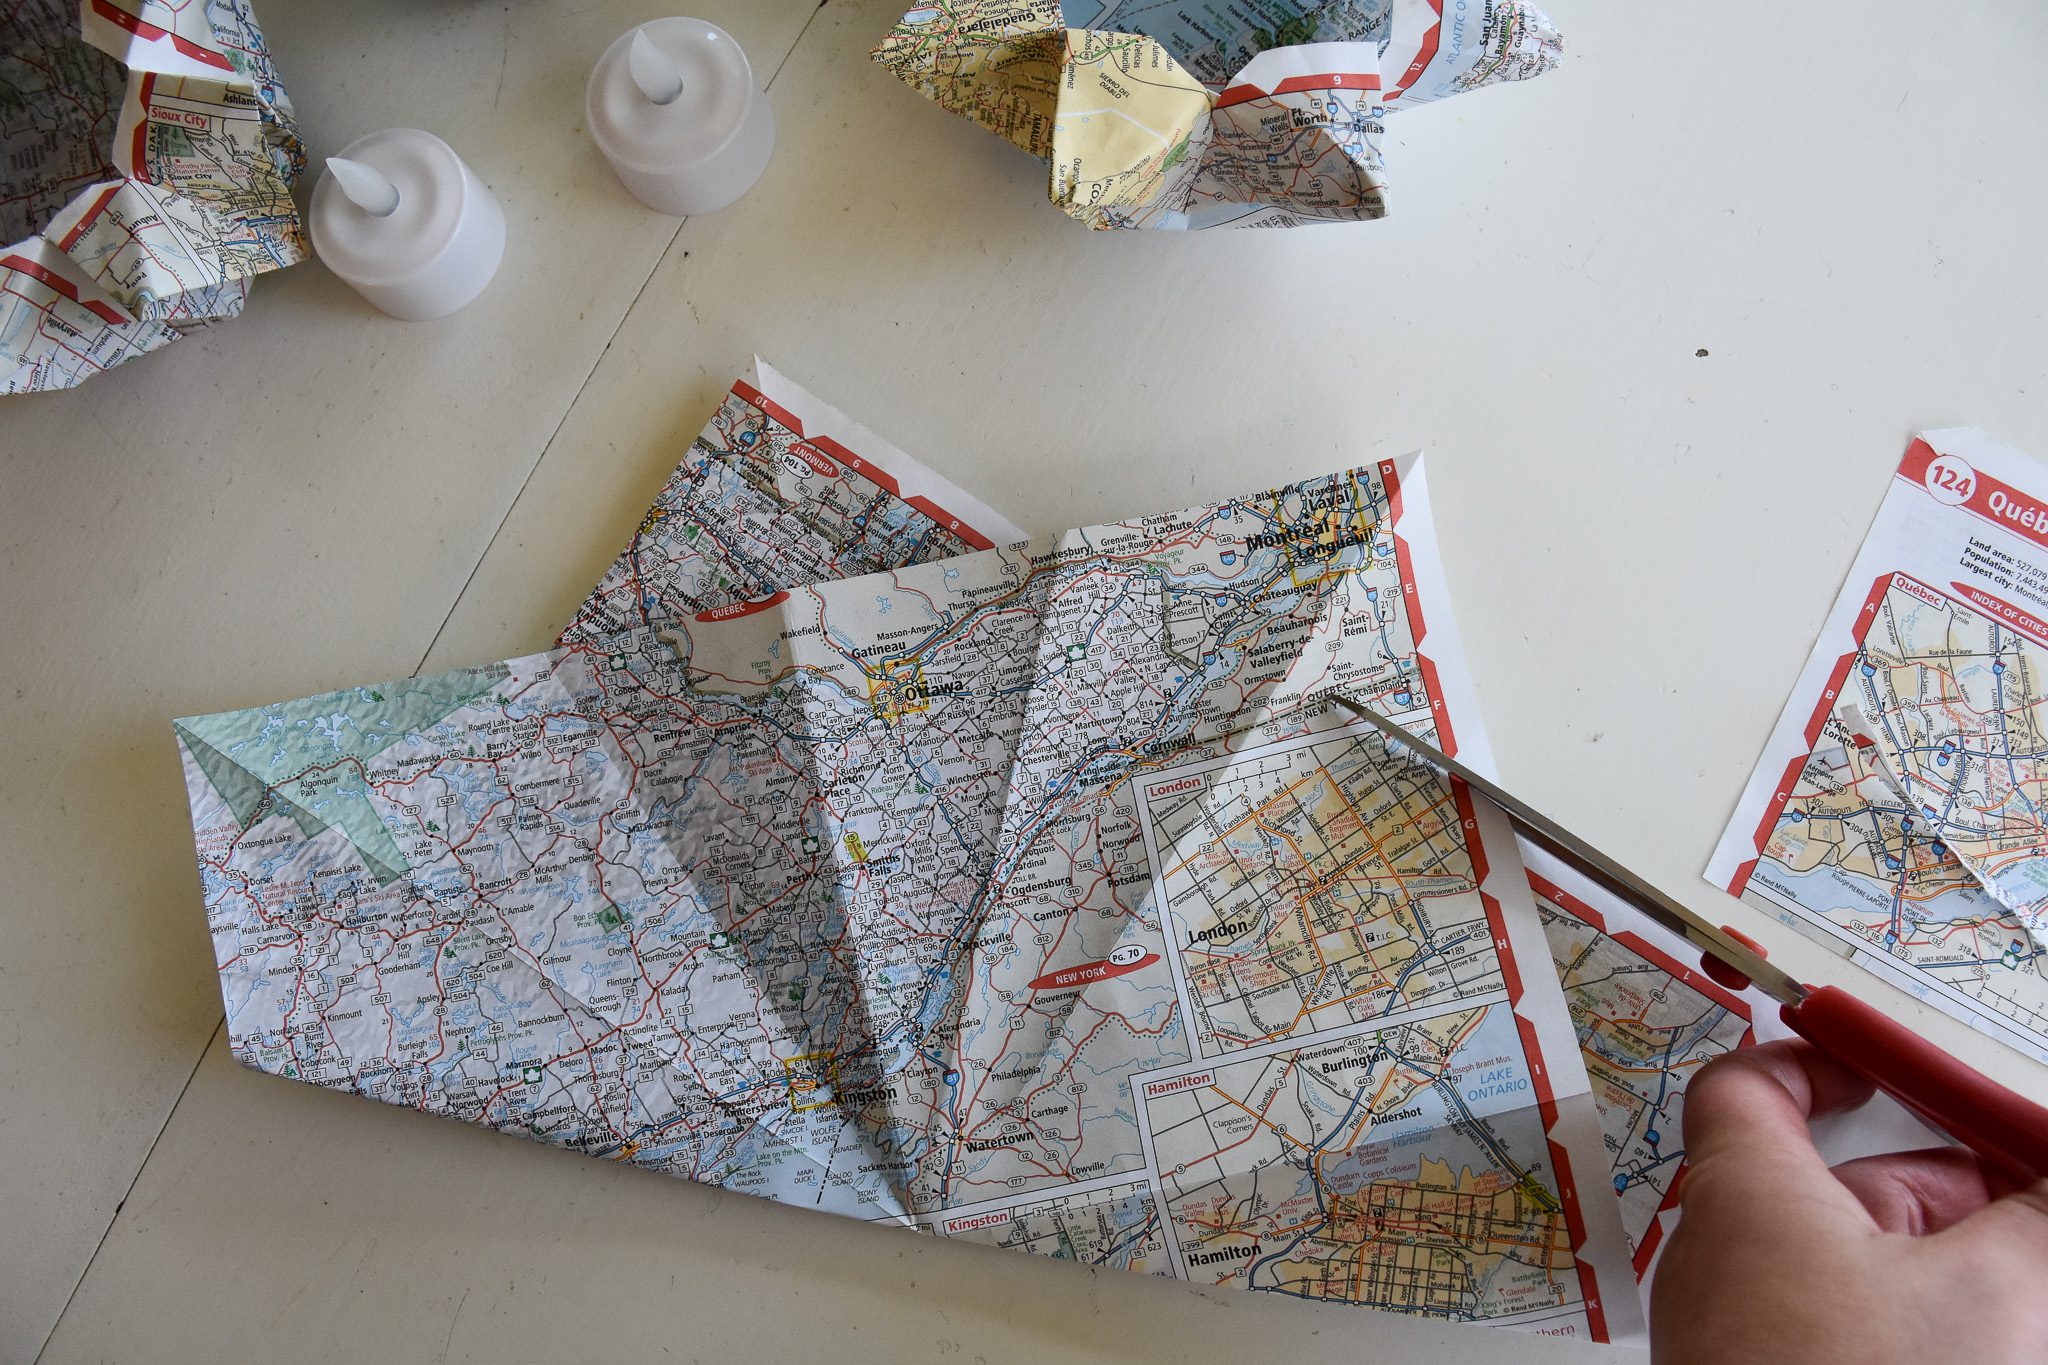
Trim that corner off.
Open the paper back up, turn it 45 degrees, and repeat.
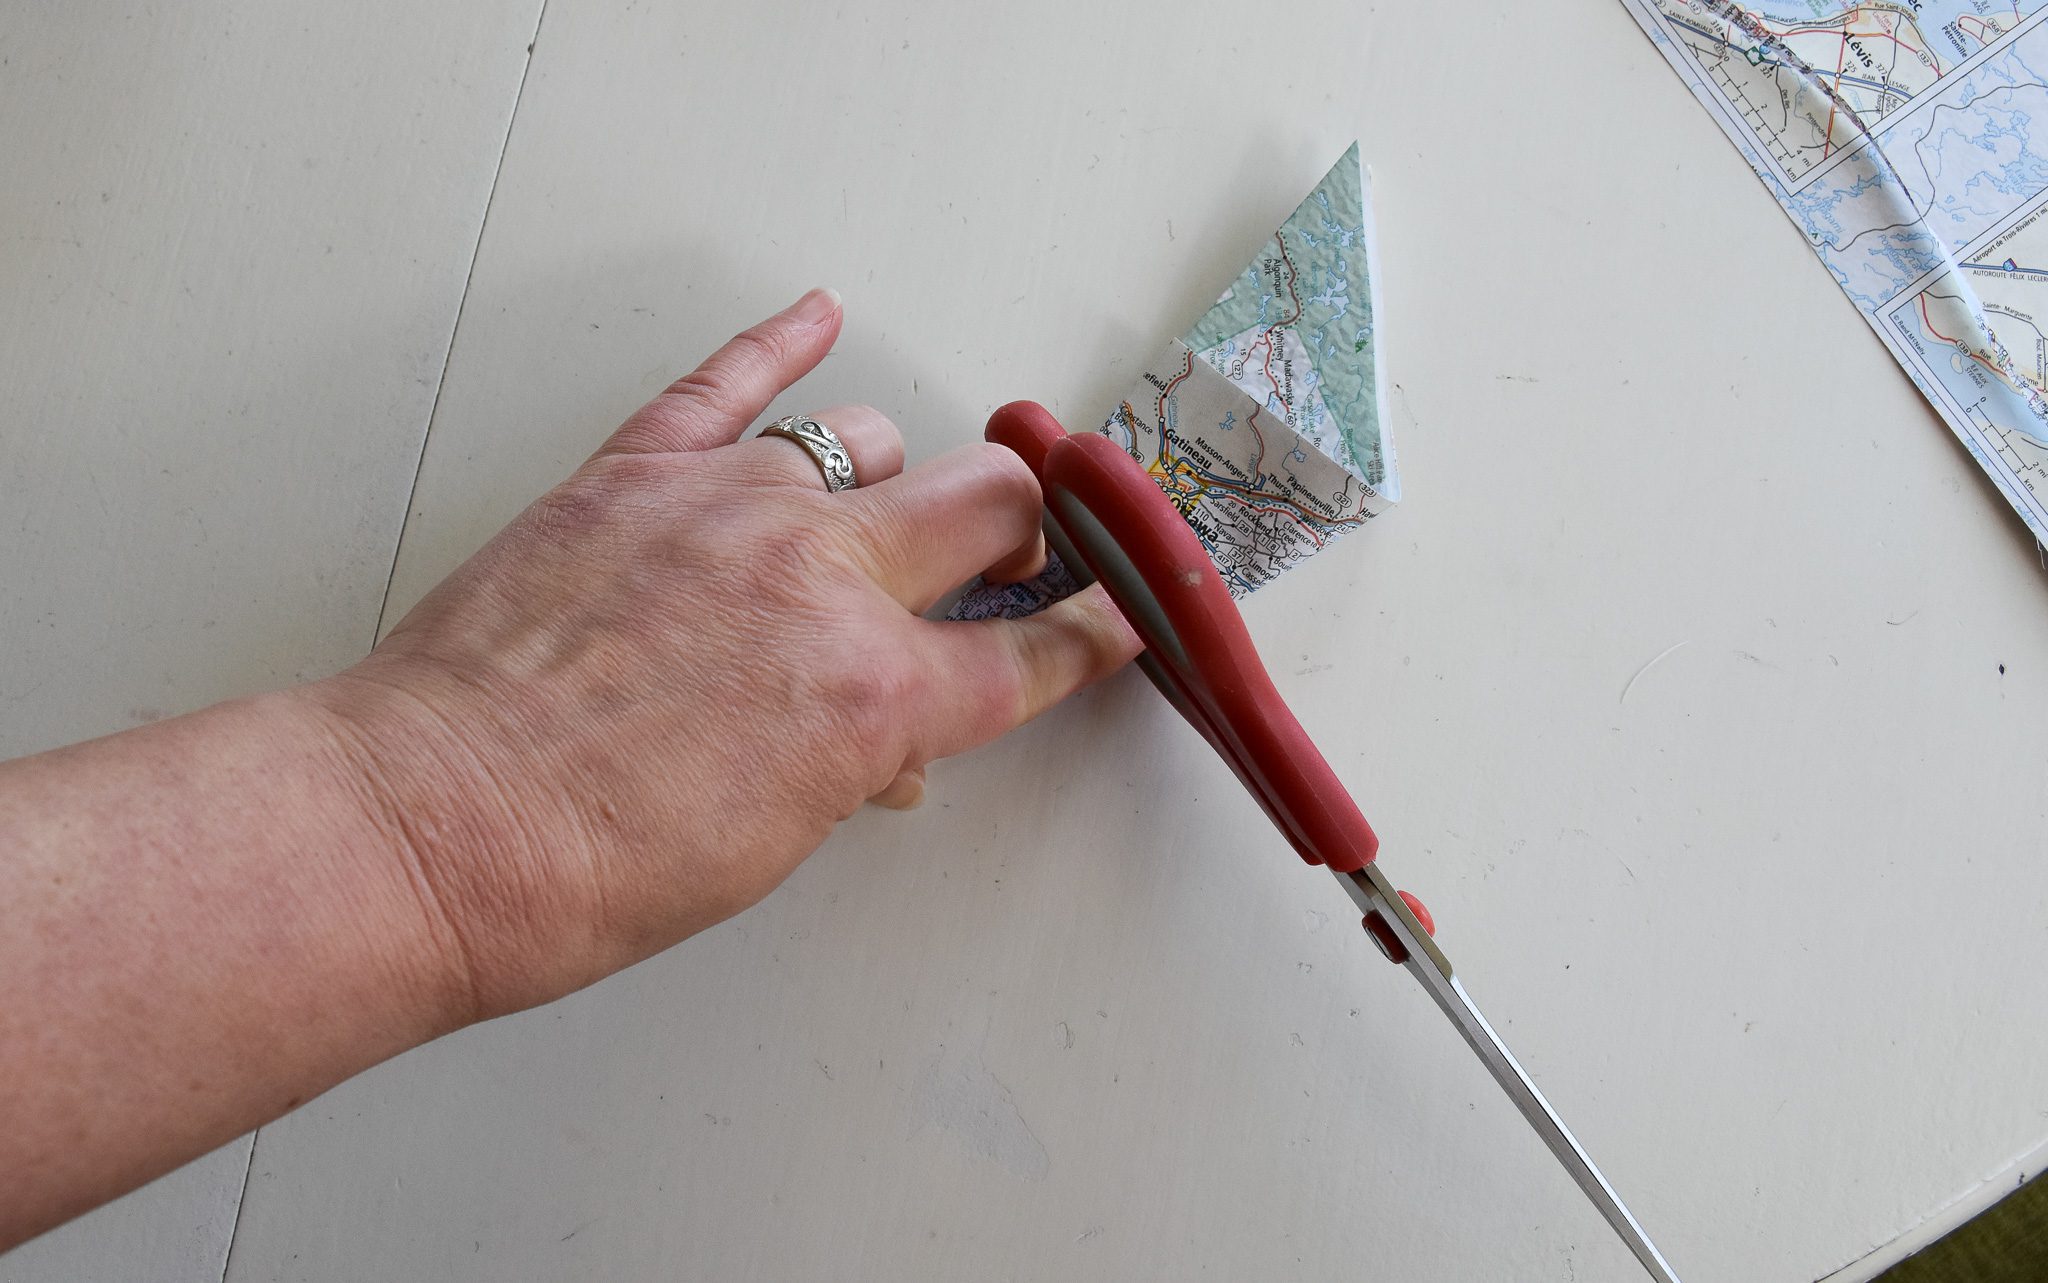
Fold across that line one up from the center, and trim off the excess.
Repeat four times, so you will have trimmed off all four corners.
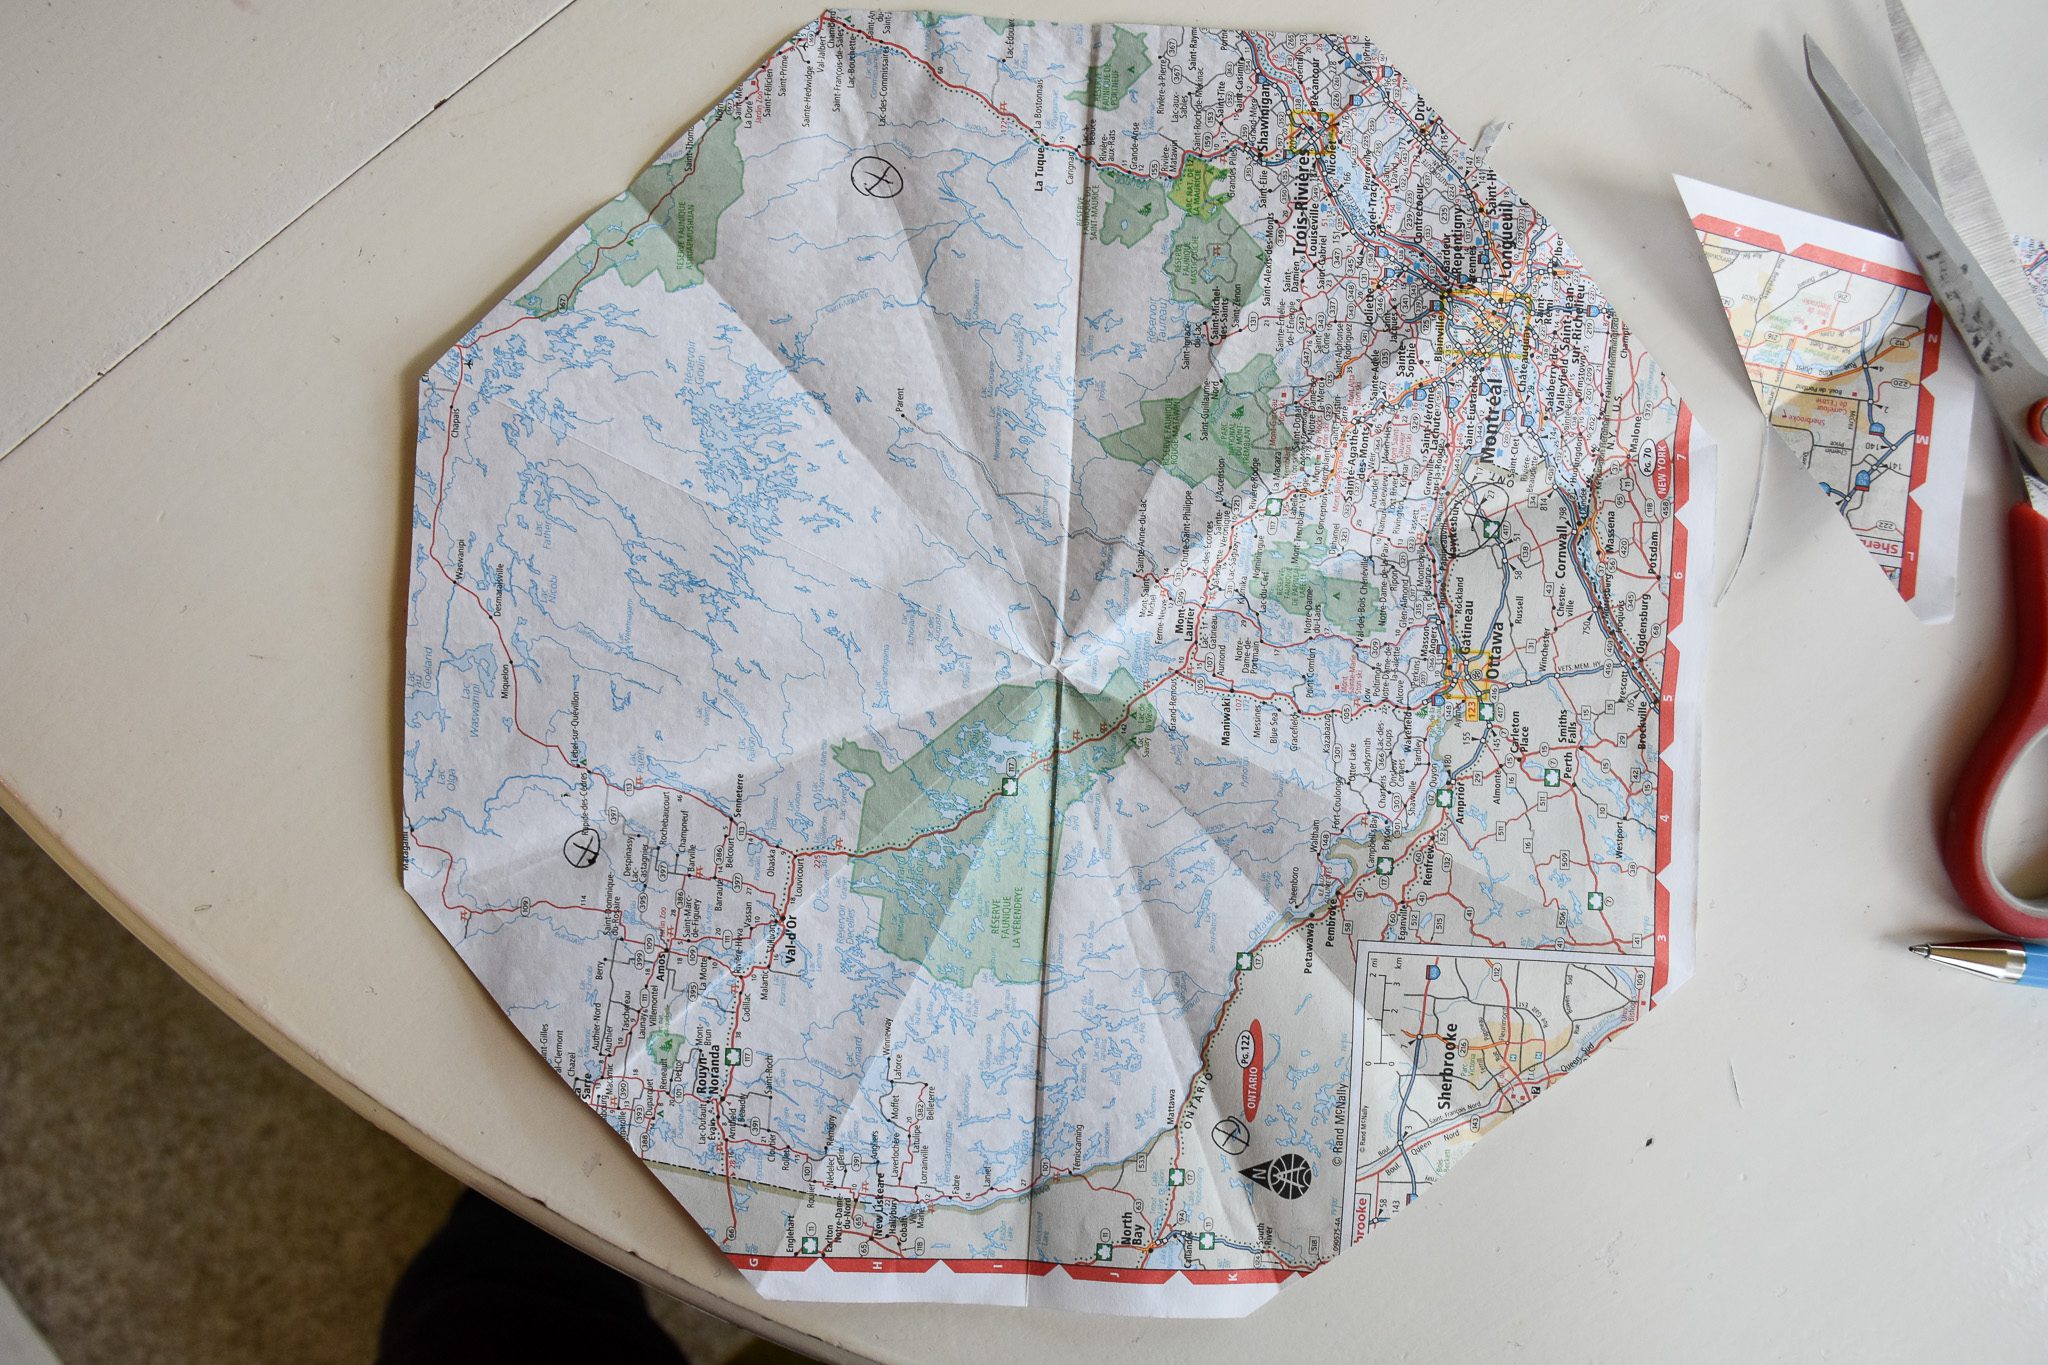
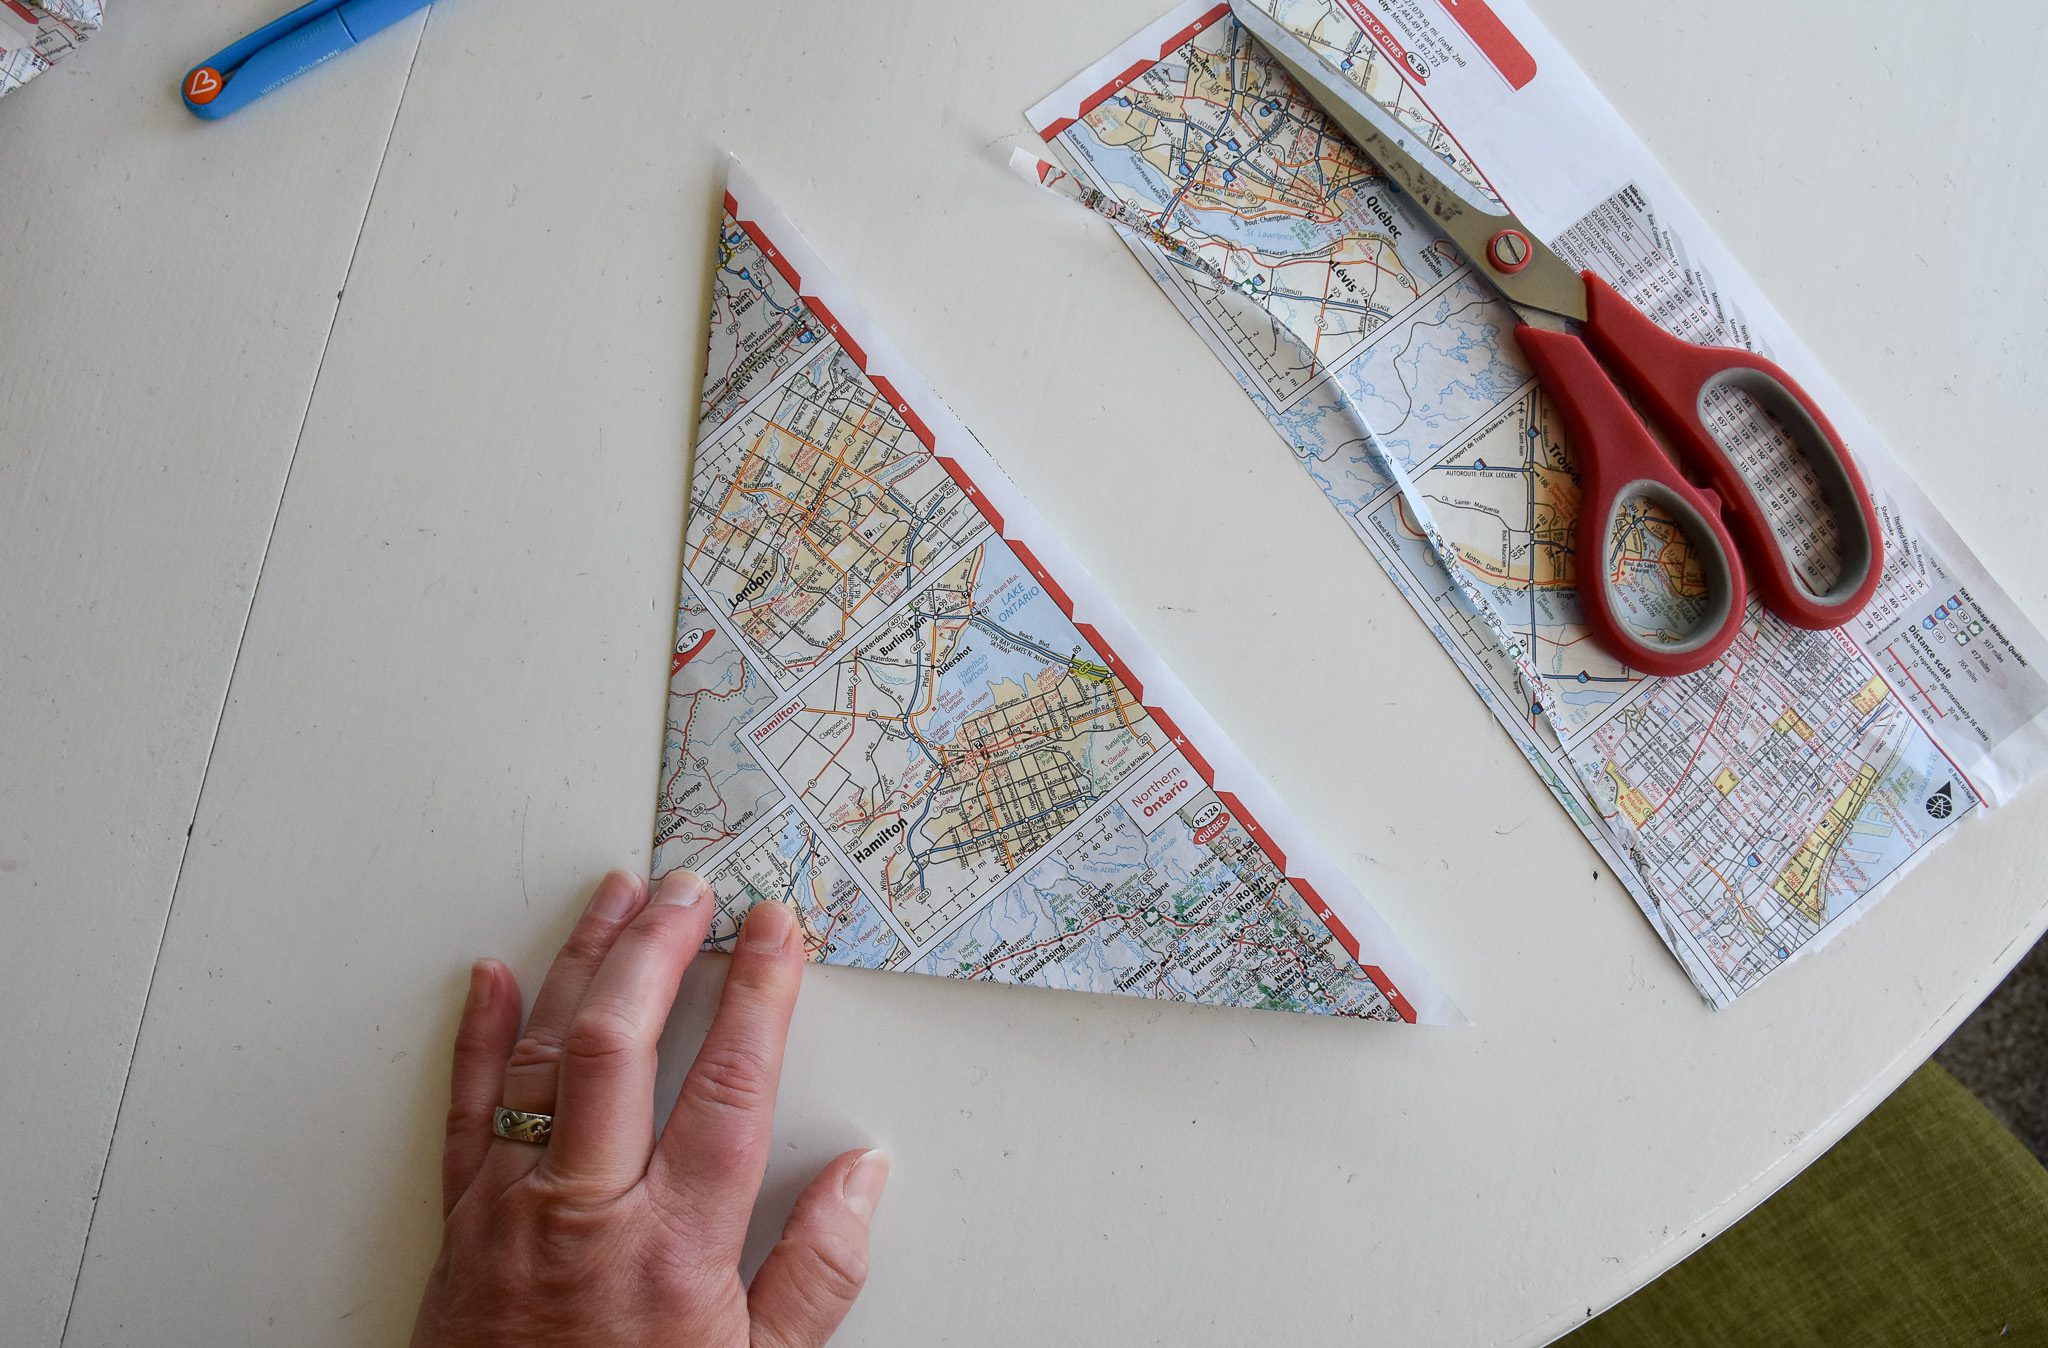
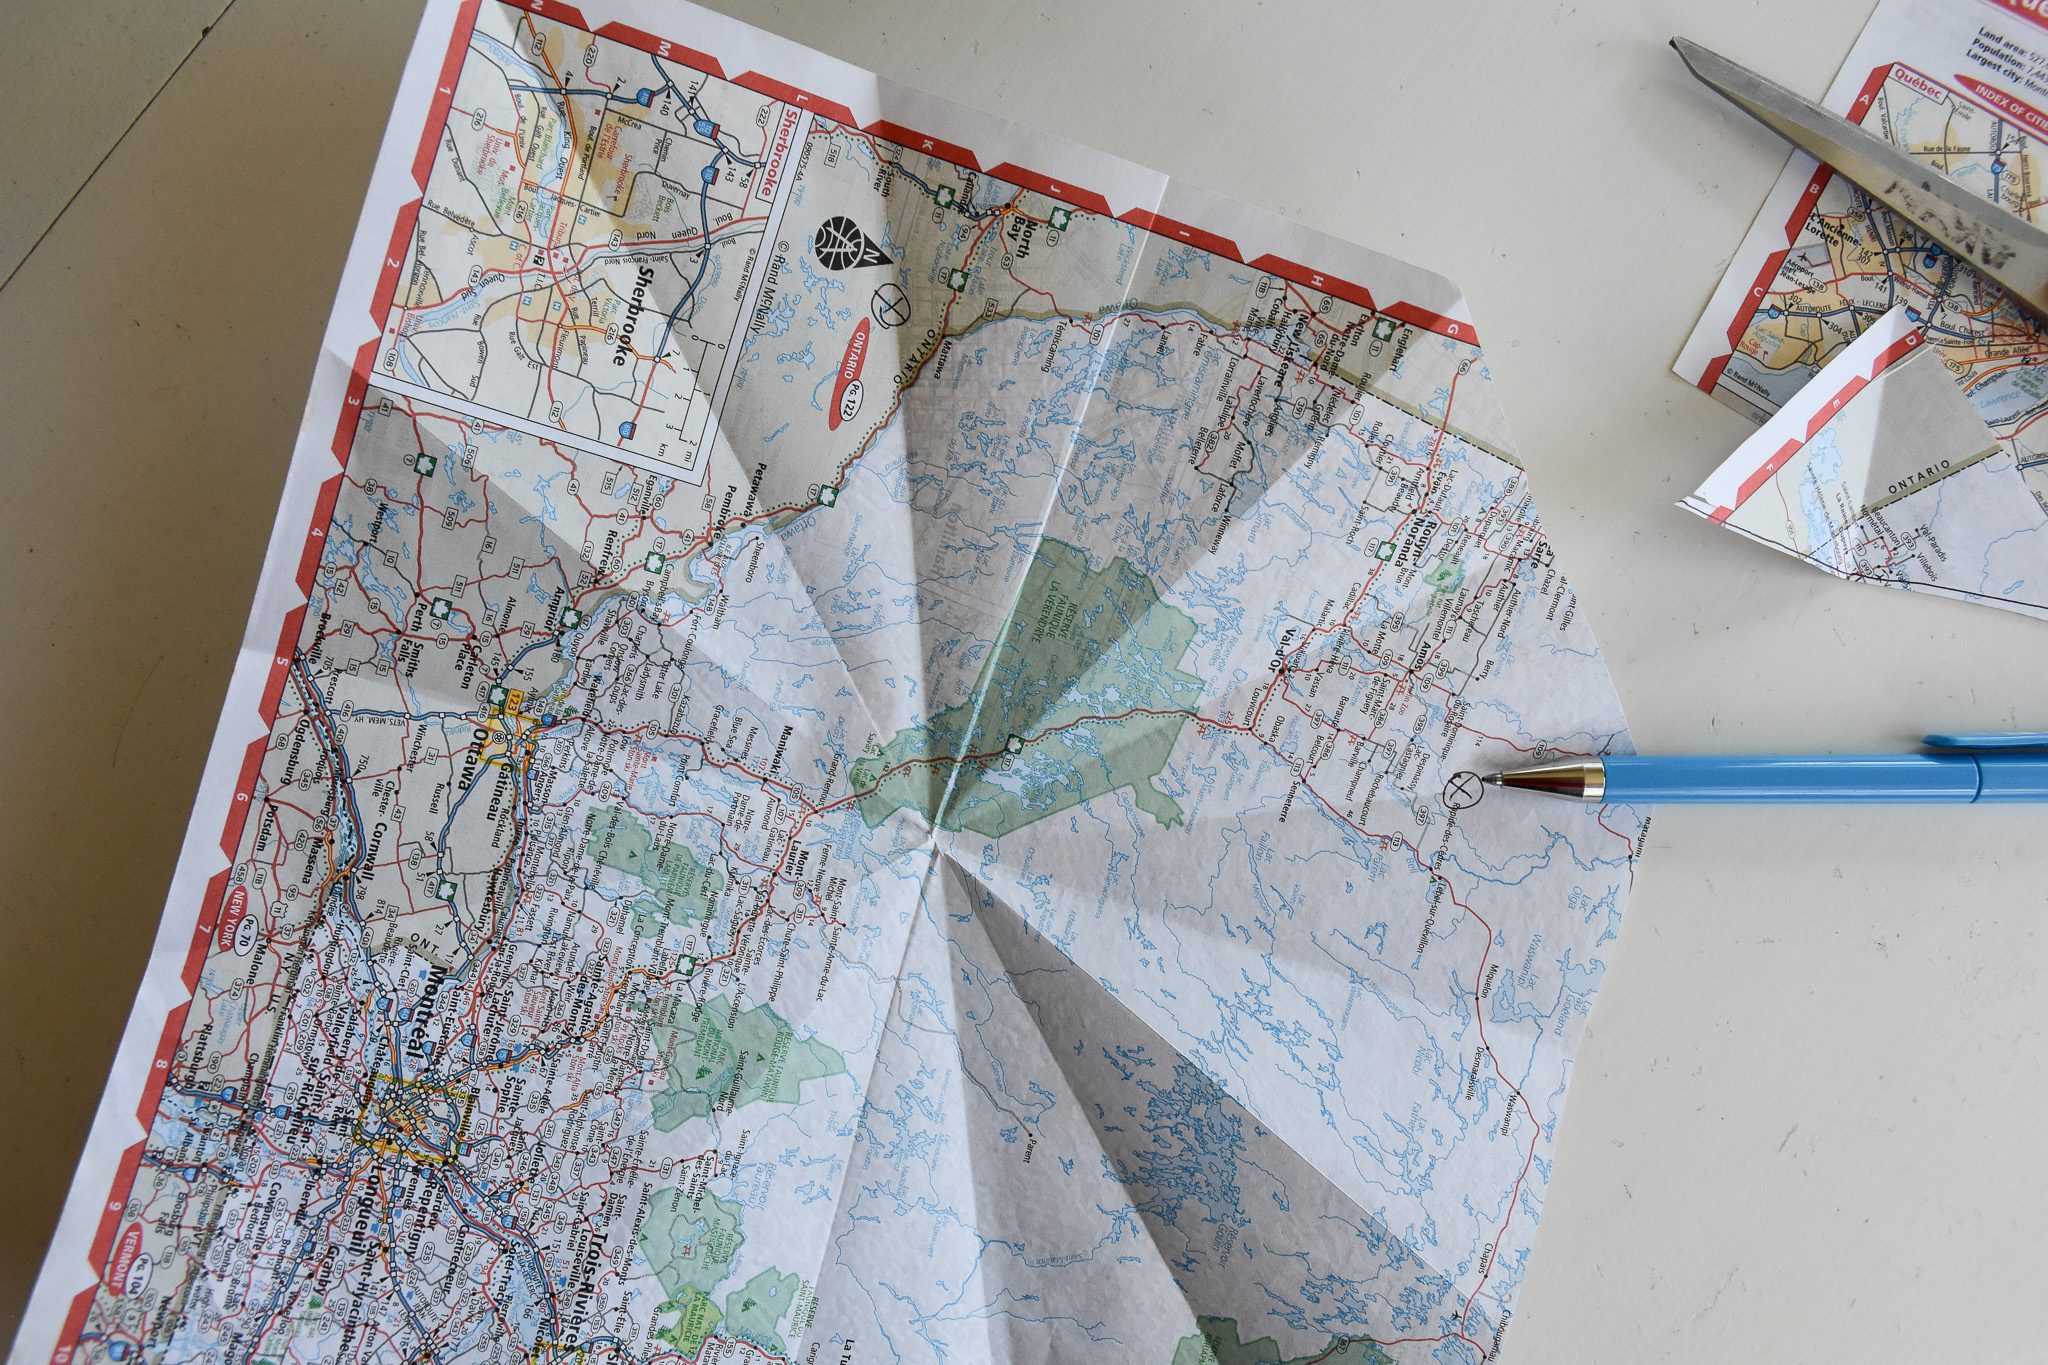
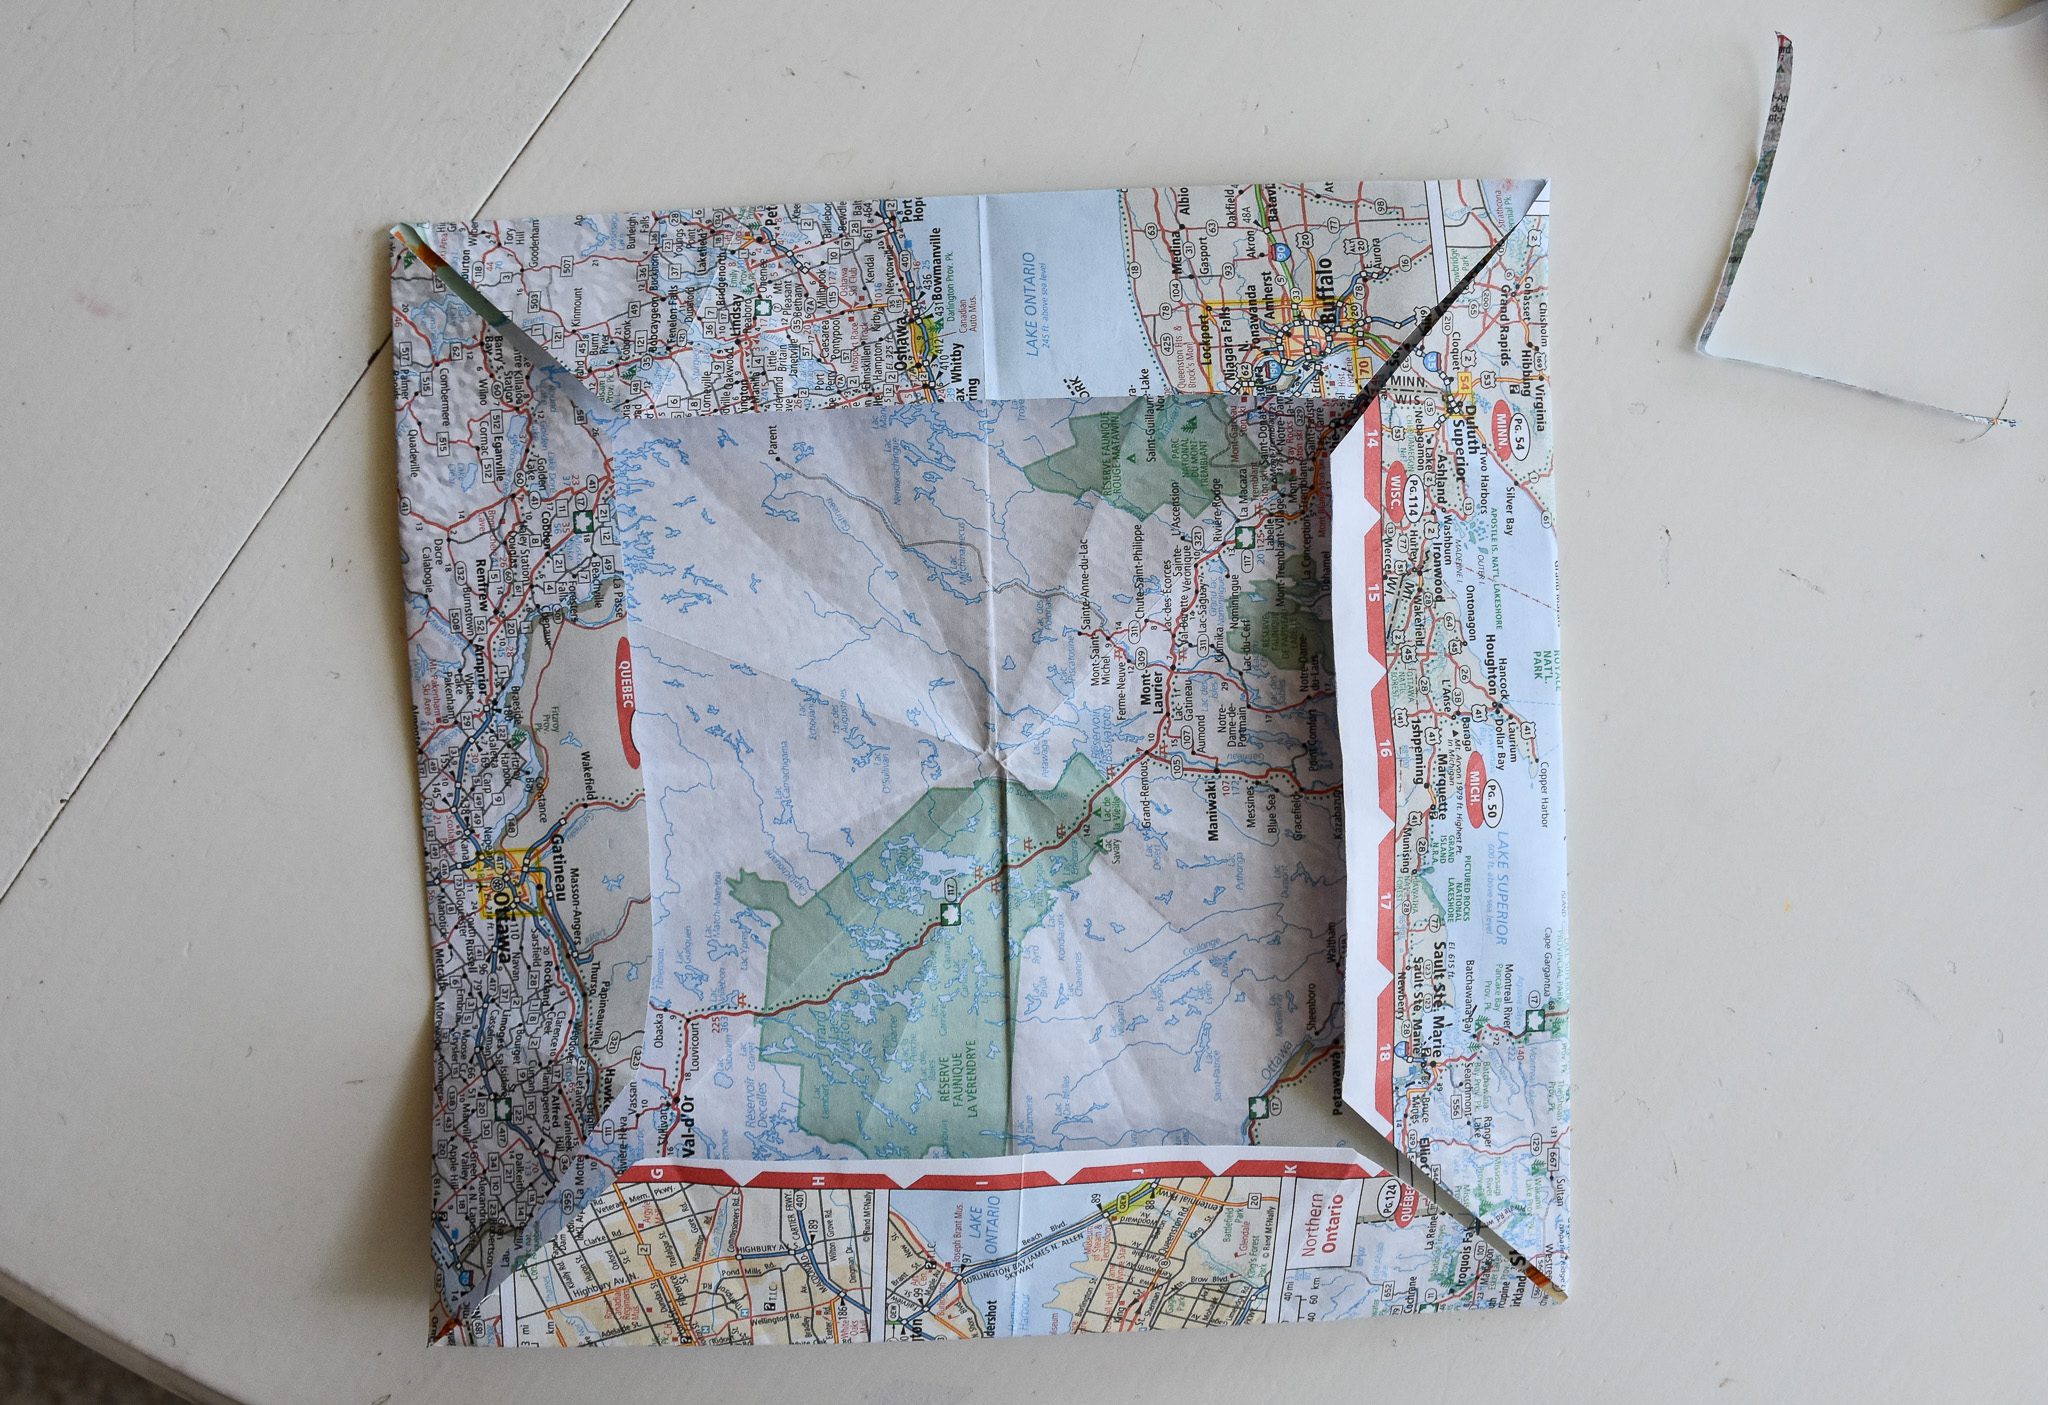
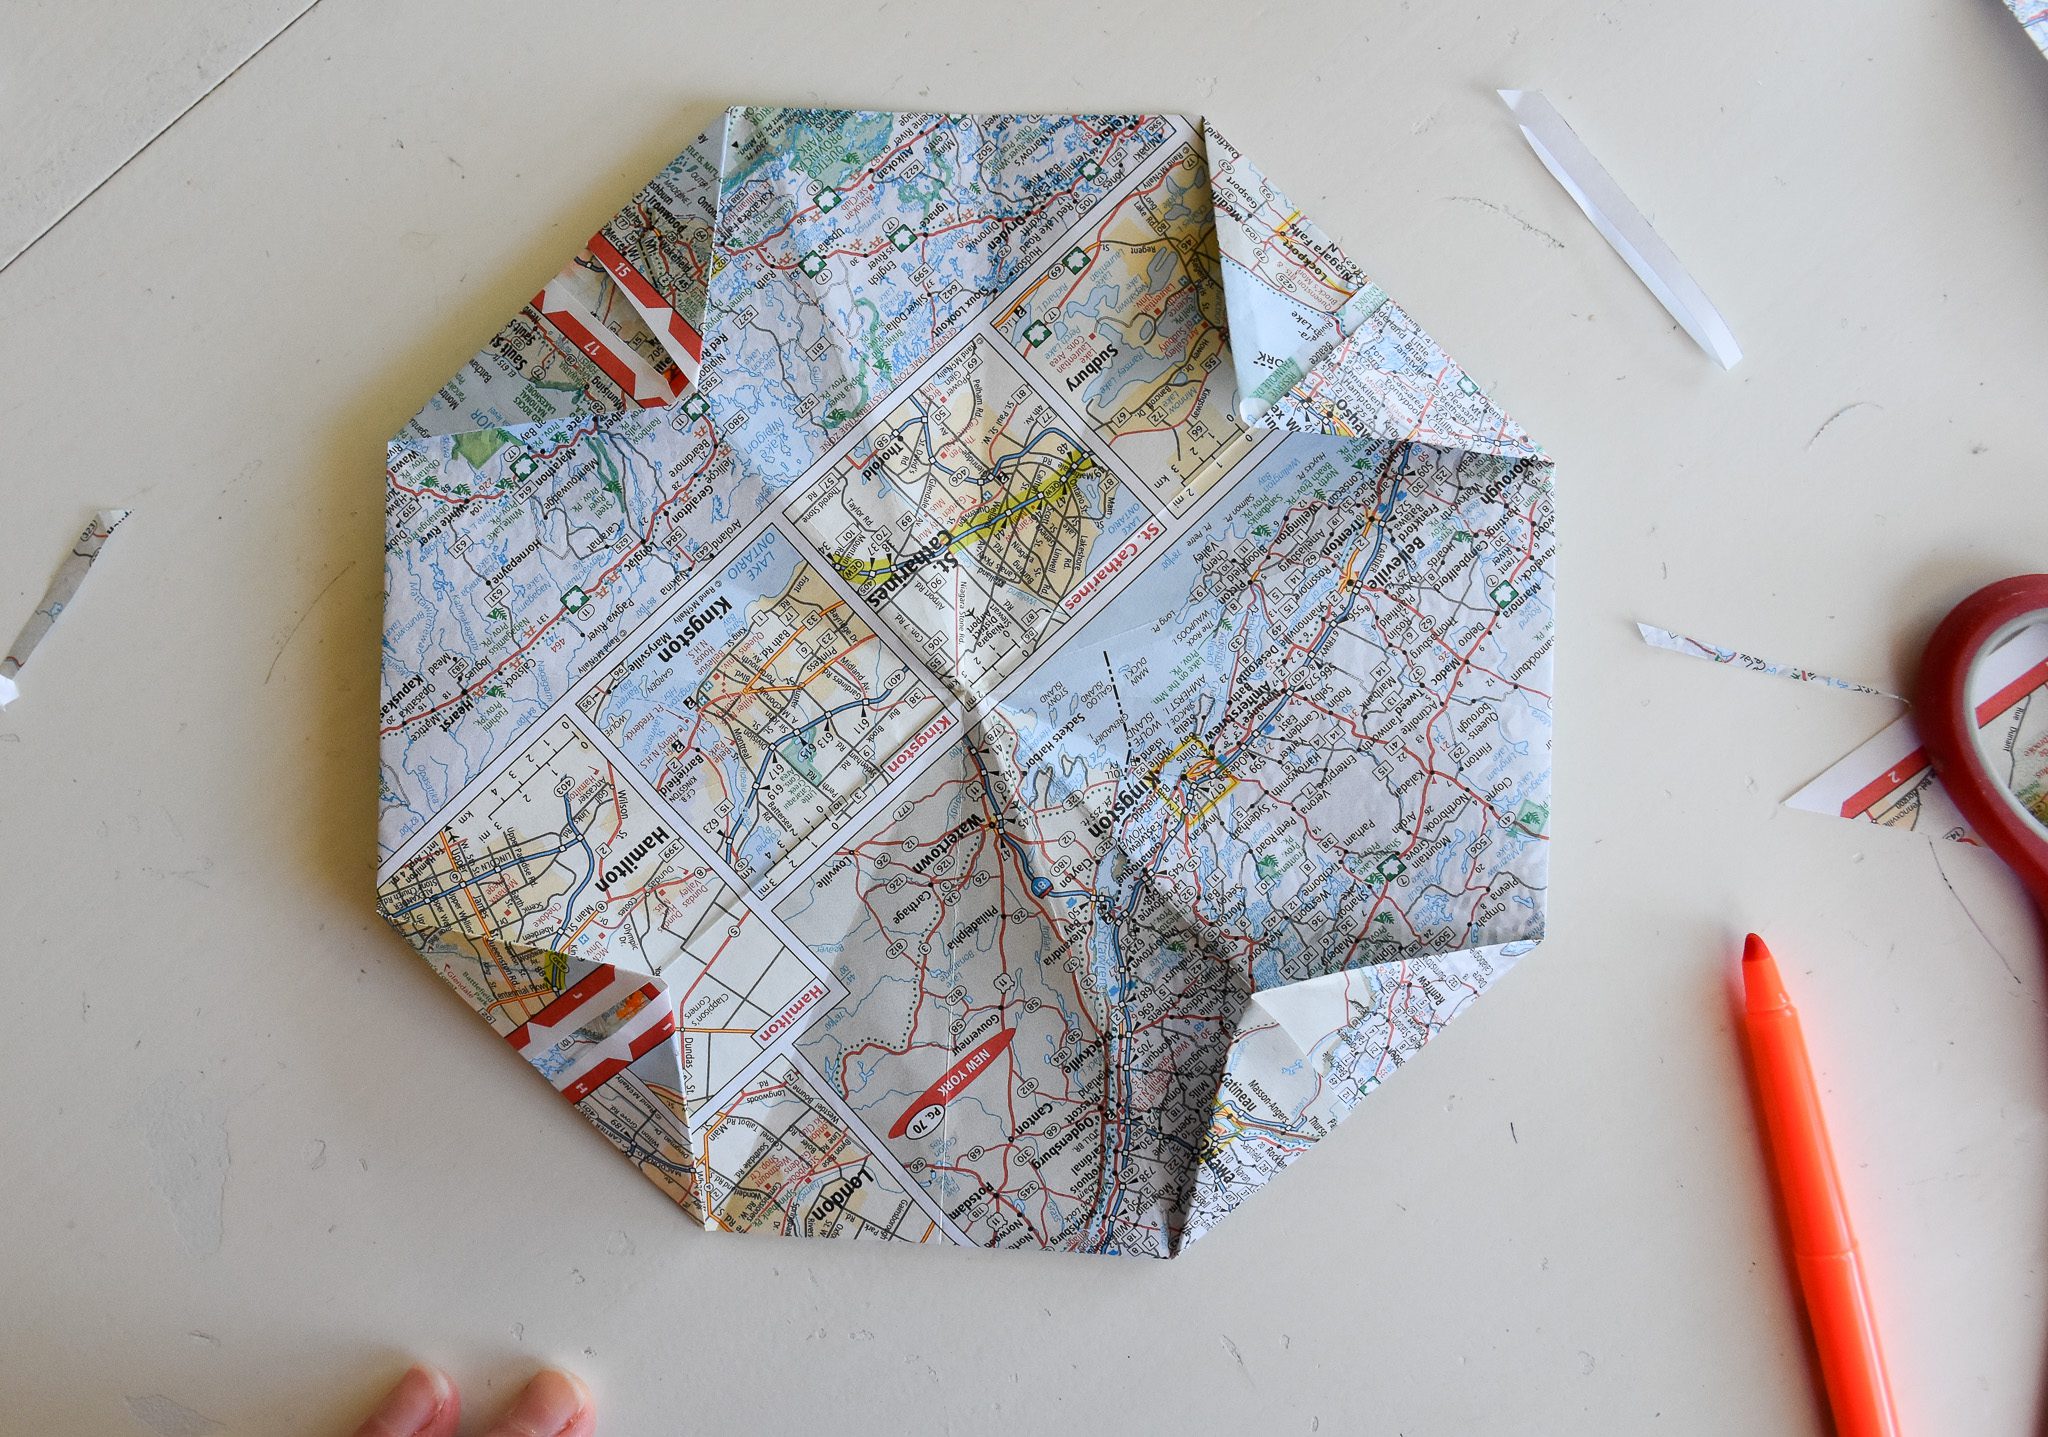
Open the paper back up. You now have an octagon.
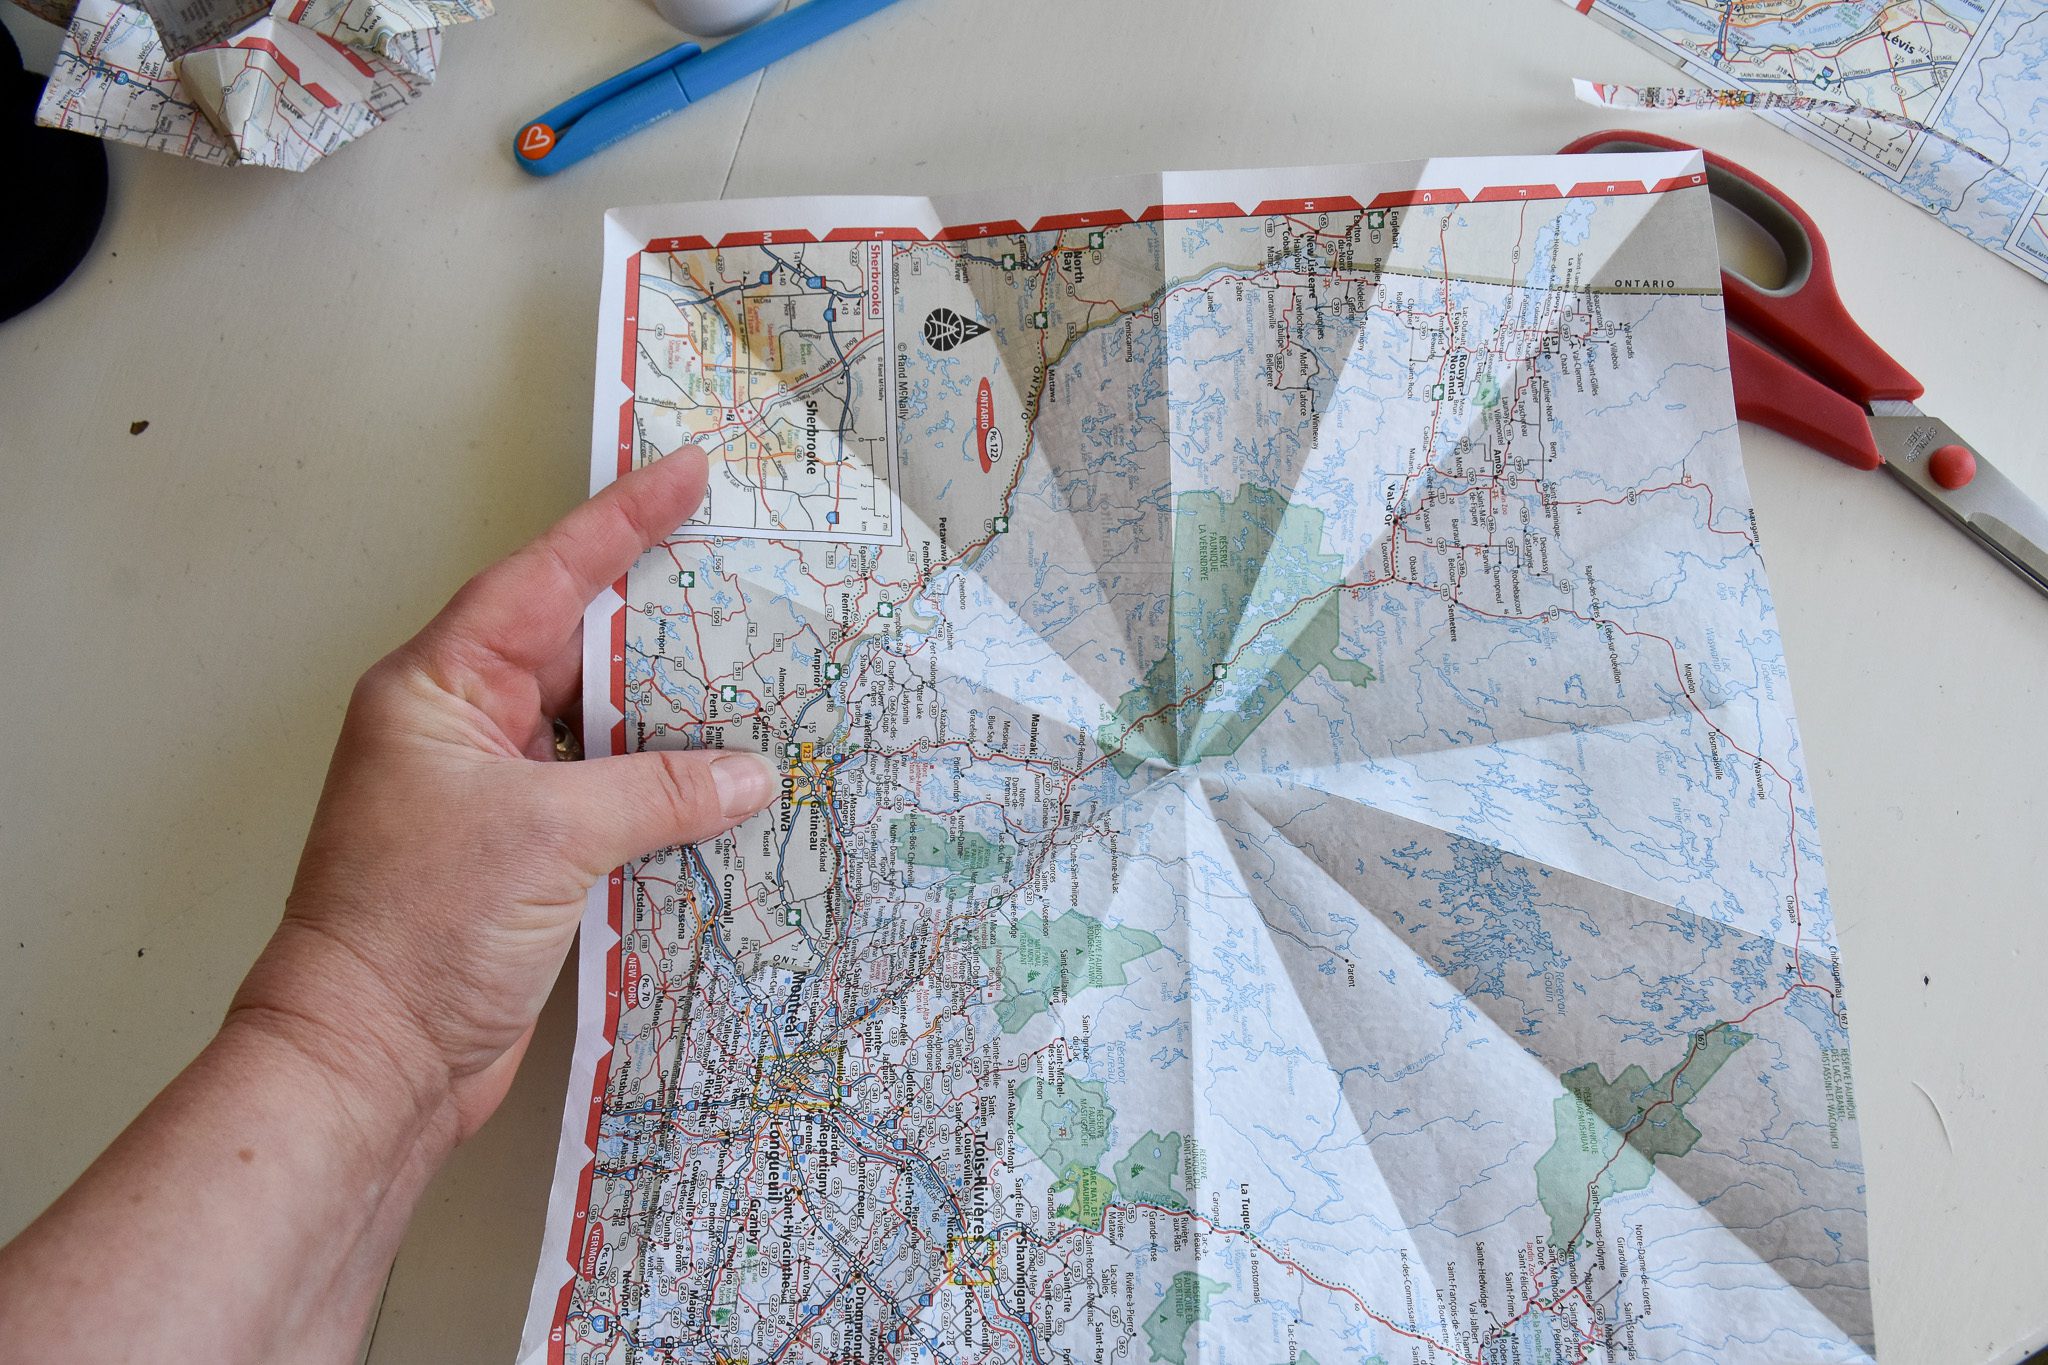
Turn your octagon so the bottom section is flat (not a point). From the middle, go two creases to the right and two creases to the left (see where I marked above), and fold the section below up like a flap.
Like so!
Turn your octagon 45 degrees and repeat. Finding the correct creases on each side…
…and then folding the flap up.
Repeat for all four sides. If you have a section that overlaps a bit (like it does above), trim off the overlap (it’ll make the final parts easier).
After you’ve folded up all your flaps, your paper should look like above.
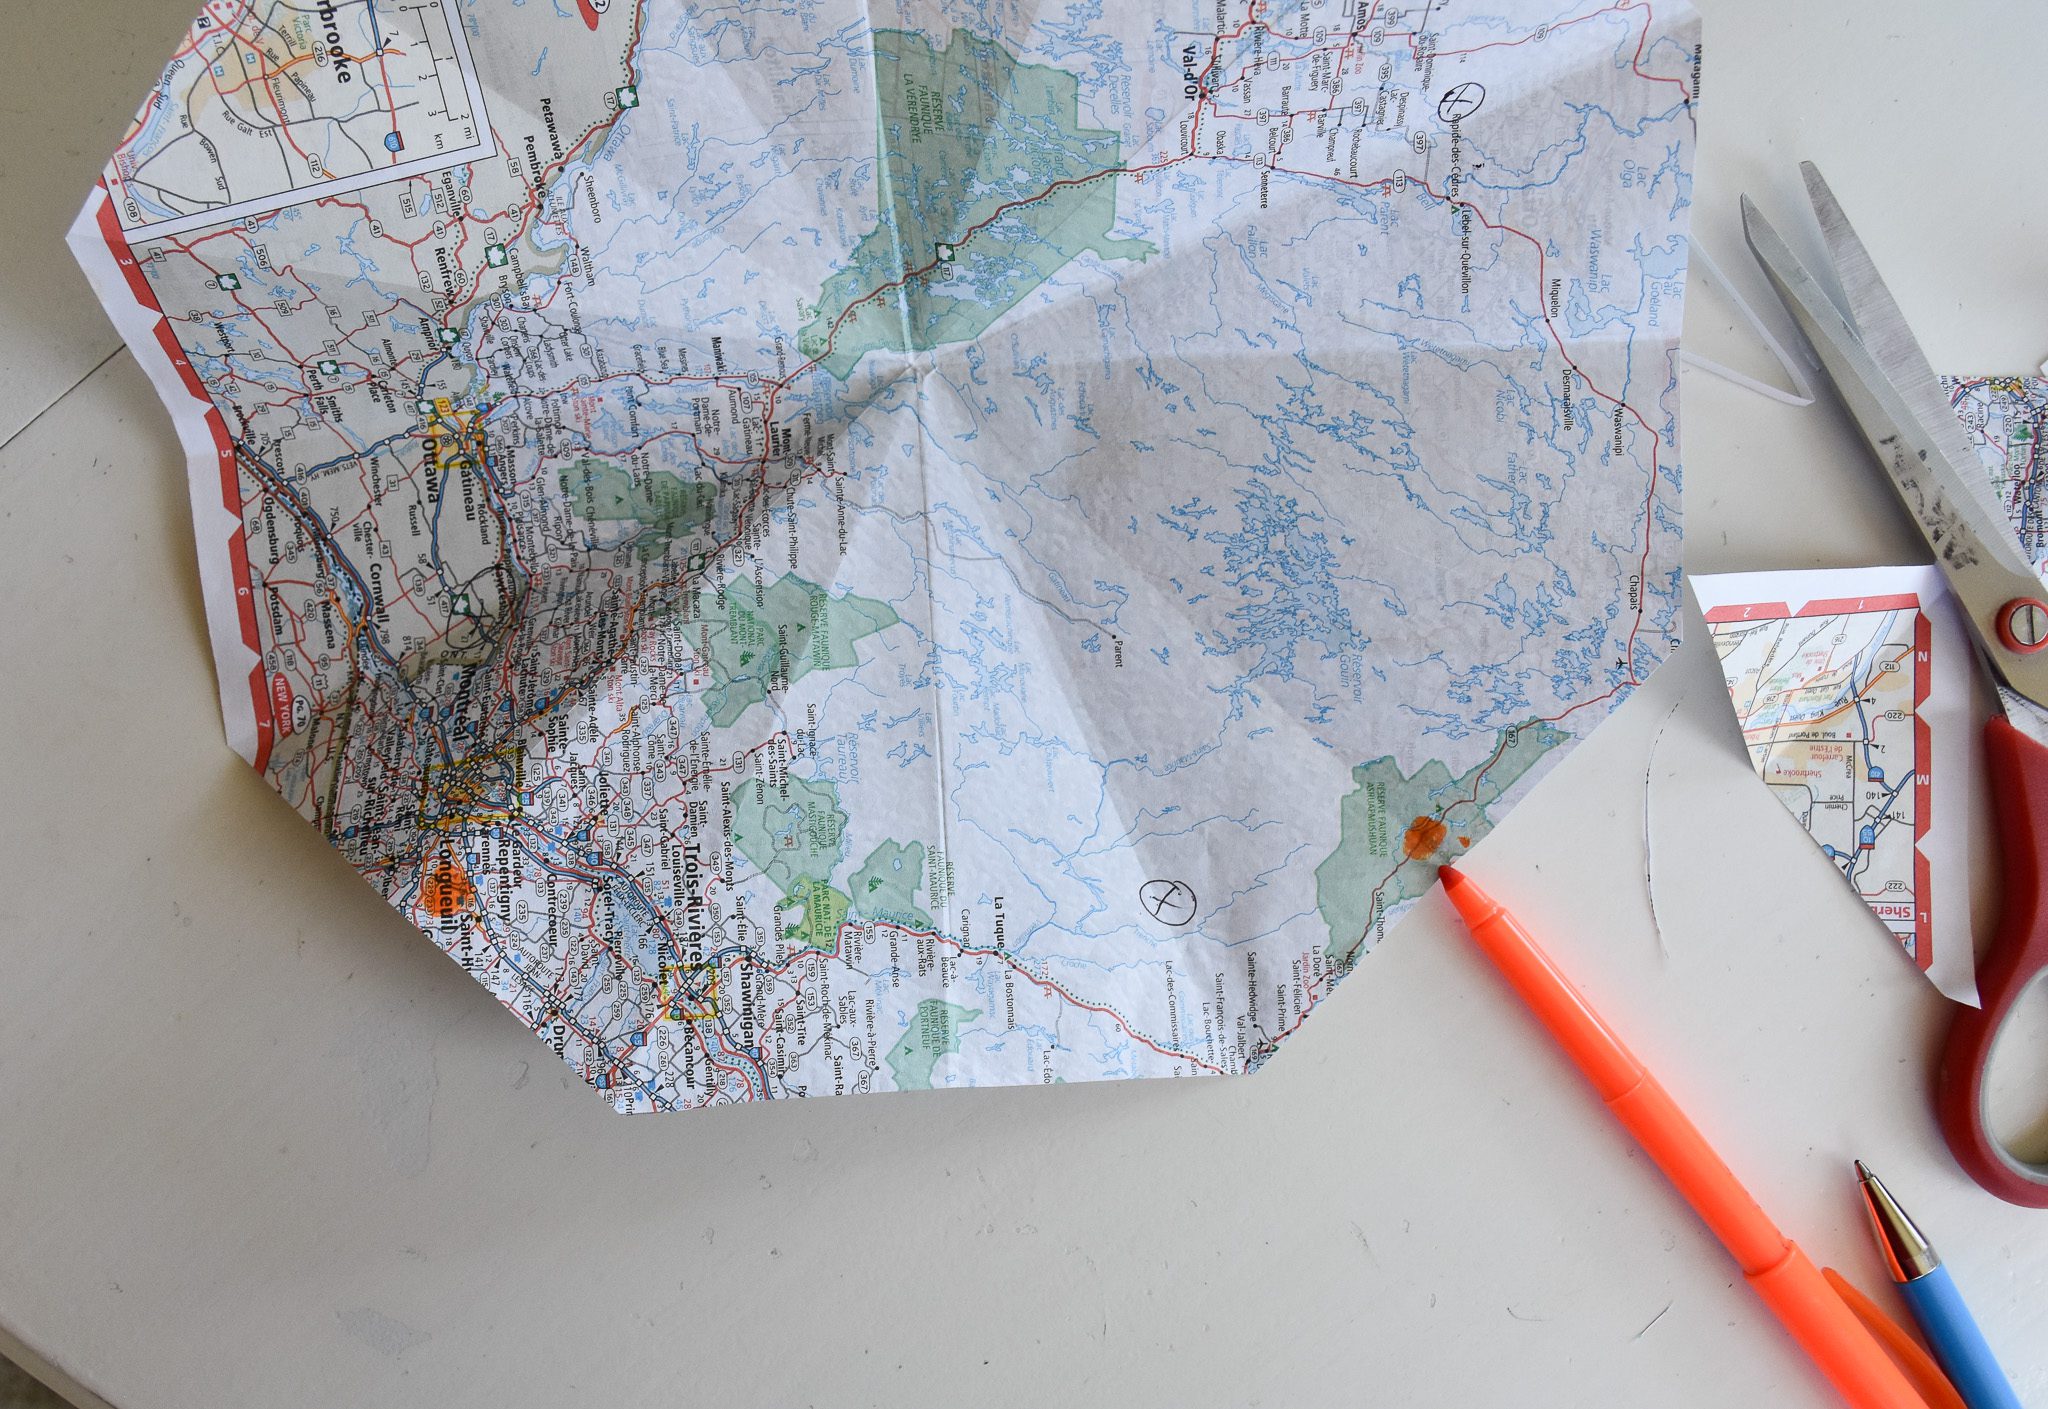
Open the flaps back up, and do the folds again with the other four sides (remember, this is an octagon).
Find the middle, go two creases to the right and two creases to the left…
…and fold the flap up.
Repeat on all four sides again, trimming the bits of the flaps that overlap over each other a little.
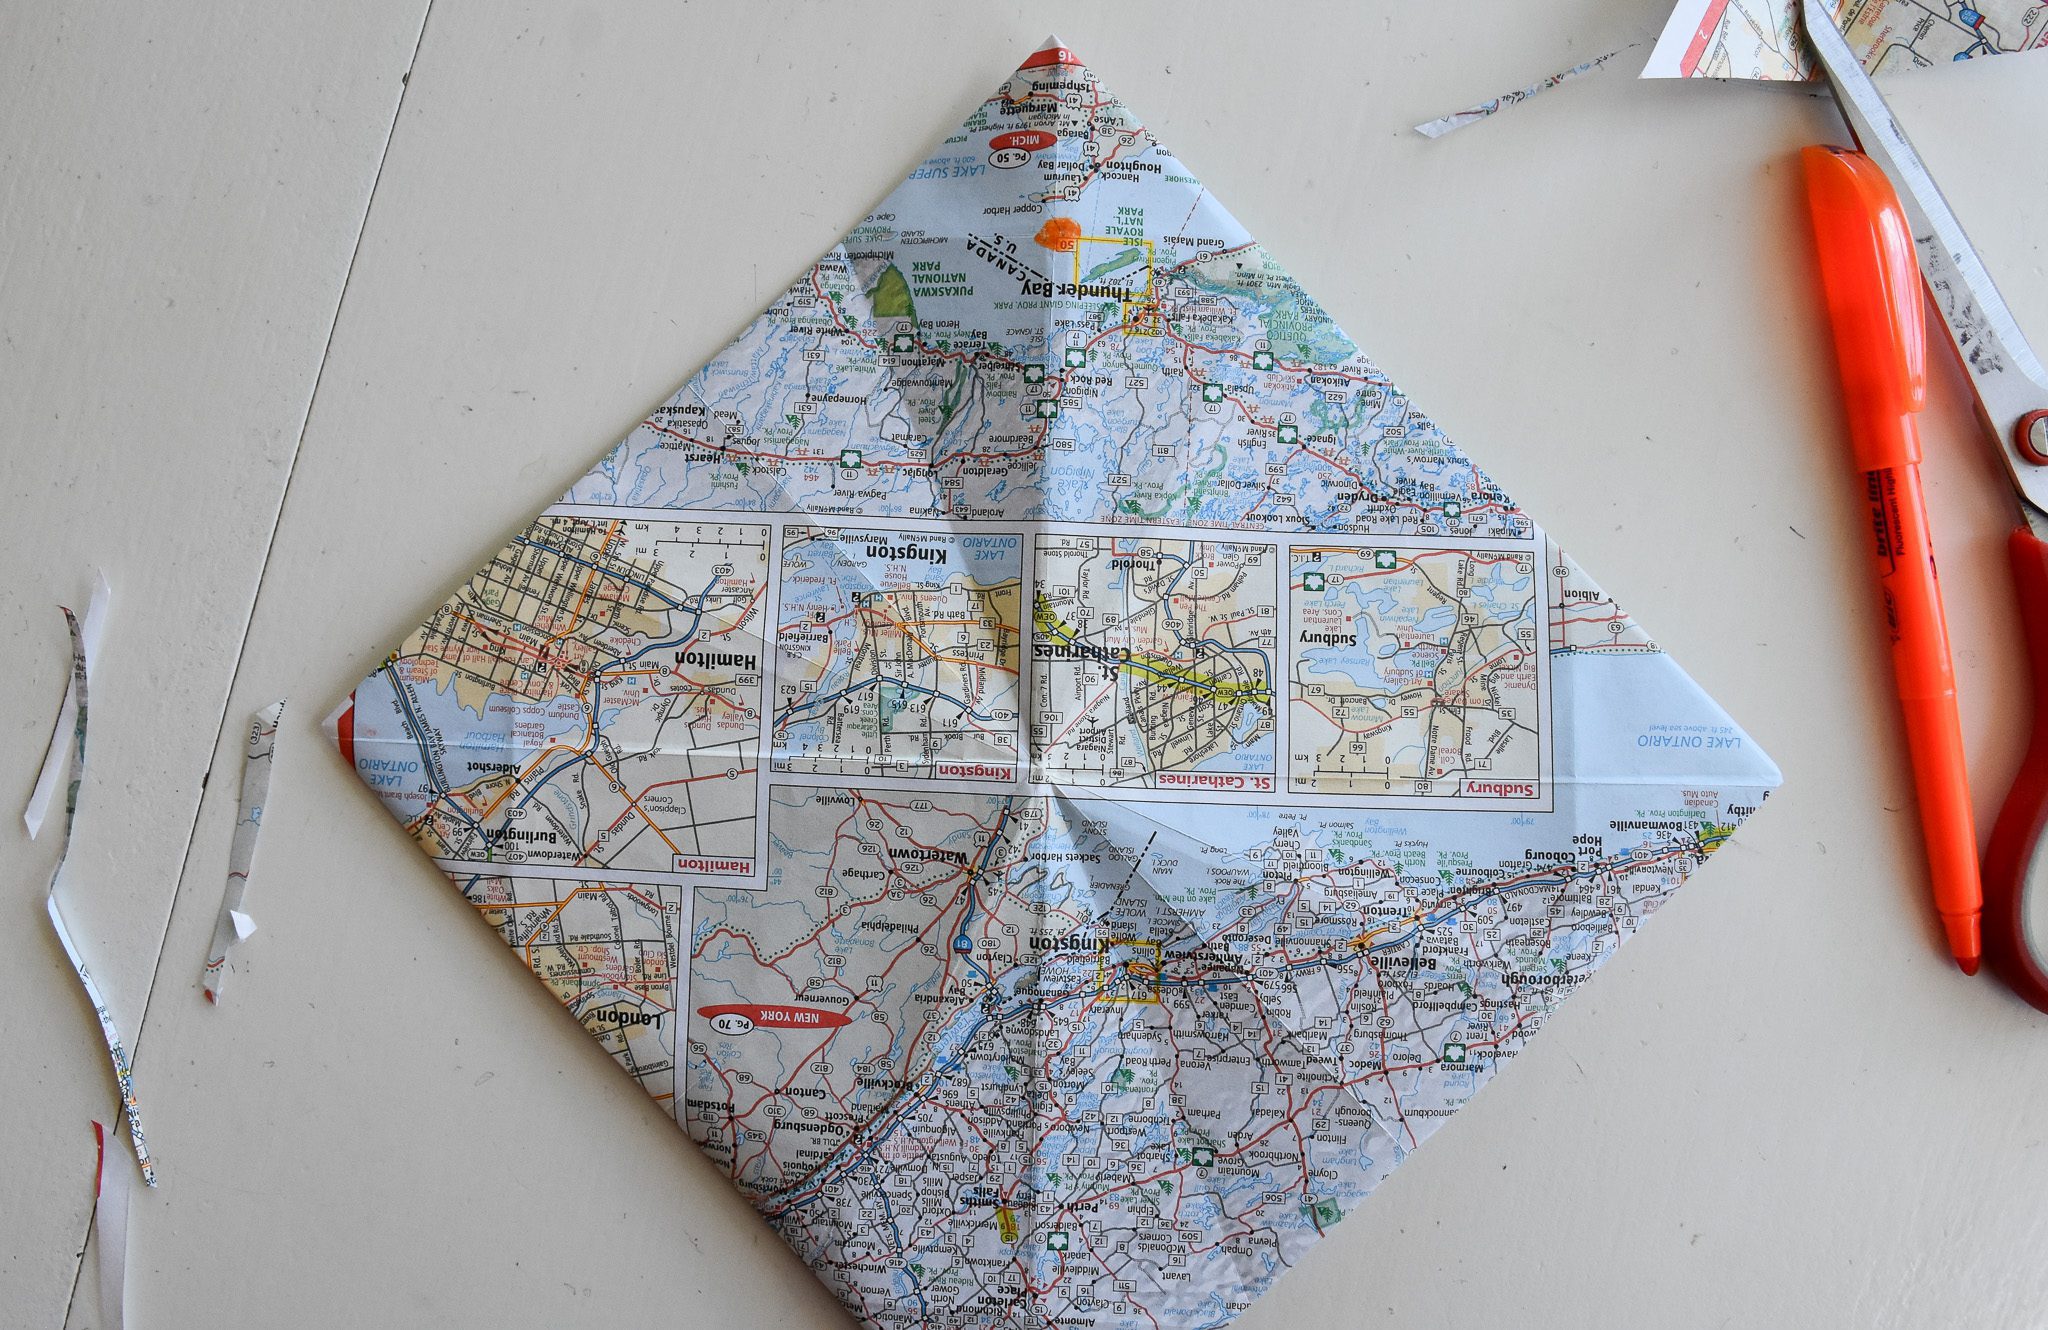
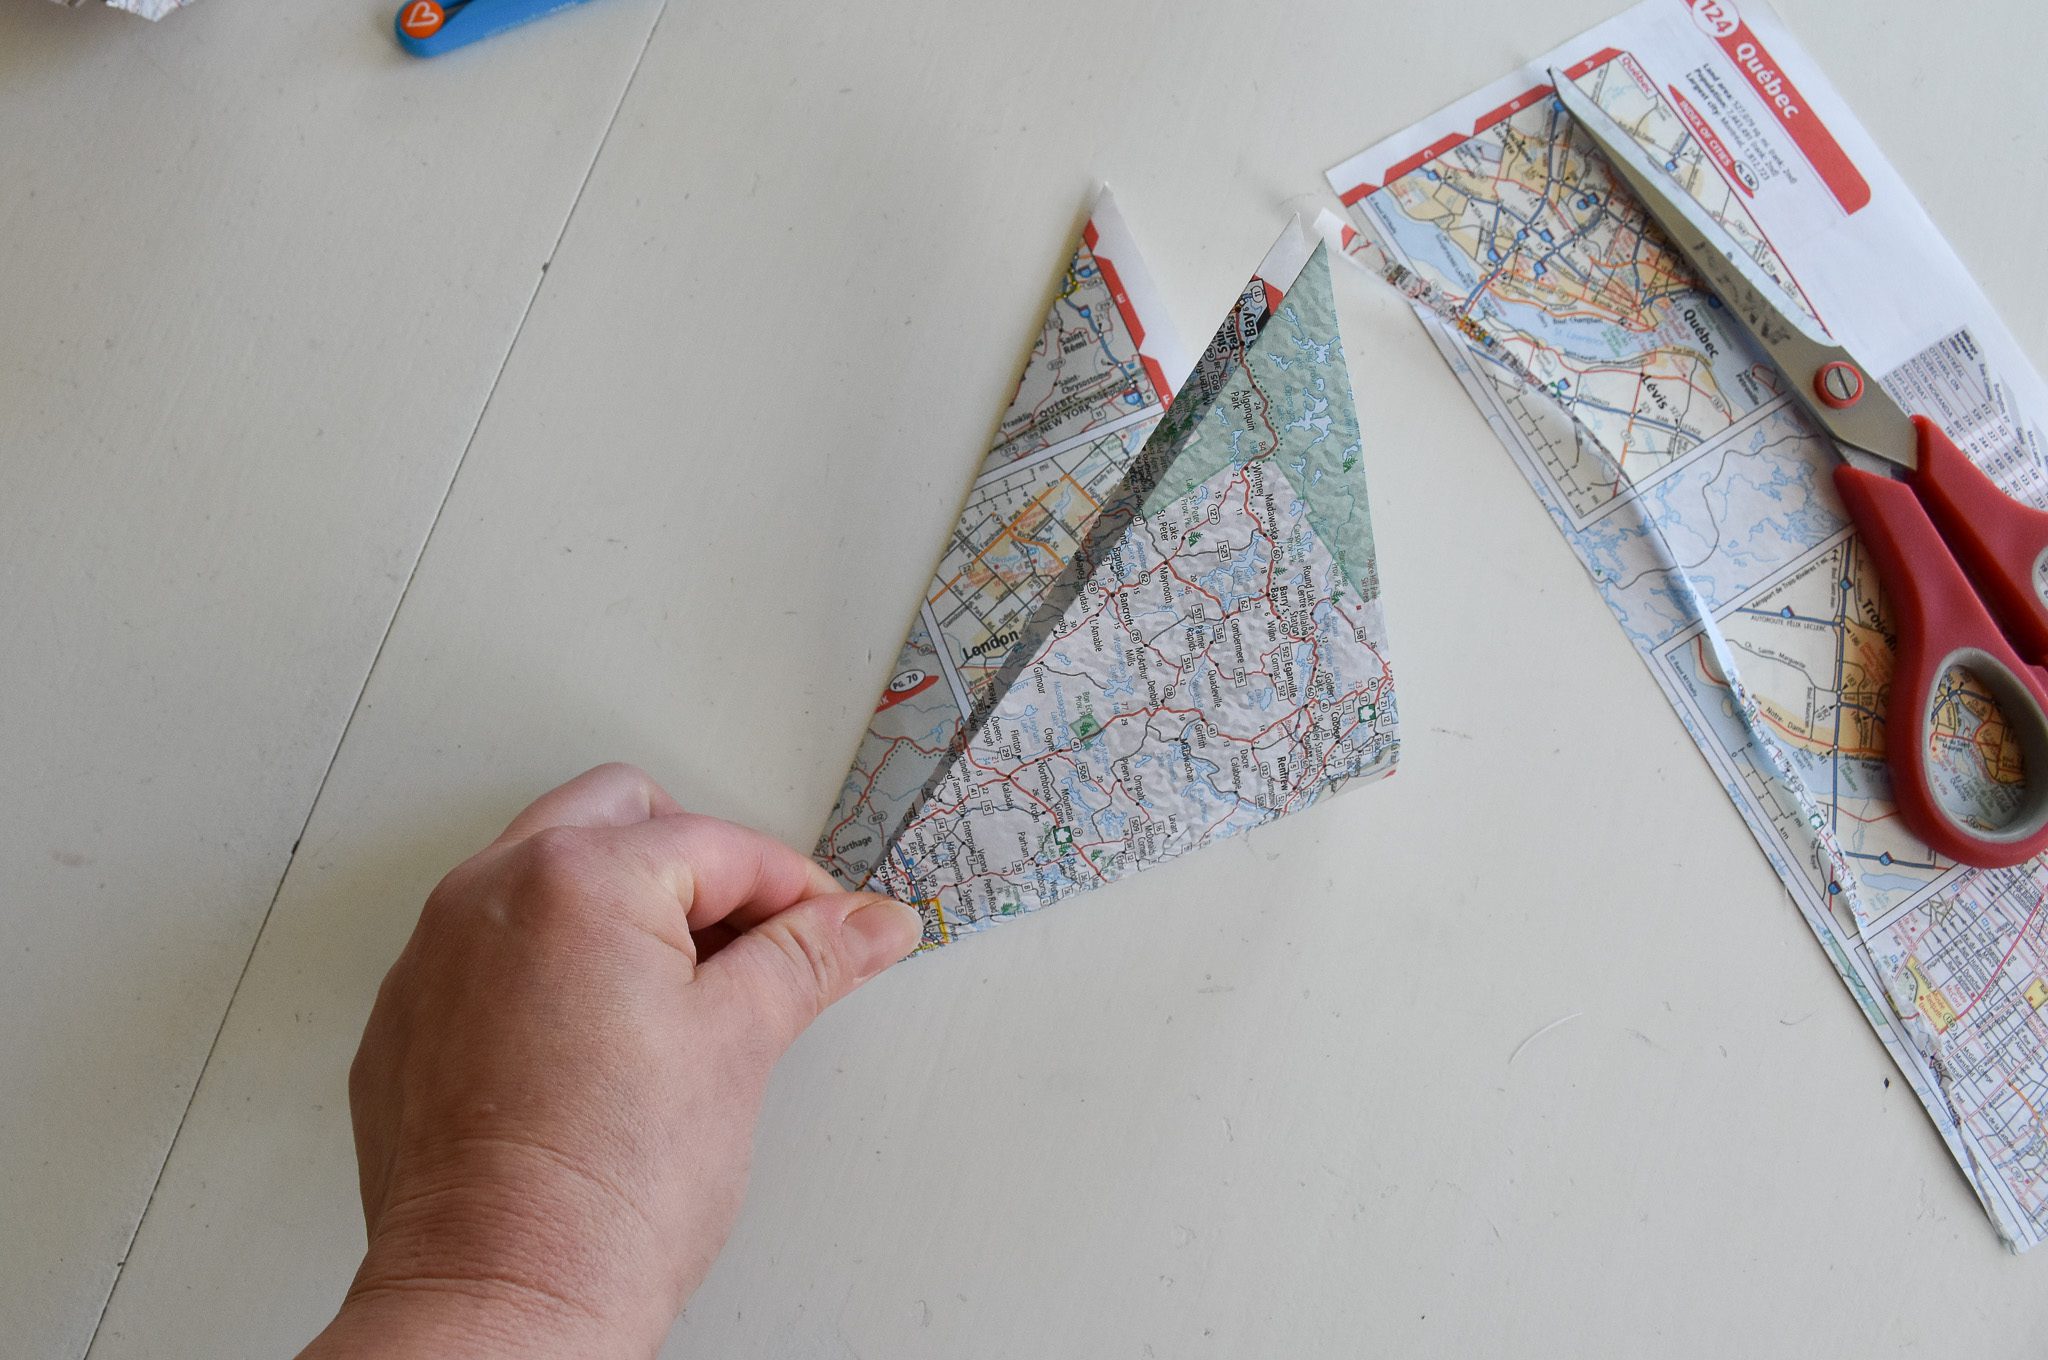
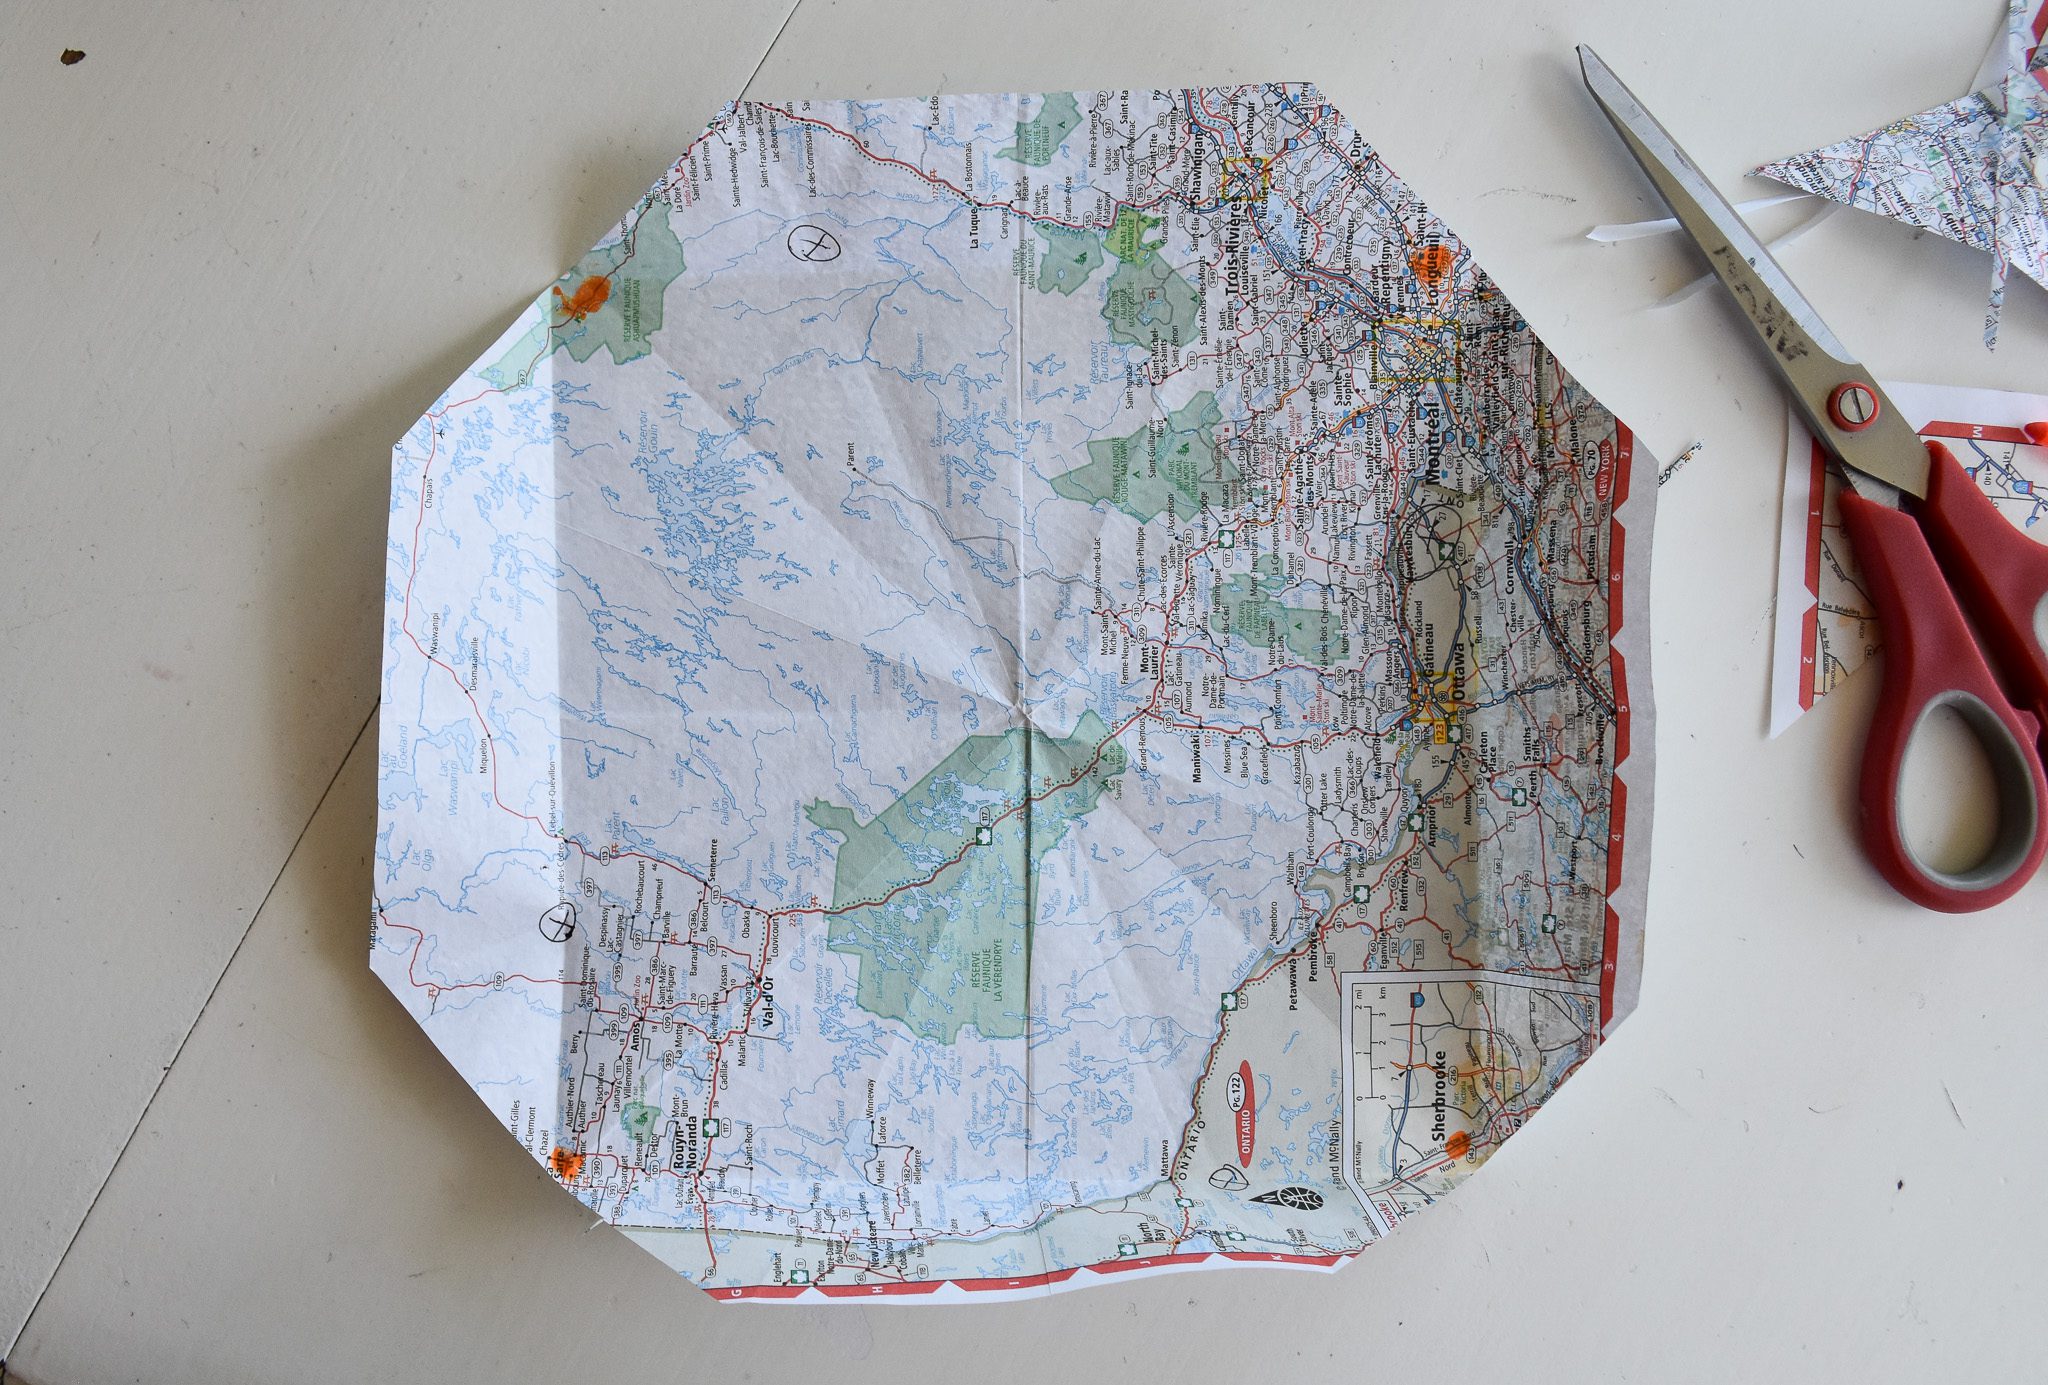
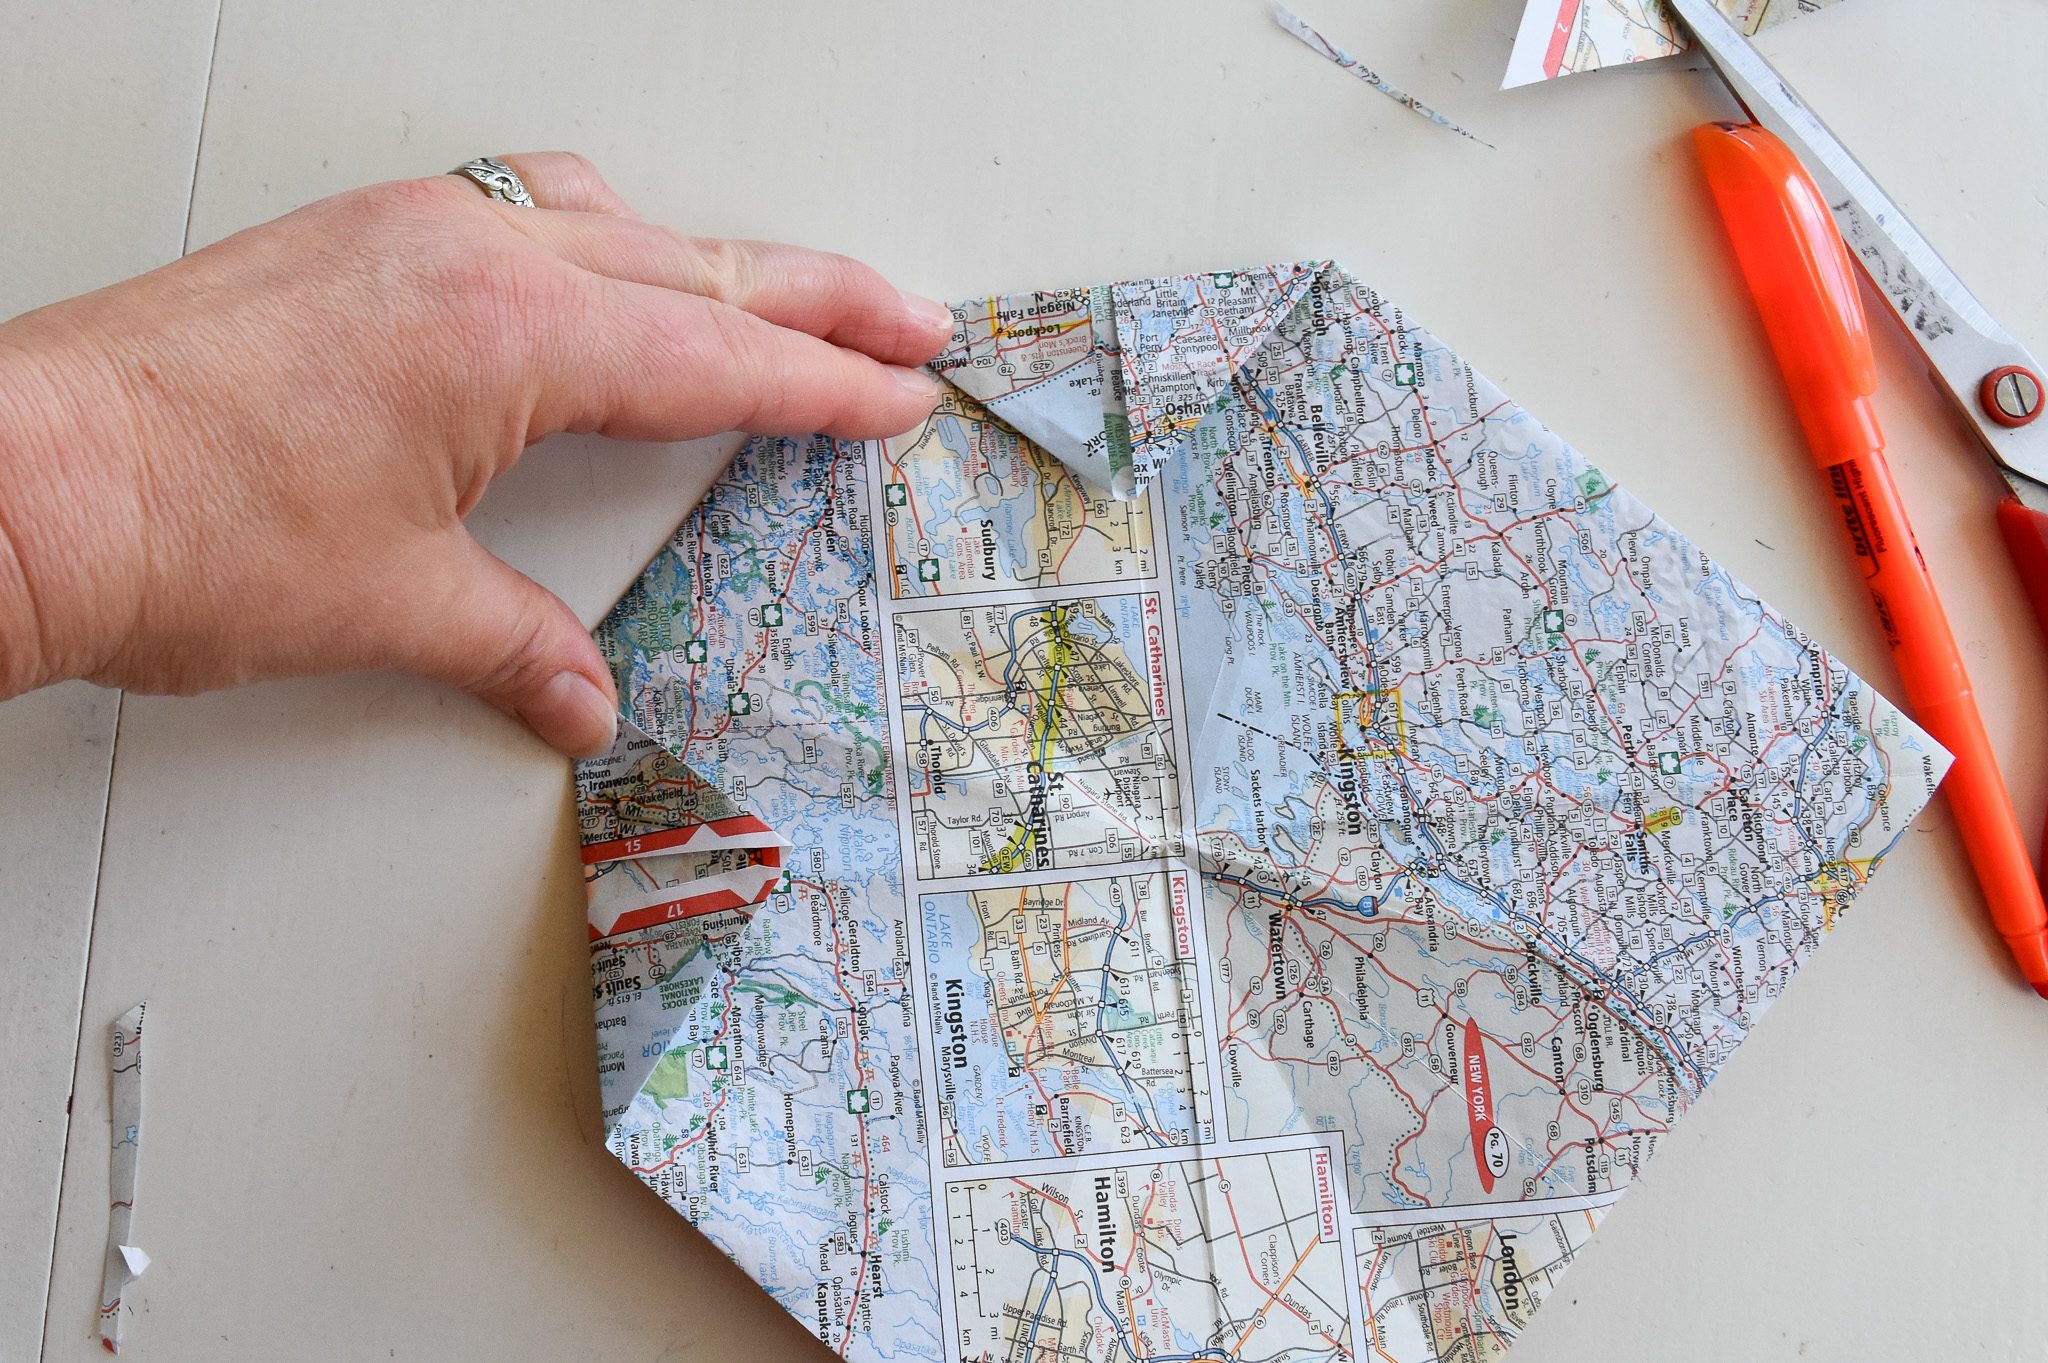
Leaving those flaps folded in, turn the entire paper over, with a point at the top.
Take that top point, and fold it back over itself. This crease already exists, as you made it when you folded up those flaps previously.
Rotate and repeat.
Until you have all four points folded back over the project, like above.
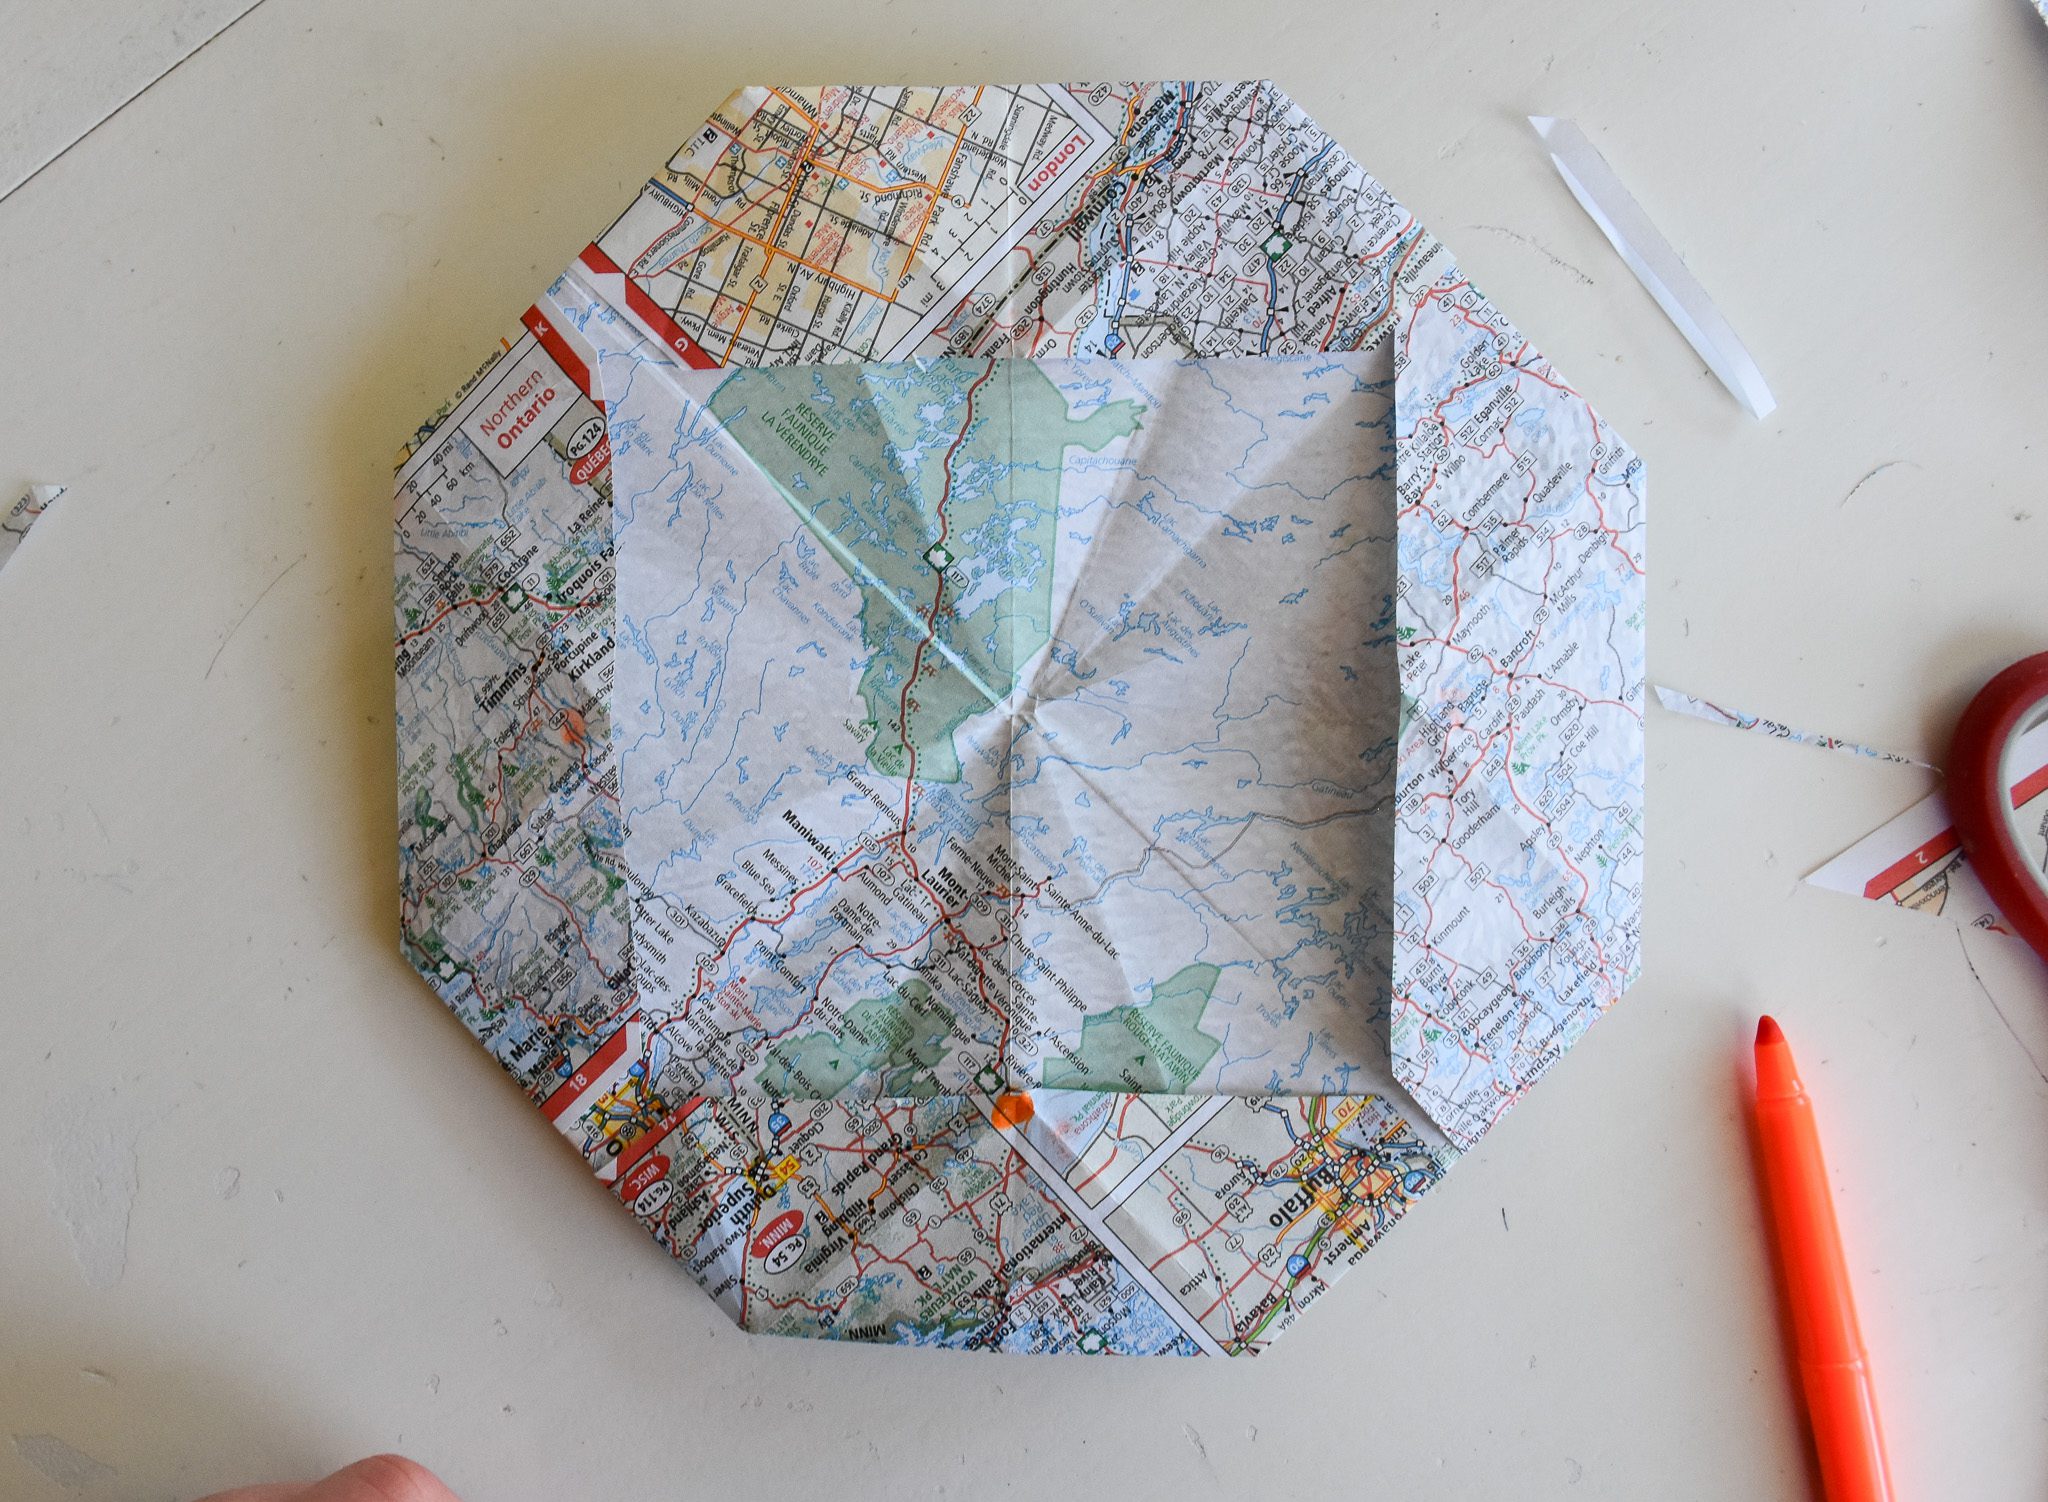
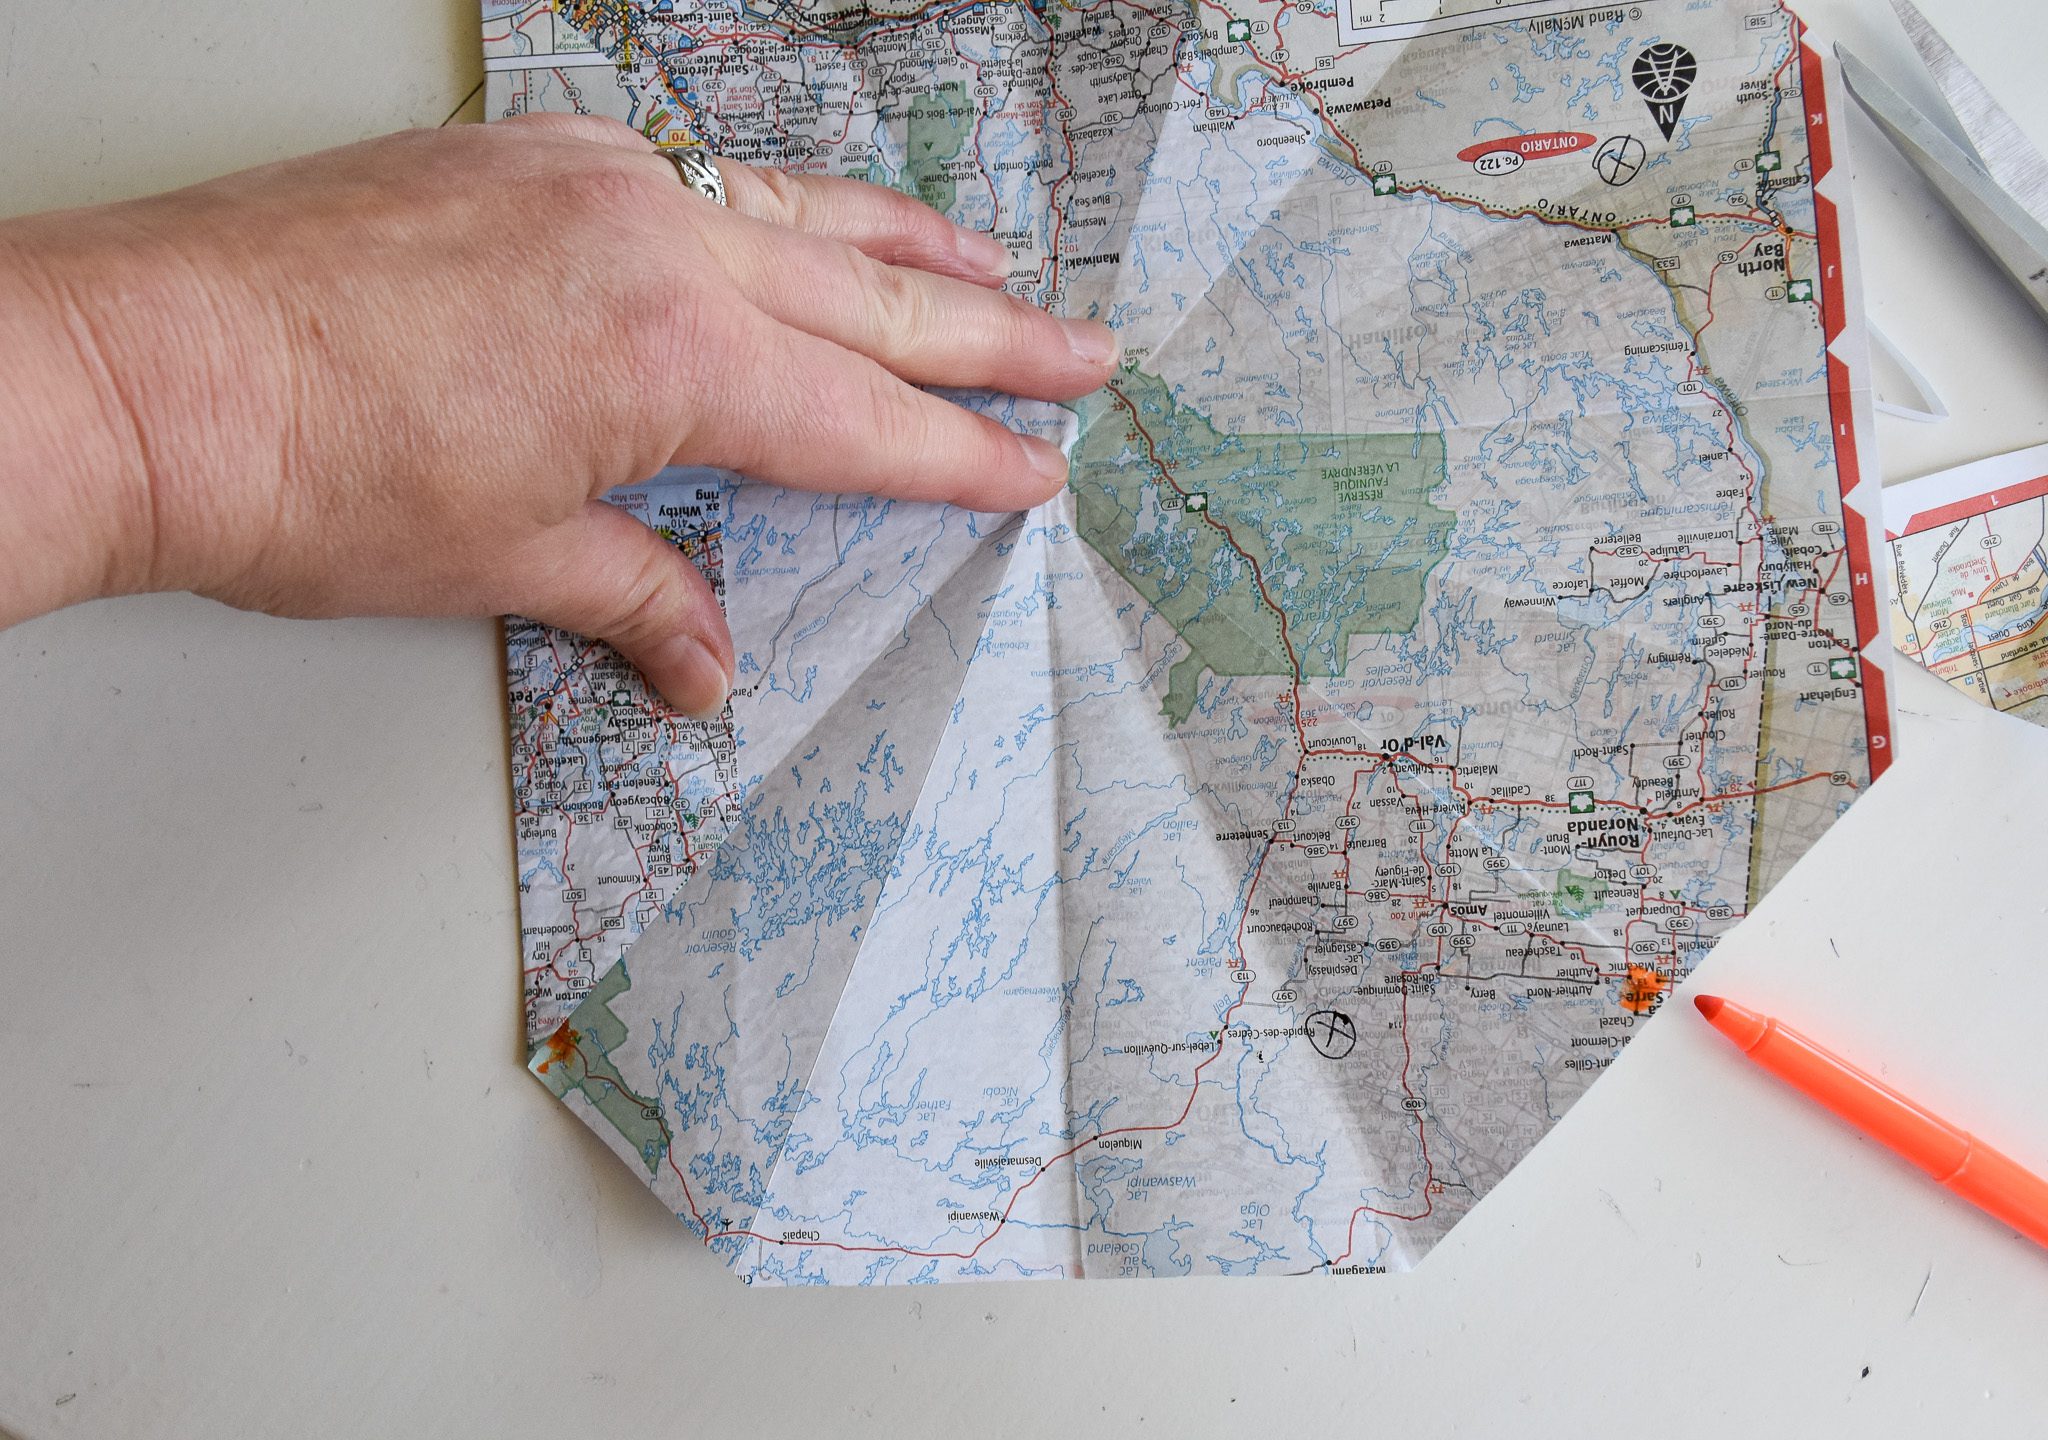
Now, flip the whole project over again, with those folds still holding. Face a flat edge to to the bottom, and find the middle point. I’ve marked it with an orange highlighter above. This point is going to fold up and over the project (this is the actually tricky part of this project).
Note: Here’s a link to the video that taught me how to do this. I do my beginning folds a little differently than her, but the end part – this part above – is the same.

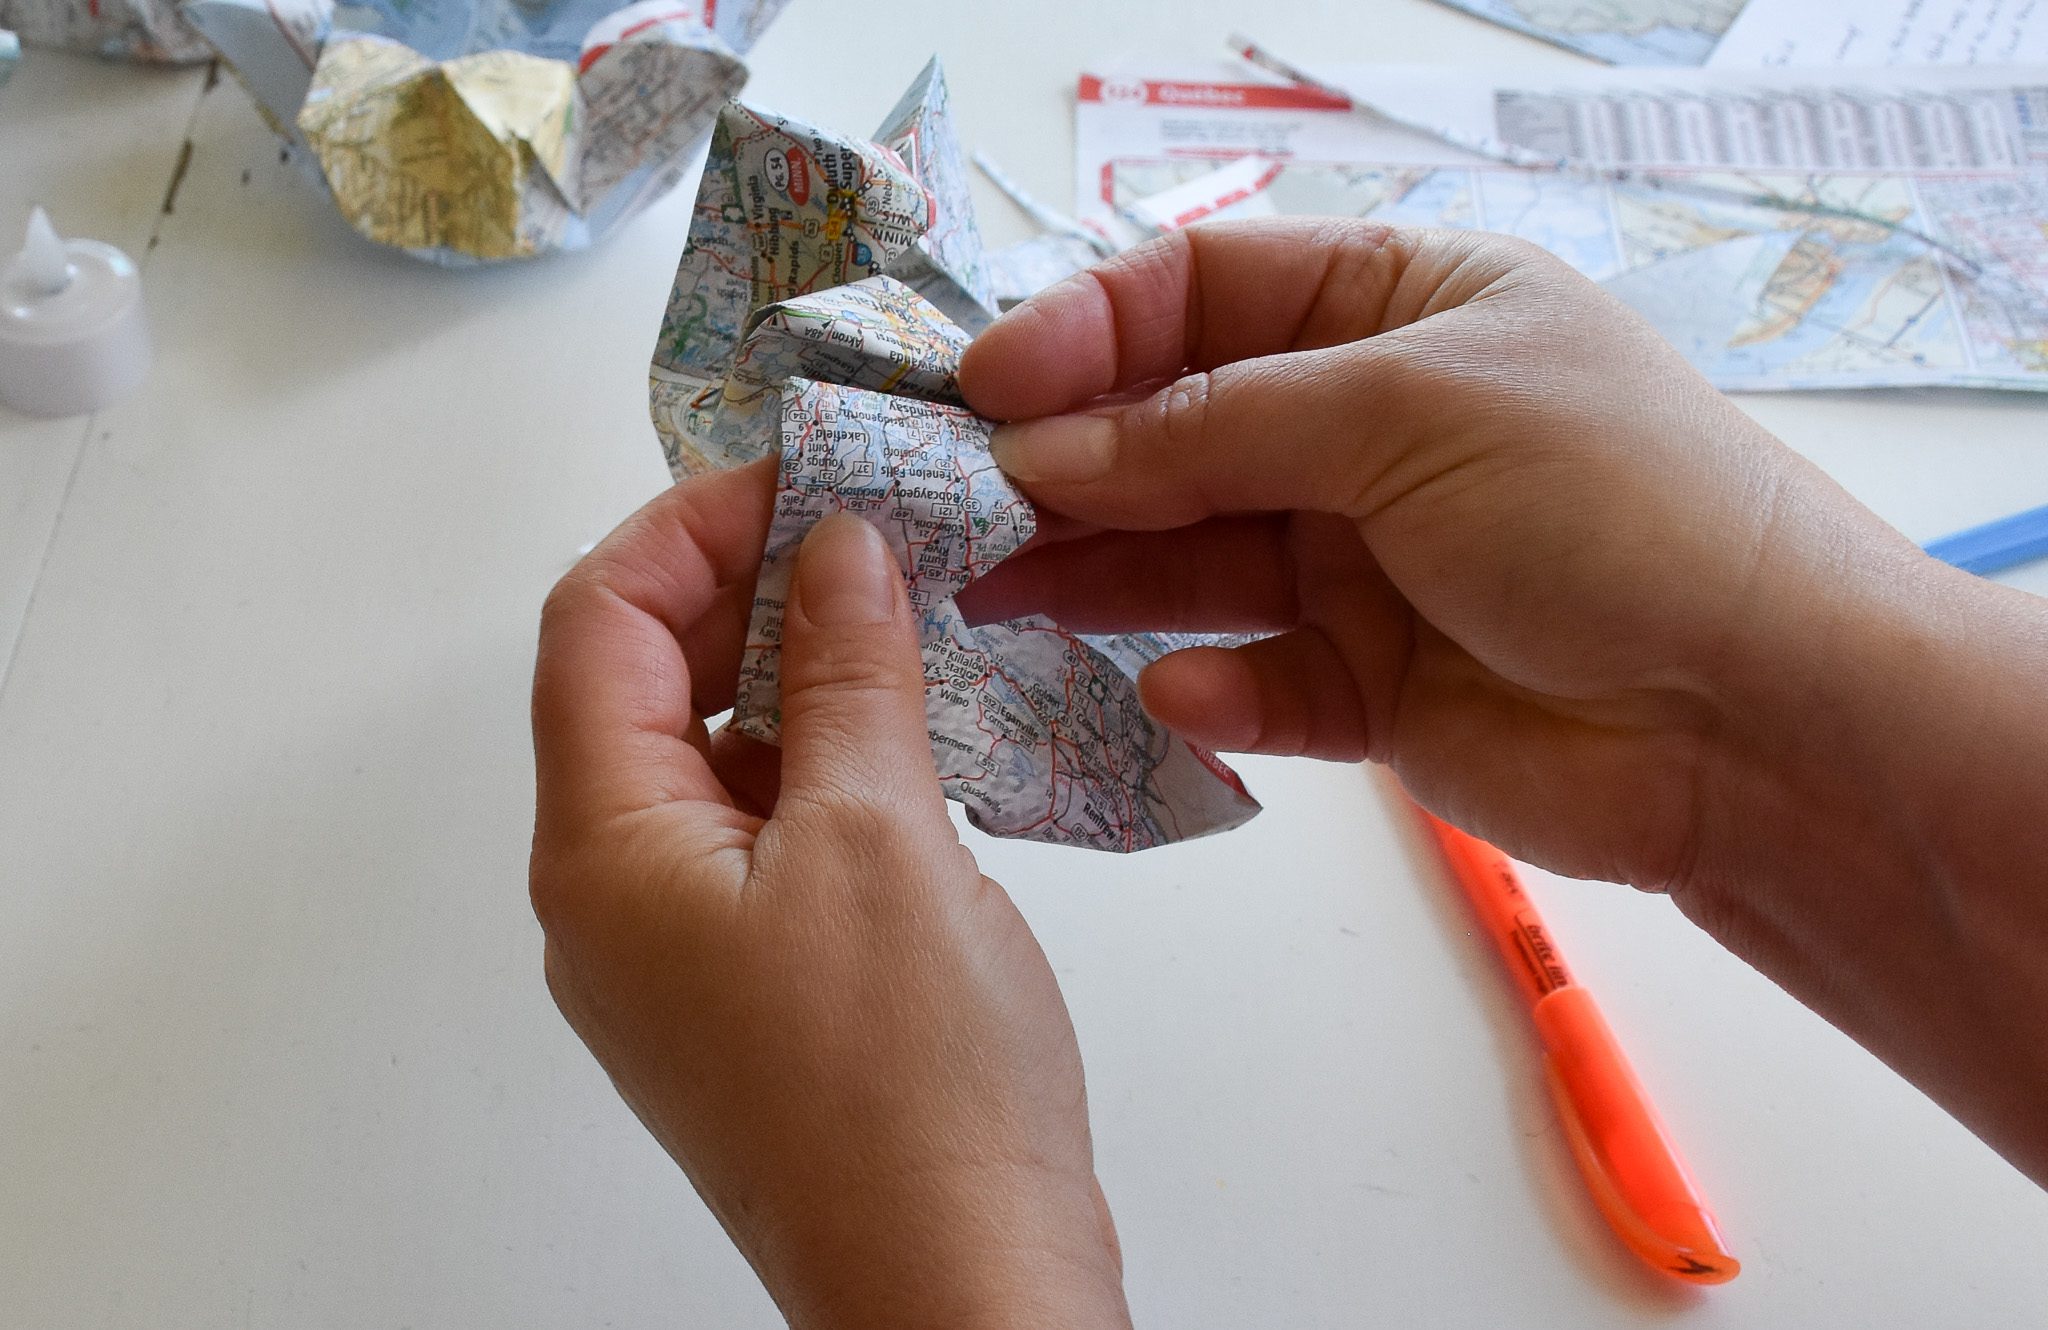
Grab the middle point and start pulling it toward you.
The creases you’ve made will allow the point to fold into itself.
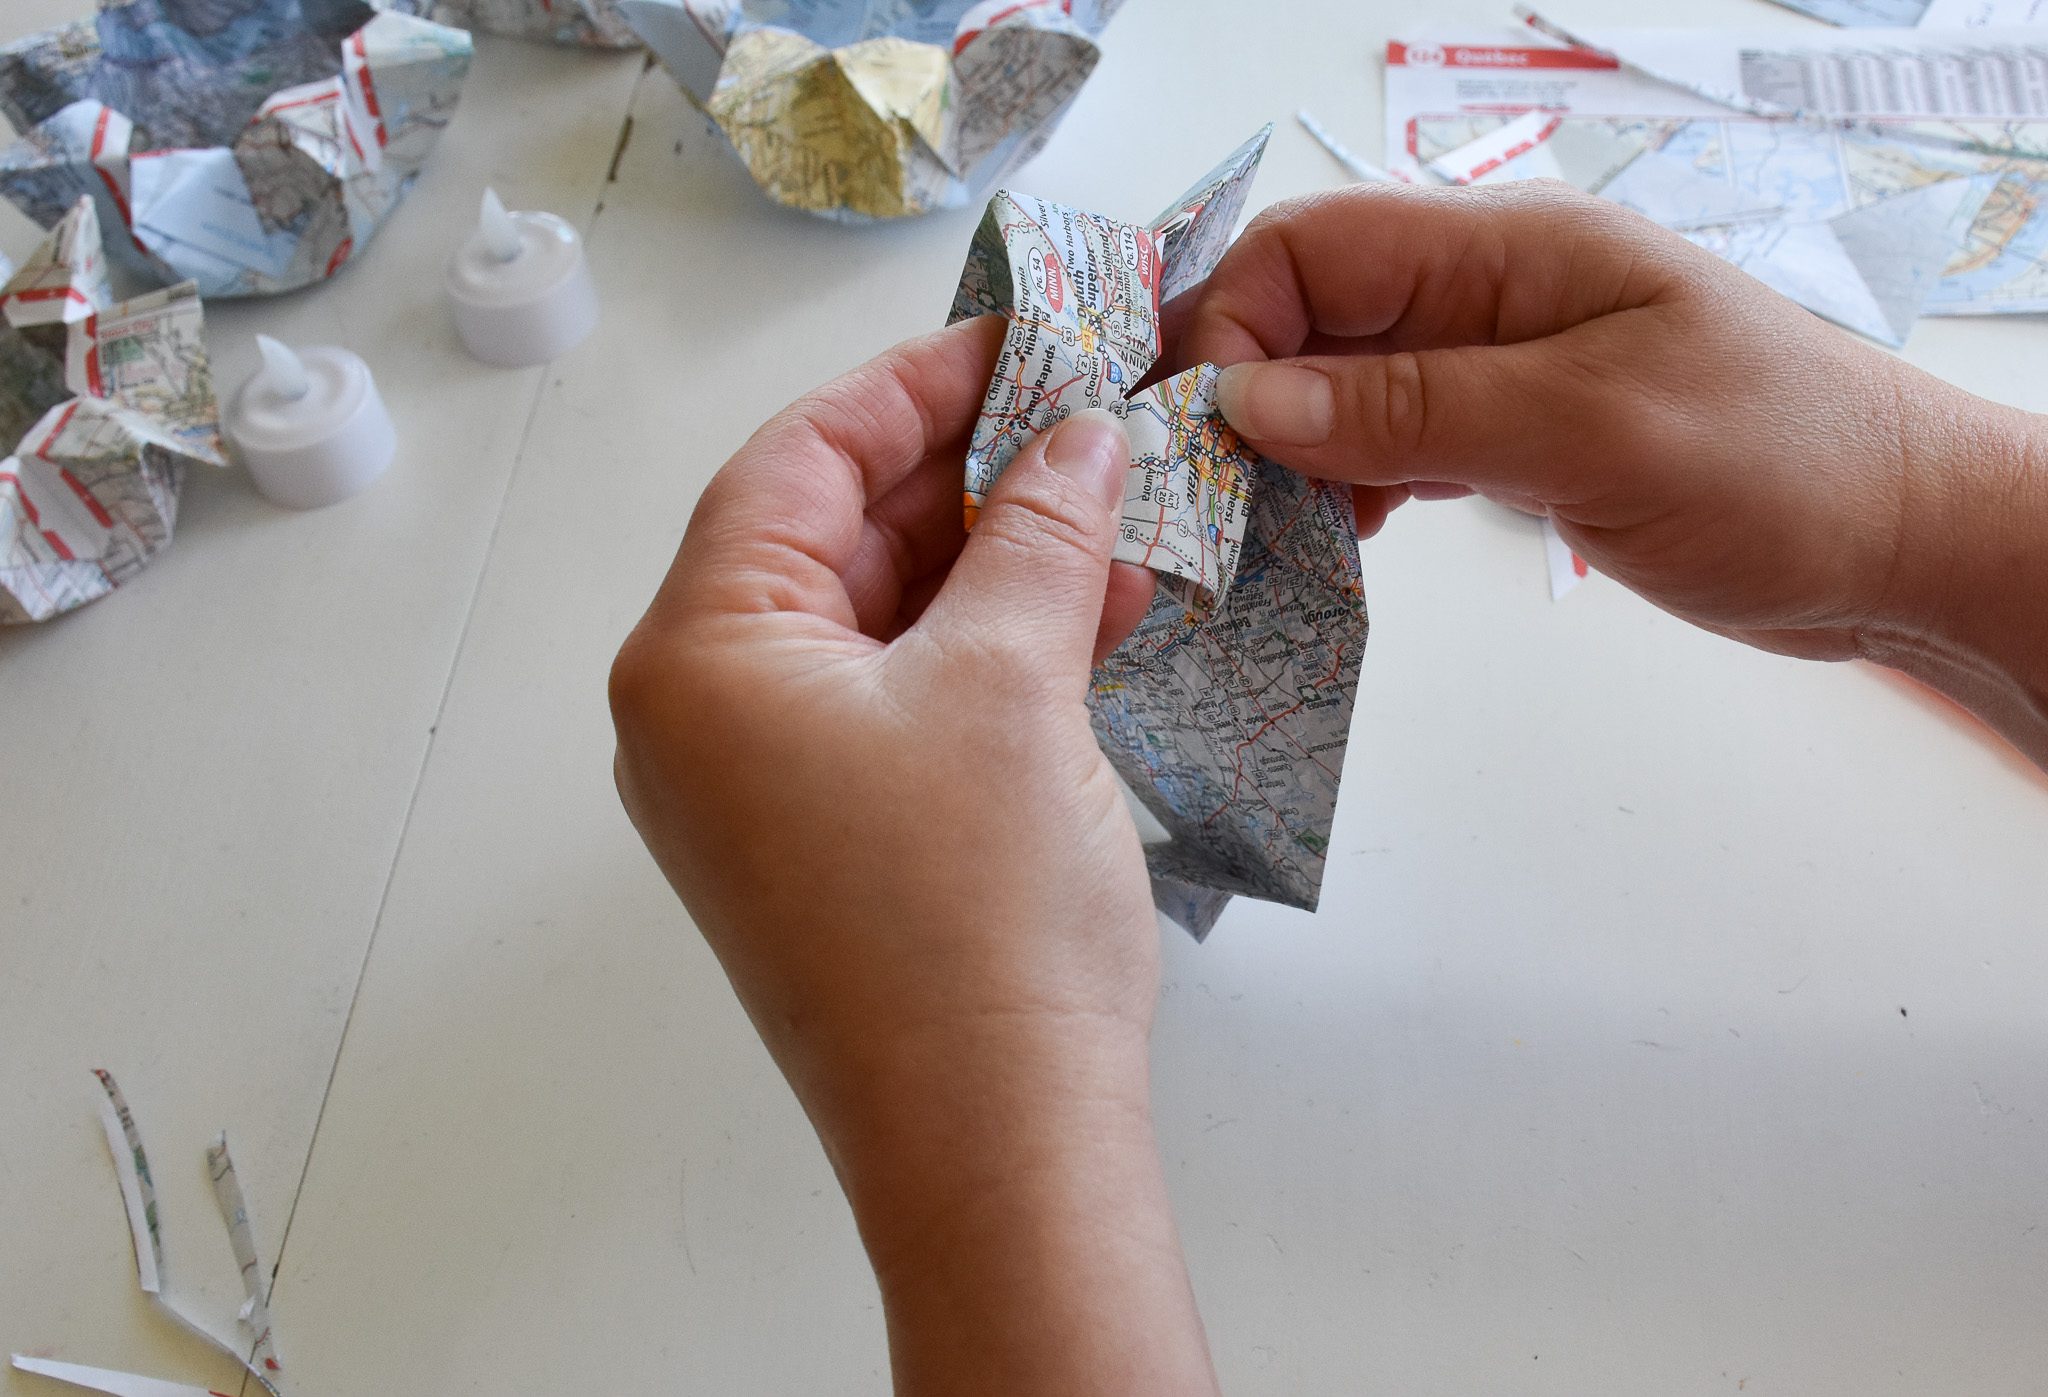
Pull it up over the back. This will feel awkward and like it’s not working, but try to pull it over the edge as much as you can. Two points will form on each side of that flap you’re pulling over.
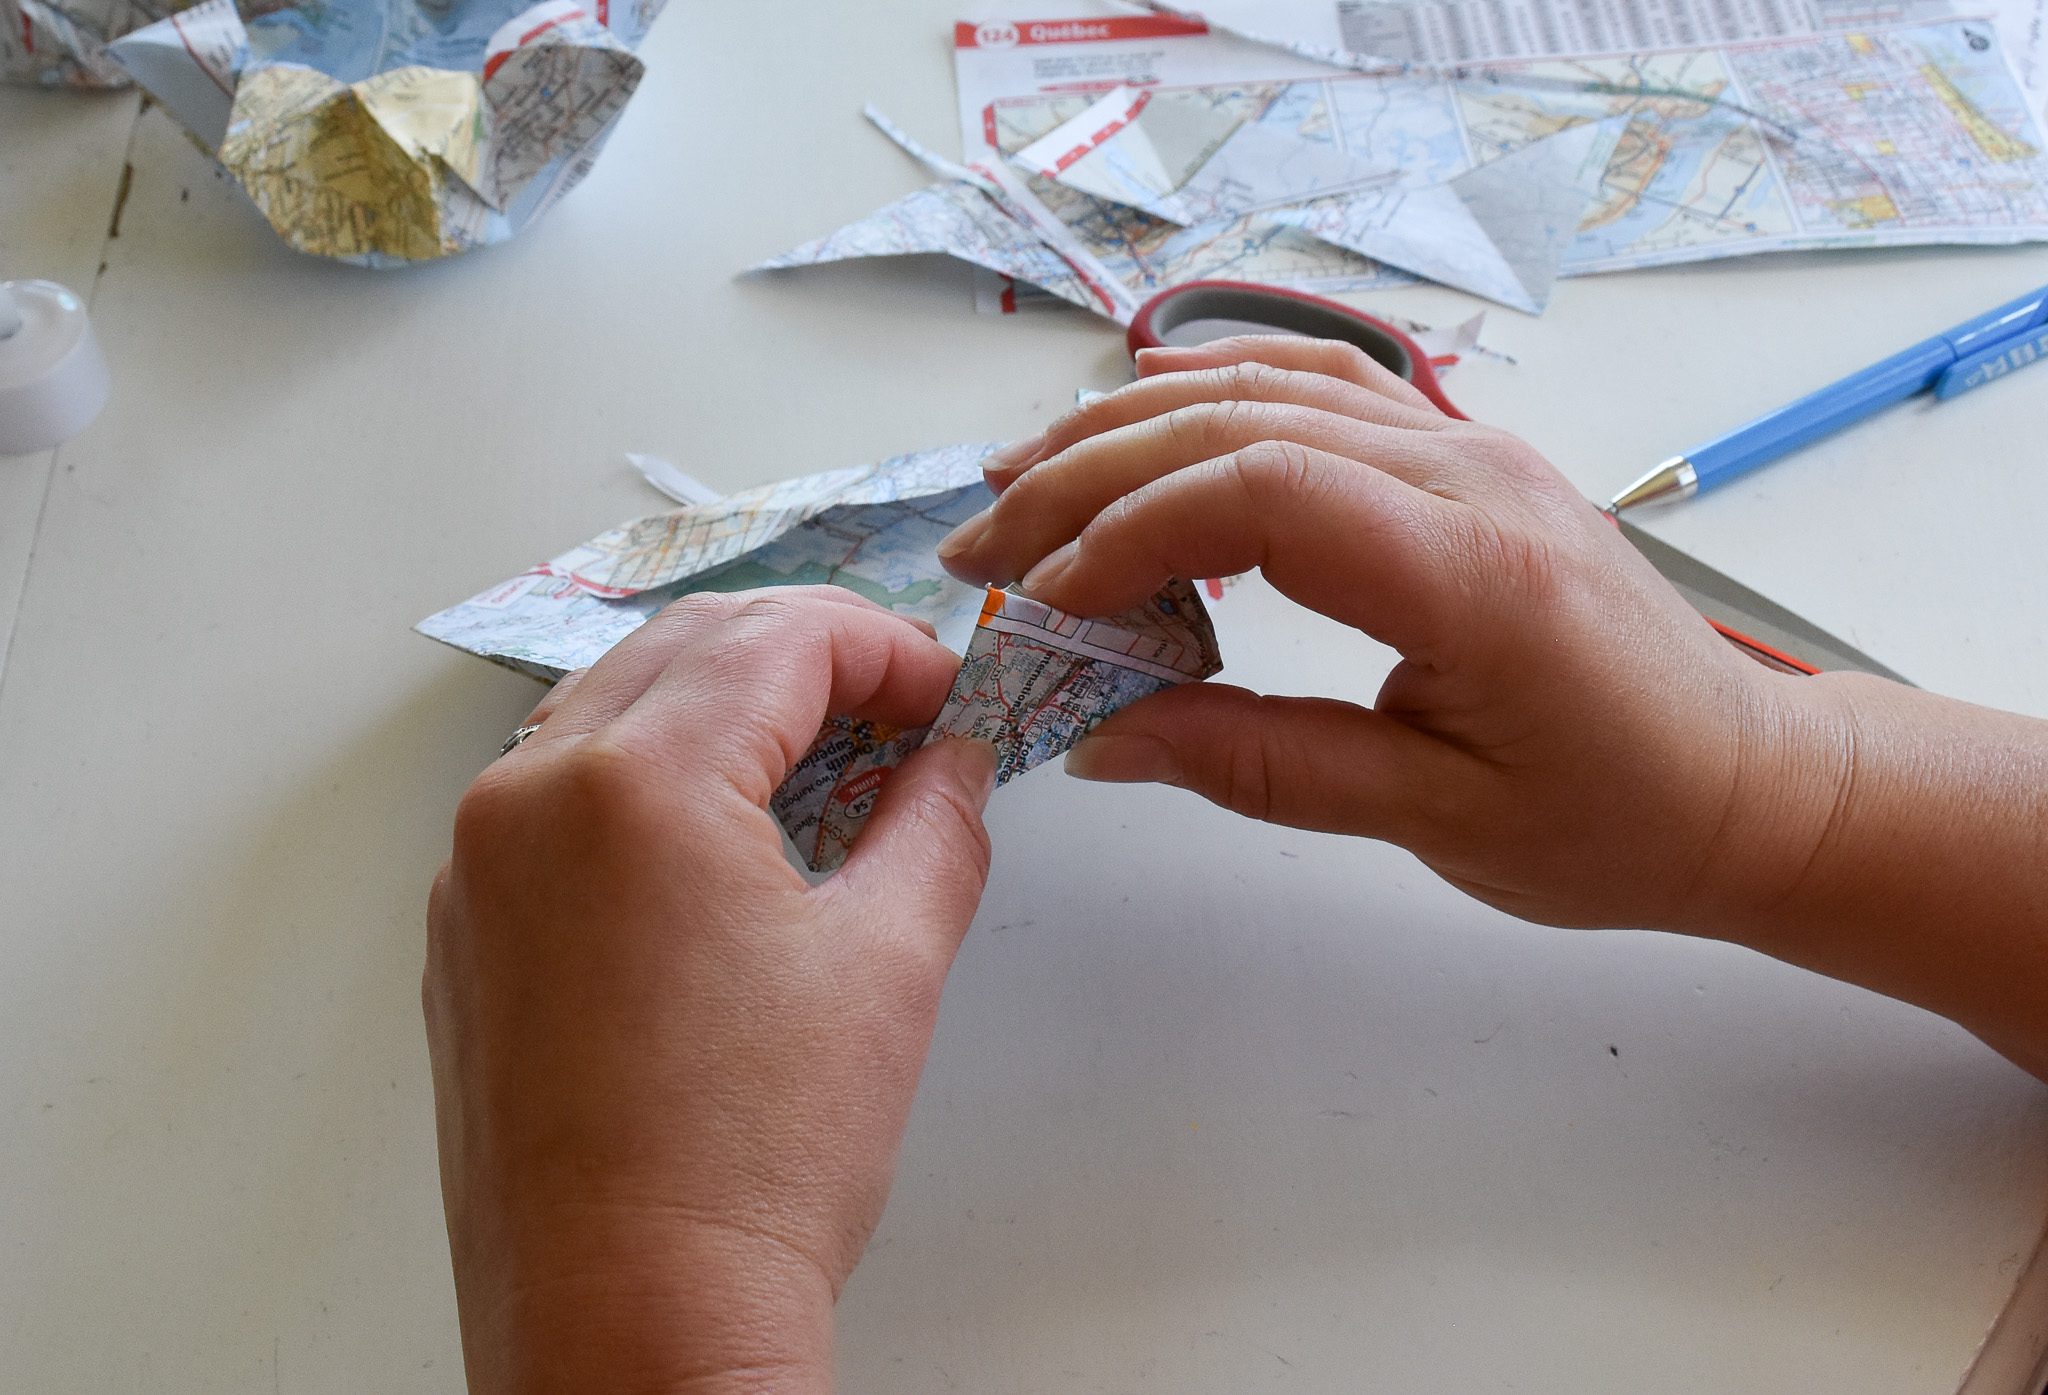
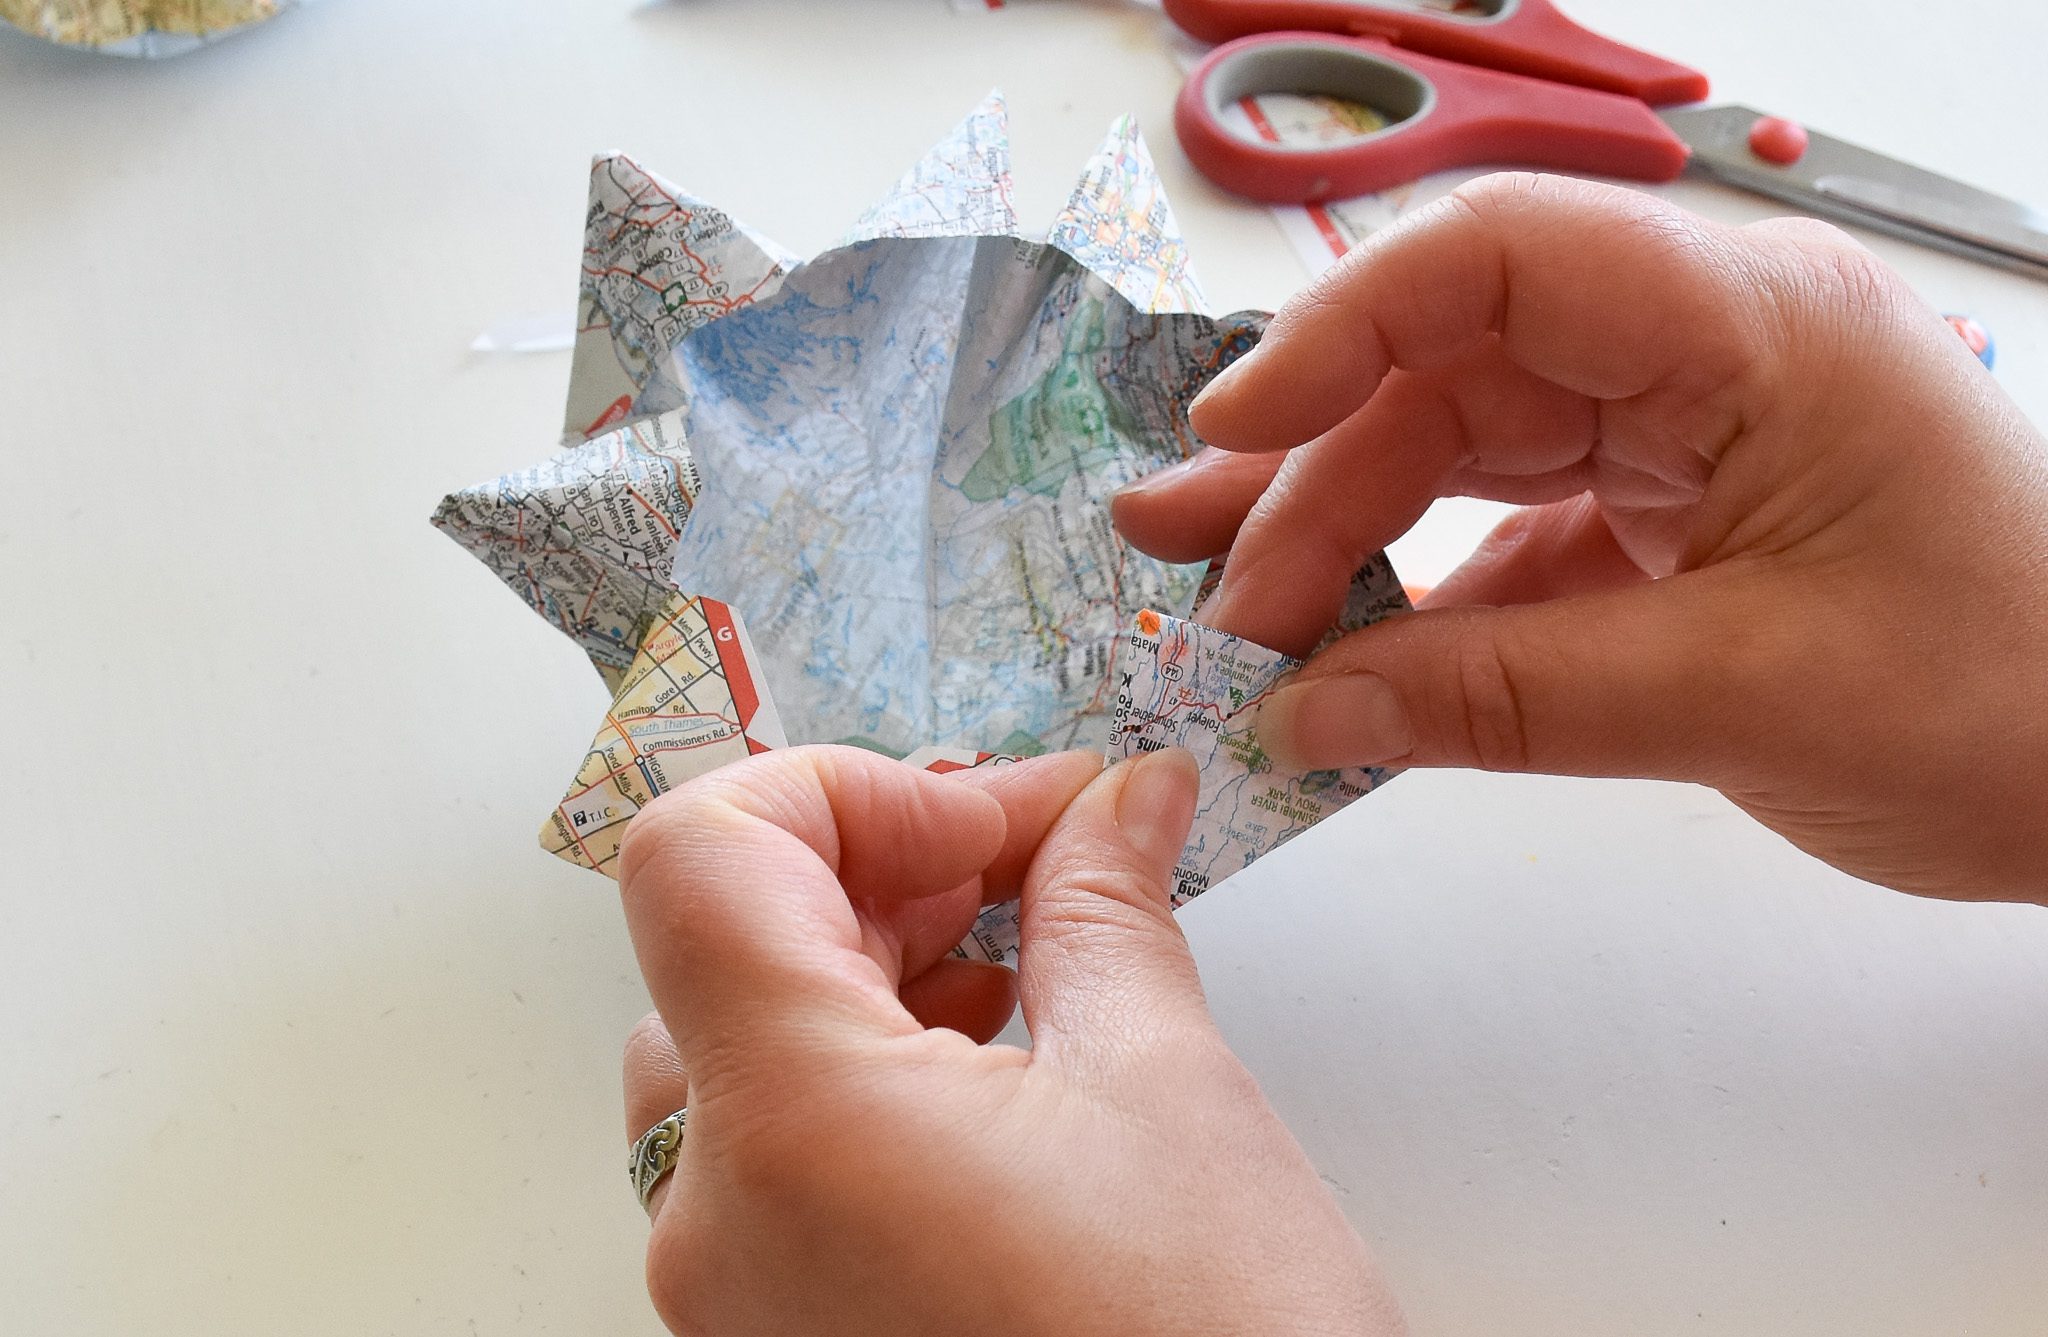
Stick your finger in the points and along the outside to better shape each star’s point.
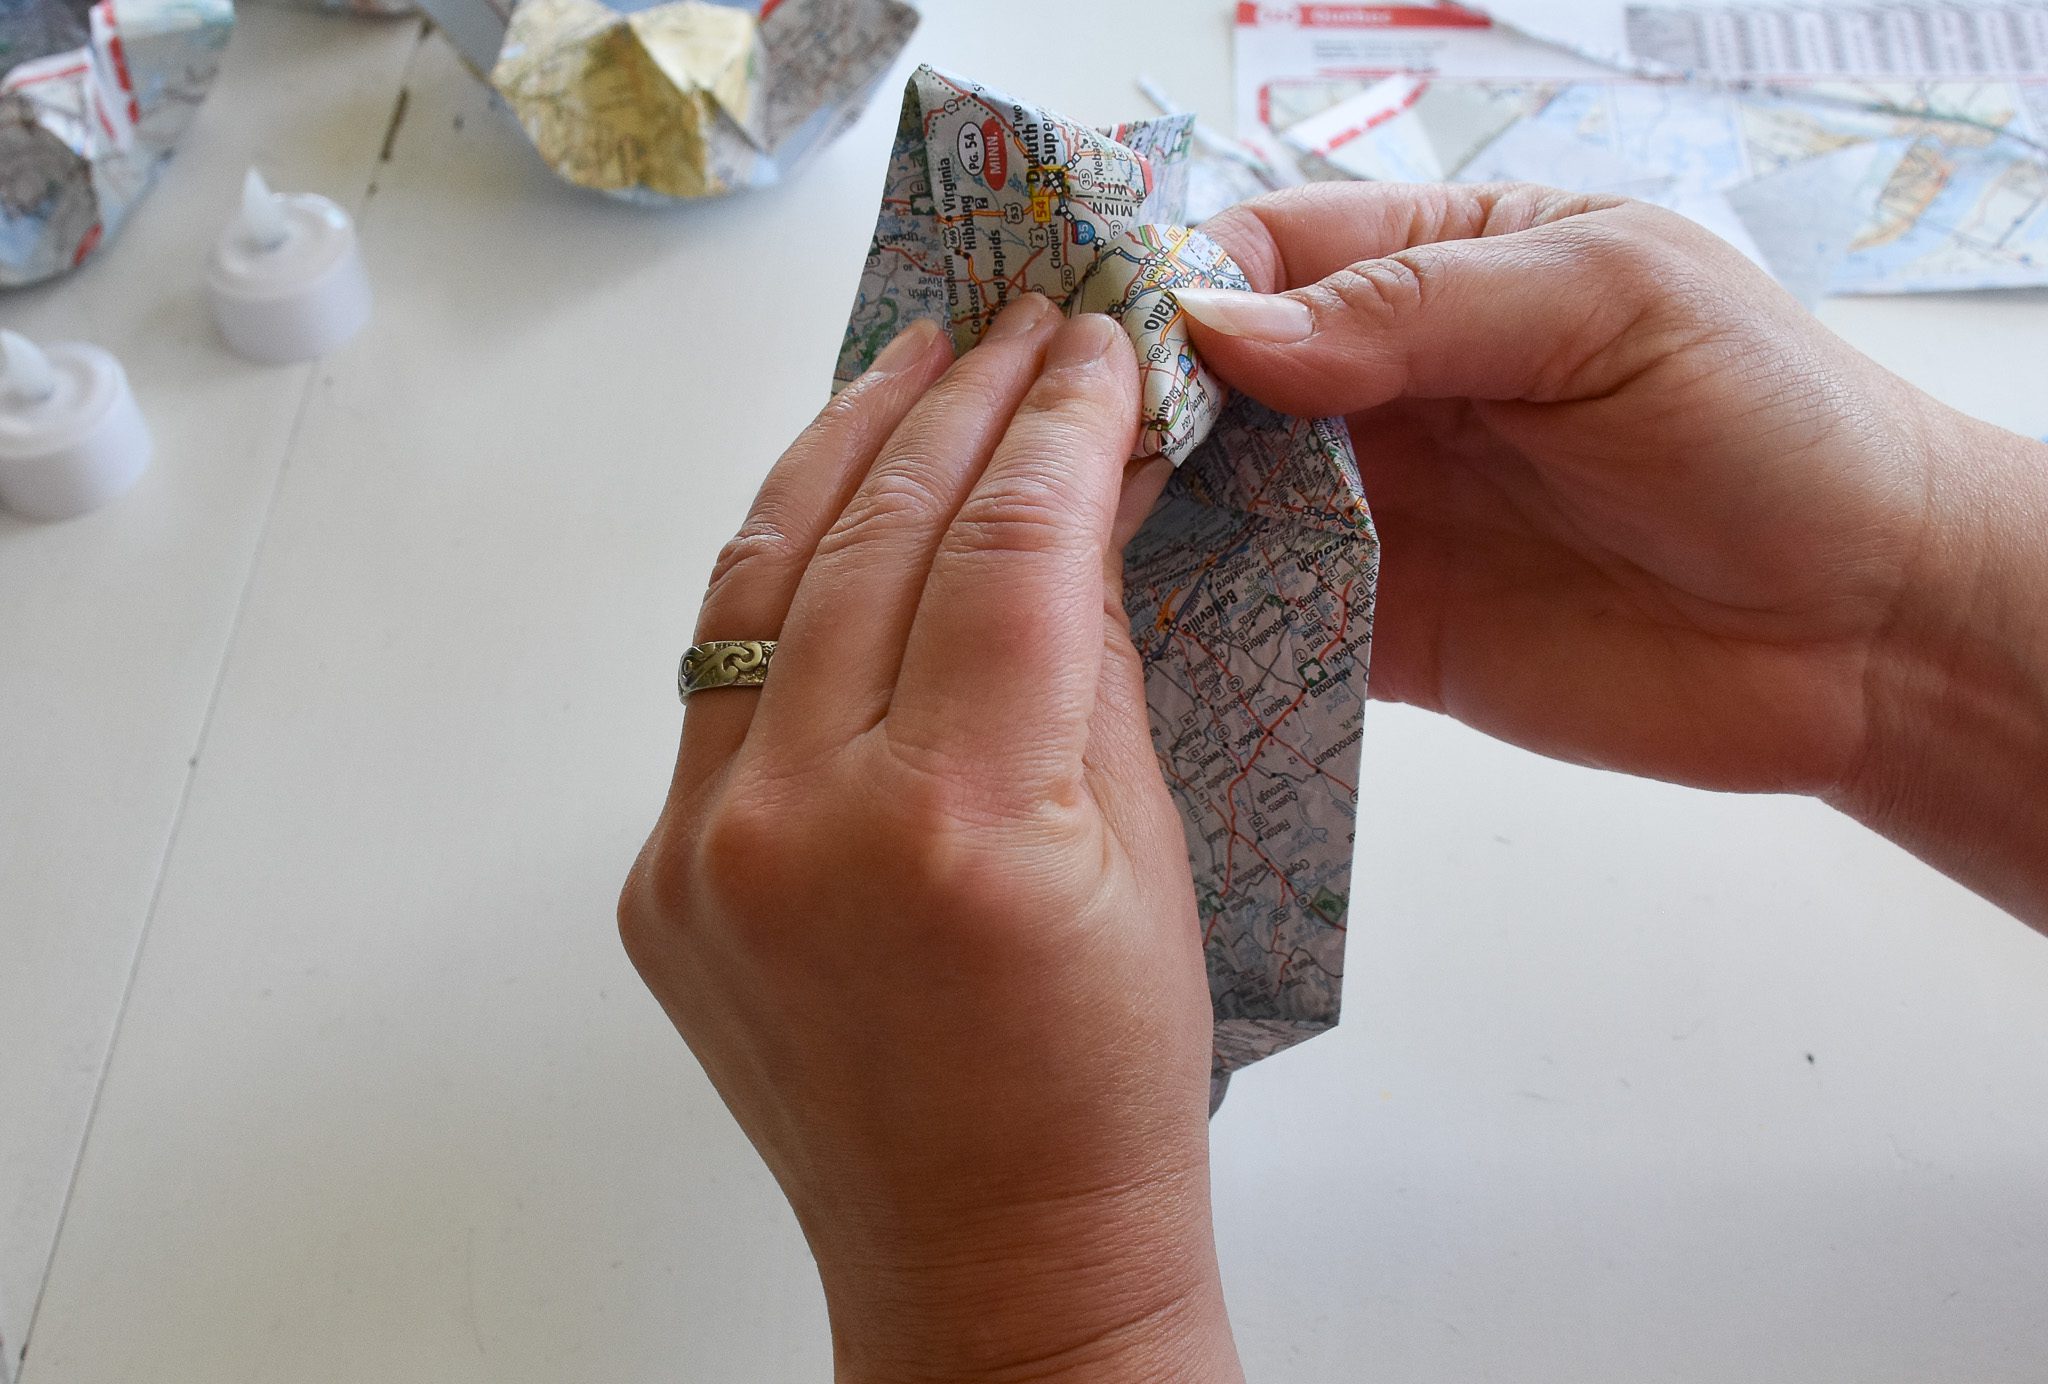
Move over one section and repeat with the next middle point.
Folding that up and over the project…
Pulling it down…
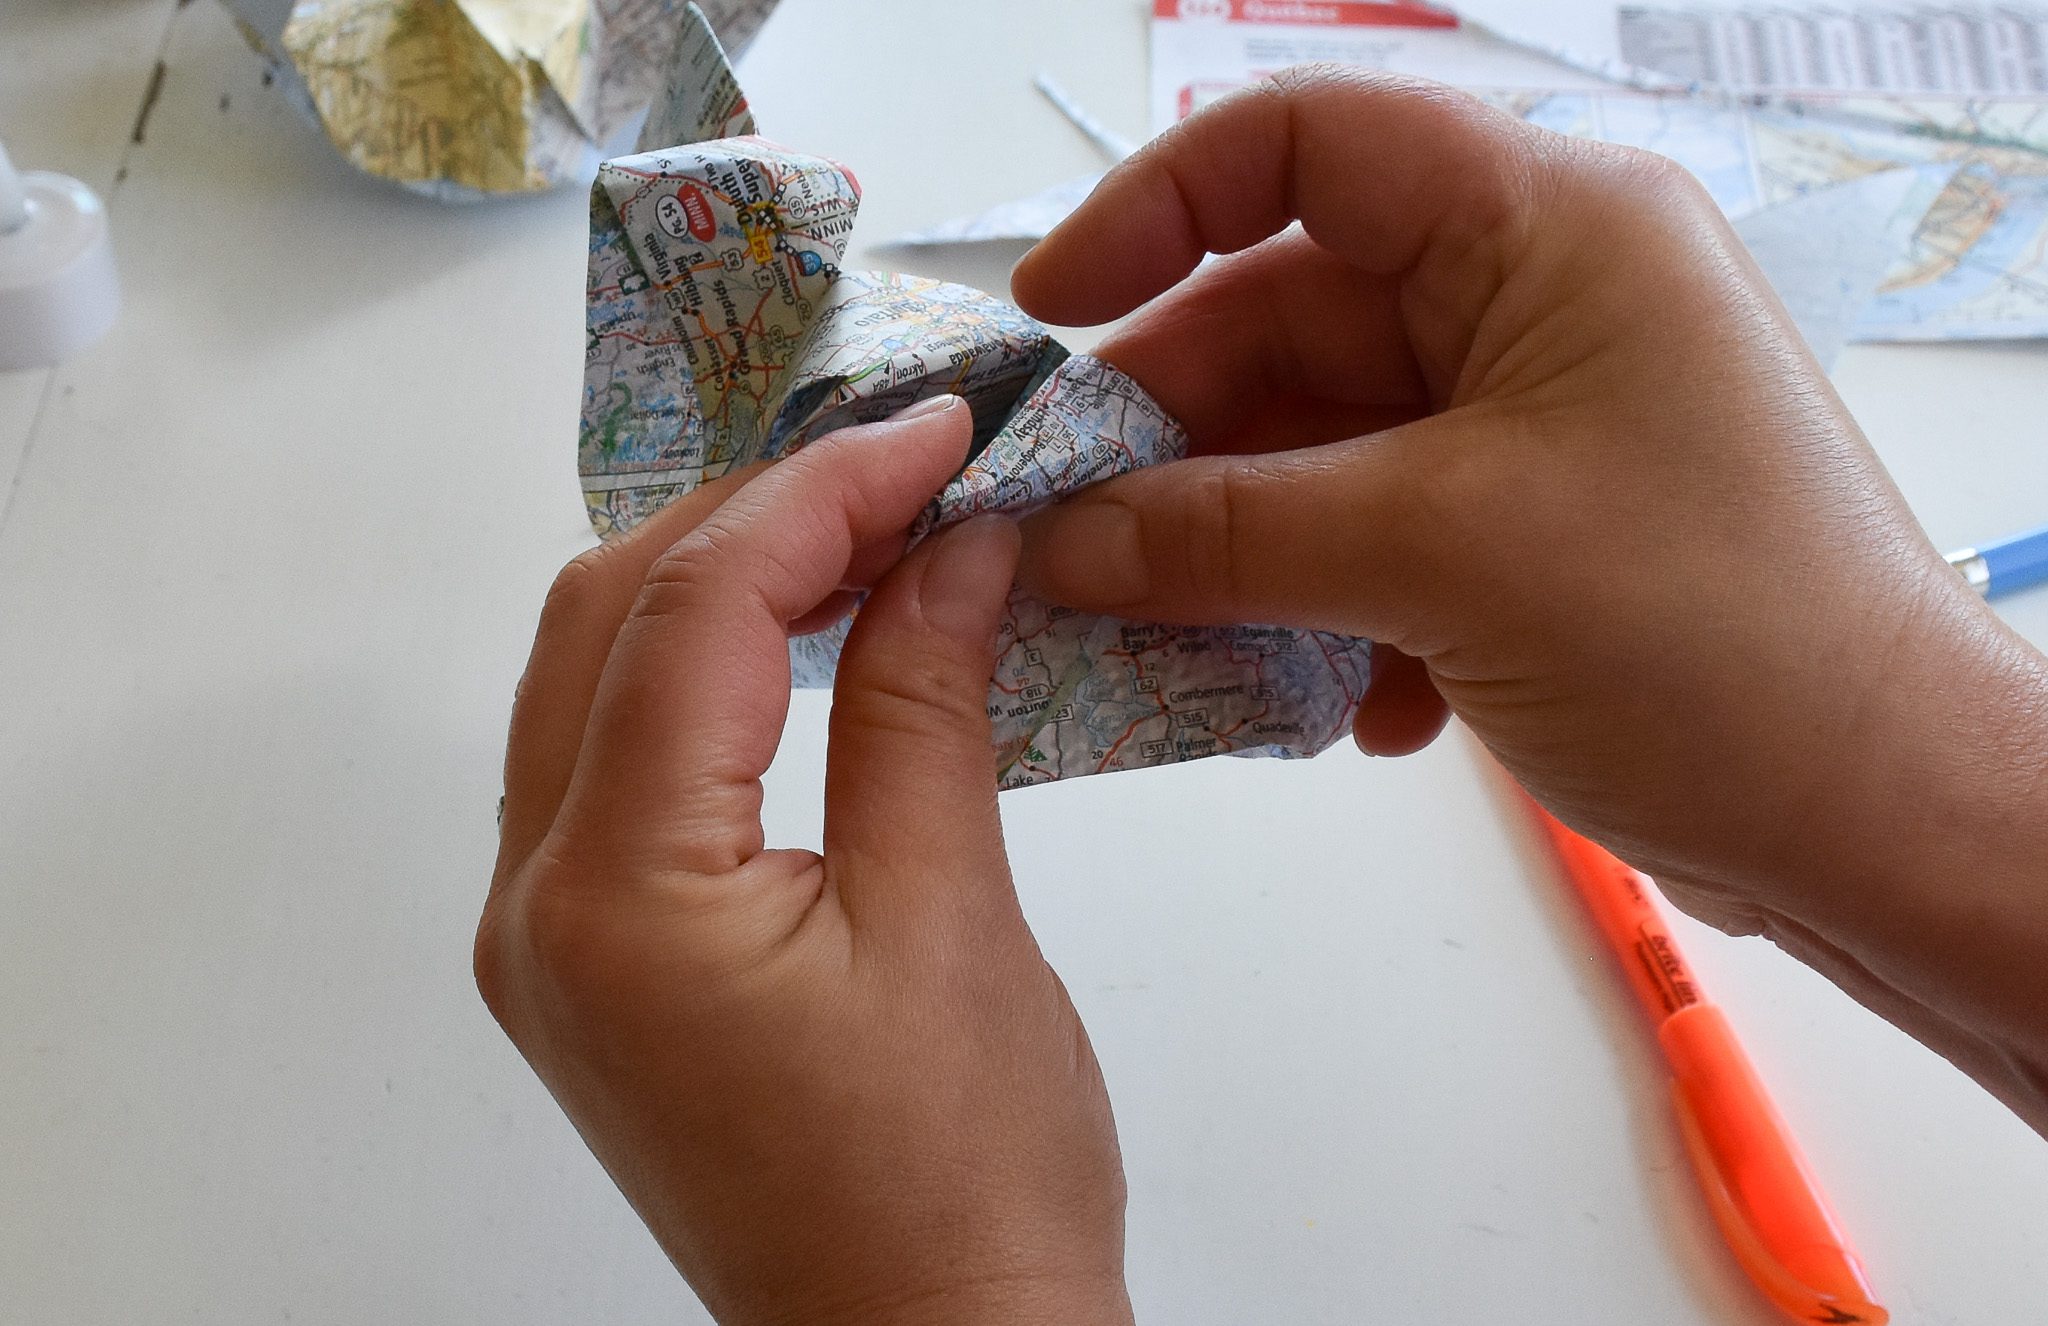
And shaping your points.
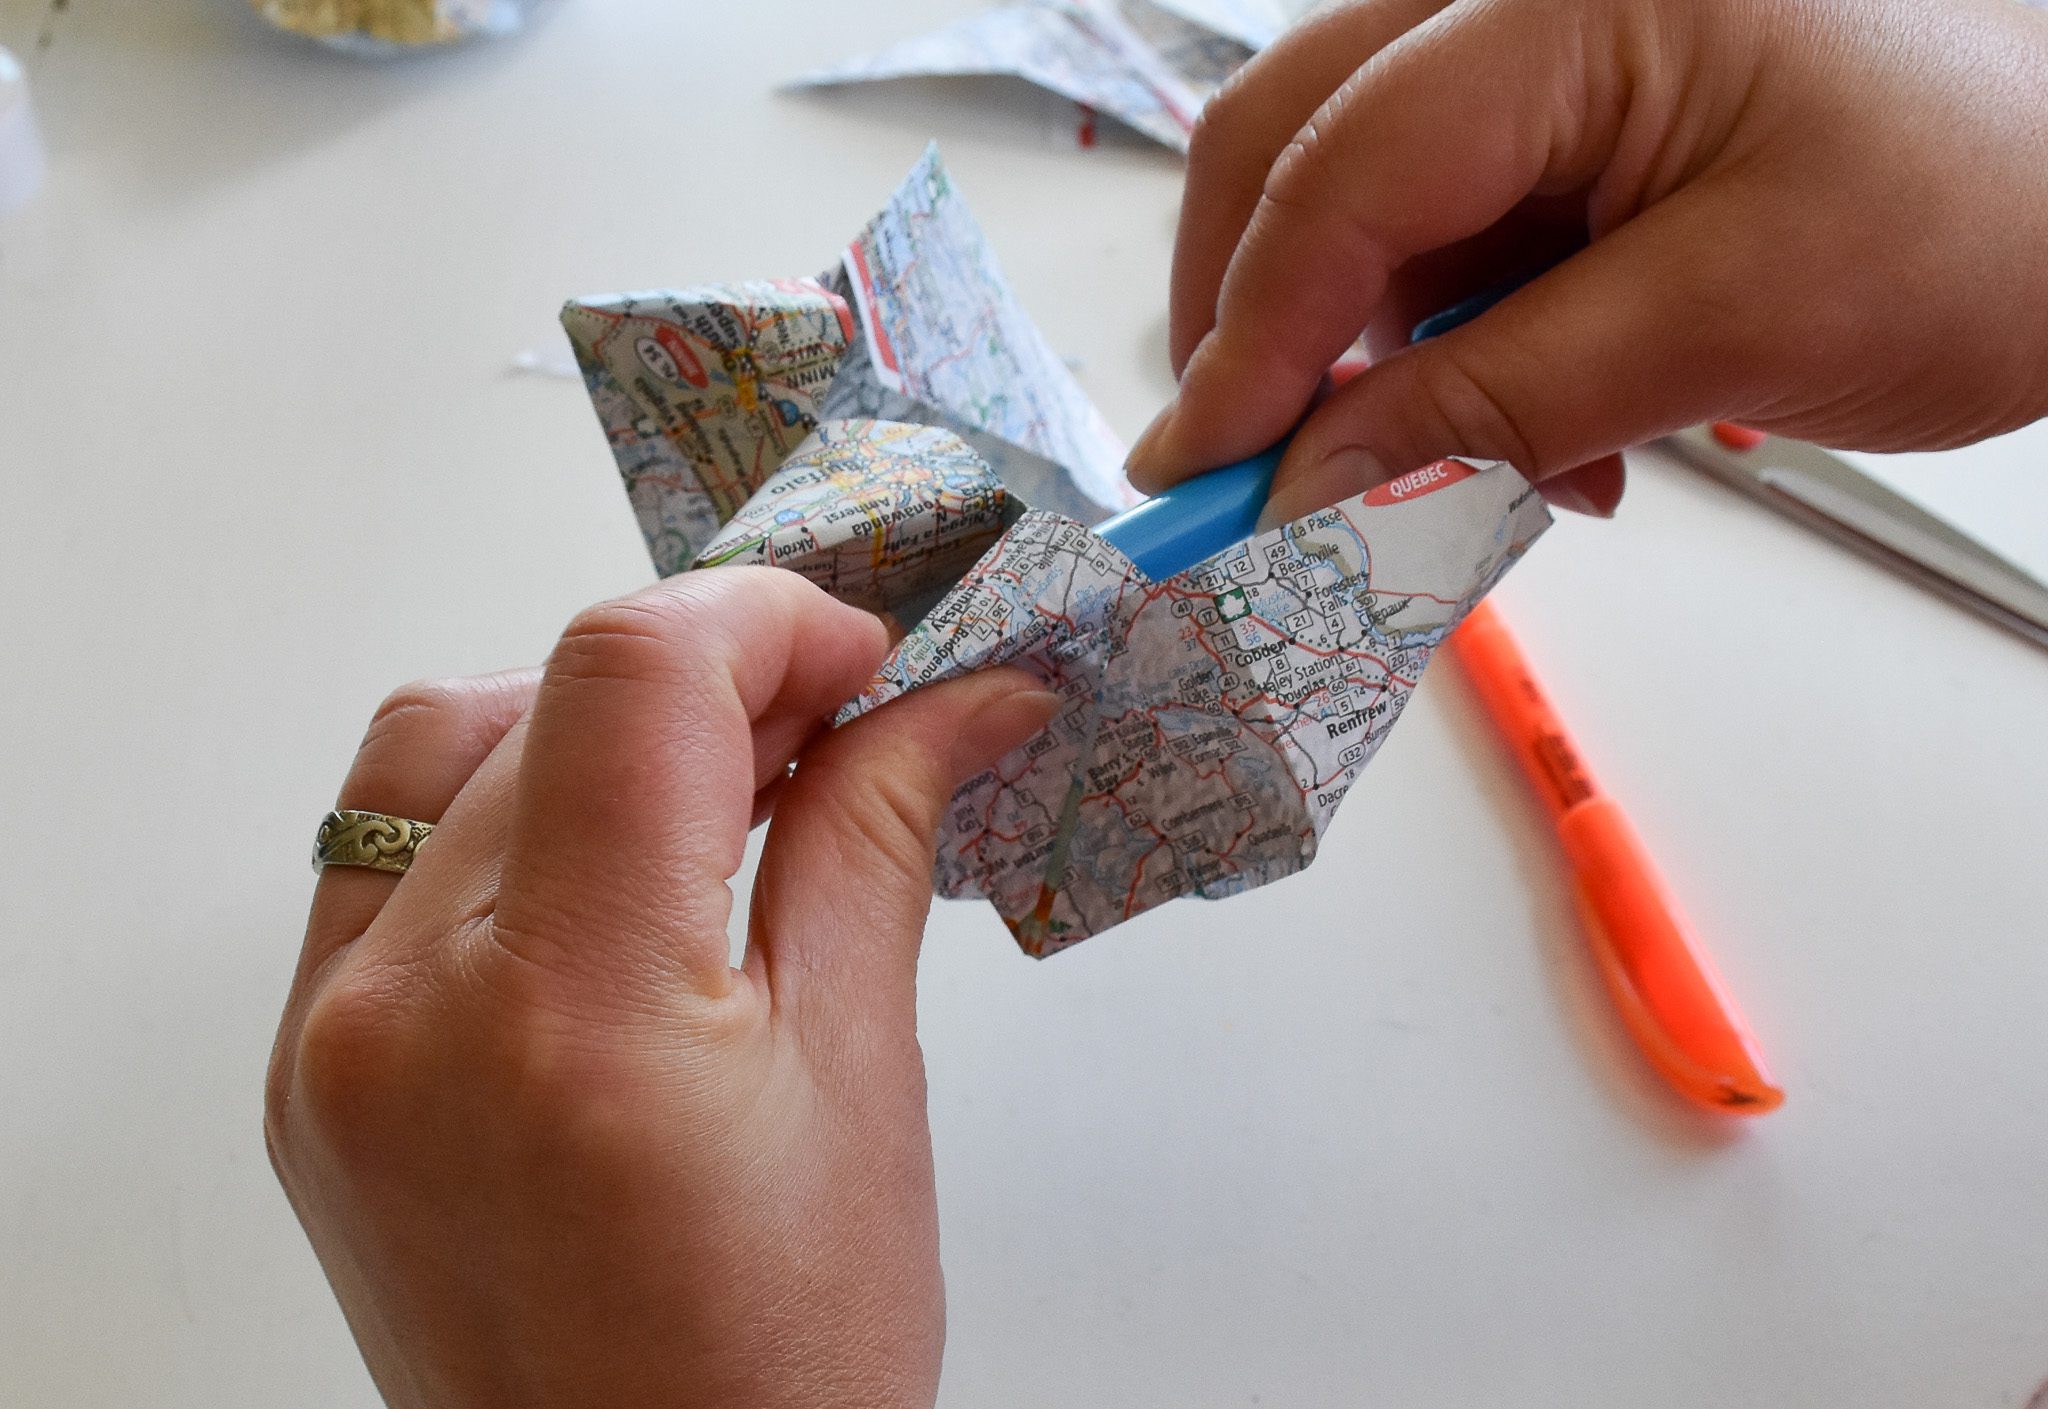
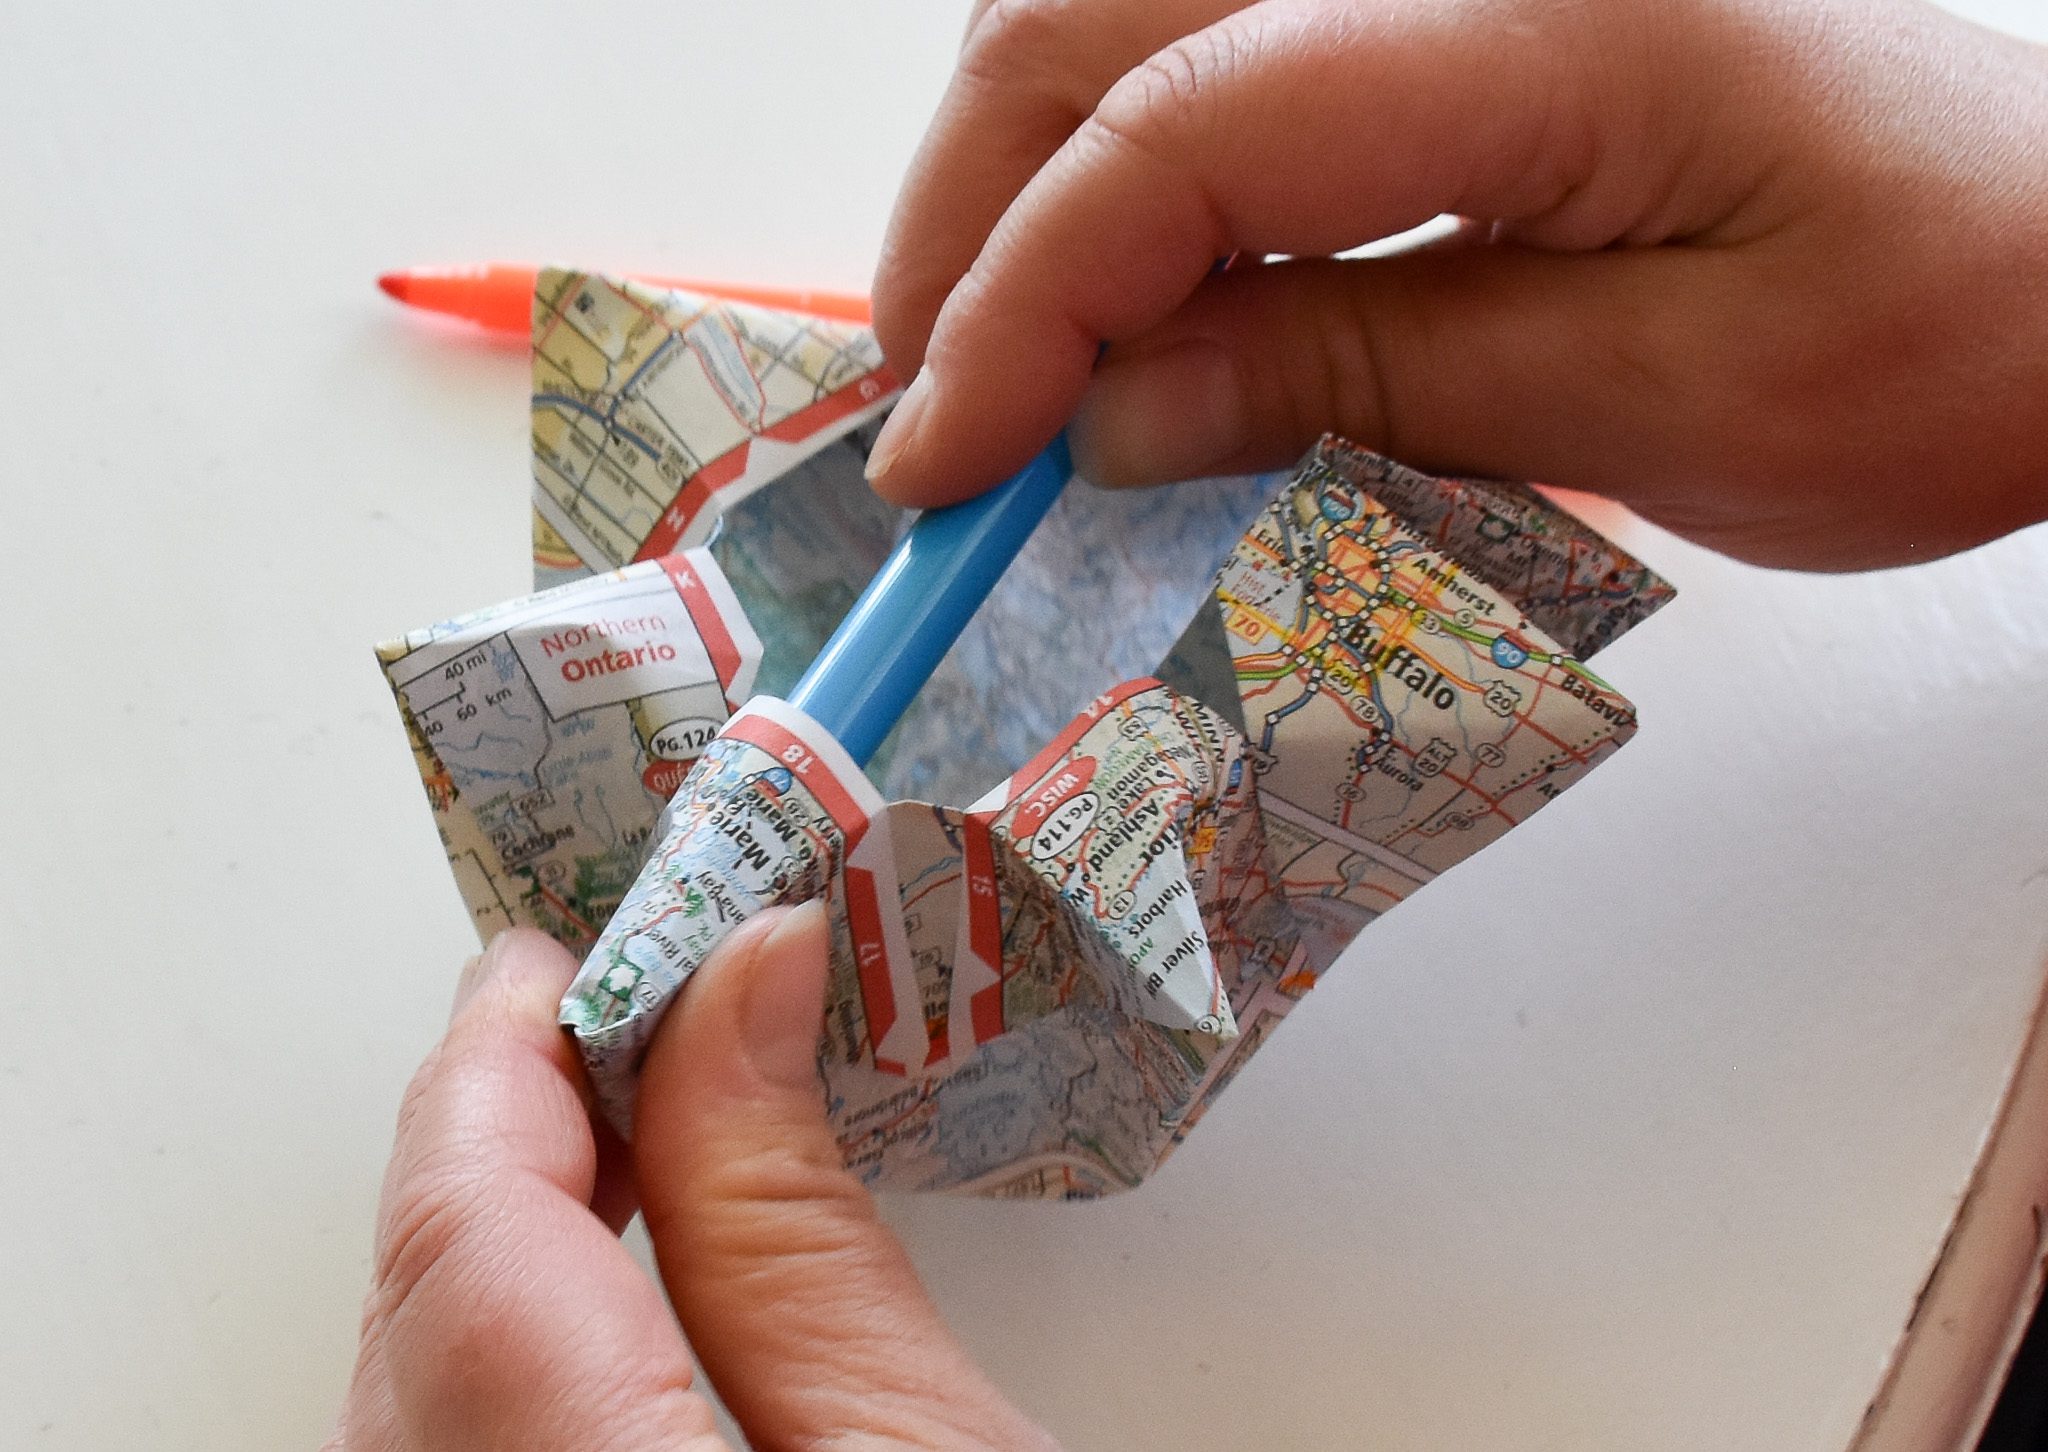
You can even use a pen to help form the star’s eight points.
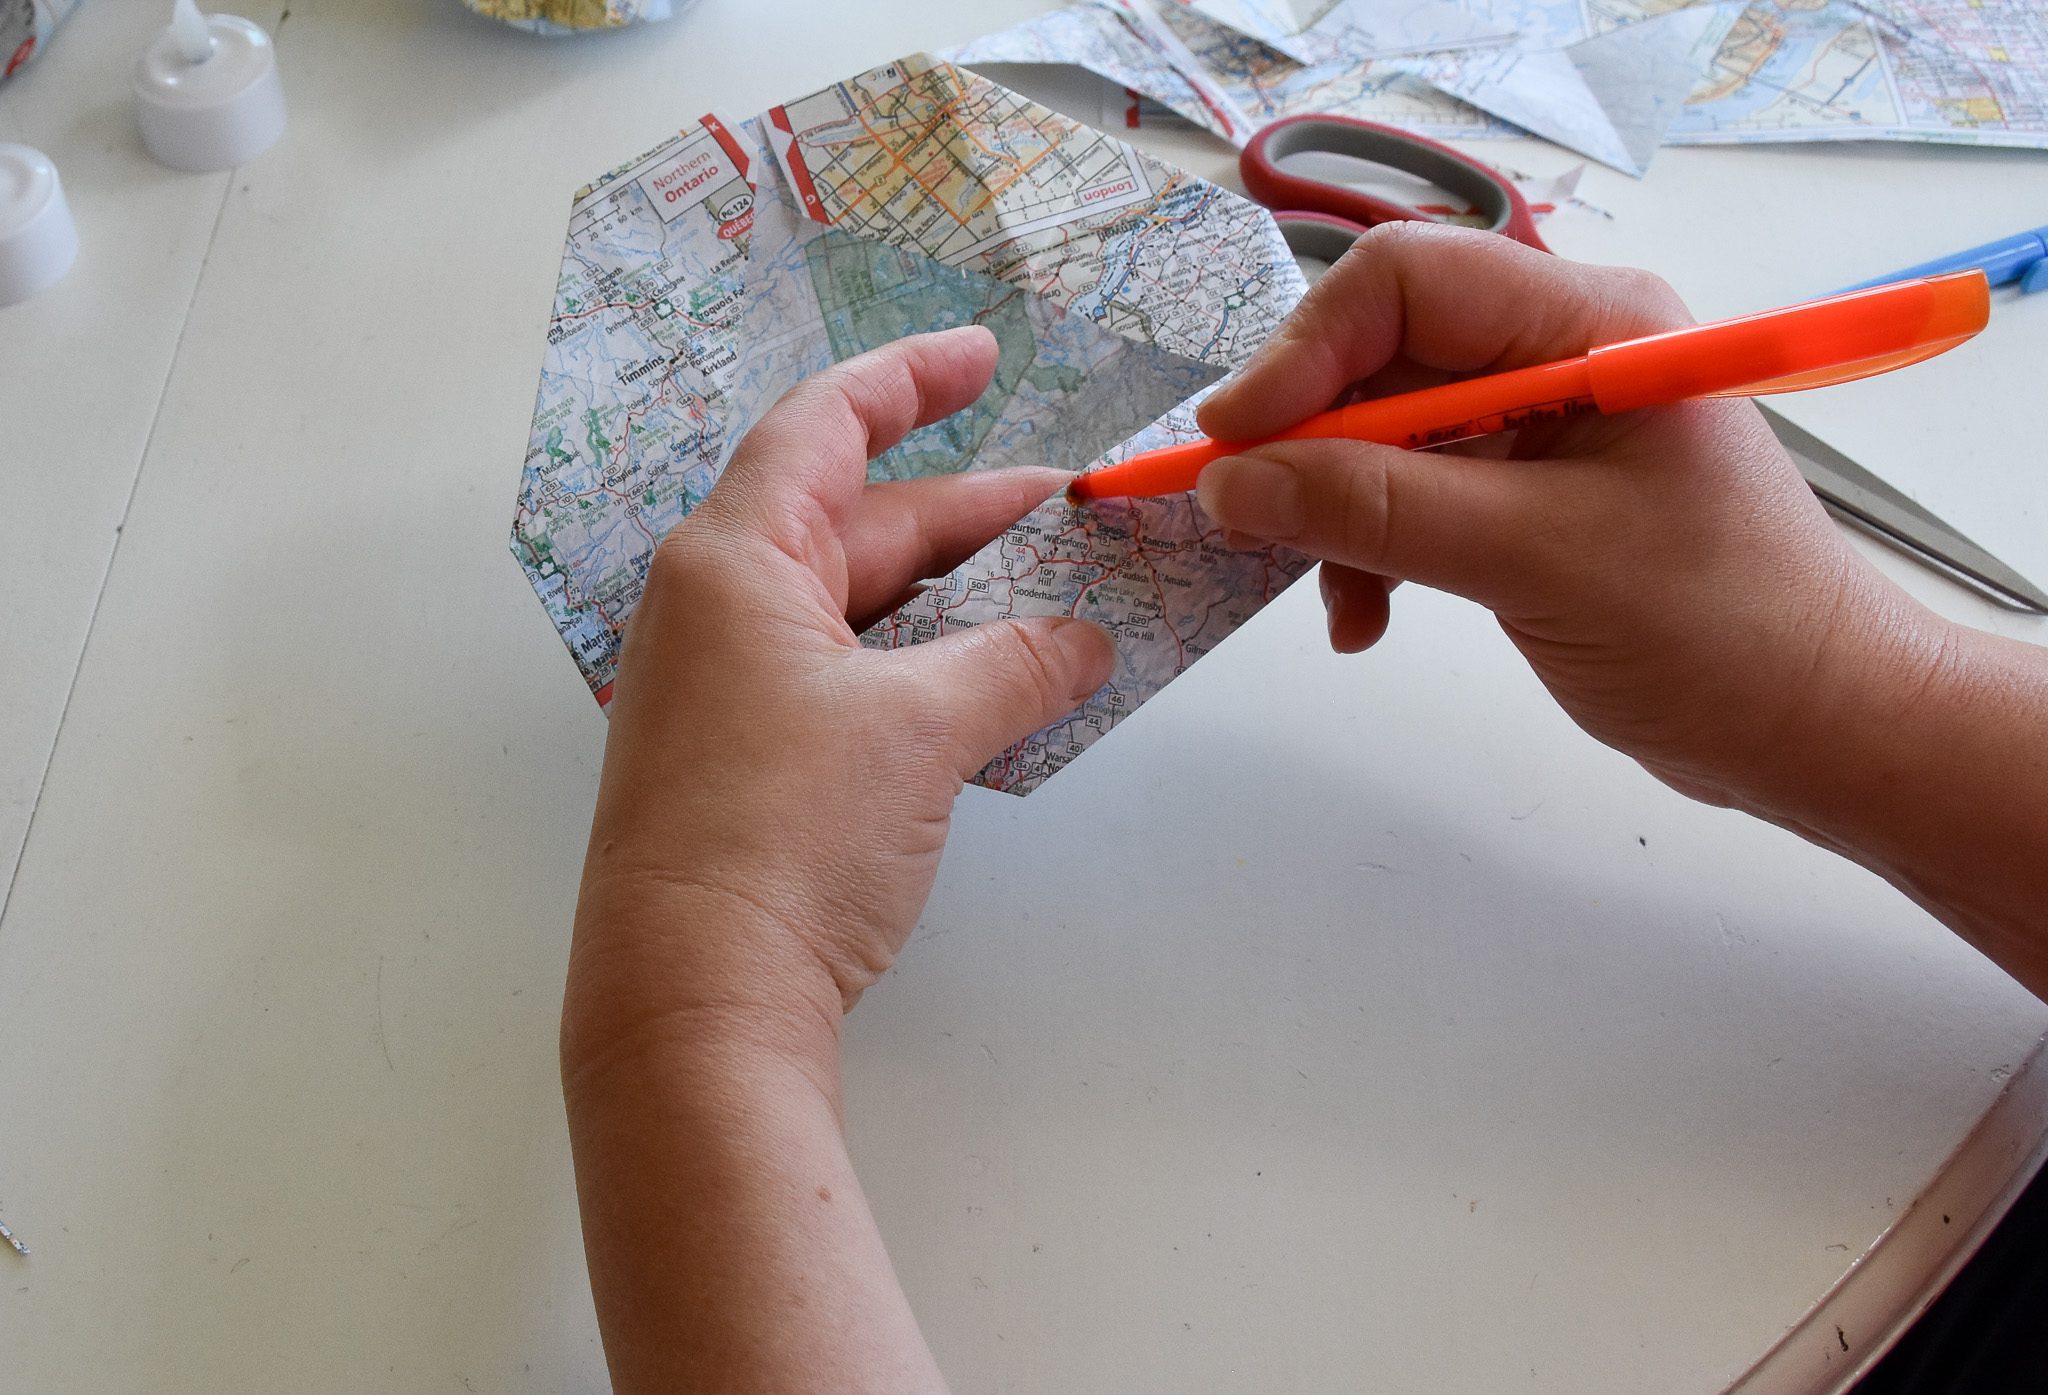
As you continue this process, the points get a littler harder to maneuver. But keep going. It will come together!
You will have to fold these flaps over four times (remember: two star points form for every flap you fold over).
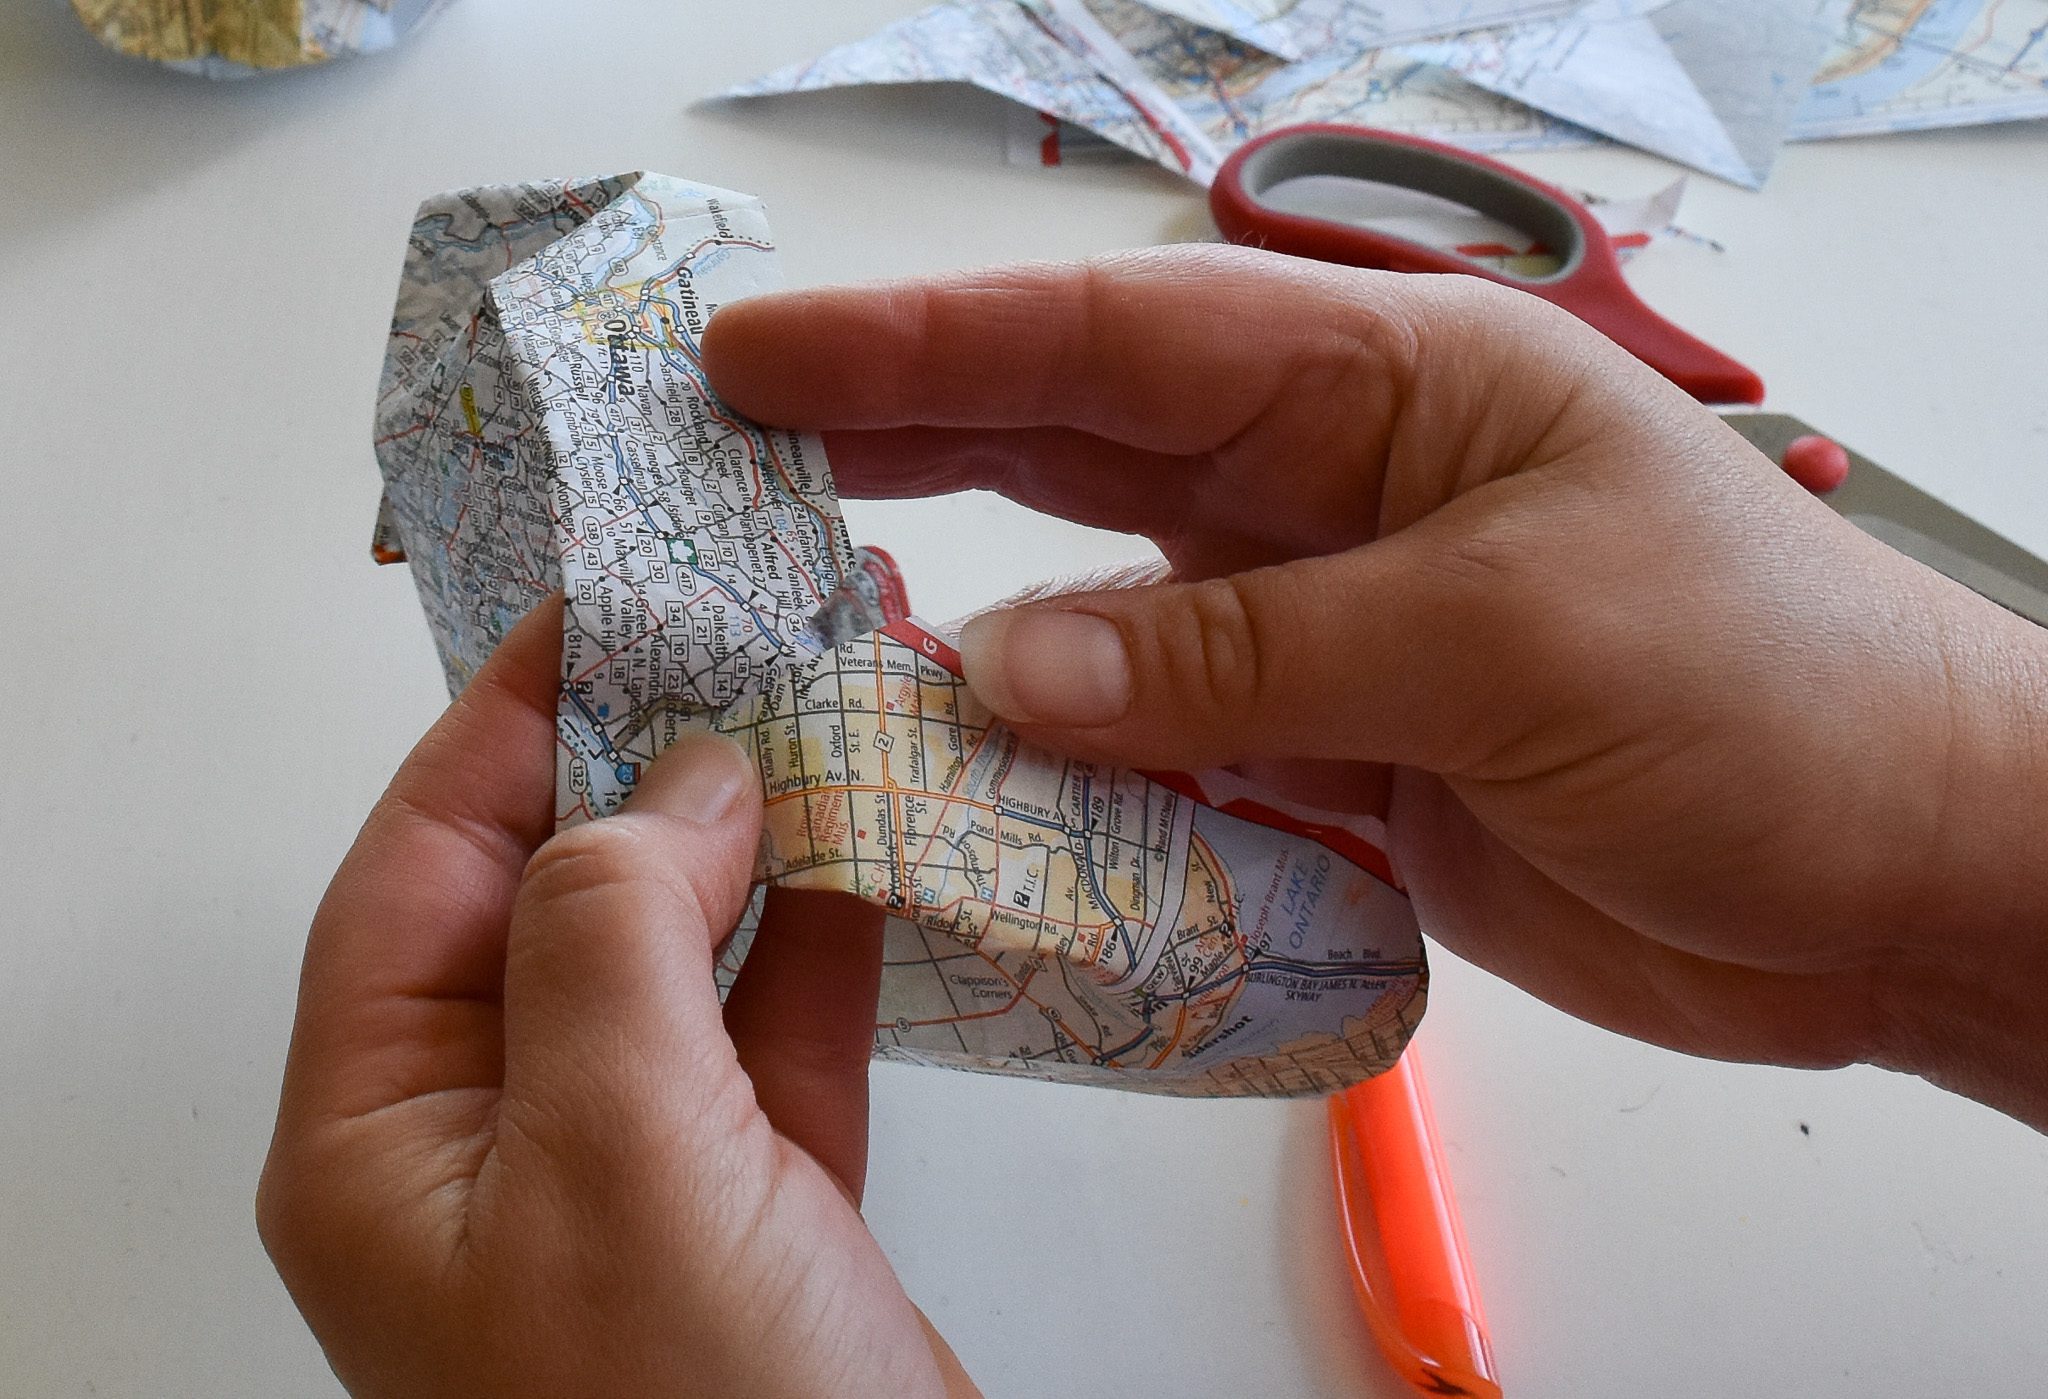
Once you’re done, spend a little time forming your points to your liking.
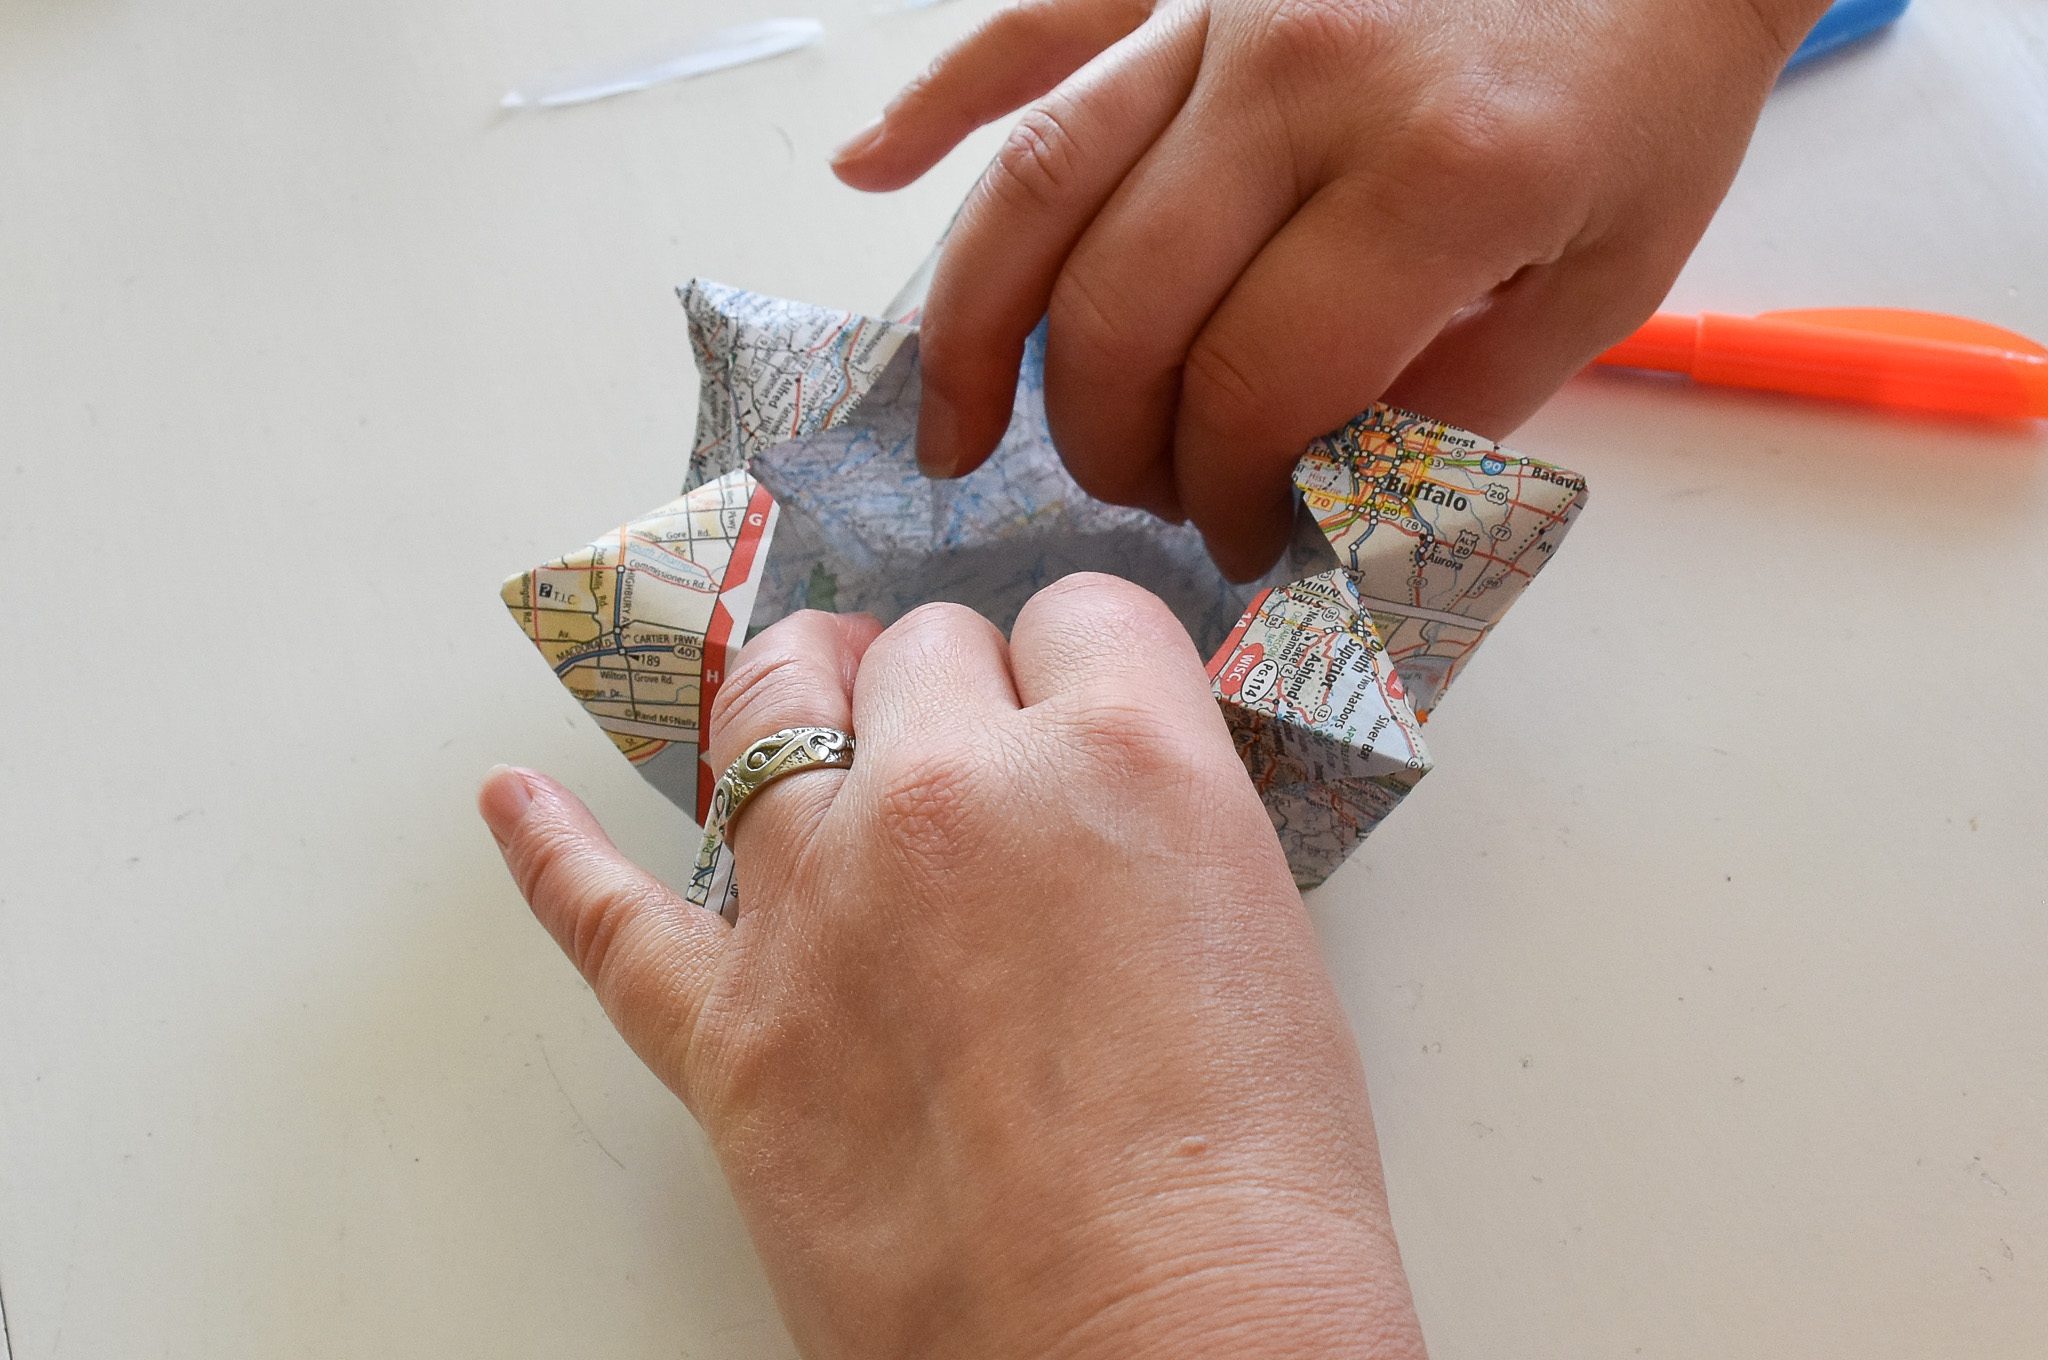
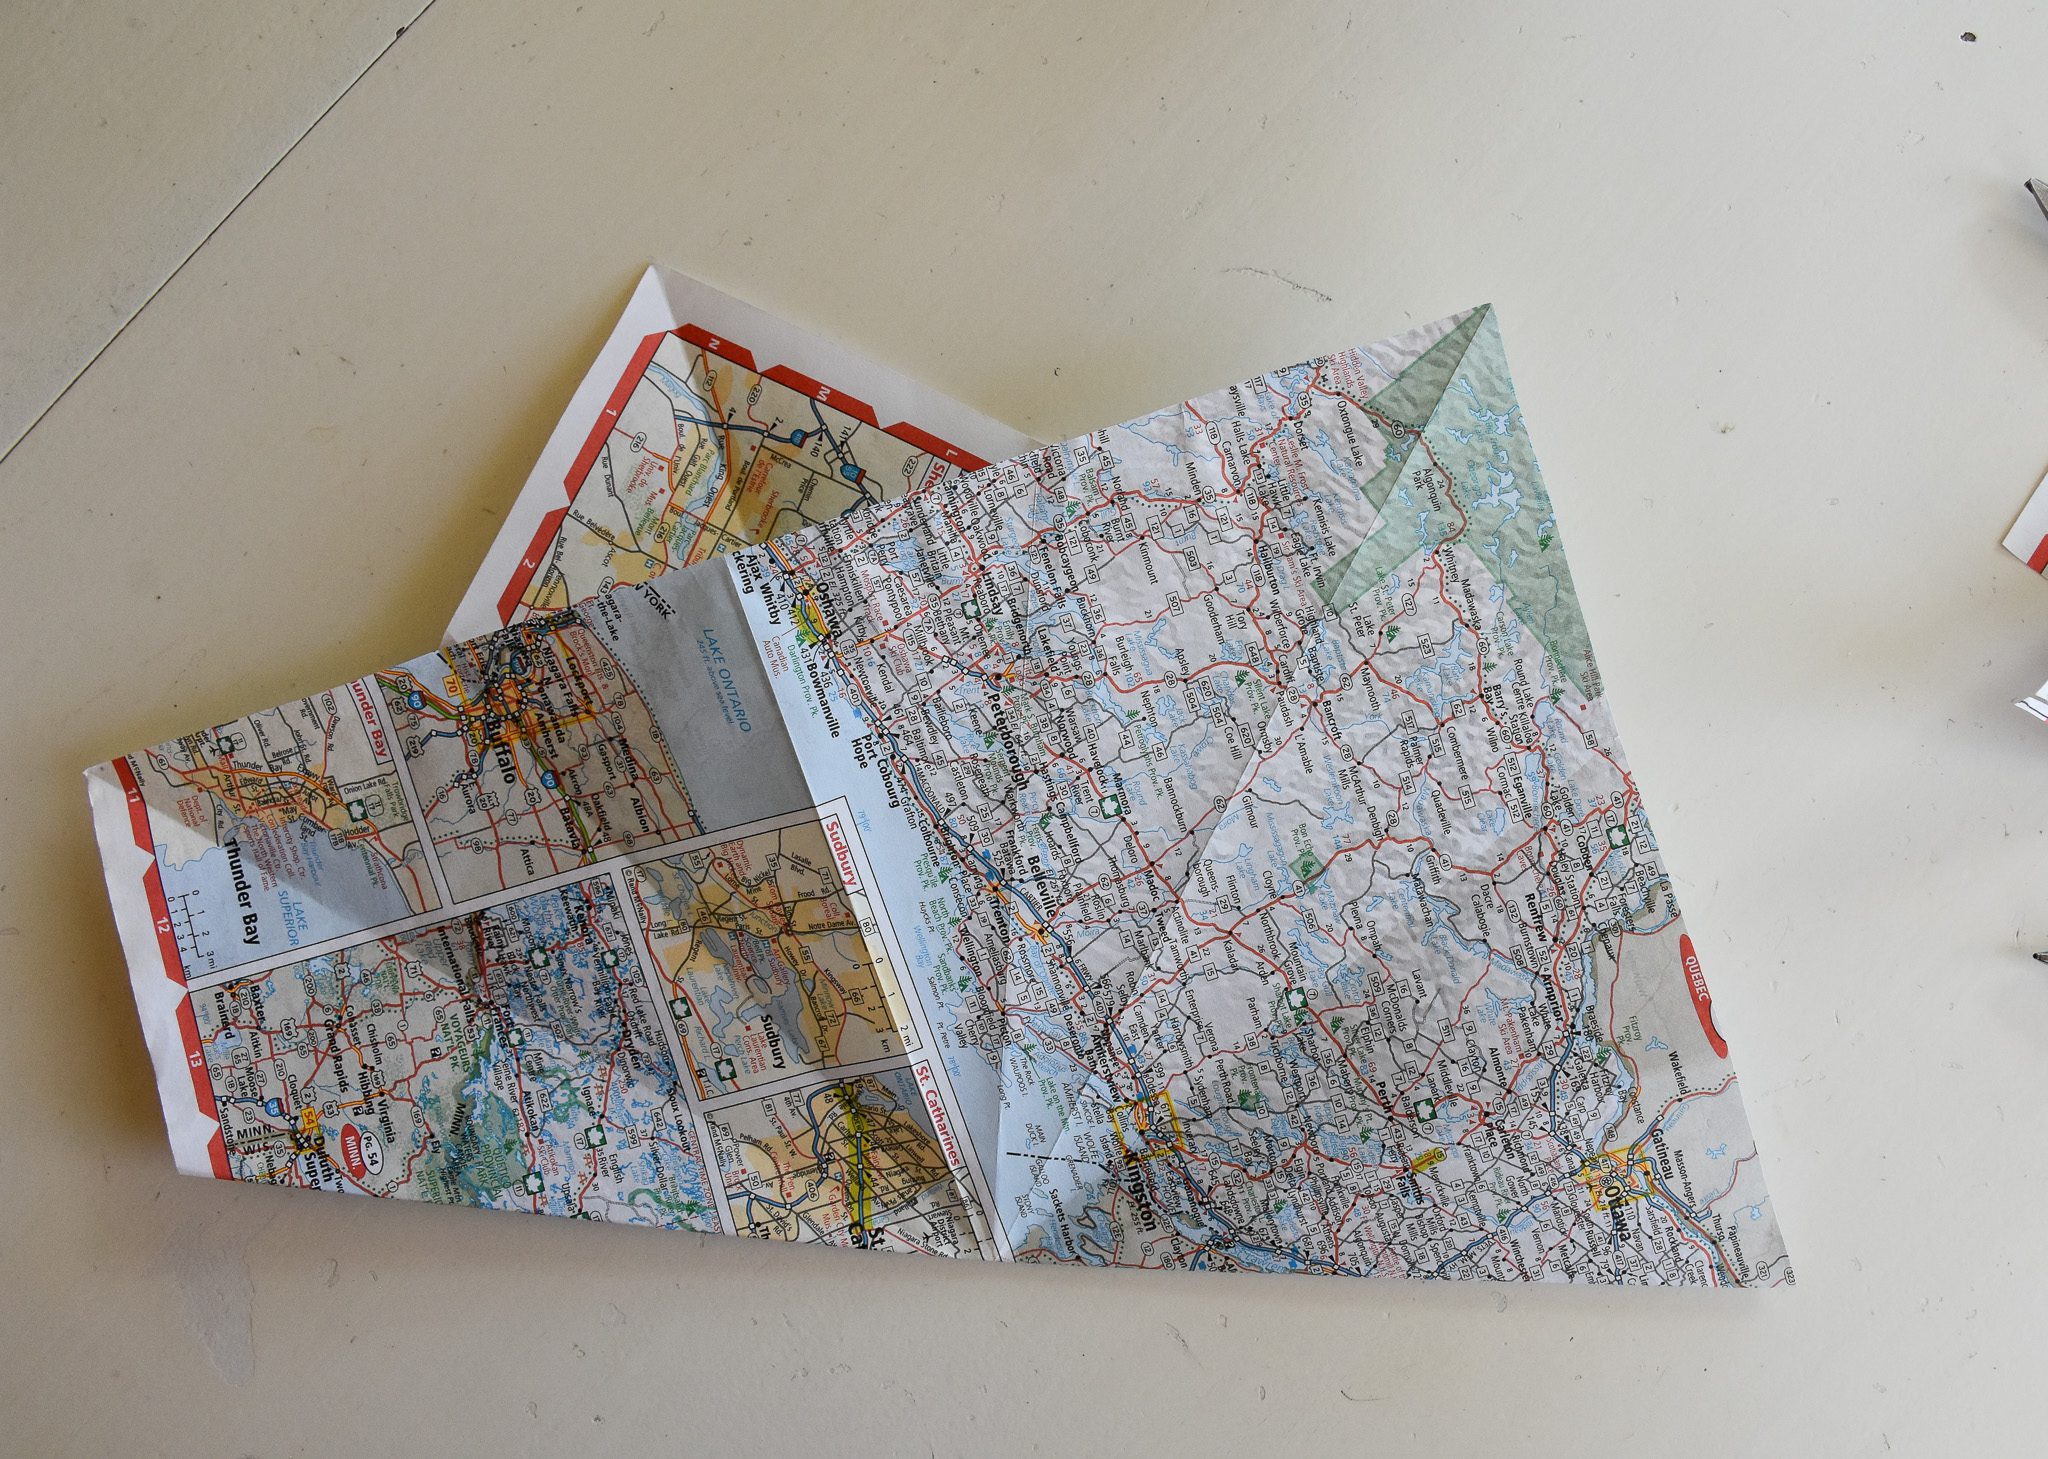
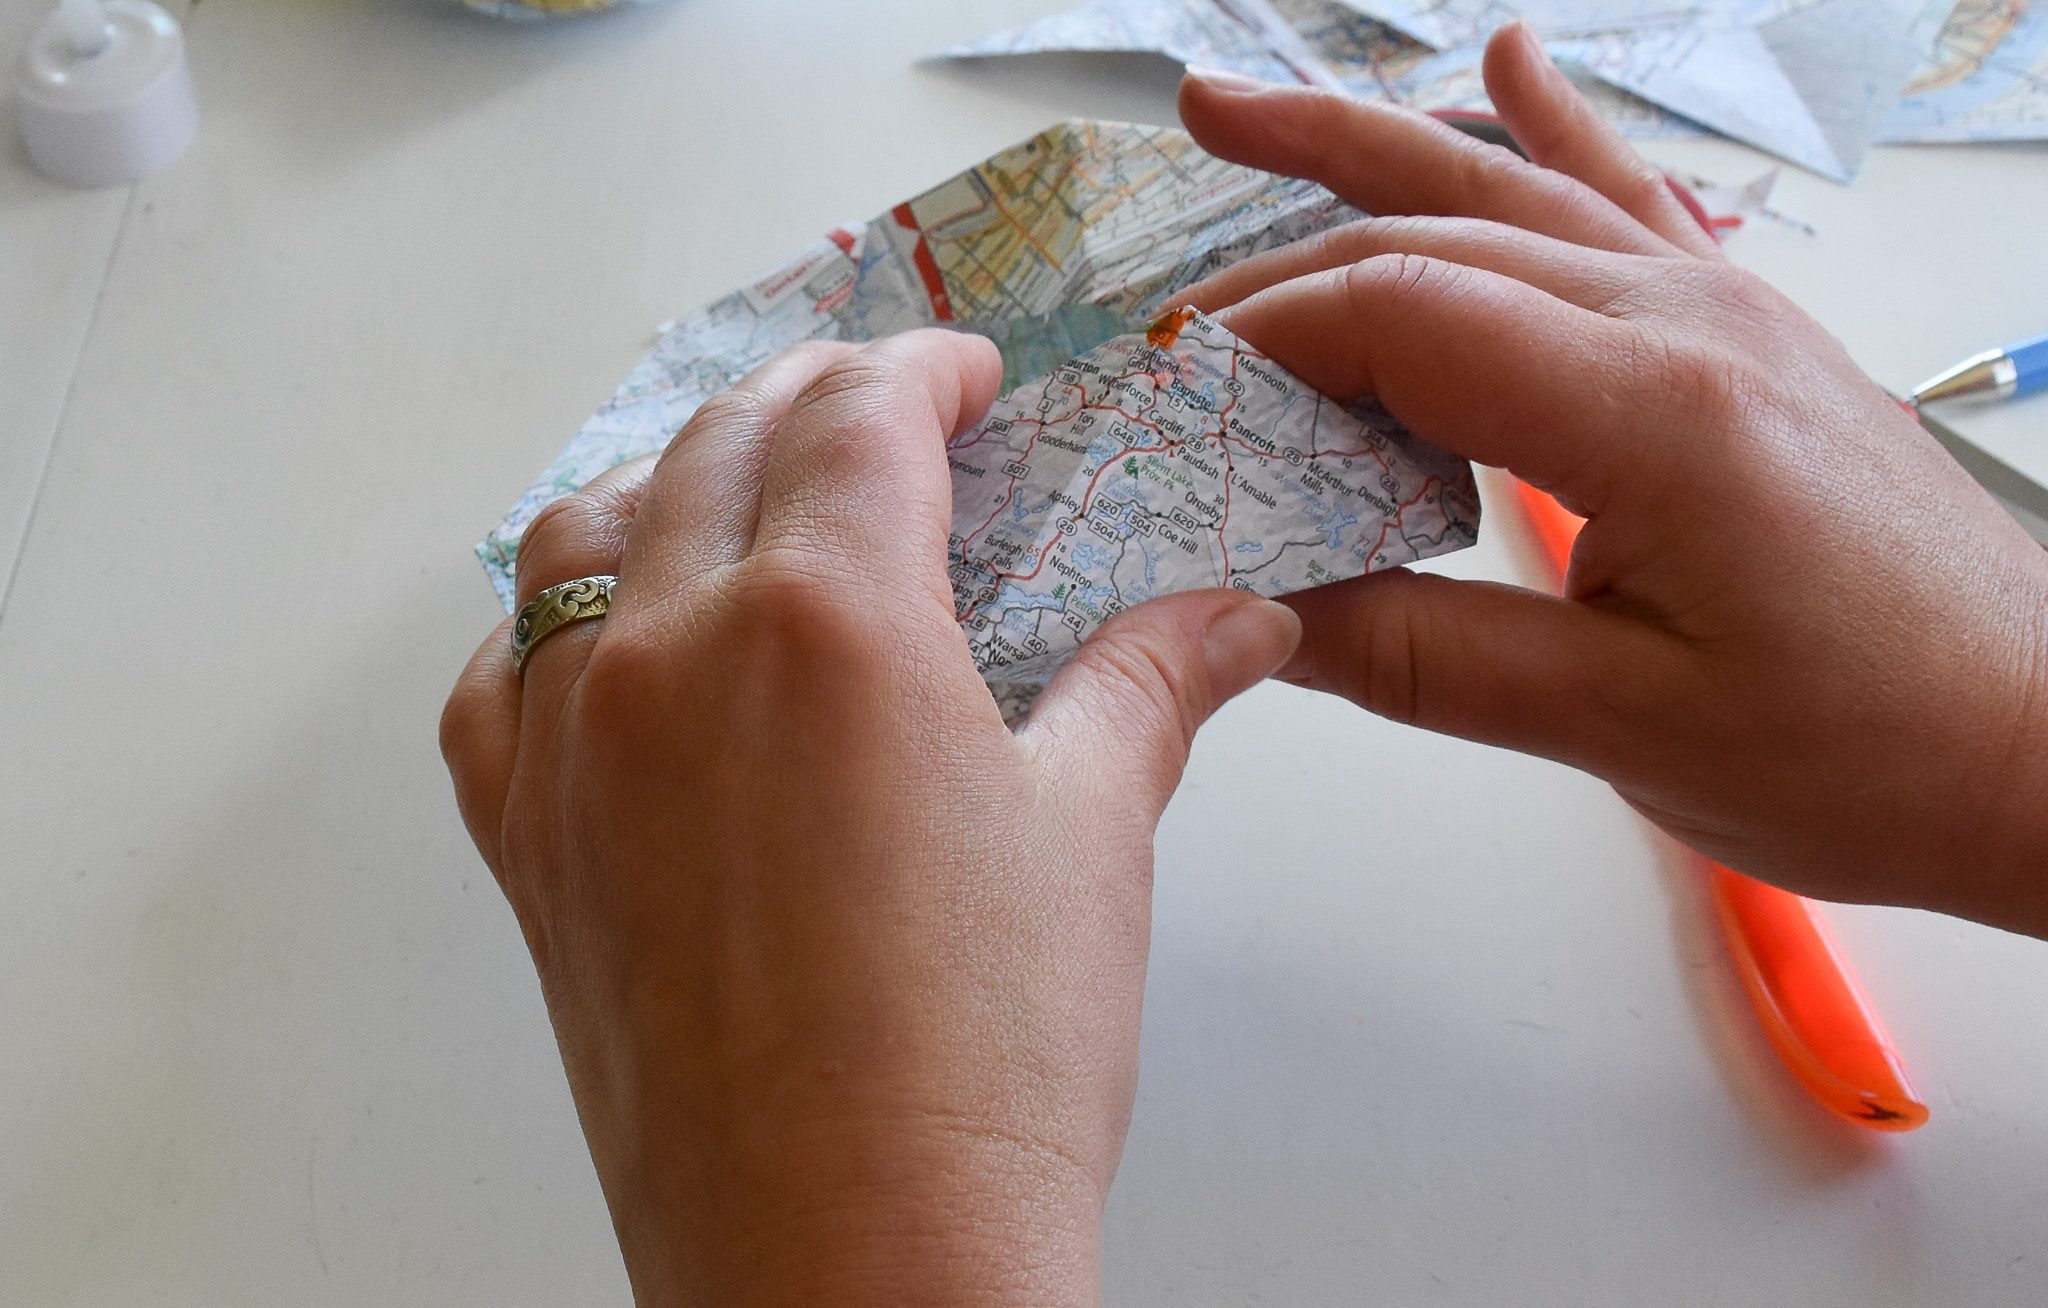
Then gently place your hands inside the lantern, and push down on the center. it will flatten out so it will sit flat on a table.
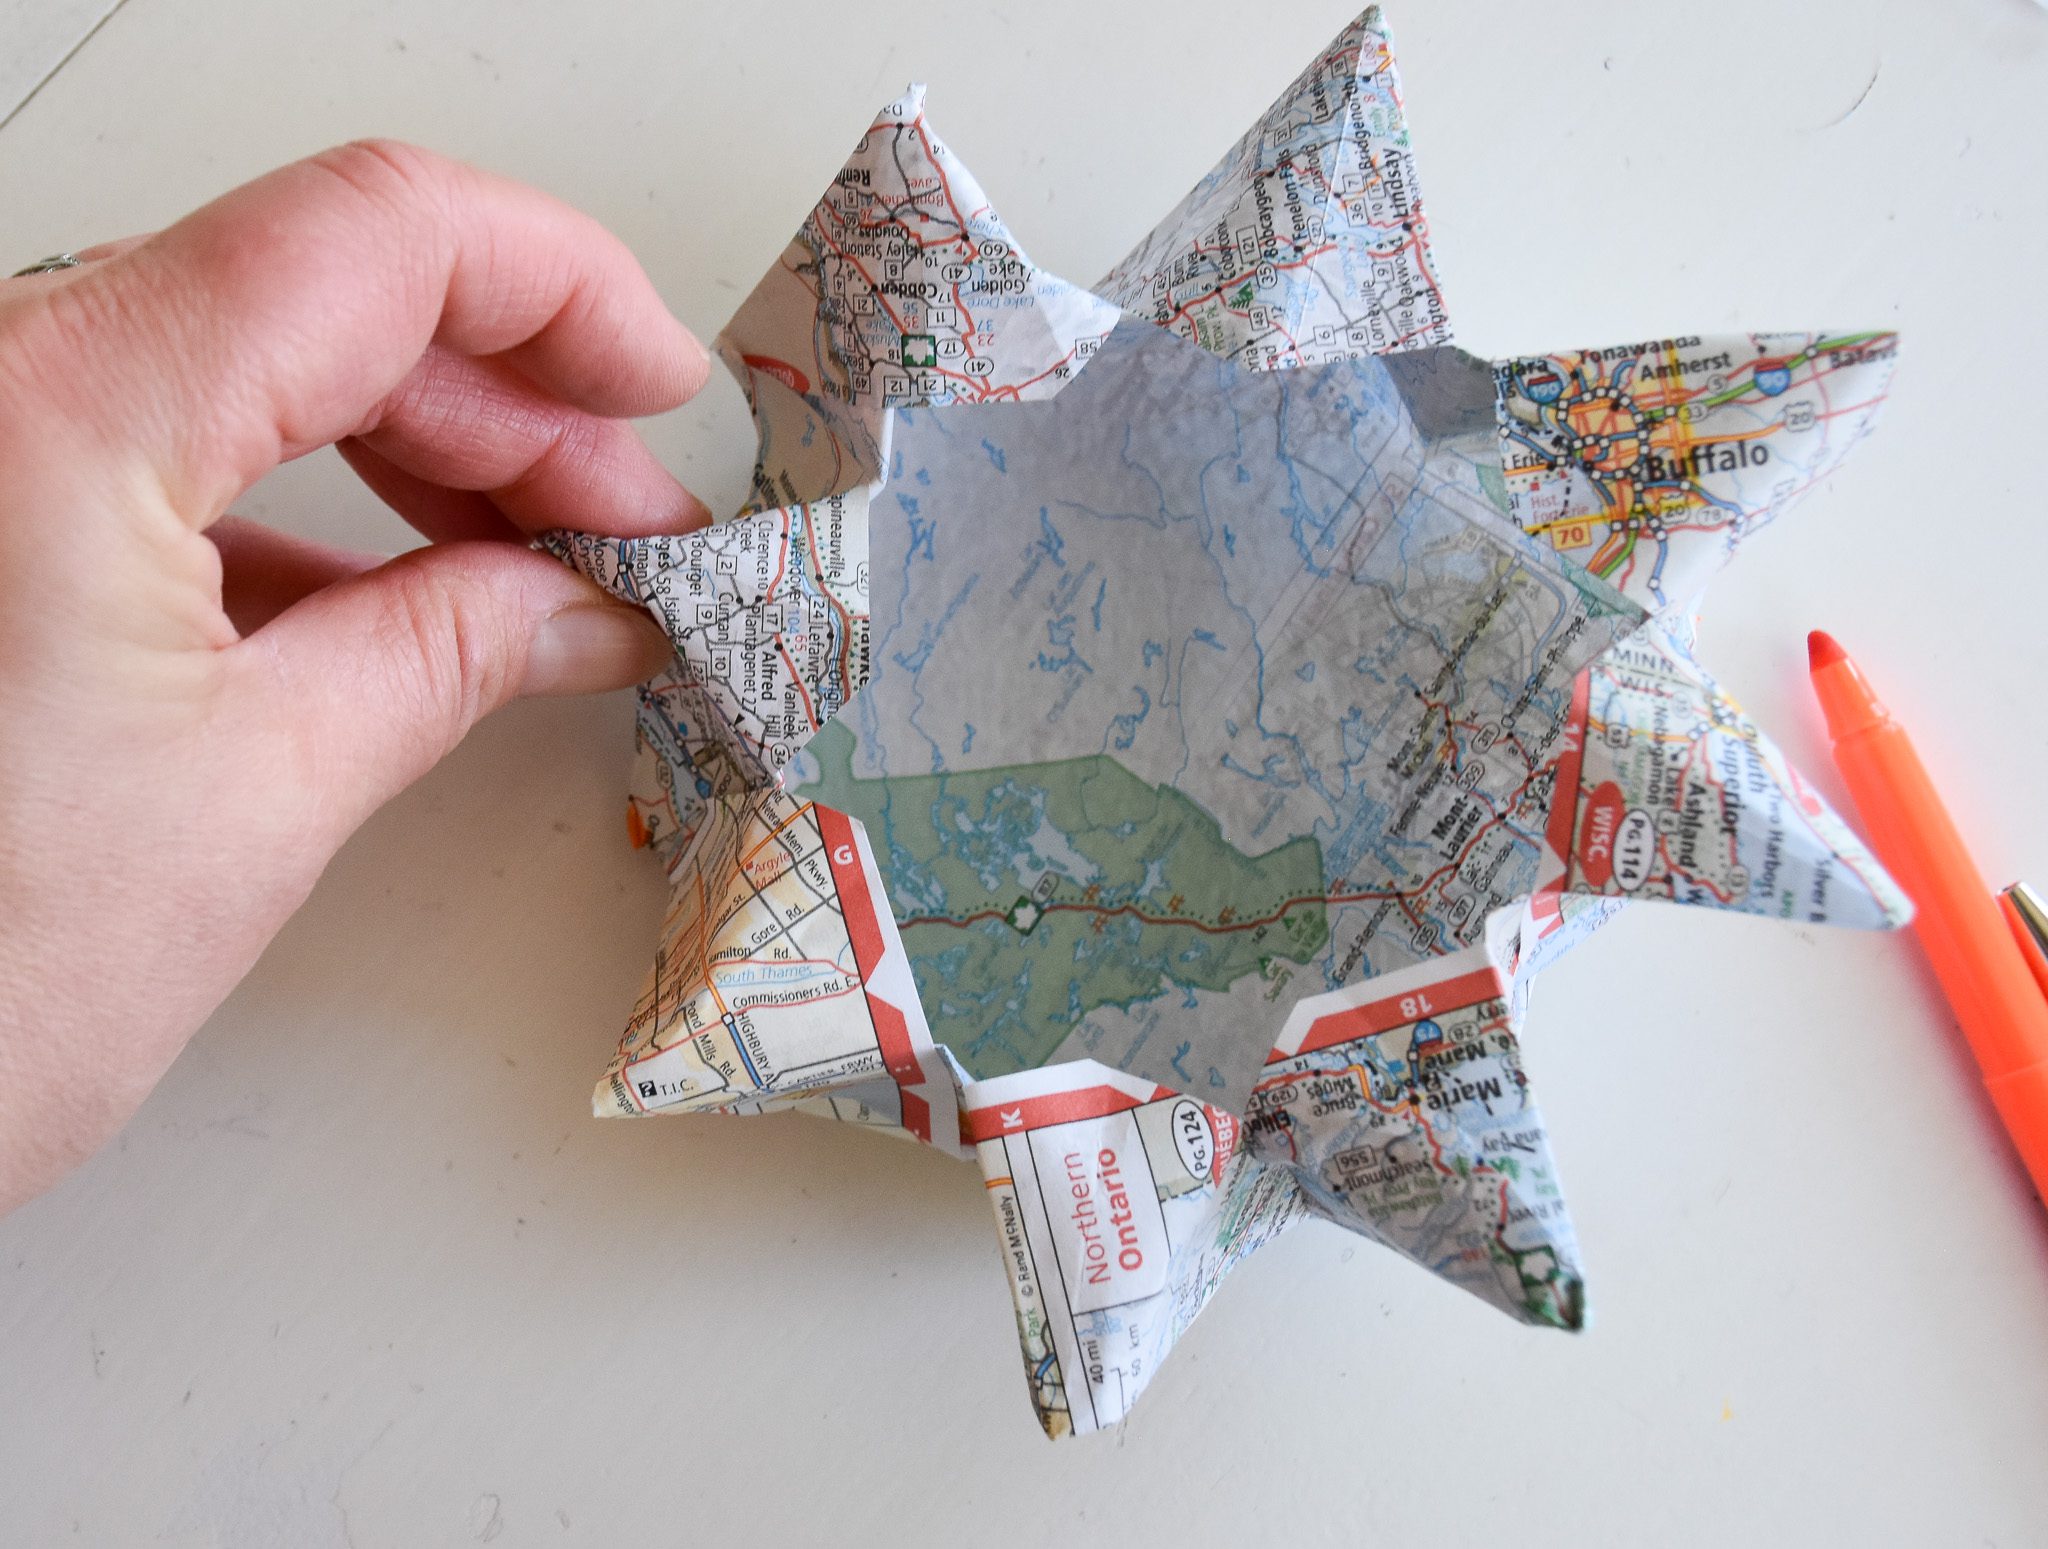
As you can see, mine isn’t perfect, but I’m all about embracing a wabi sabi way of life!
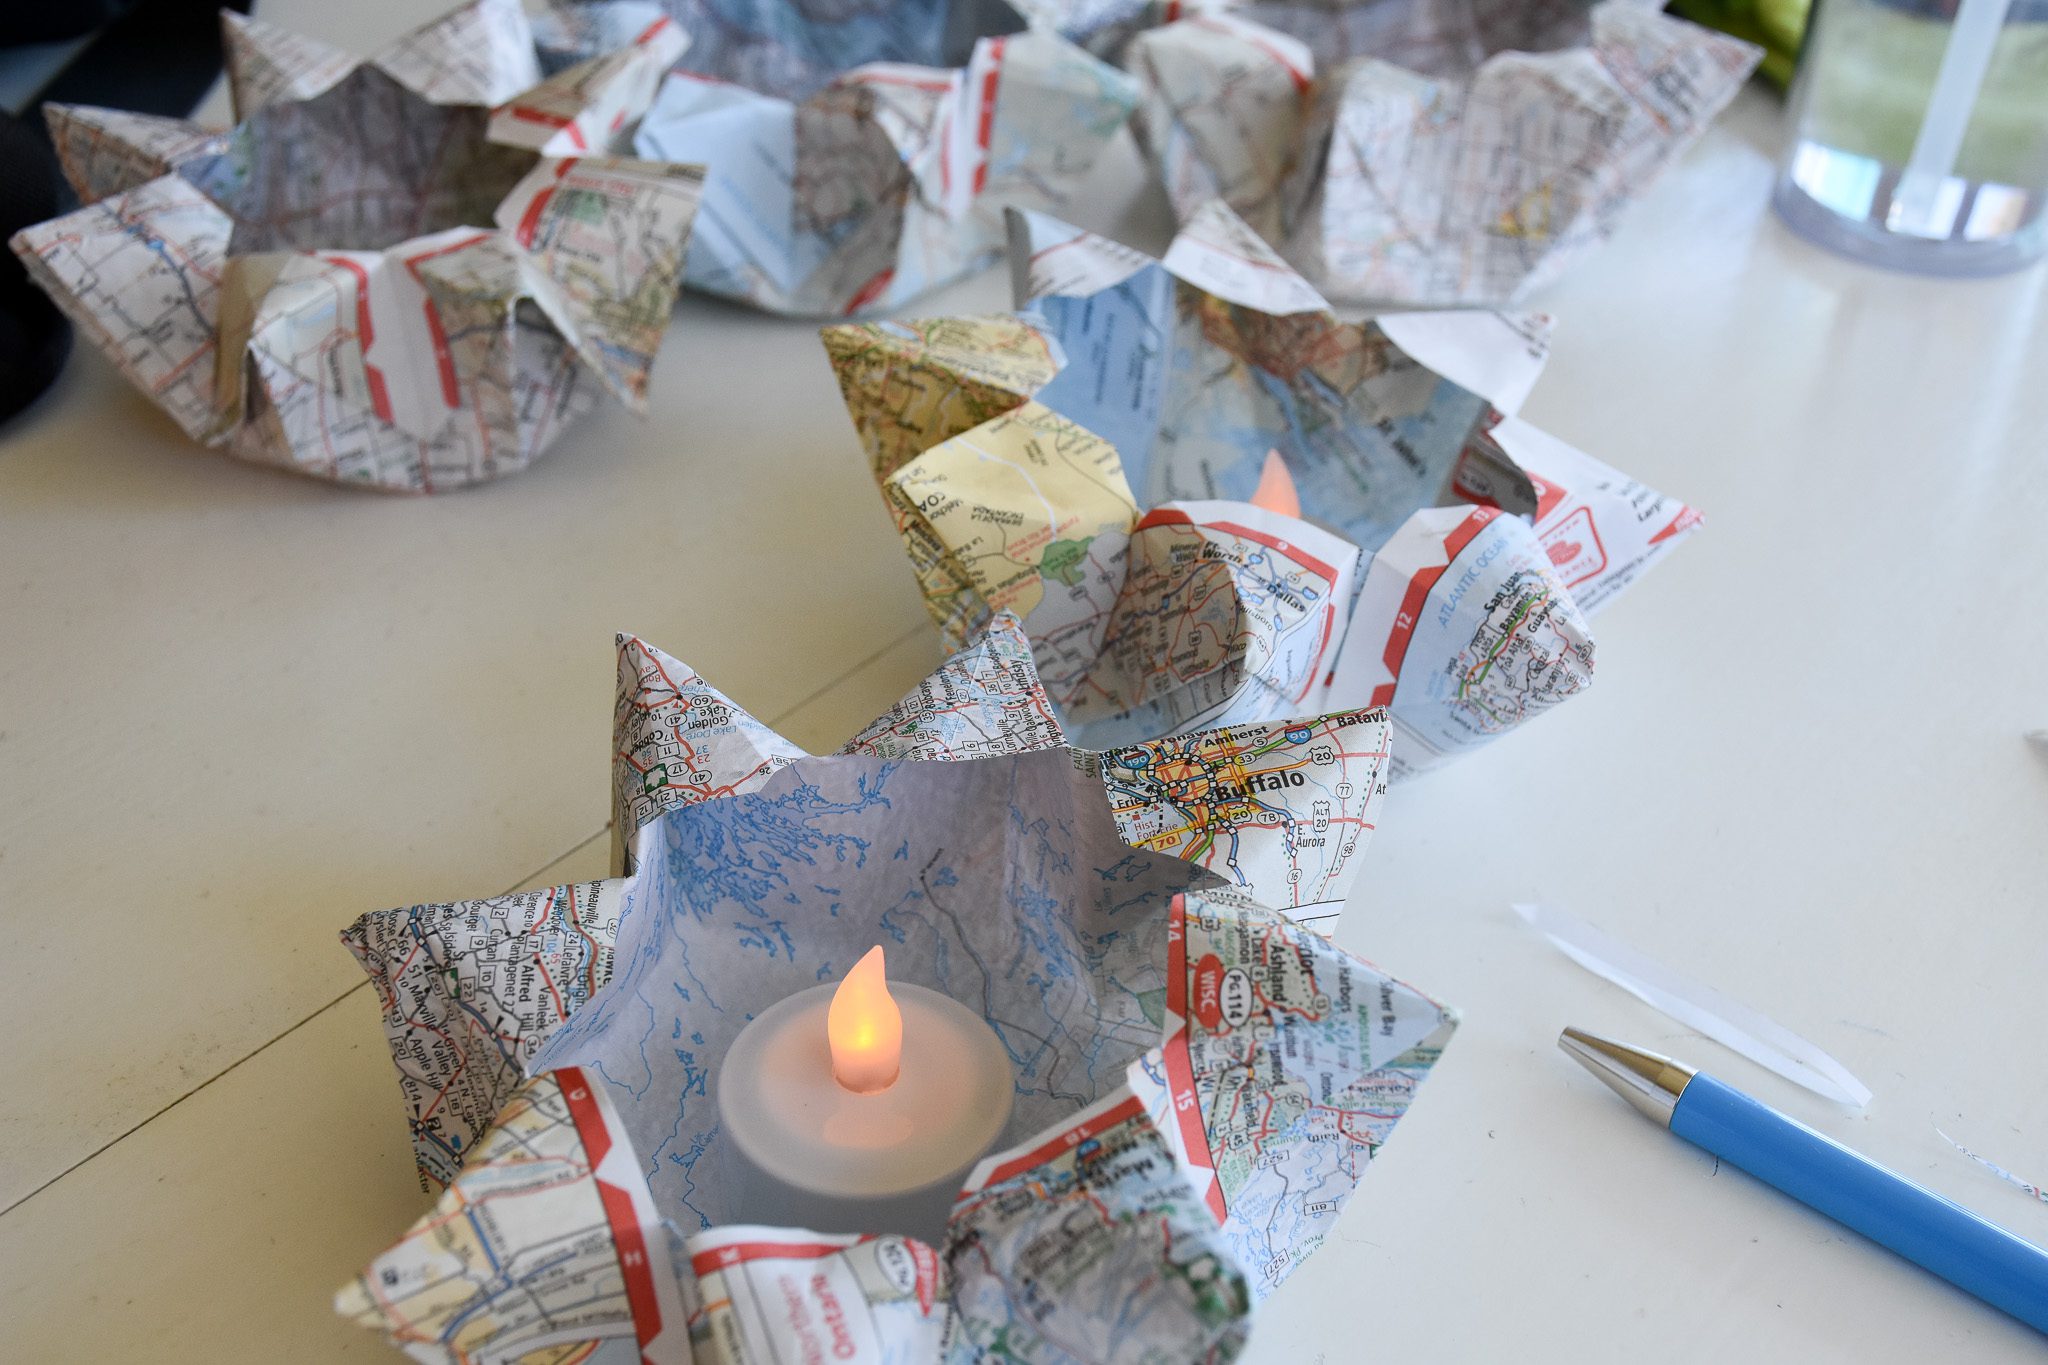
I suggest you use battery-powered tea lights for these paper road map lanterns just to be on the safe side. The ones we have are even rechargeable!