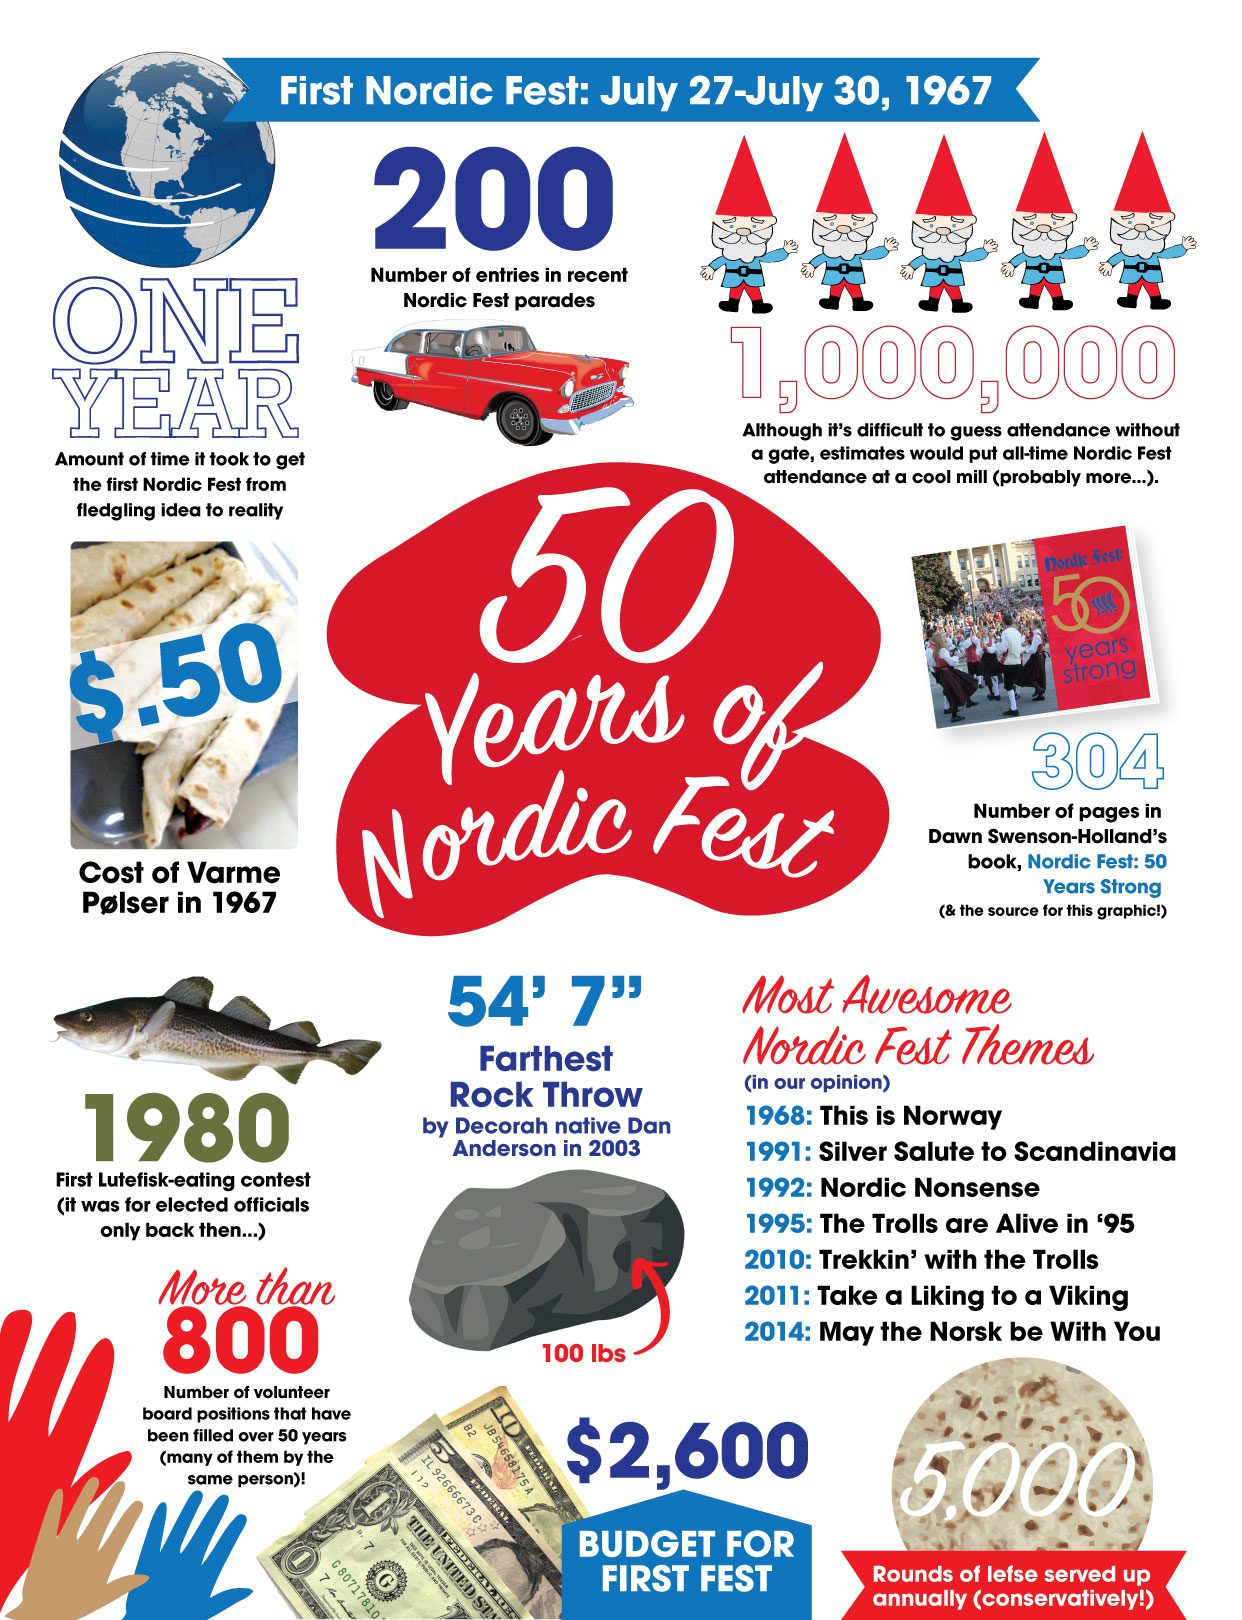
Nordic Fest is celebrating 50 years! The 2016 Nordic Fest is July 28-30, 2016. To help celebrate, we made this fun (and handy!) infographic – click above for the pdf version. Want to learn even more about Nordic Fest? We suggest you purchase the super informative book Nordic Fest: 50 Years Strong. Let’s make it the best Fest yet, friends!
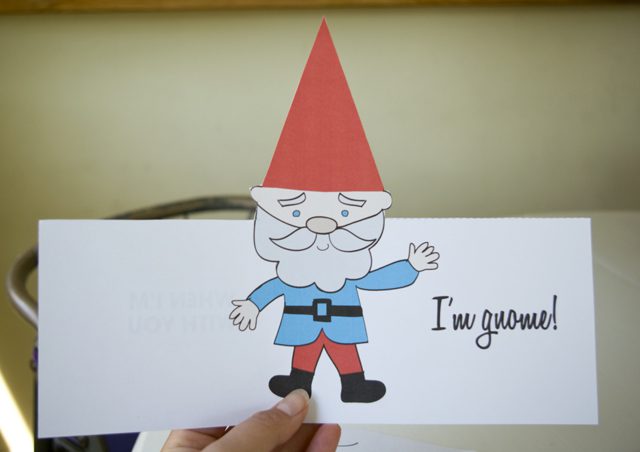
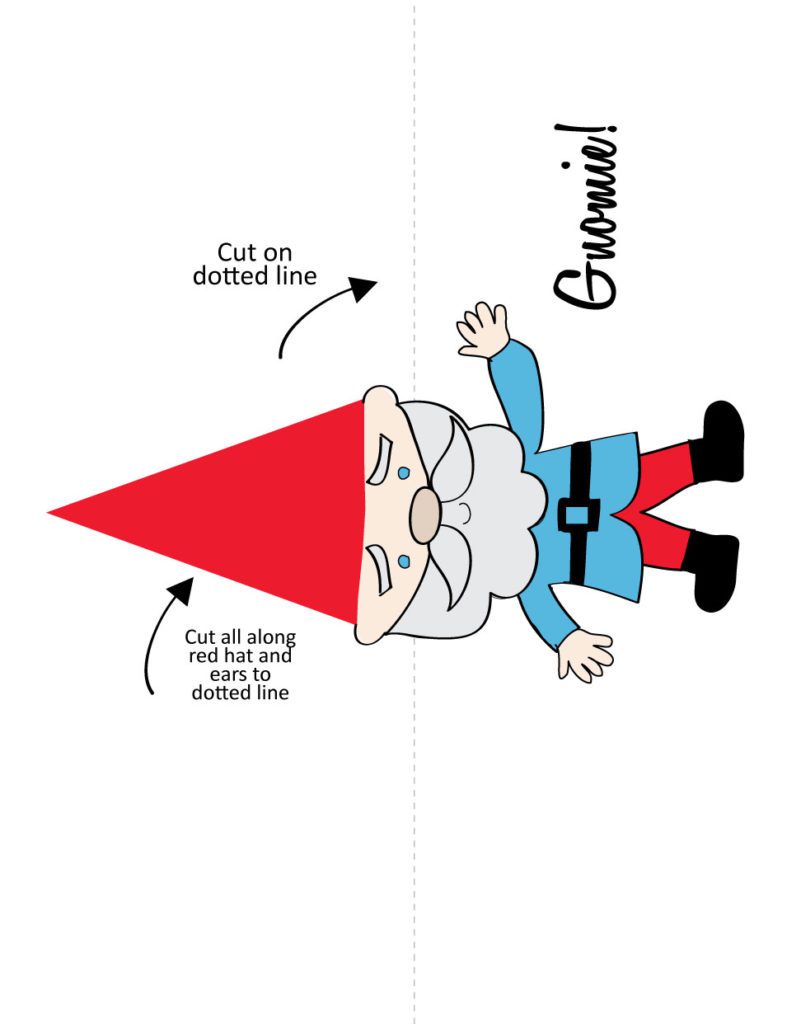
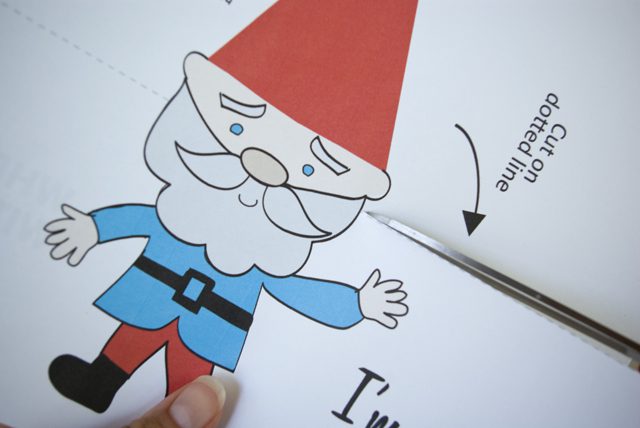
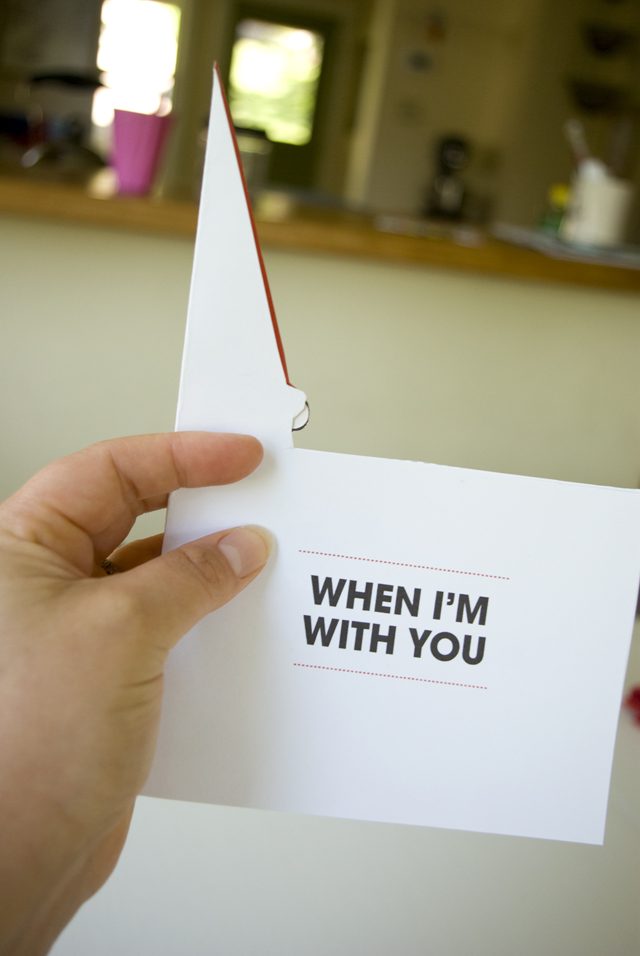
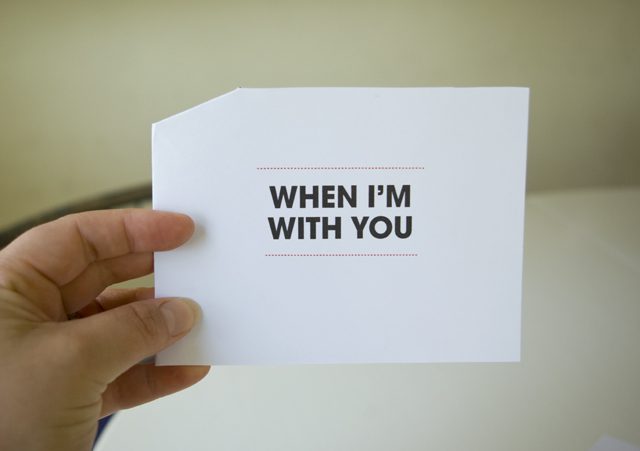
This little pop-up gnome card was so fun to put together! You all know we love gnomes around here (and unicorns and rainbows and…), so it makes perfect sense that we’d make something gnome-y for our summer issue of Inspire(d). We’re sure your friend, girlfriend, mom, neighbor…pretty much anyone would love to get one of these in their mailboxes!
So, you know… make lots of them and spread the gnome card joy! You can print them here for free!
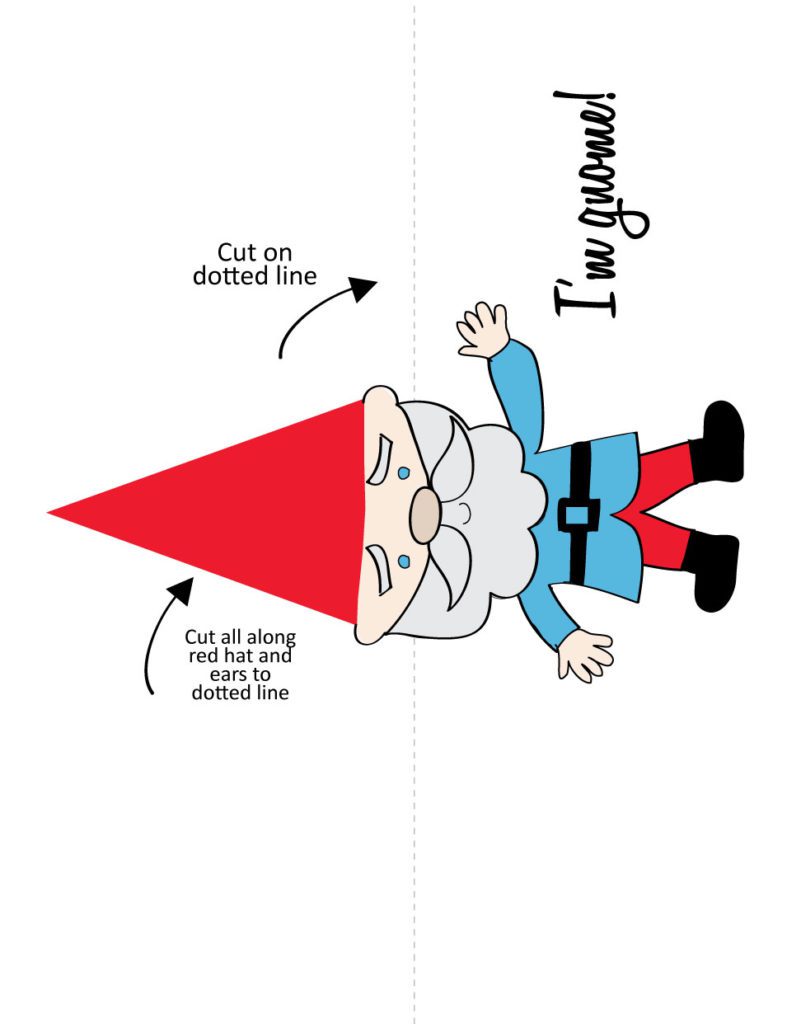
1. Print out your card on cardstock (template downloads are above). Make sure you print front and back correctly (every printer is different, so hopefully you can figure this part out on your own…)
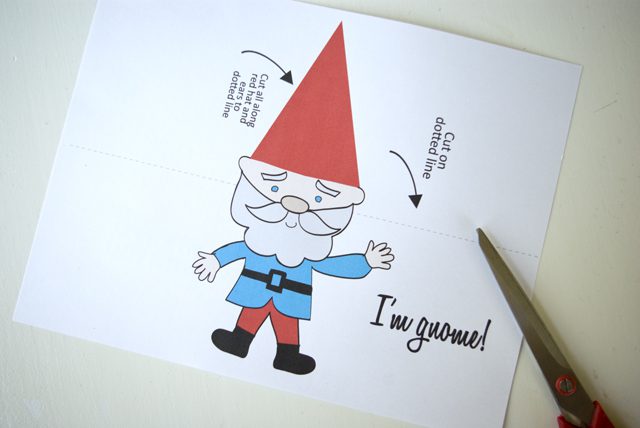
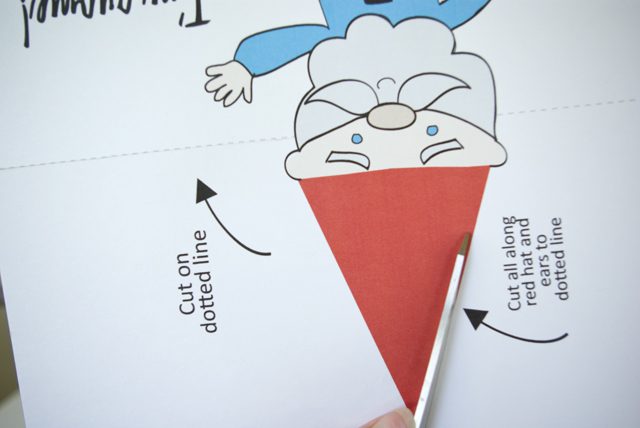
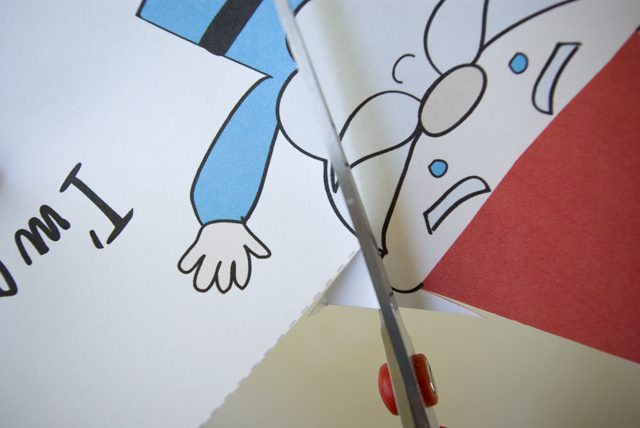
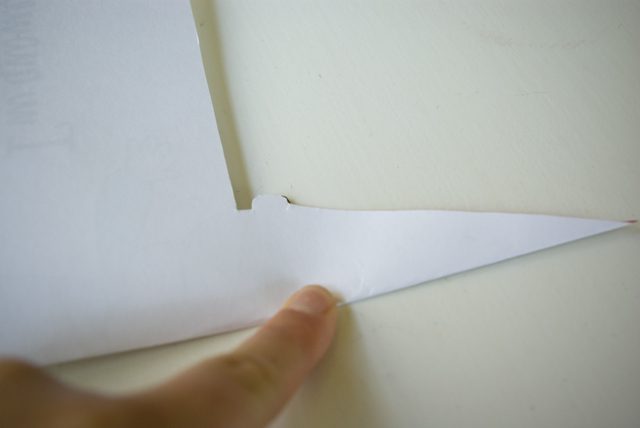
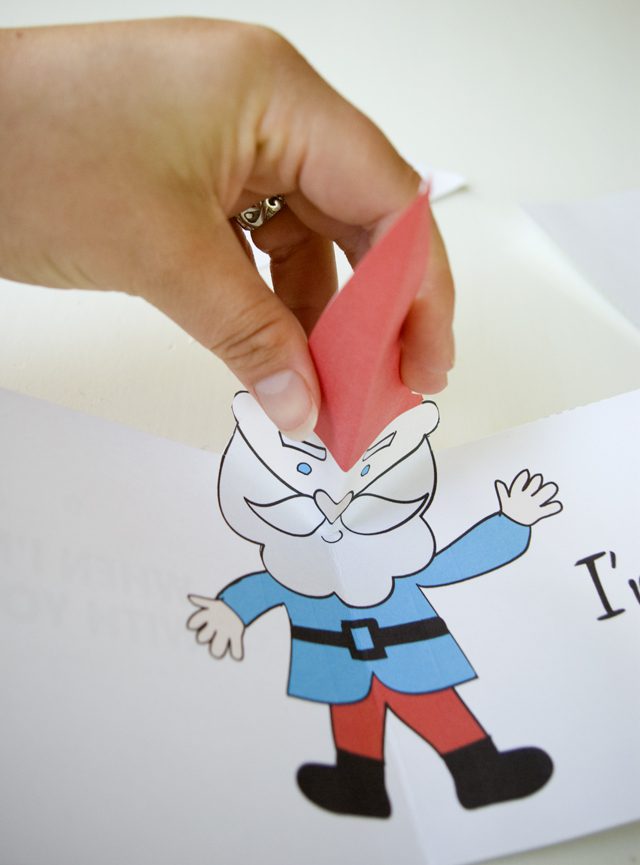
2. Cut on the dotted line and carefully cut out the hat and ears.
3. Fold in half. I suggest starting your crease at the point of the hat, if you can. Depending on how things printed, there might be some excess paper. Feel free to trim that down if you’re worried about it being perfectly centered.
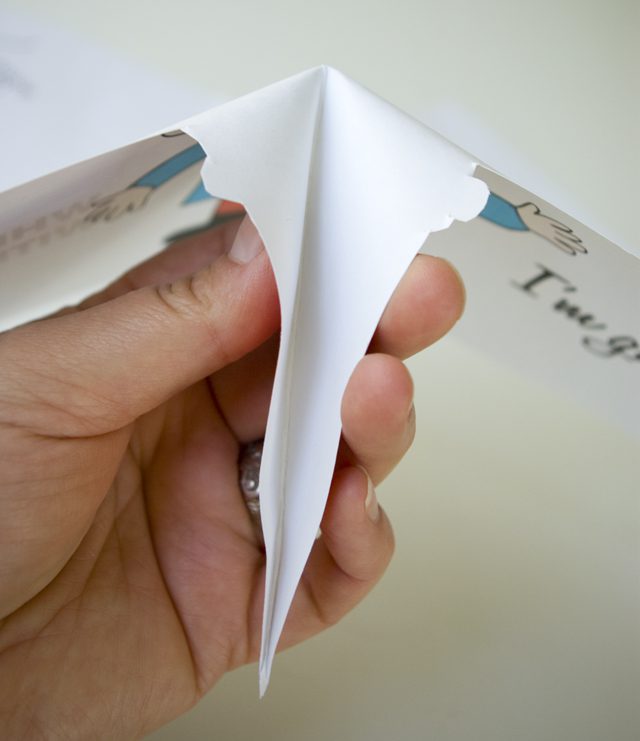
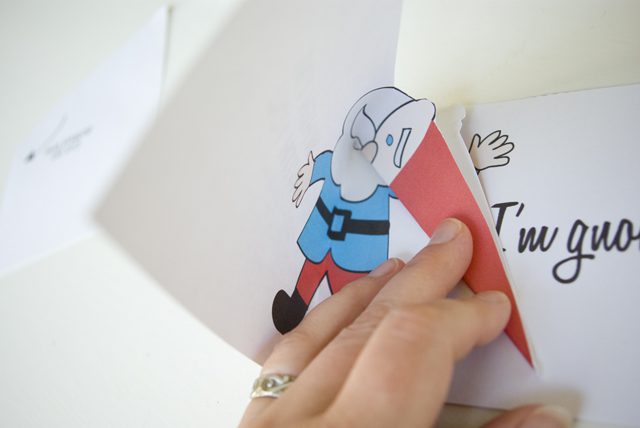
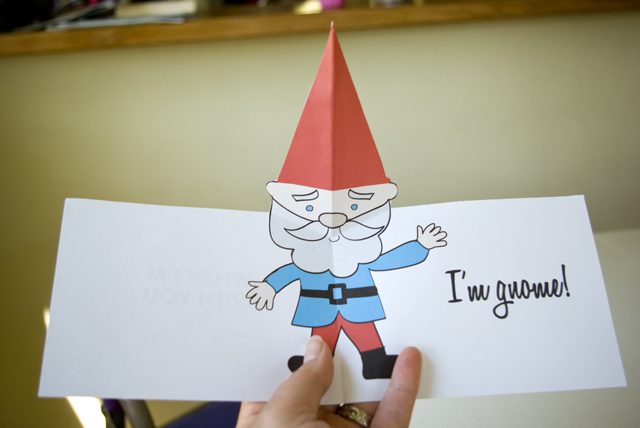
4. Open the card back up and reverse the crease on the gnome’s hat, down to about his mouth. Fold it into the card at about a 55-60 degree angle.
5. Hooray! Your pop up gnome card is done! Write on it, sign it, stick it in an envelope, or just pop it open and shut for yourself! He’s pretty cute, we think!
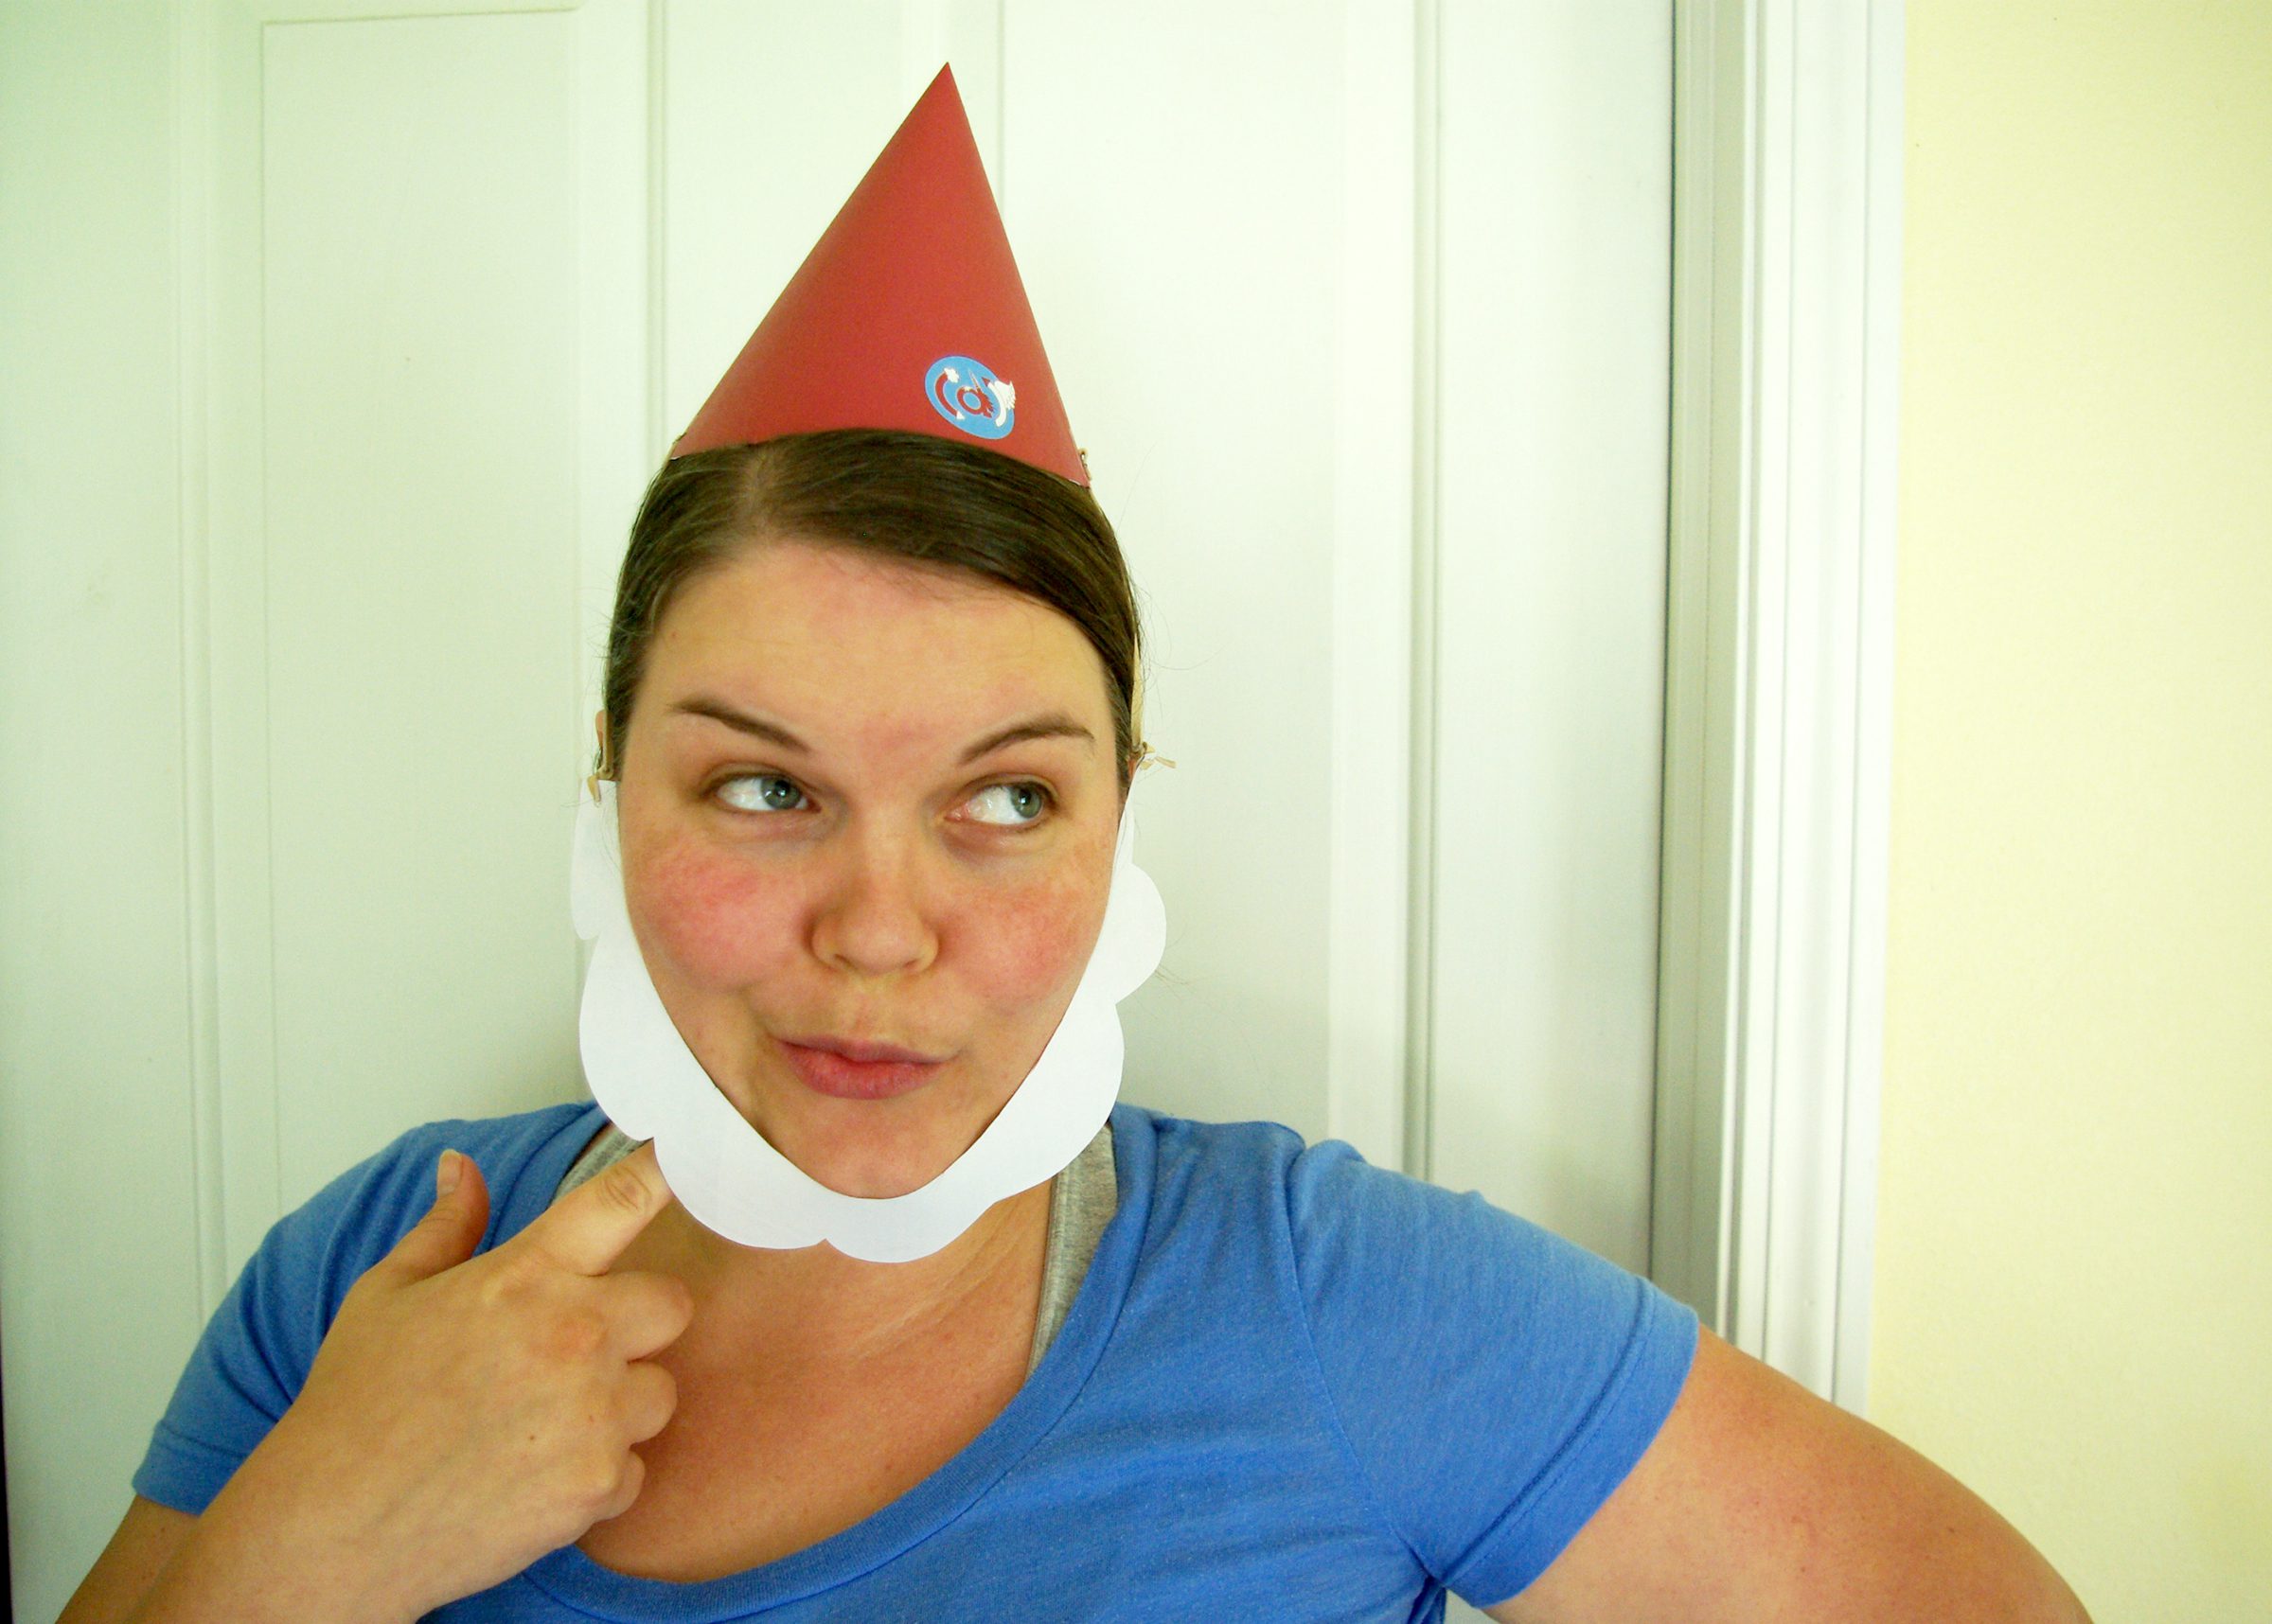
Making a gnome hat + beard is seriously one of the easiest paper projects ever! It can be done in minutes with these easy supplies and directions. Check it out!
Supplies:
Scissors Stapler Tape Two rubber bands Paper hole punch Gnome Hat and Beard template (download here)
*Sorry about a couple of out-of-focus one-handed pics! I hope you enjoy the fun!
1. Cut out the hat and beard.
2. Tip: Get your pieces of tape ready before you start! You’ll need six pieces total.
3. Bring the flat edges of the hat together and tape (the more even the bottom, the better).
4. Tape a spot at the bottom of the hat above where each ear will be (it will strengthen the area that is connected to the rubber band) and using your paper hole puncher, put holes through the tape
5. Take your beard and fold the tips (that will go toward your ears) and tape them down (I thought of this later, so this isn’t photographed very well, but again, it will strengthen the area that is connected to the rubber band).
6. Punch a hole in each beard tip through the tape.
7. Cut each rubber band once (you’ll then have two long pieces instead of two rubber bands).
8. Attach the bands to the beard by tying them, and to the hats with a staple (stapling the beard might hurt you, but the staple at the hat seems to make it stronger).