Sponsored by
Bloom Flower Farm
Bloom is a small flower farm in Northeast Iowa run by Jen Opheim and family. At Bloom, we love to watch things grow and to be creative. It all begins with a vision. Maybe you want fresh locally grown flowers for your DIY wedding bouquets. Maybe you want to promote your business with a petite posy giveaway. Or maybe you have a flower friend who would love a unique gift of blooms through our seasonal CSA. Whatever your flower needs are, we’re happy to help. Let’s create something beautiful together!
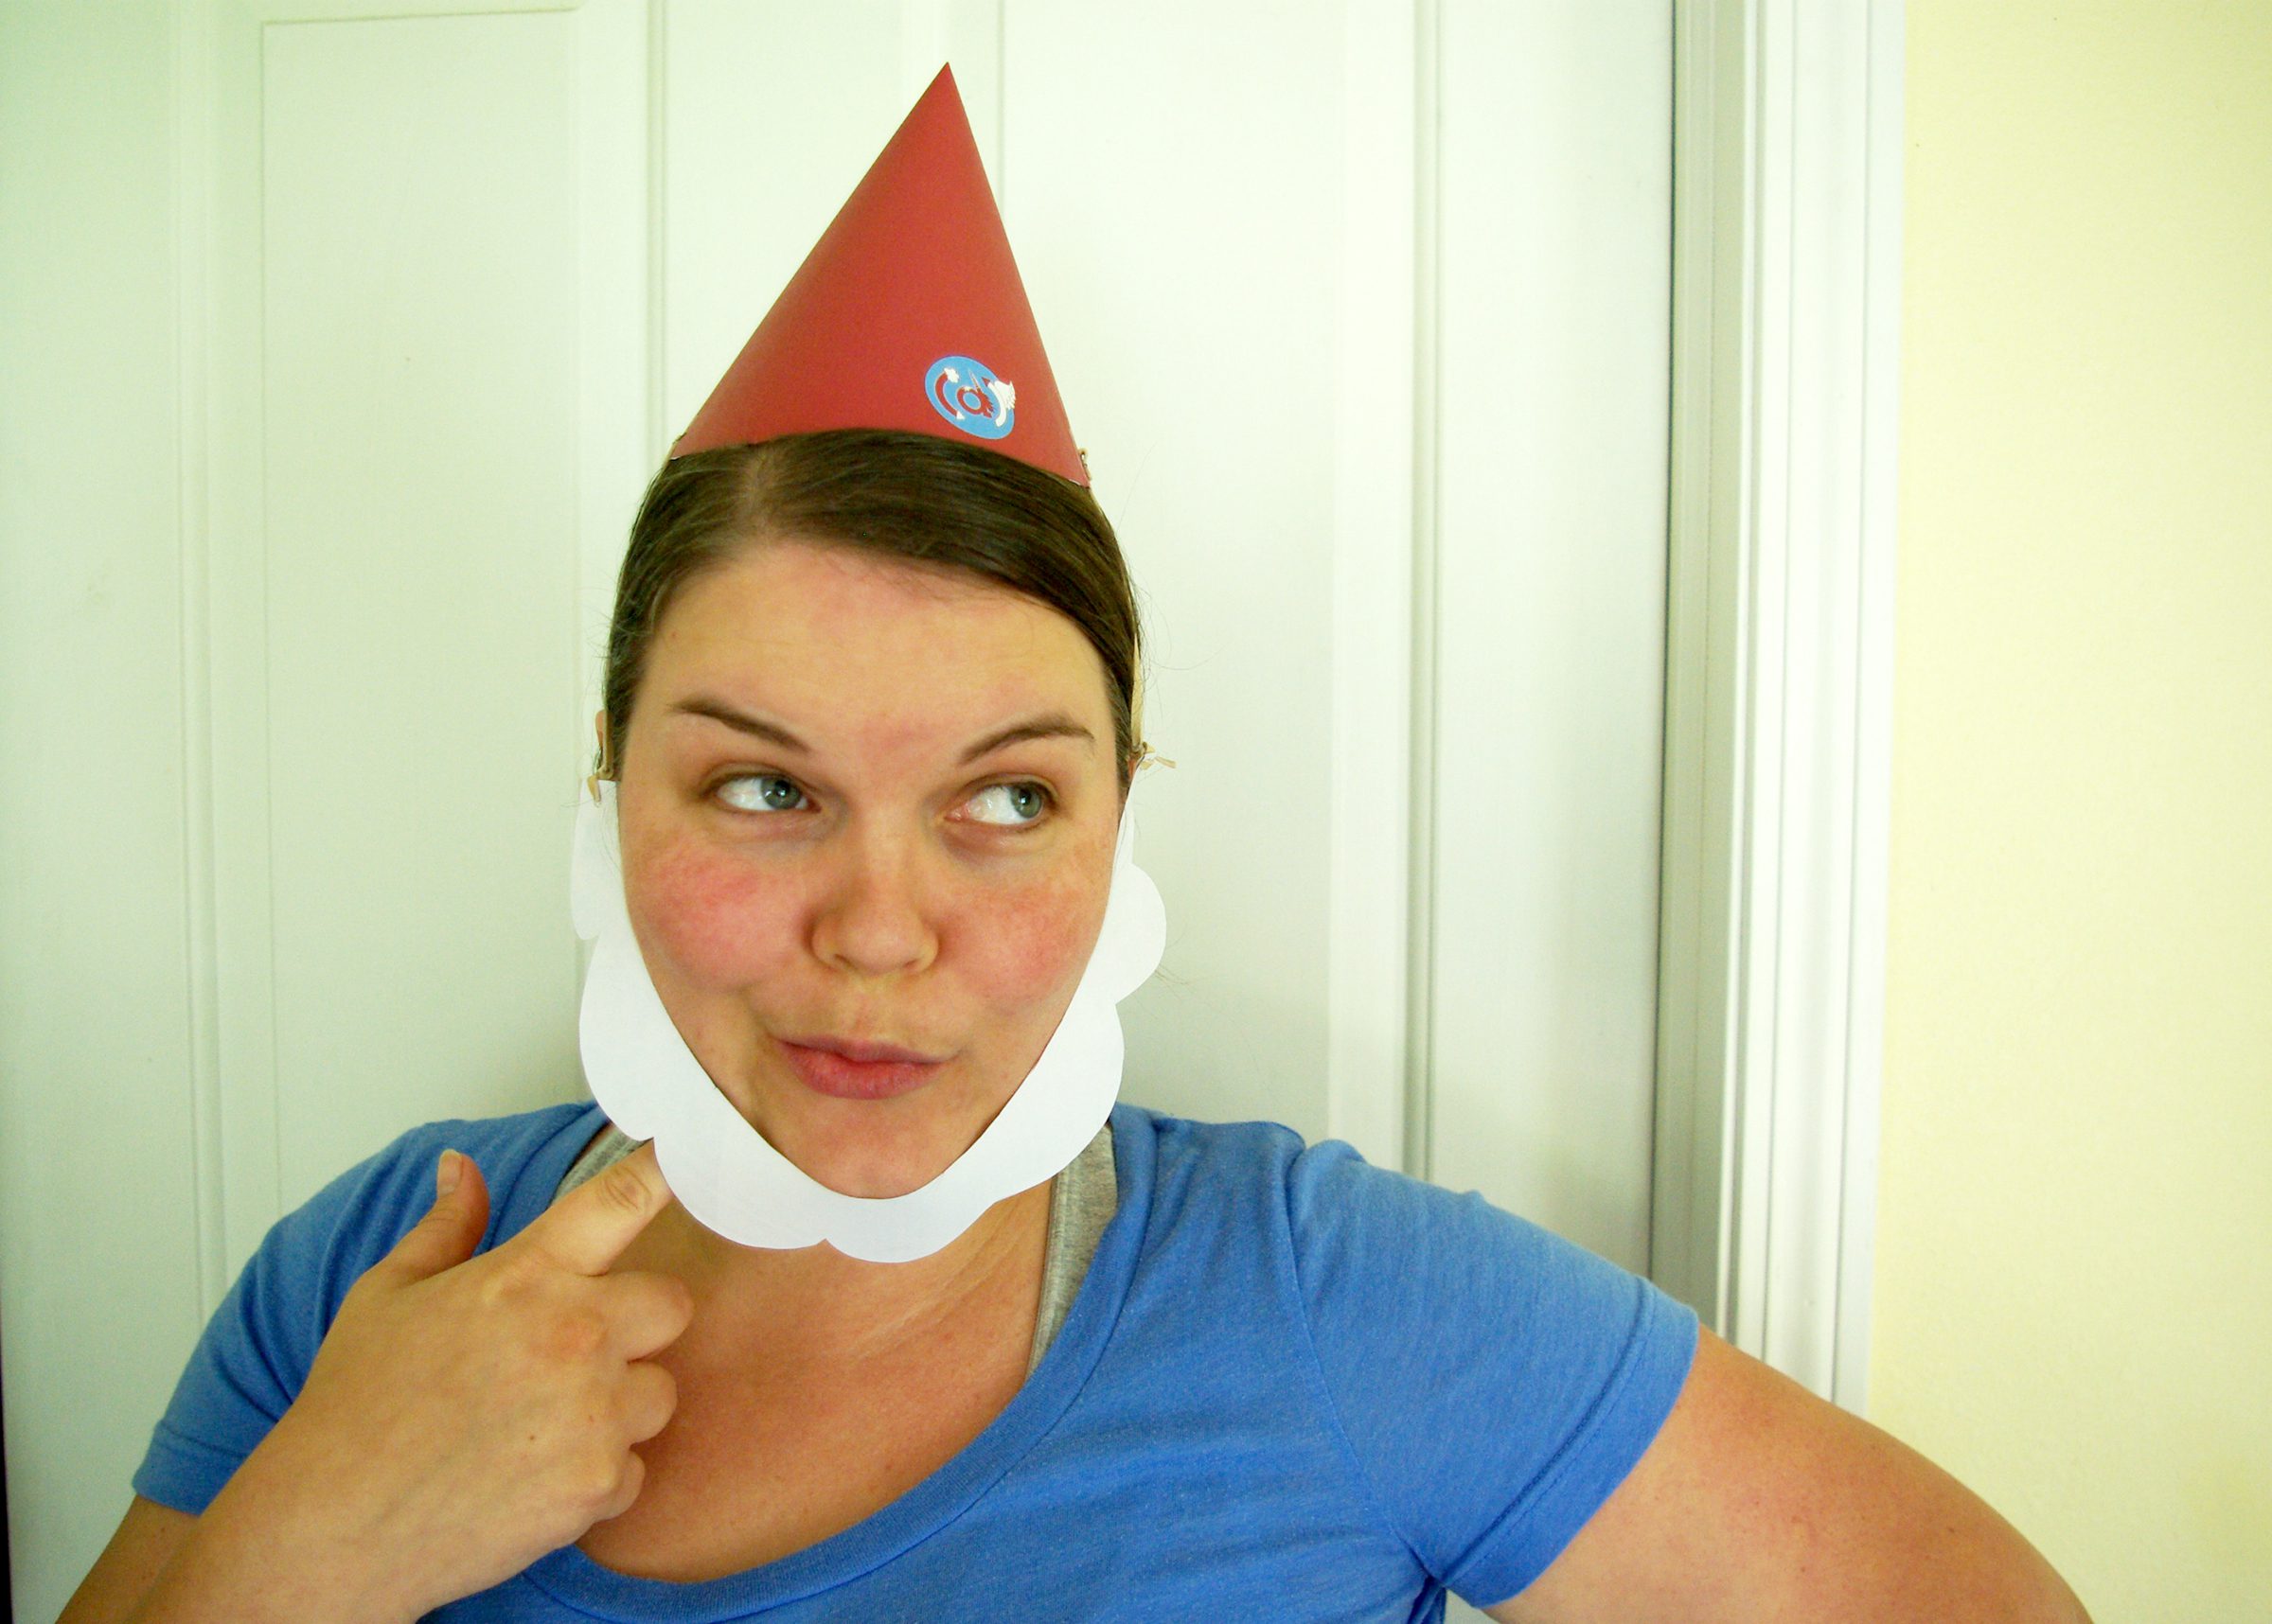
Birthday Hat + Paper Pom Poms!
Sponsored by
Bloom Flower Farm
Bloom is a small flower farm in Northeast Iowa run by Jen Opheim and family. At Bloom, we love to watch things grow and to be creative. It all begins with a vision. Maybe you want fresh locally grown flowers for your DIY wedding bouquets. Maybe you want to promote your business with a petite posy giveaway. Or maybe you have a flower friend who would love a unique gift of blooms through our seasonal CSA. Whatever your flower needs are, we’re happy to help. Let’s create something beautiful together!
It’s Inspire(d) Magazine’s 16th birthday! Celebrate with us by making your very own Inspire(d) birthday hat + paper pom poms! You can use an old magazine, or any other card stock / paper you’ve got on hand. Thanks for being Inspire(d)…for 16 whole years!
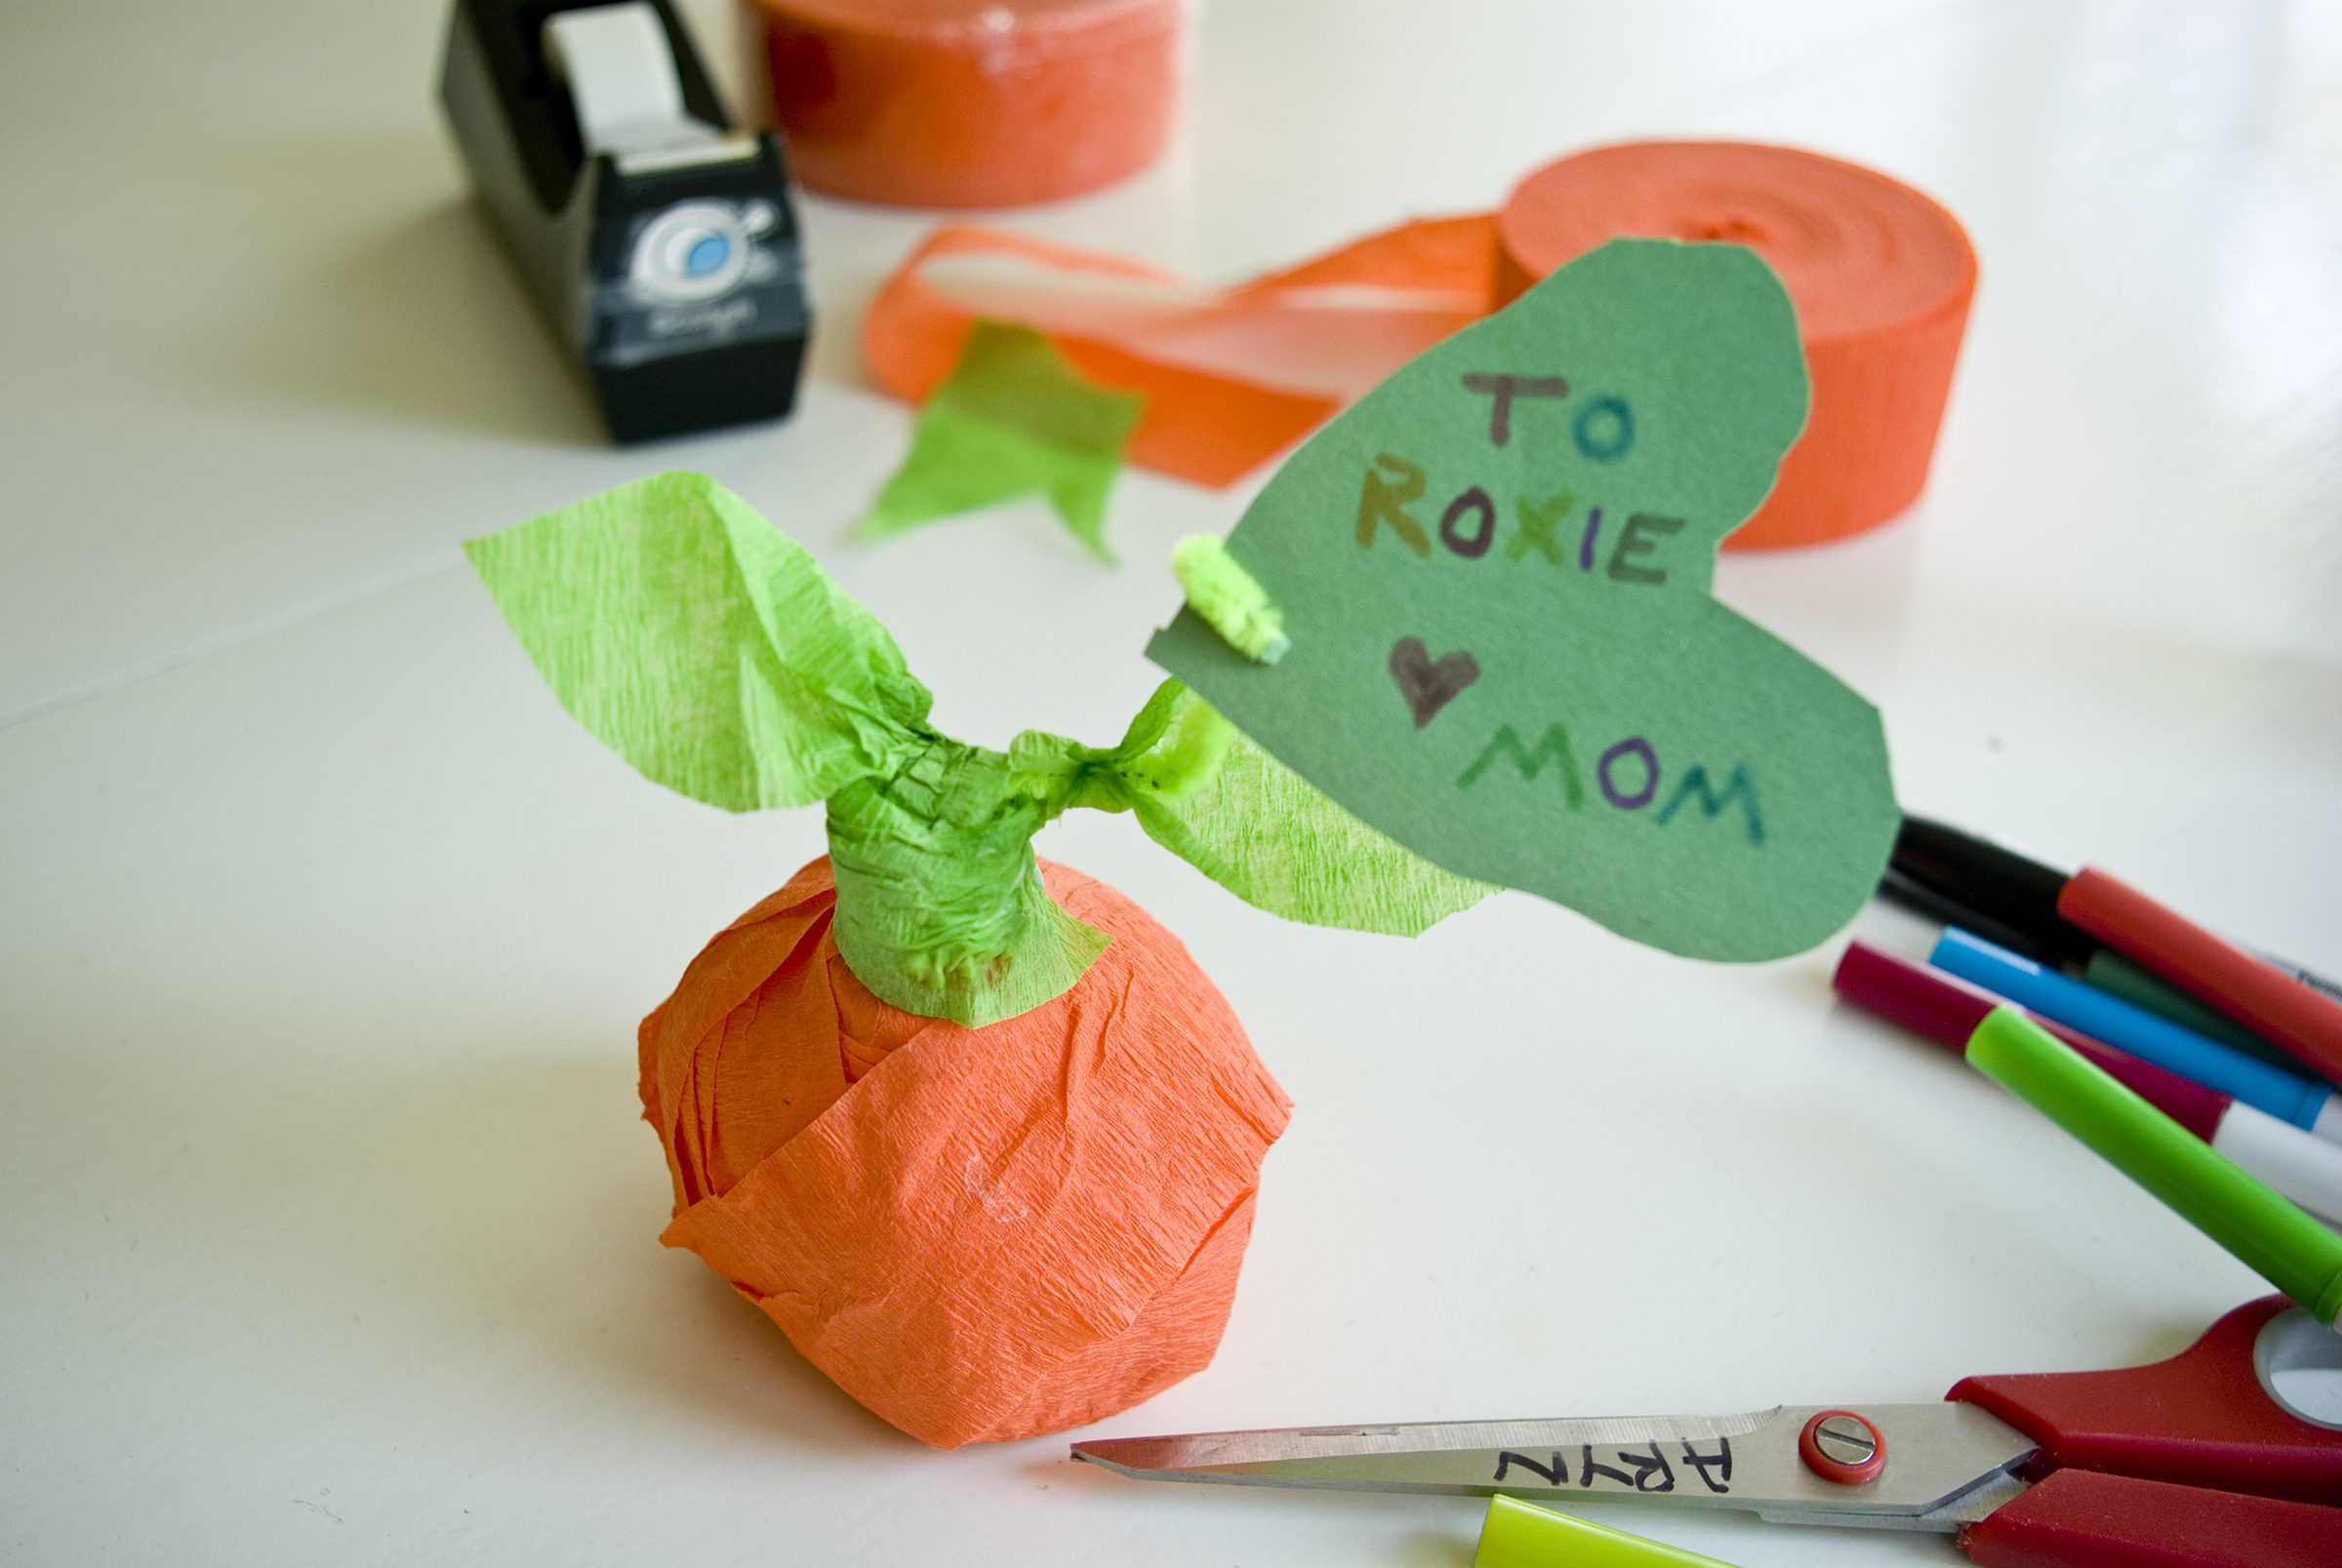
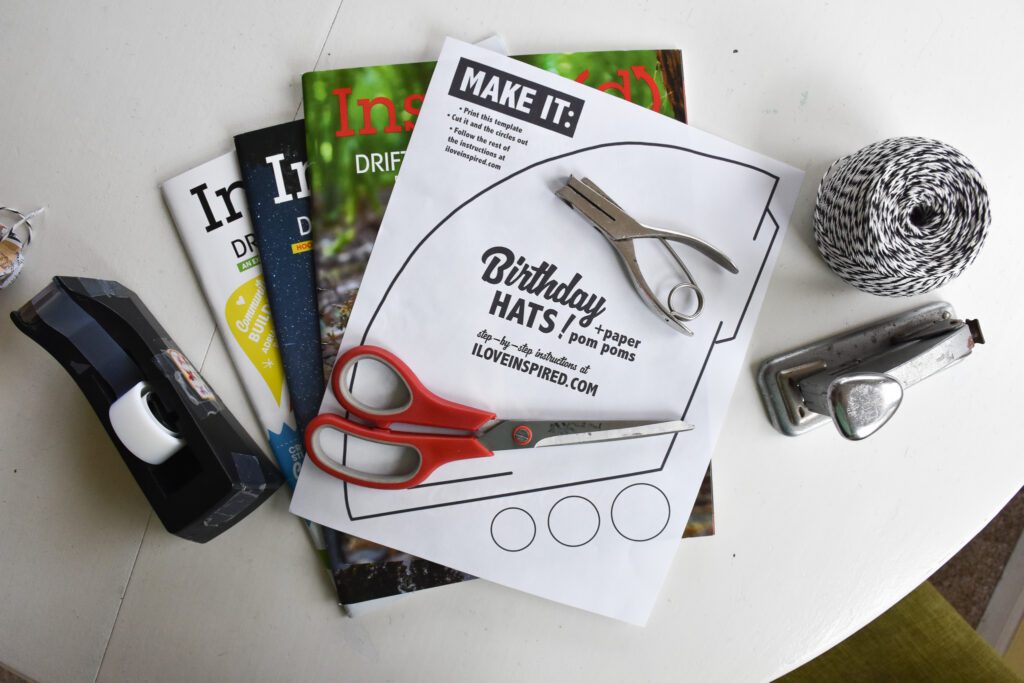
Gather your supplies:
• Old magazines with thick covers OR cardstock
• String
• Scissors
• Stapler
• Paper puncher
• Tape
• One extra large rubber band, or two large rubber bands (not pictured)
• Birthday hat template (click the link to download & print)
Print the template and cut out the flat hat shape and the circles.
Make sure to cut the slit mark in the template (and you will do it again on the hat you cut out).
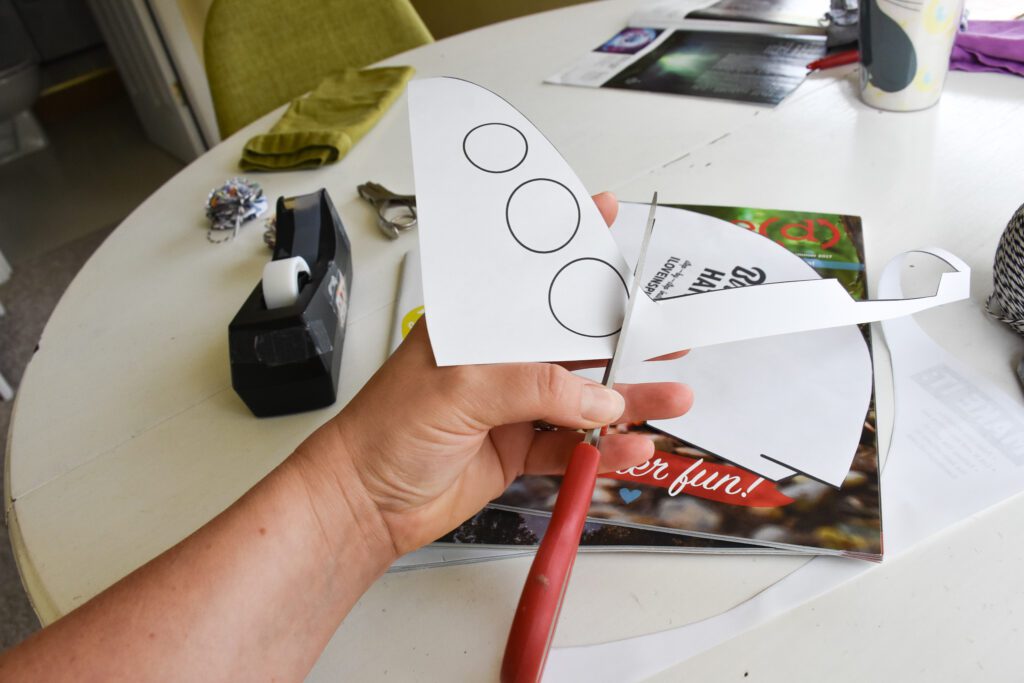
These circles will be the templates for the pom poms!
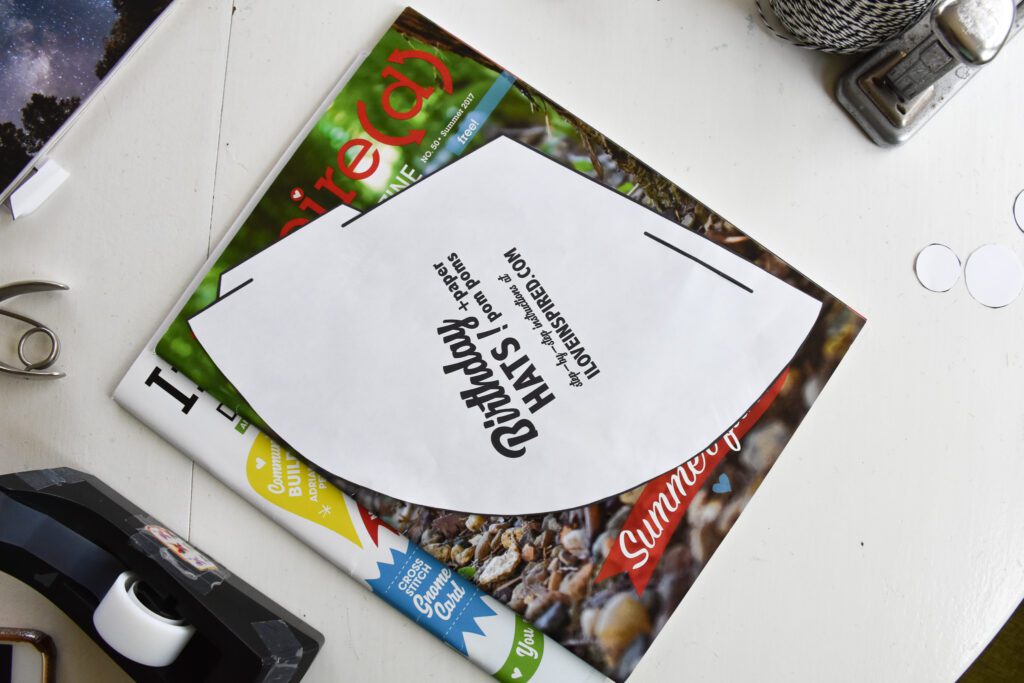
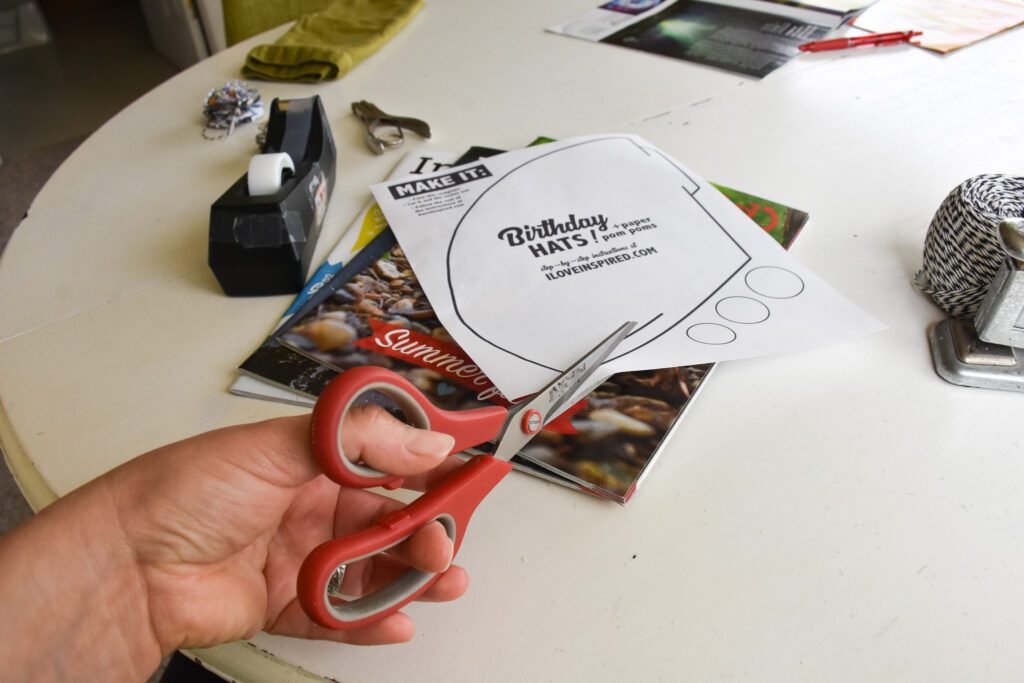
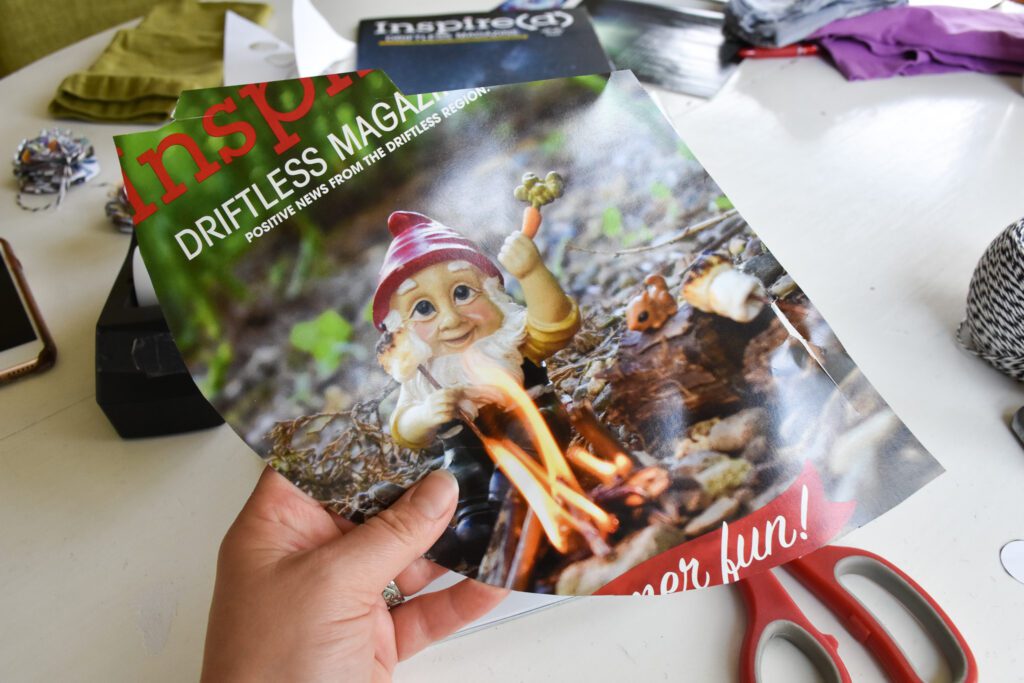
Position the template how you want the hat to be (I wanted my gnome to be upright, thus positioned the template so he would be that way in the final product). If you’re using a patterned paper, or just plain card stock, this won’t matter.
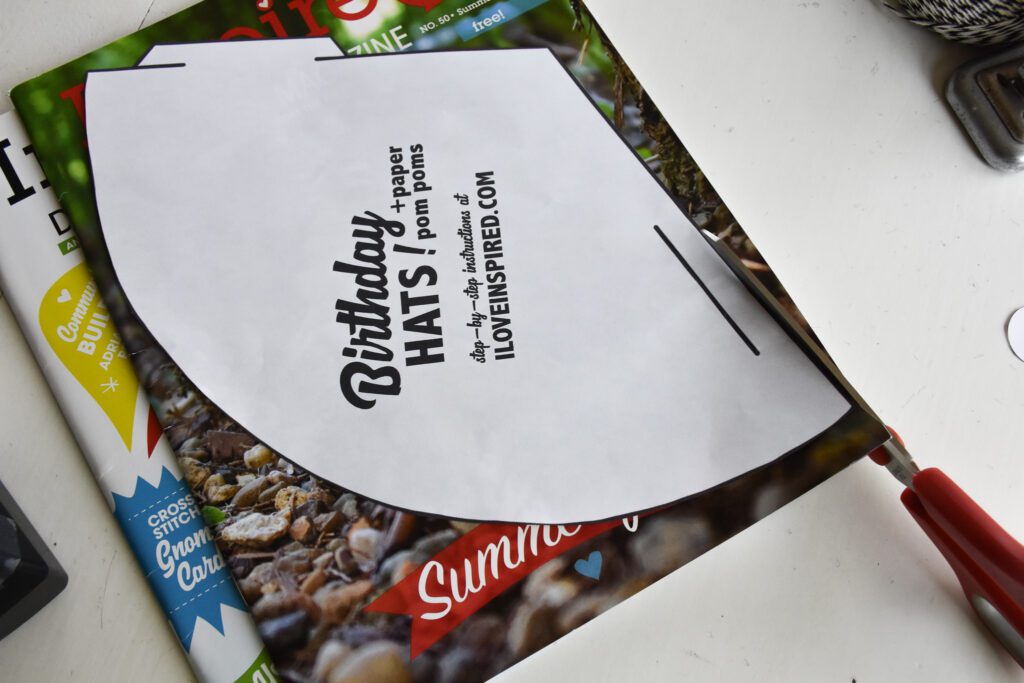
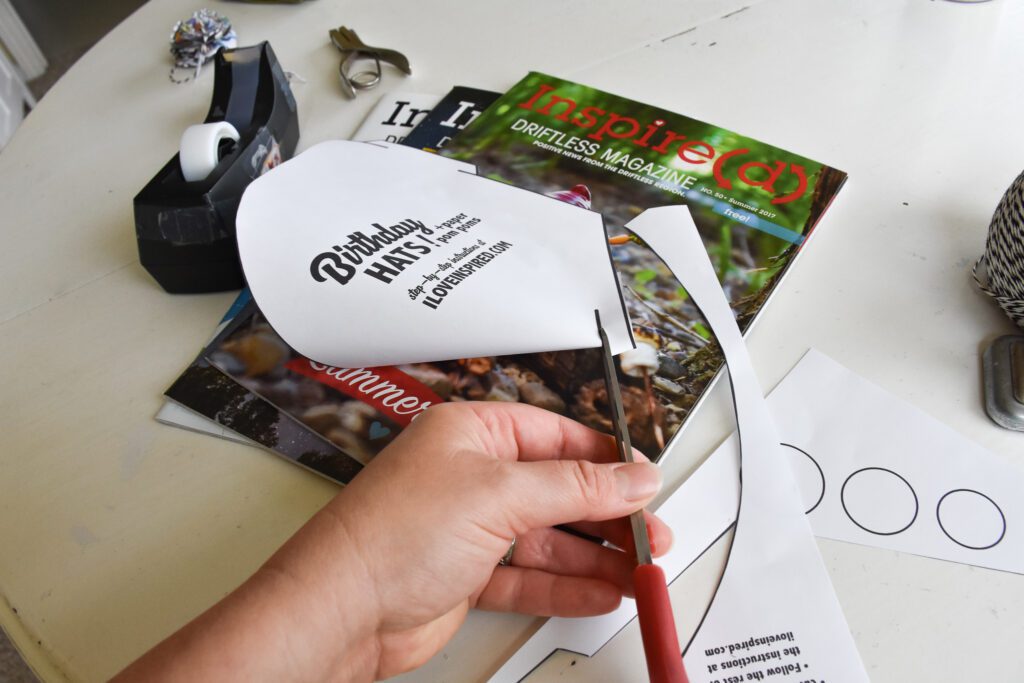
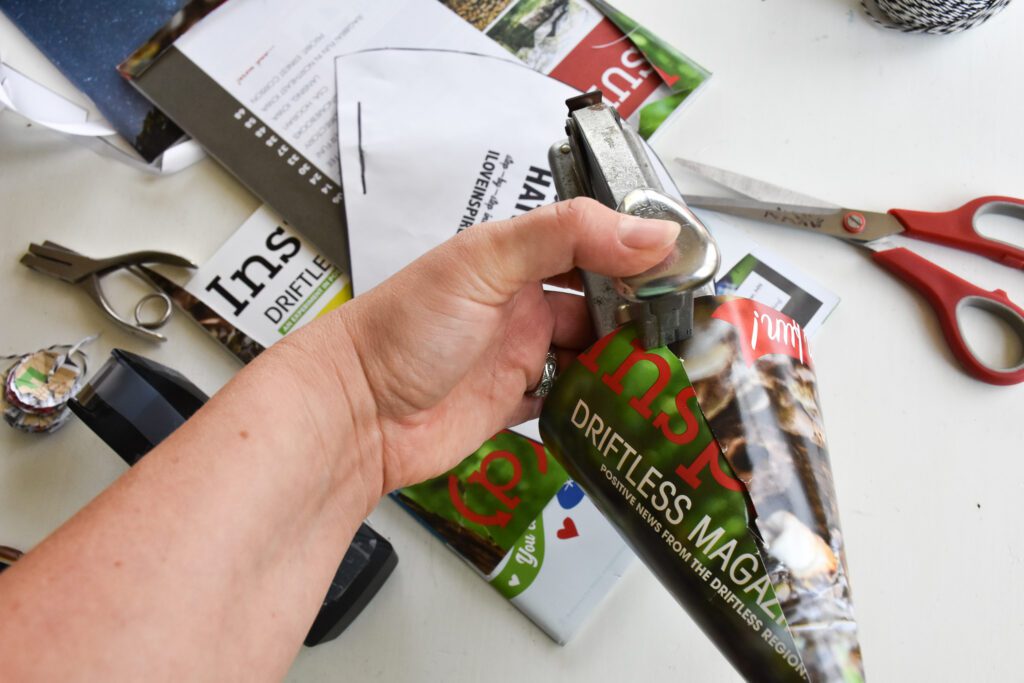
Cut out the hat shape, using the template.
Make sure to cut into these slits so there are tabs that hold one side of the hat into the other.
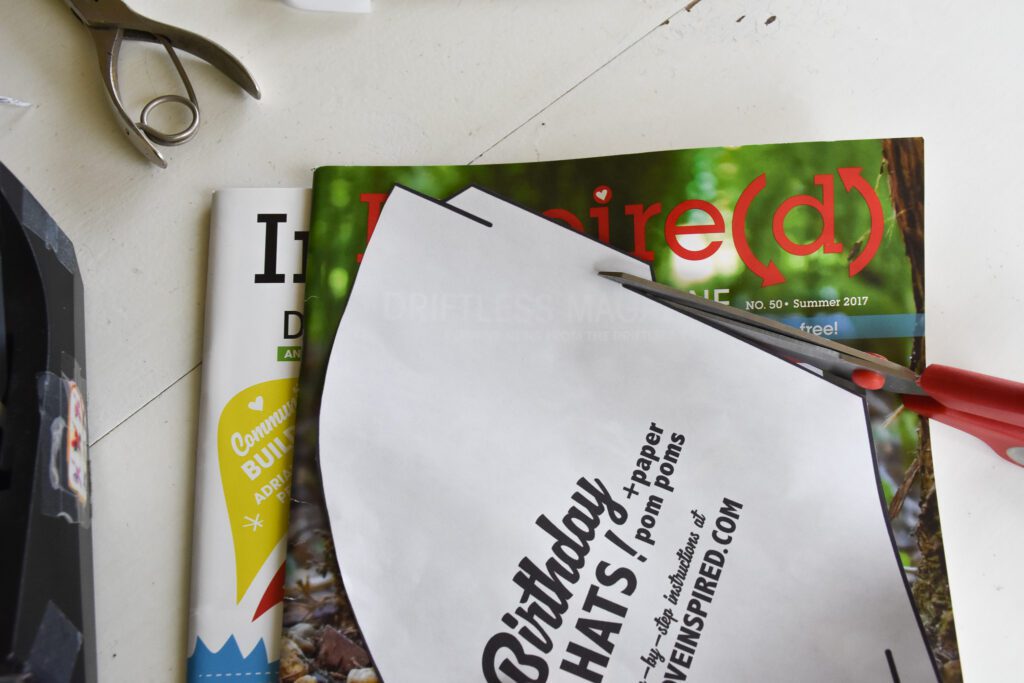
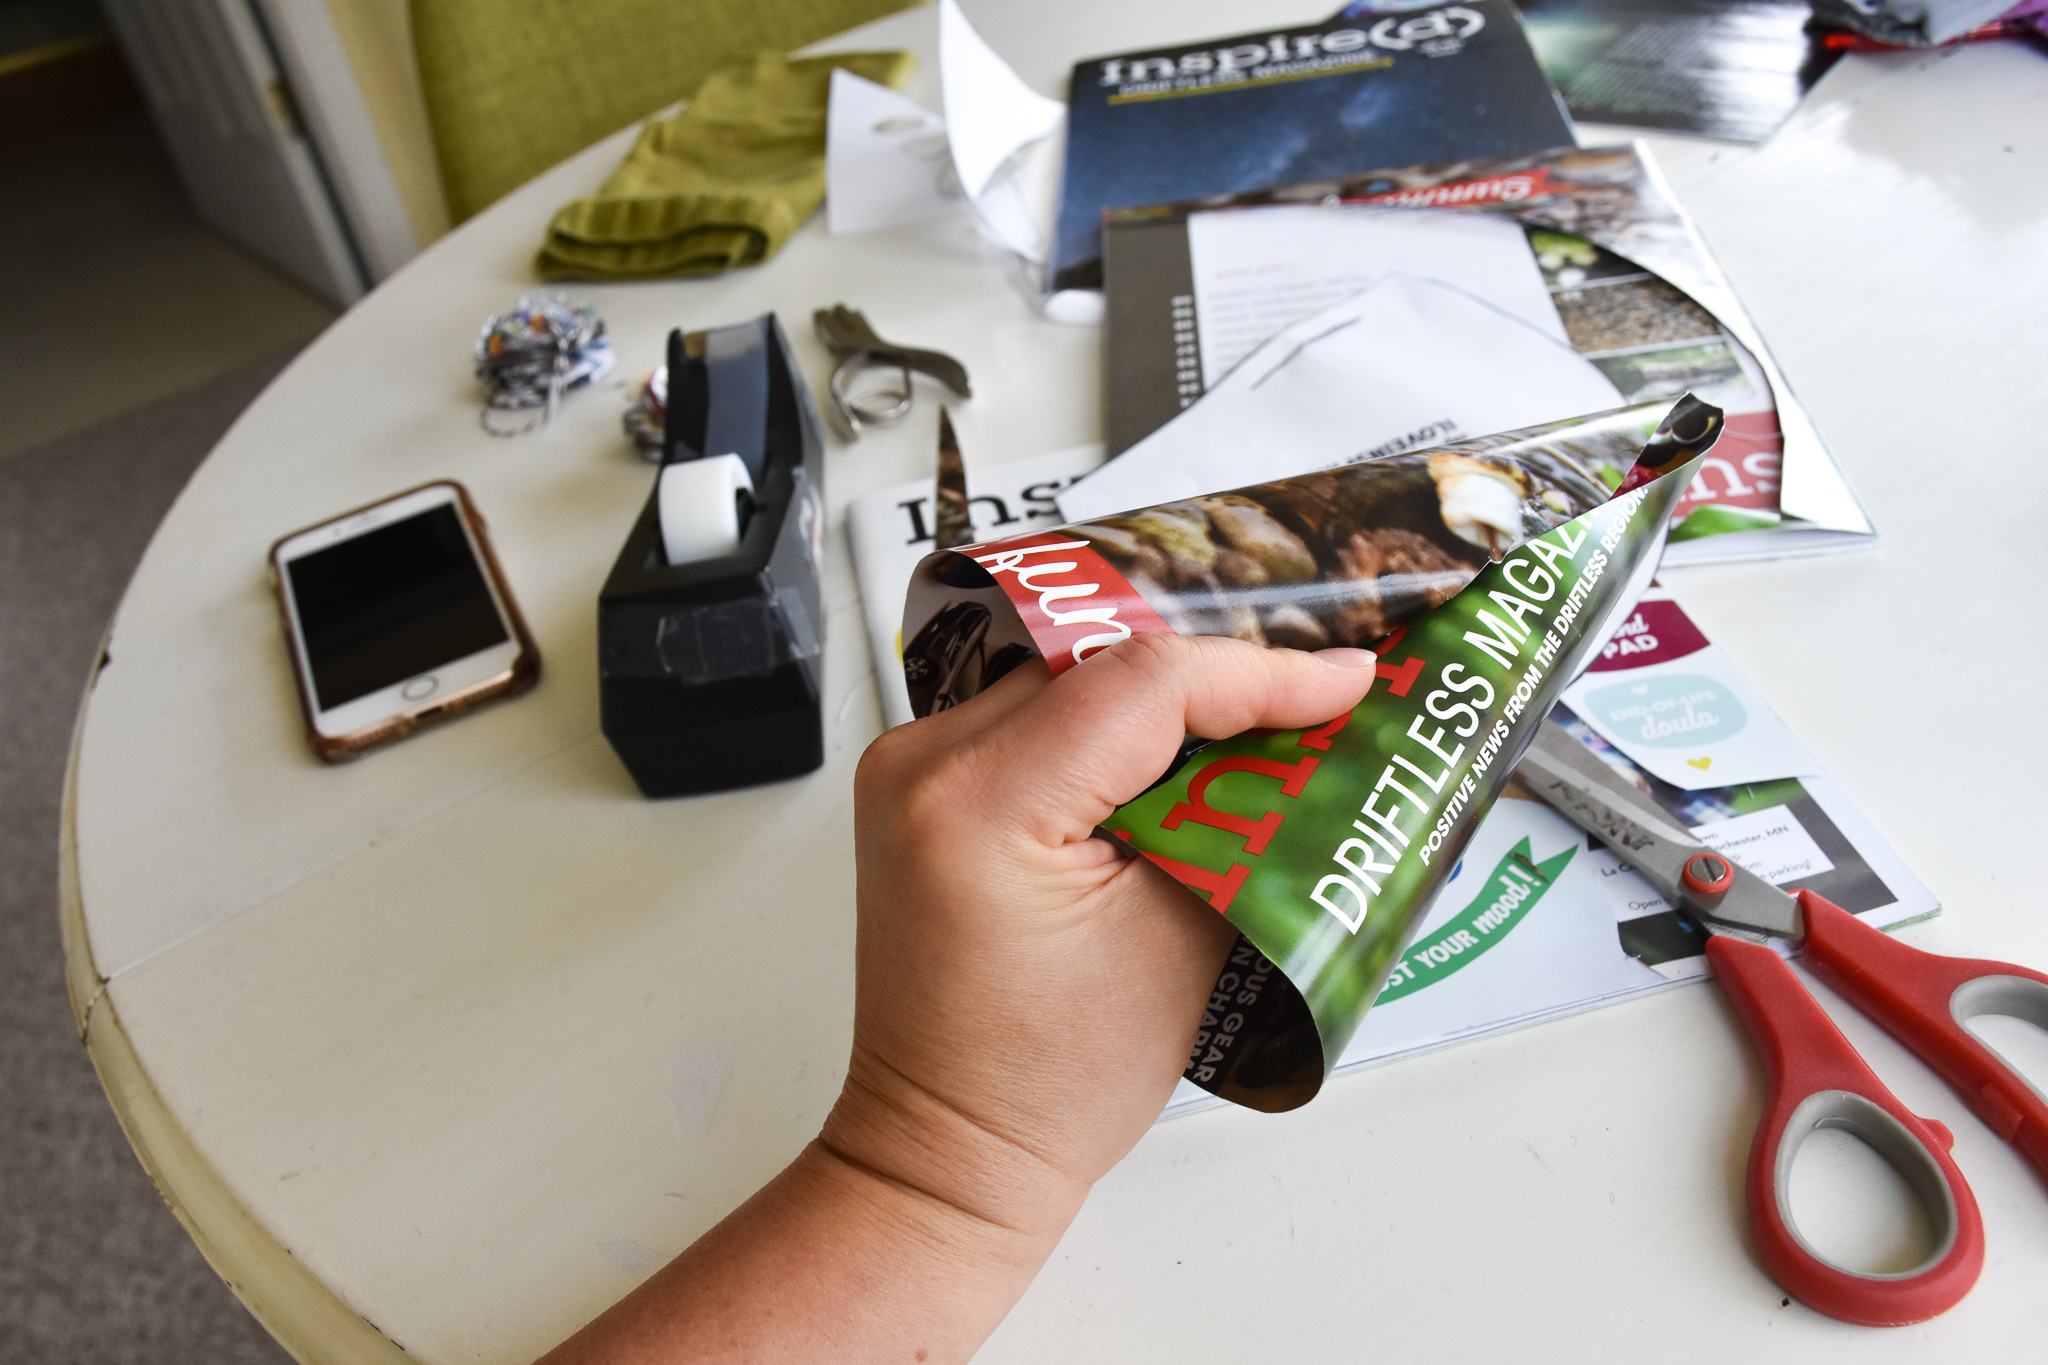
Slightly fold the hat with the template still over it, and cut the slit that will hold the section with the tabs.
The cut out hat will look like this at this point (with whatever cover or card stock you chose).
Fold it around so that tabbed section goes into the slit from the top. I found it easier to insert the top part first, then sort of fold the bottom tab in and stick it through the slit, and then make sure the tabs are holding once they’re opened back up.
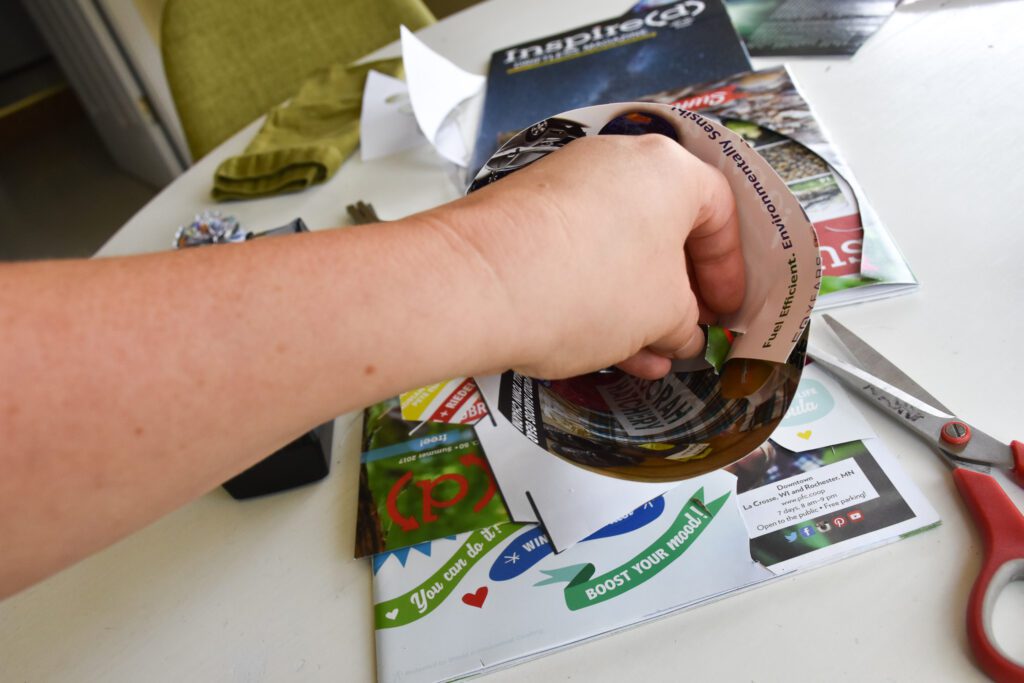
Like so!
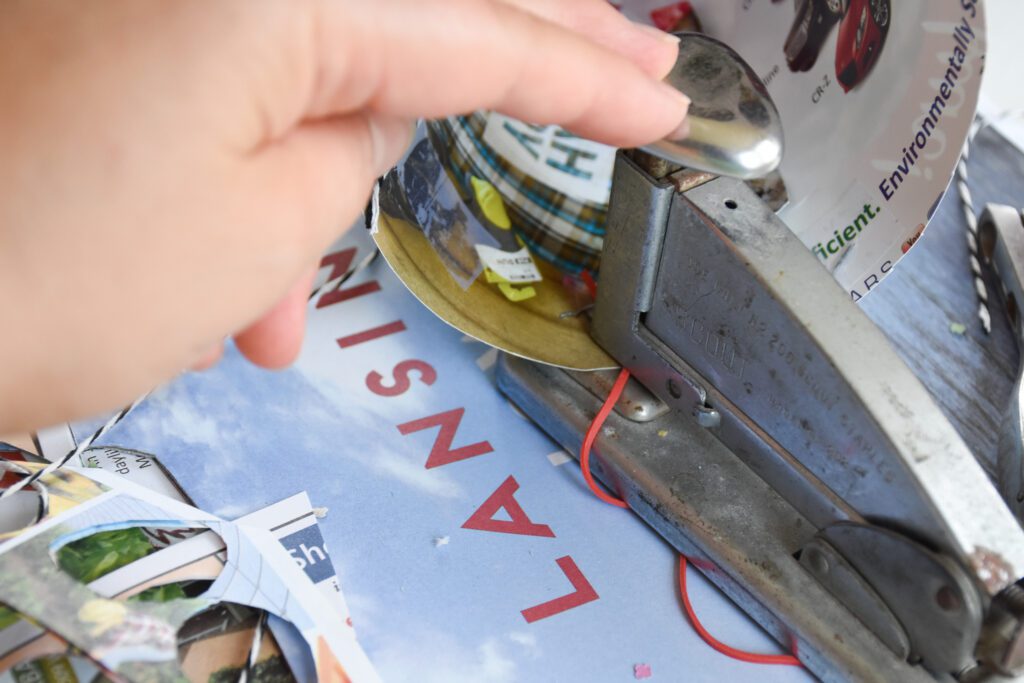
Once the tabs are secured, I stapled the bottom part just to make sure it holds well.
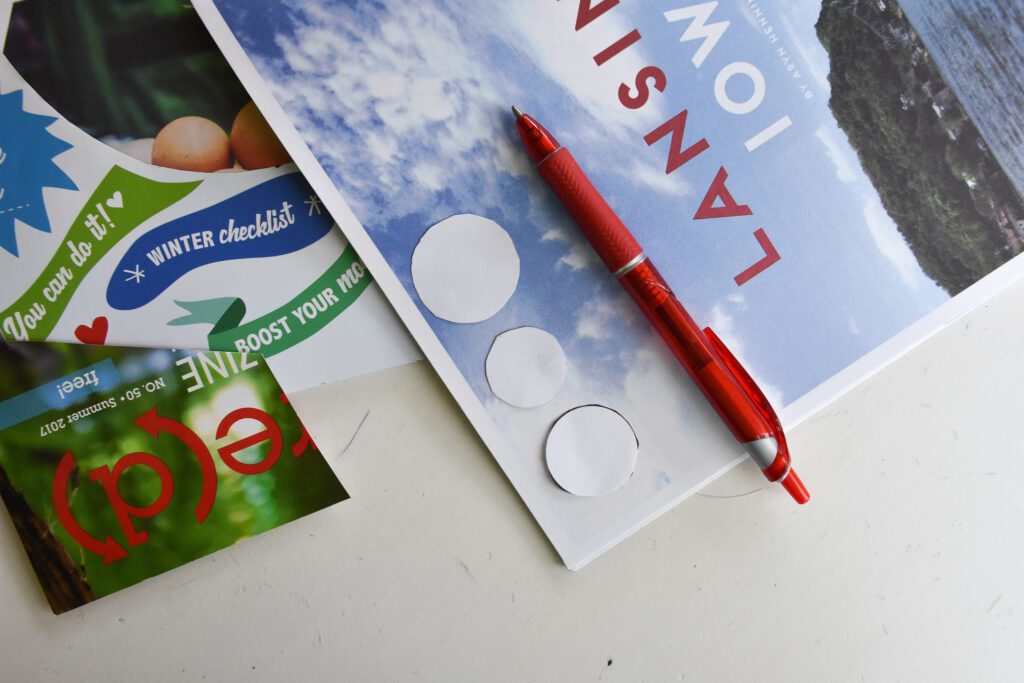
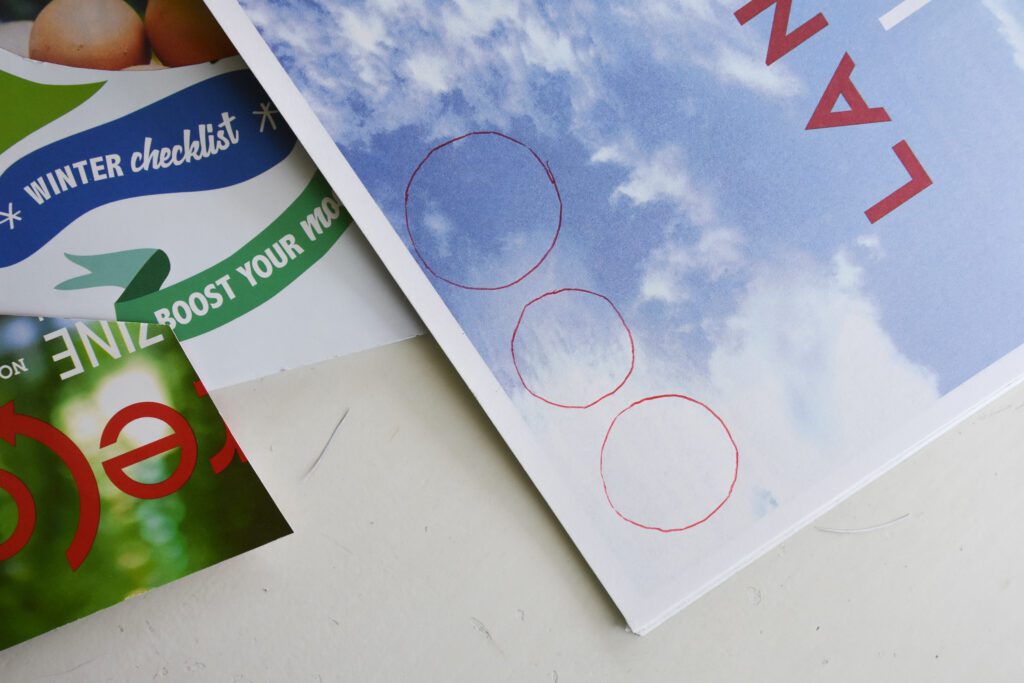
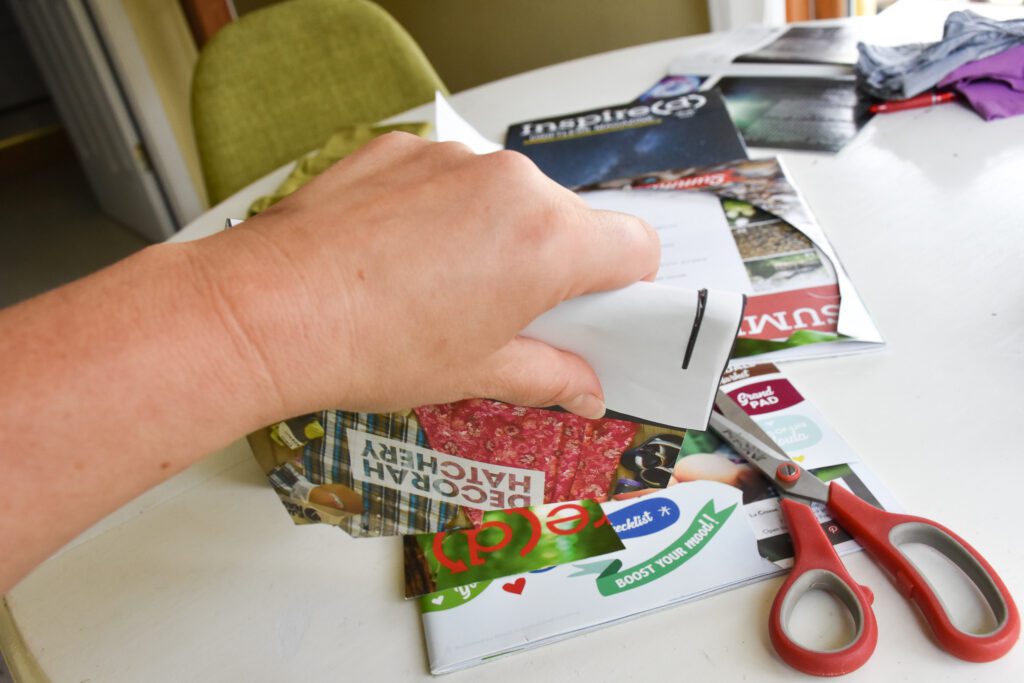
Take the circles and trace them over a colorful interior page of the magazine (or a collection of scrap paper).
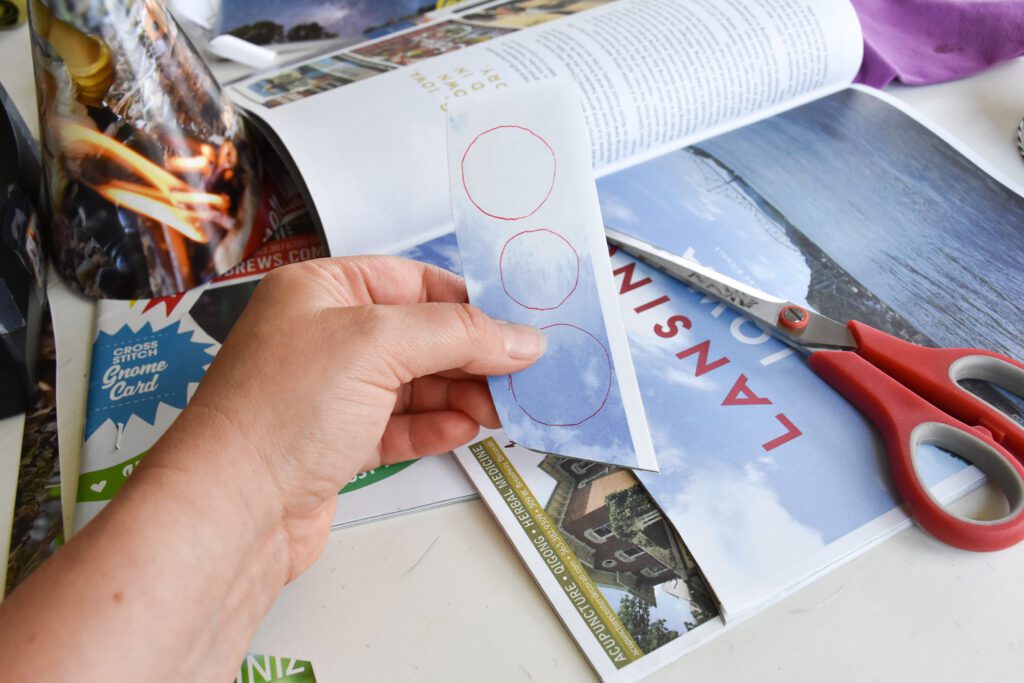
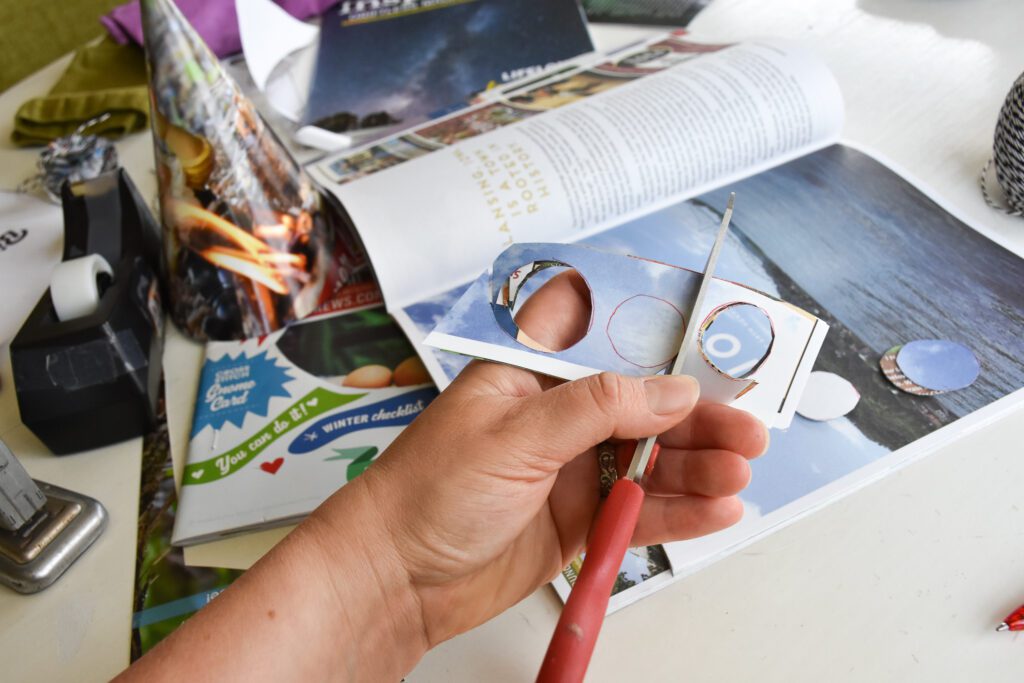
Cut out eight pages around the circles, then cut the circles out (so there’s a stack of eight pages in that left photo).
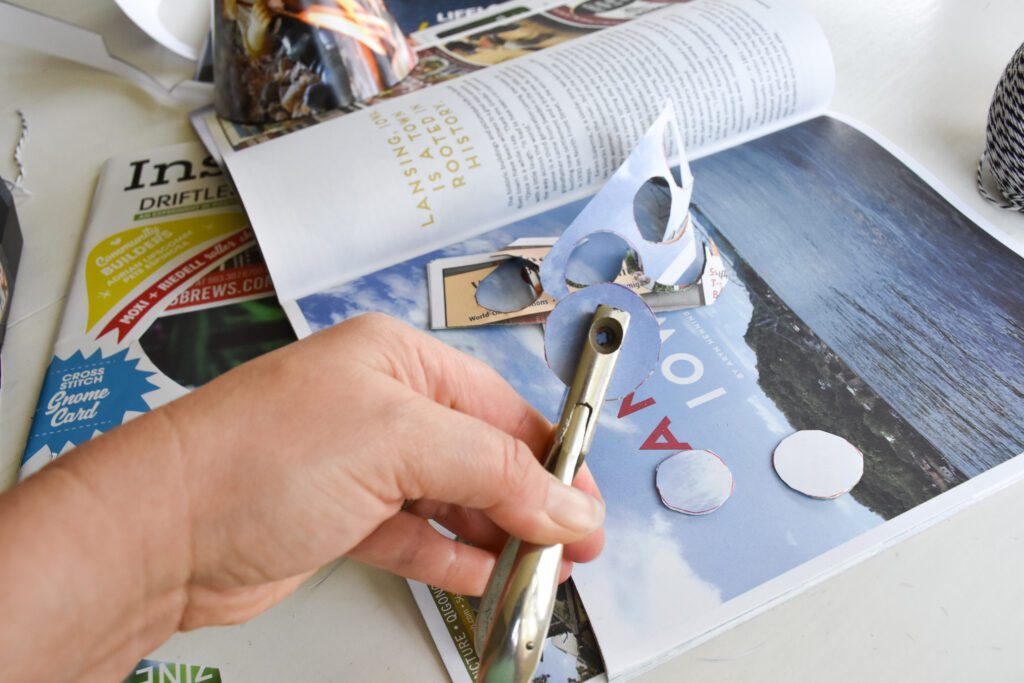
Using a paper punch to punch a hole in the middle of the groups of circles.
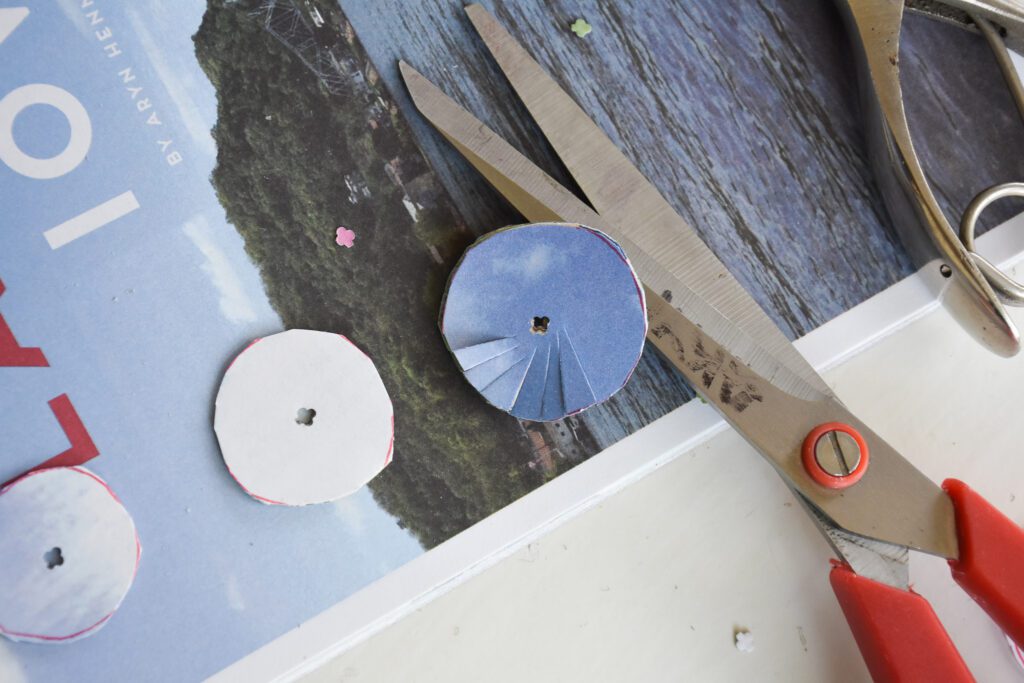
Cut a fringe around each stack of circles.
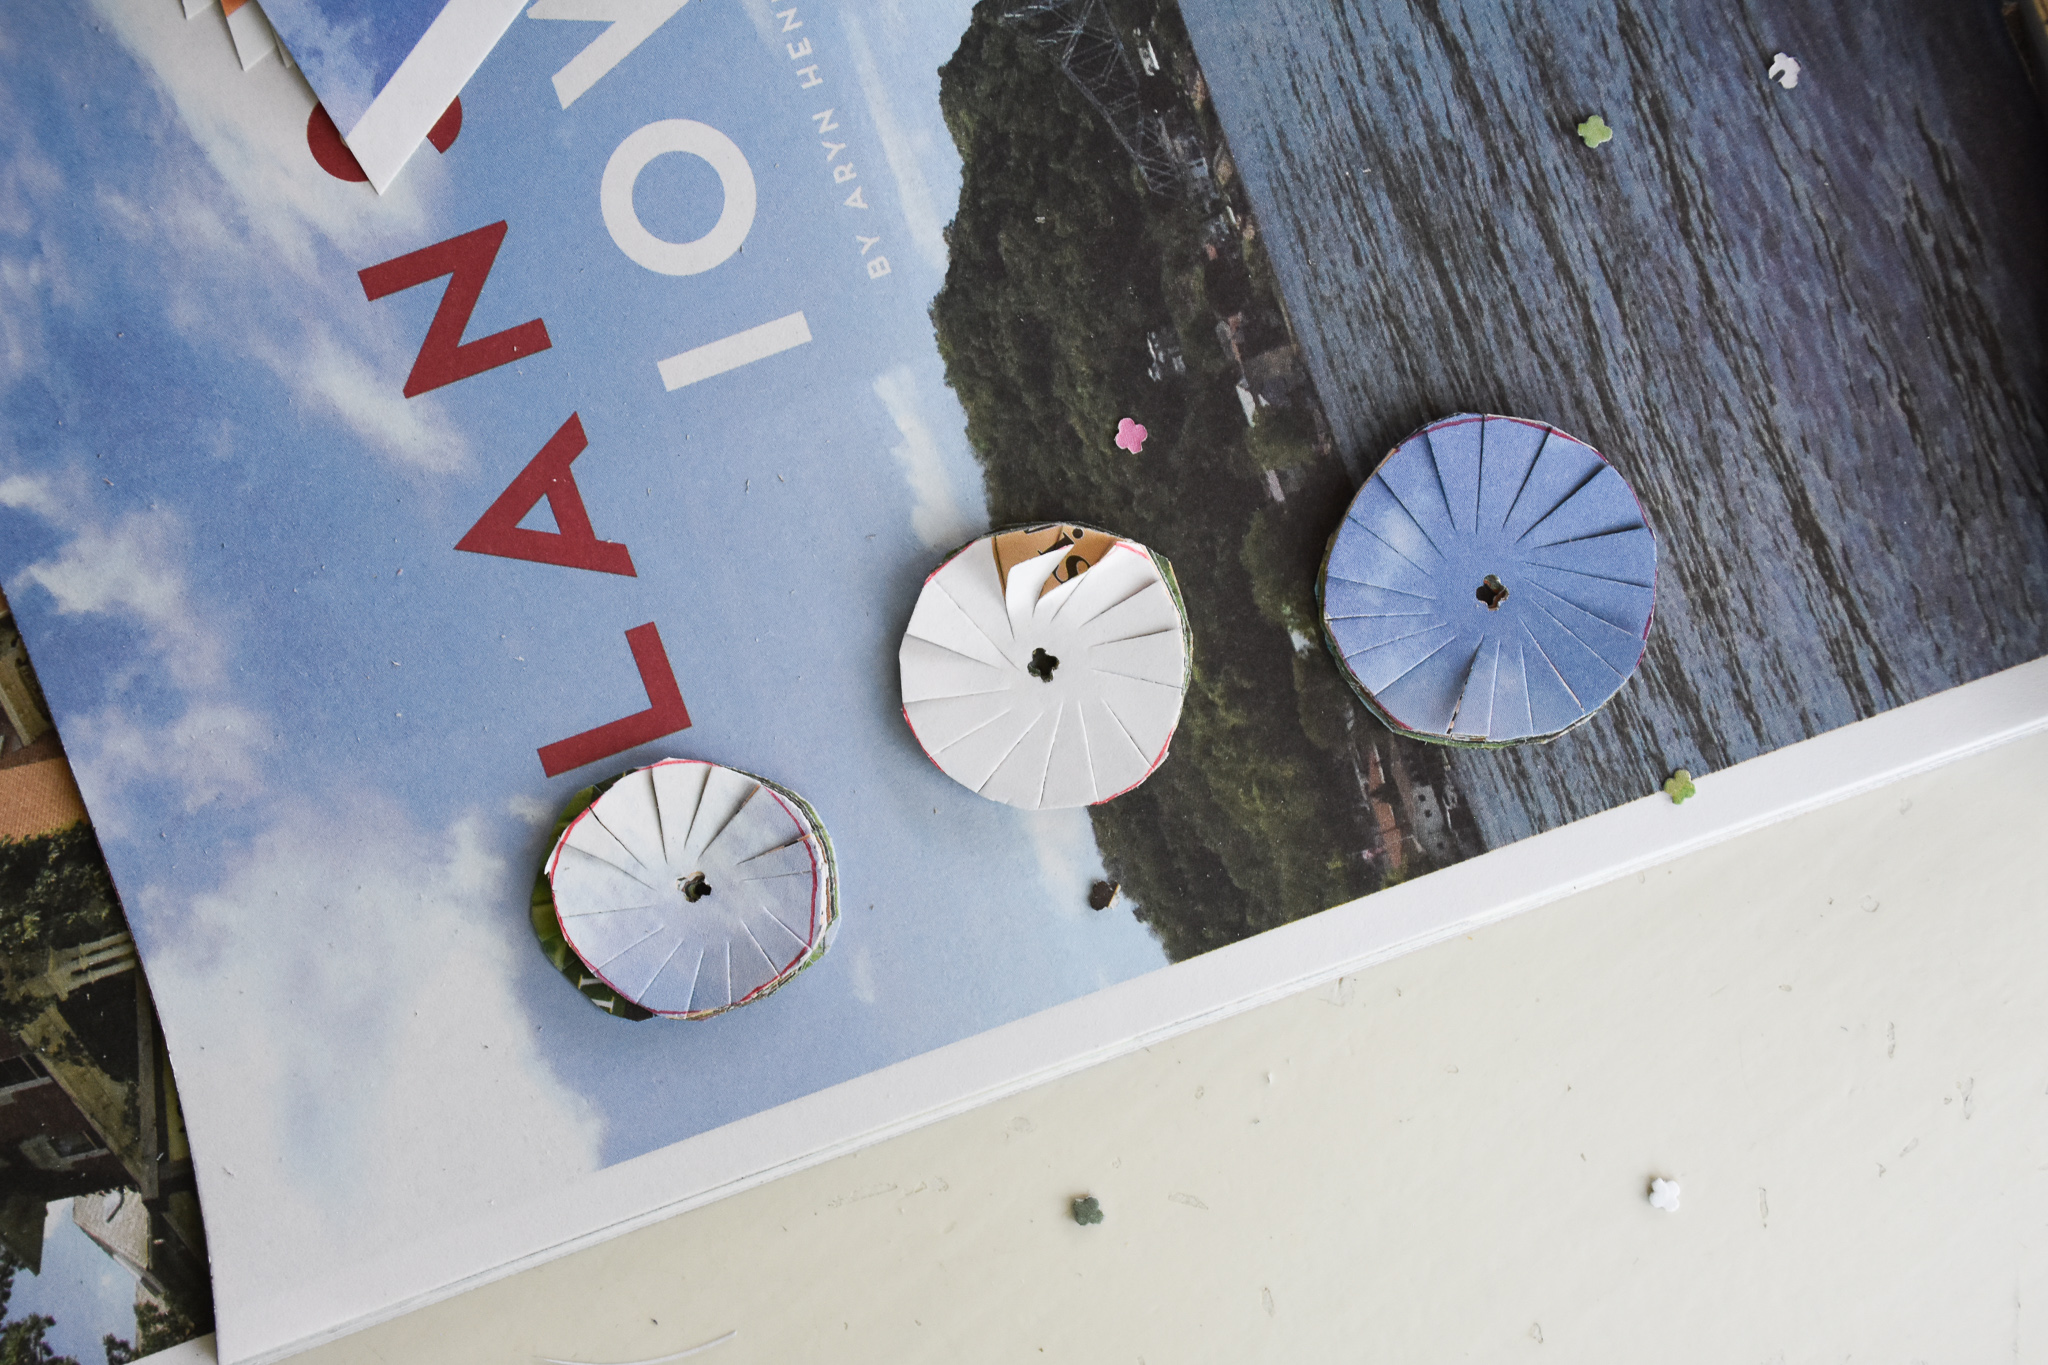
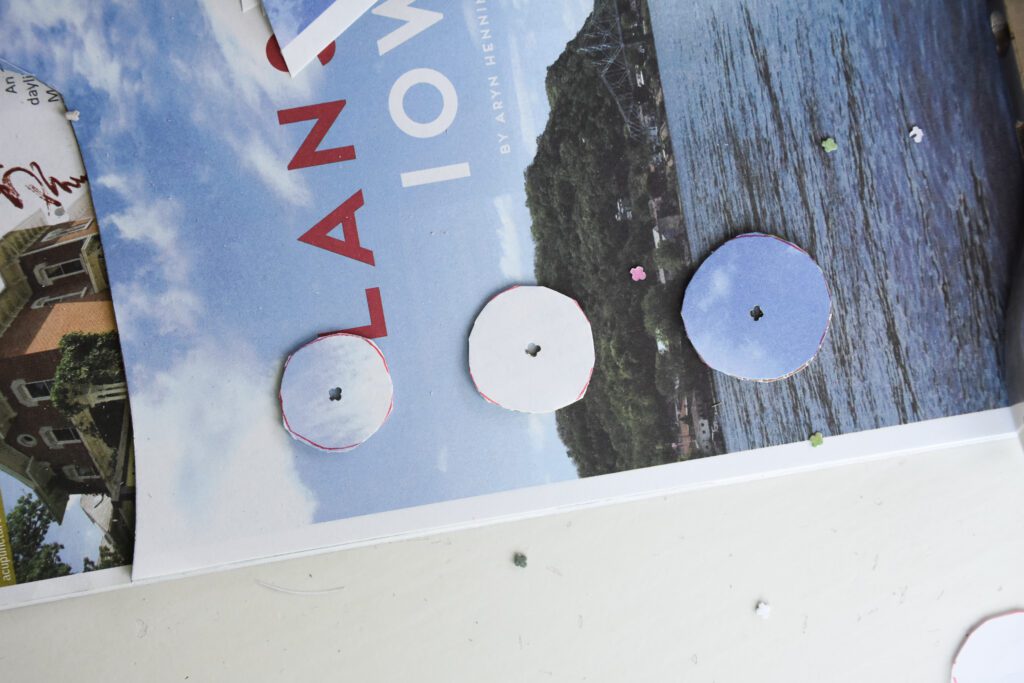
They will look like this when you’re done.
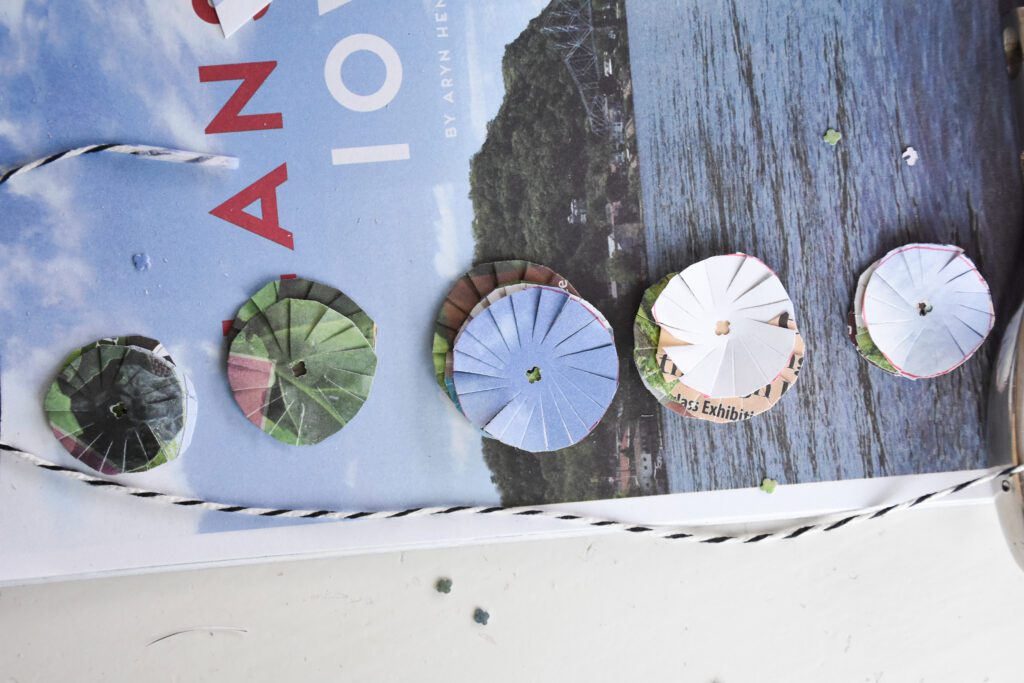
Arrange the circles like this: four small, four medium, eight large, four medium, four small.
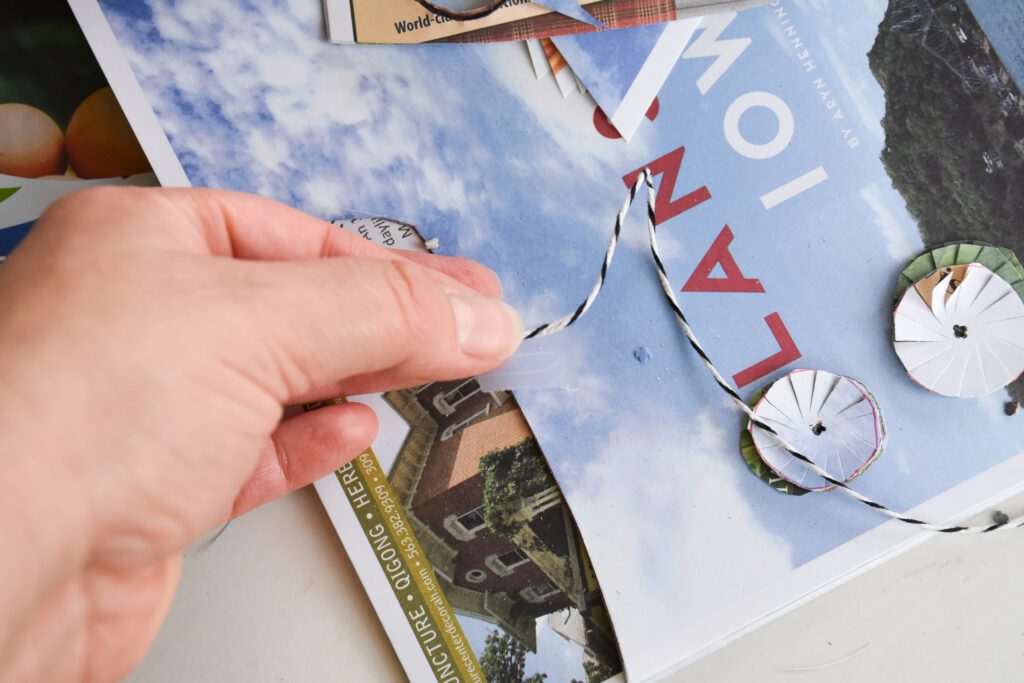
Cut a long piece of string – you want it long so it will stick out and be easy to pull through the hat. I put a little tape on the end of the string so it would be easier to thread through the paper punch holes.
Thread the string through the holes in order of their arrangement (so it will be a ball shape once it’s on the string).
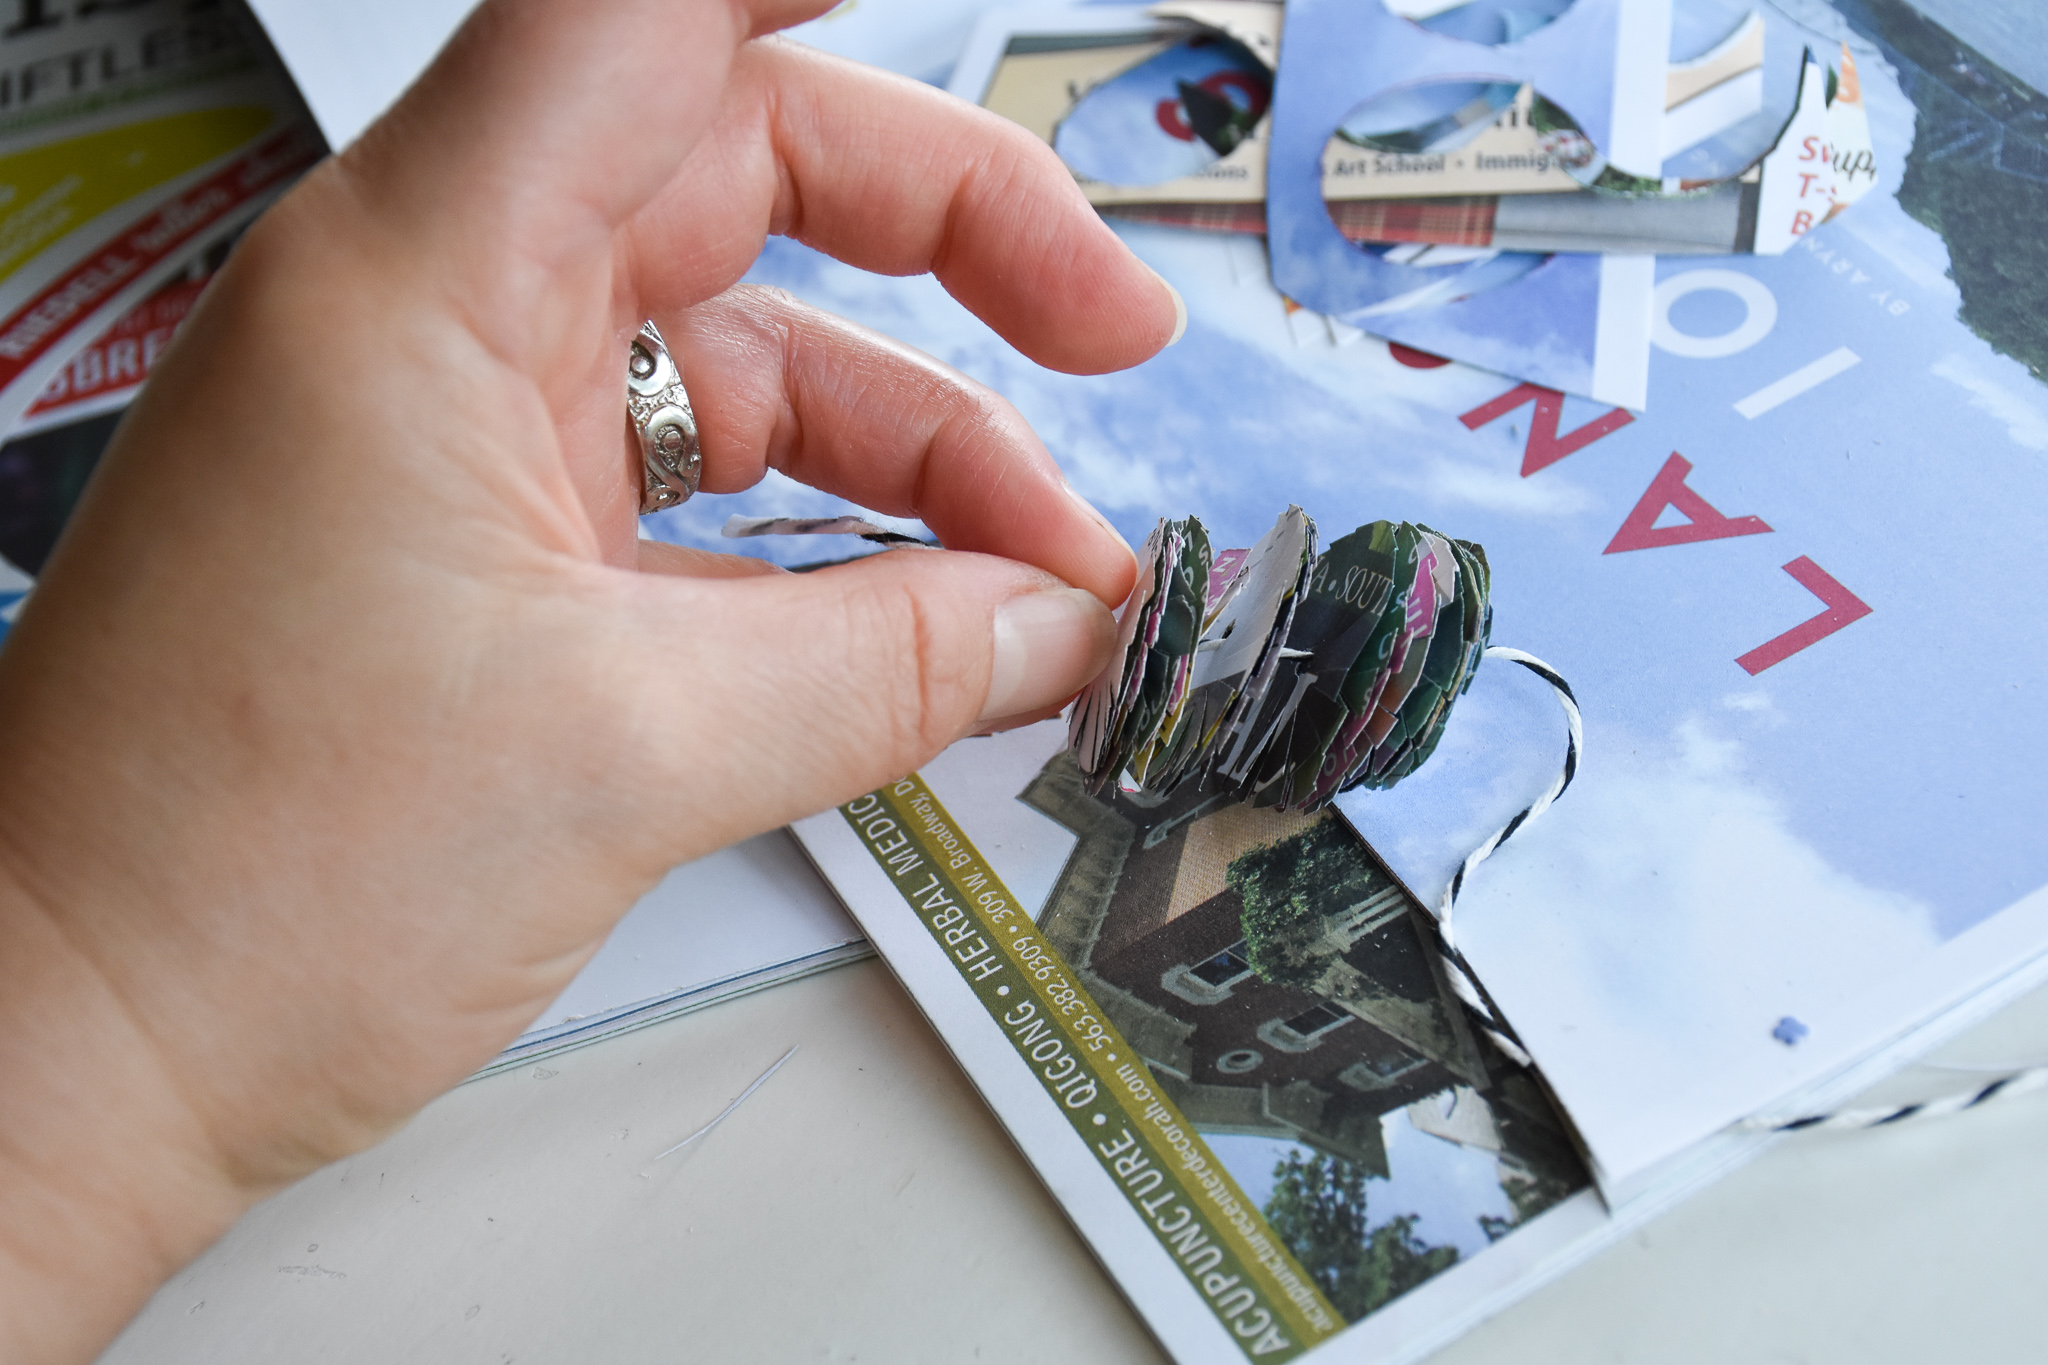
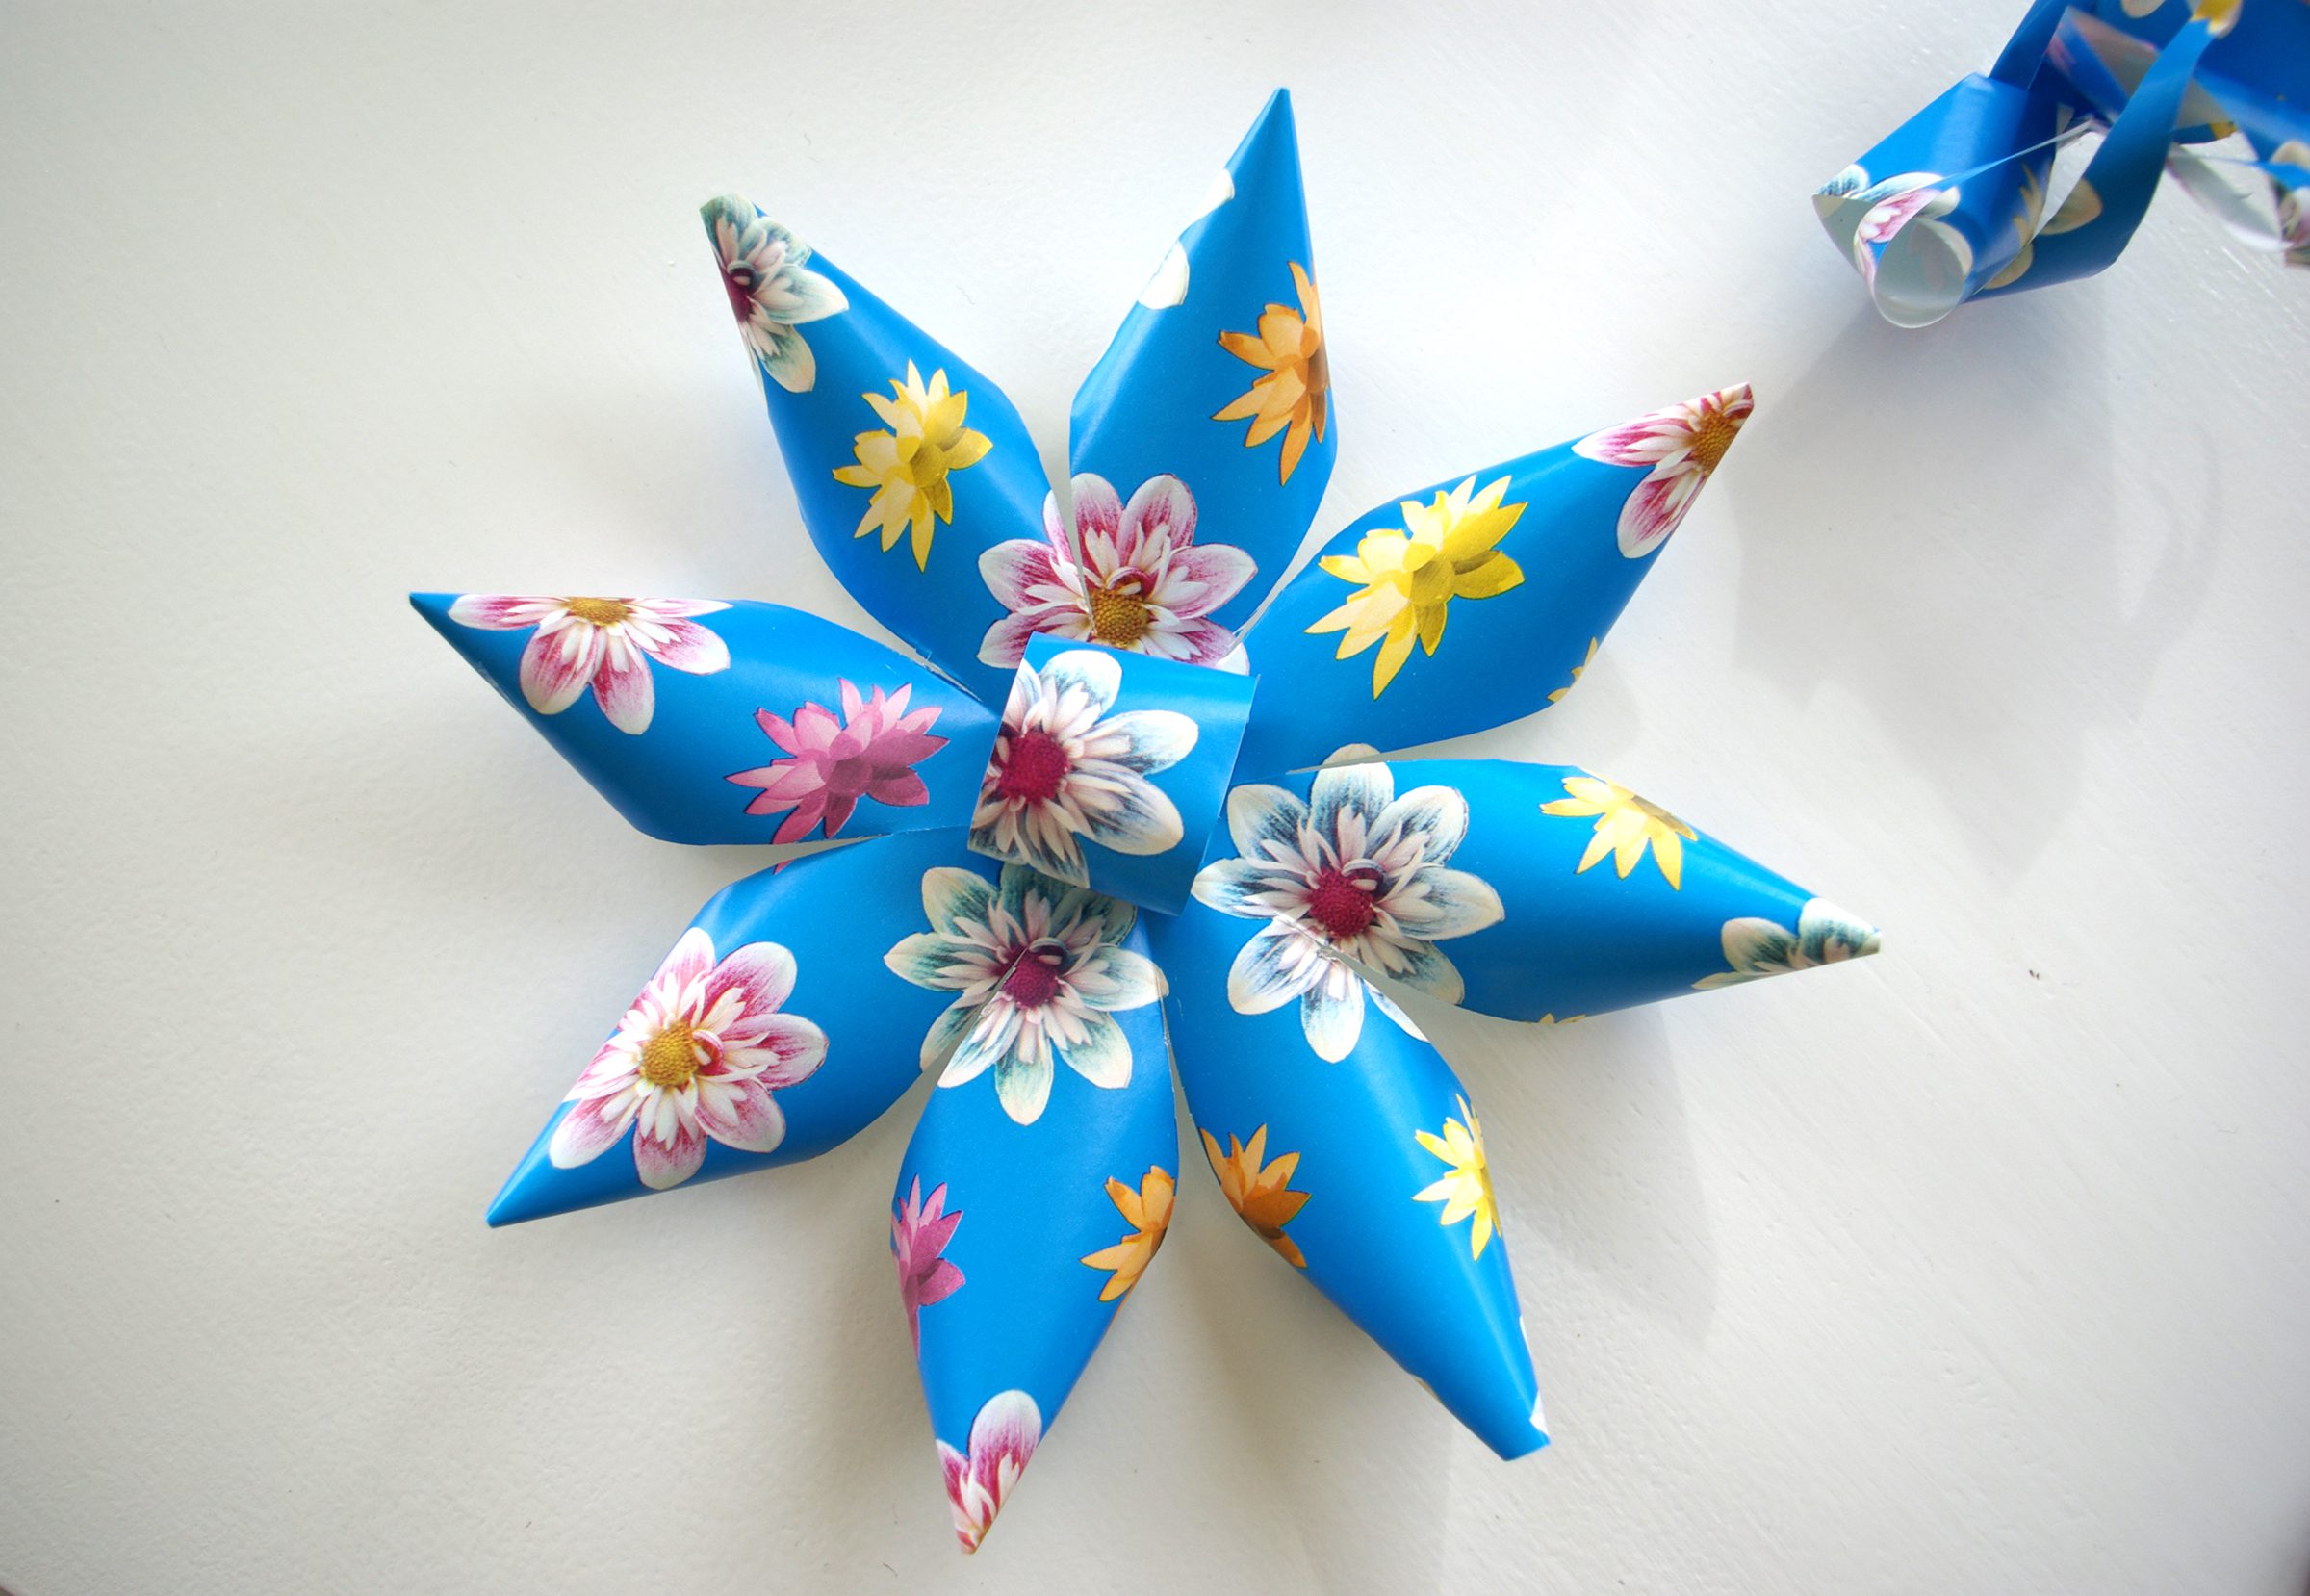
It will look like this! (These would also be cute in a line down a piece of string if you wanted to make paper pom pom garlands.)

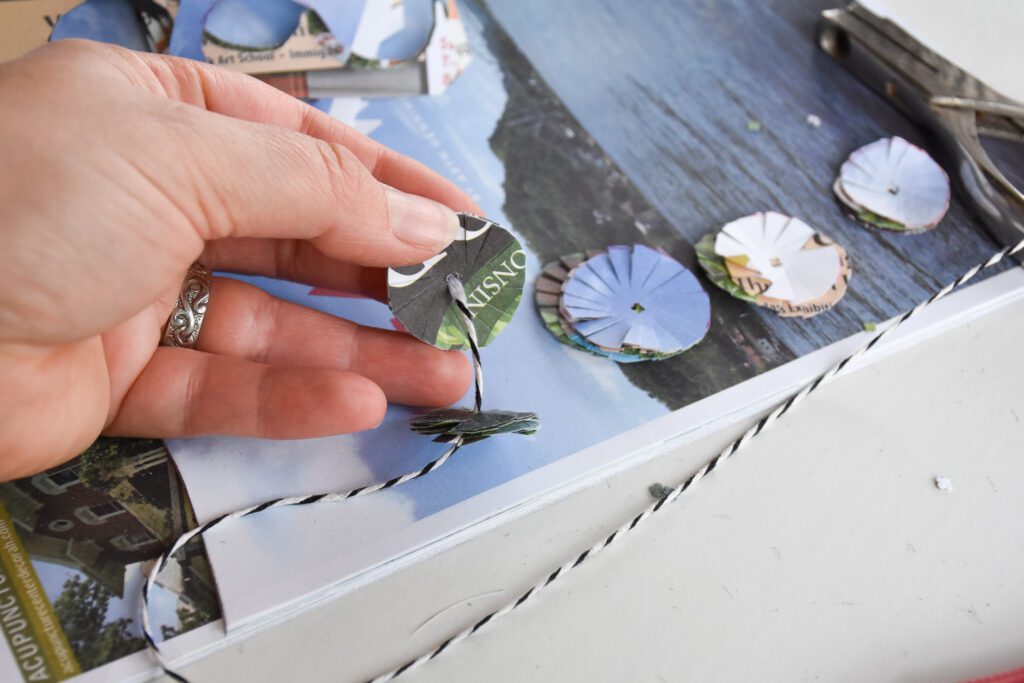
Tie a knot on one side of the circles and start fluffing them up.
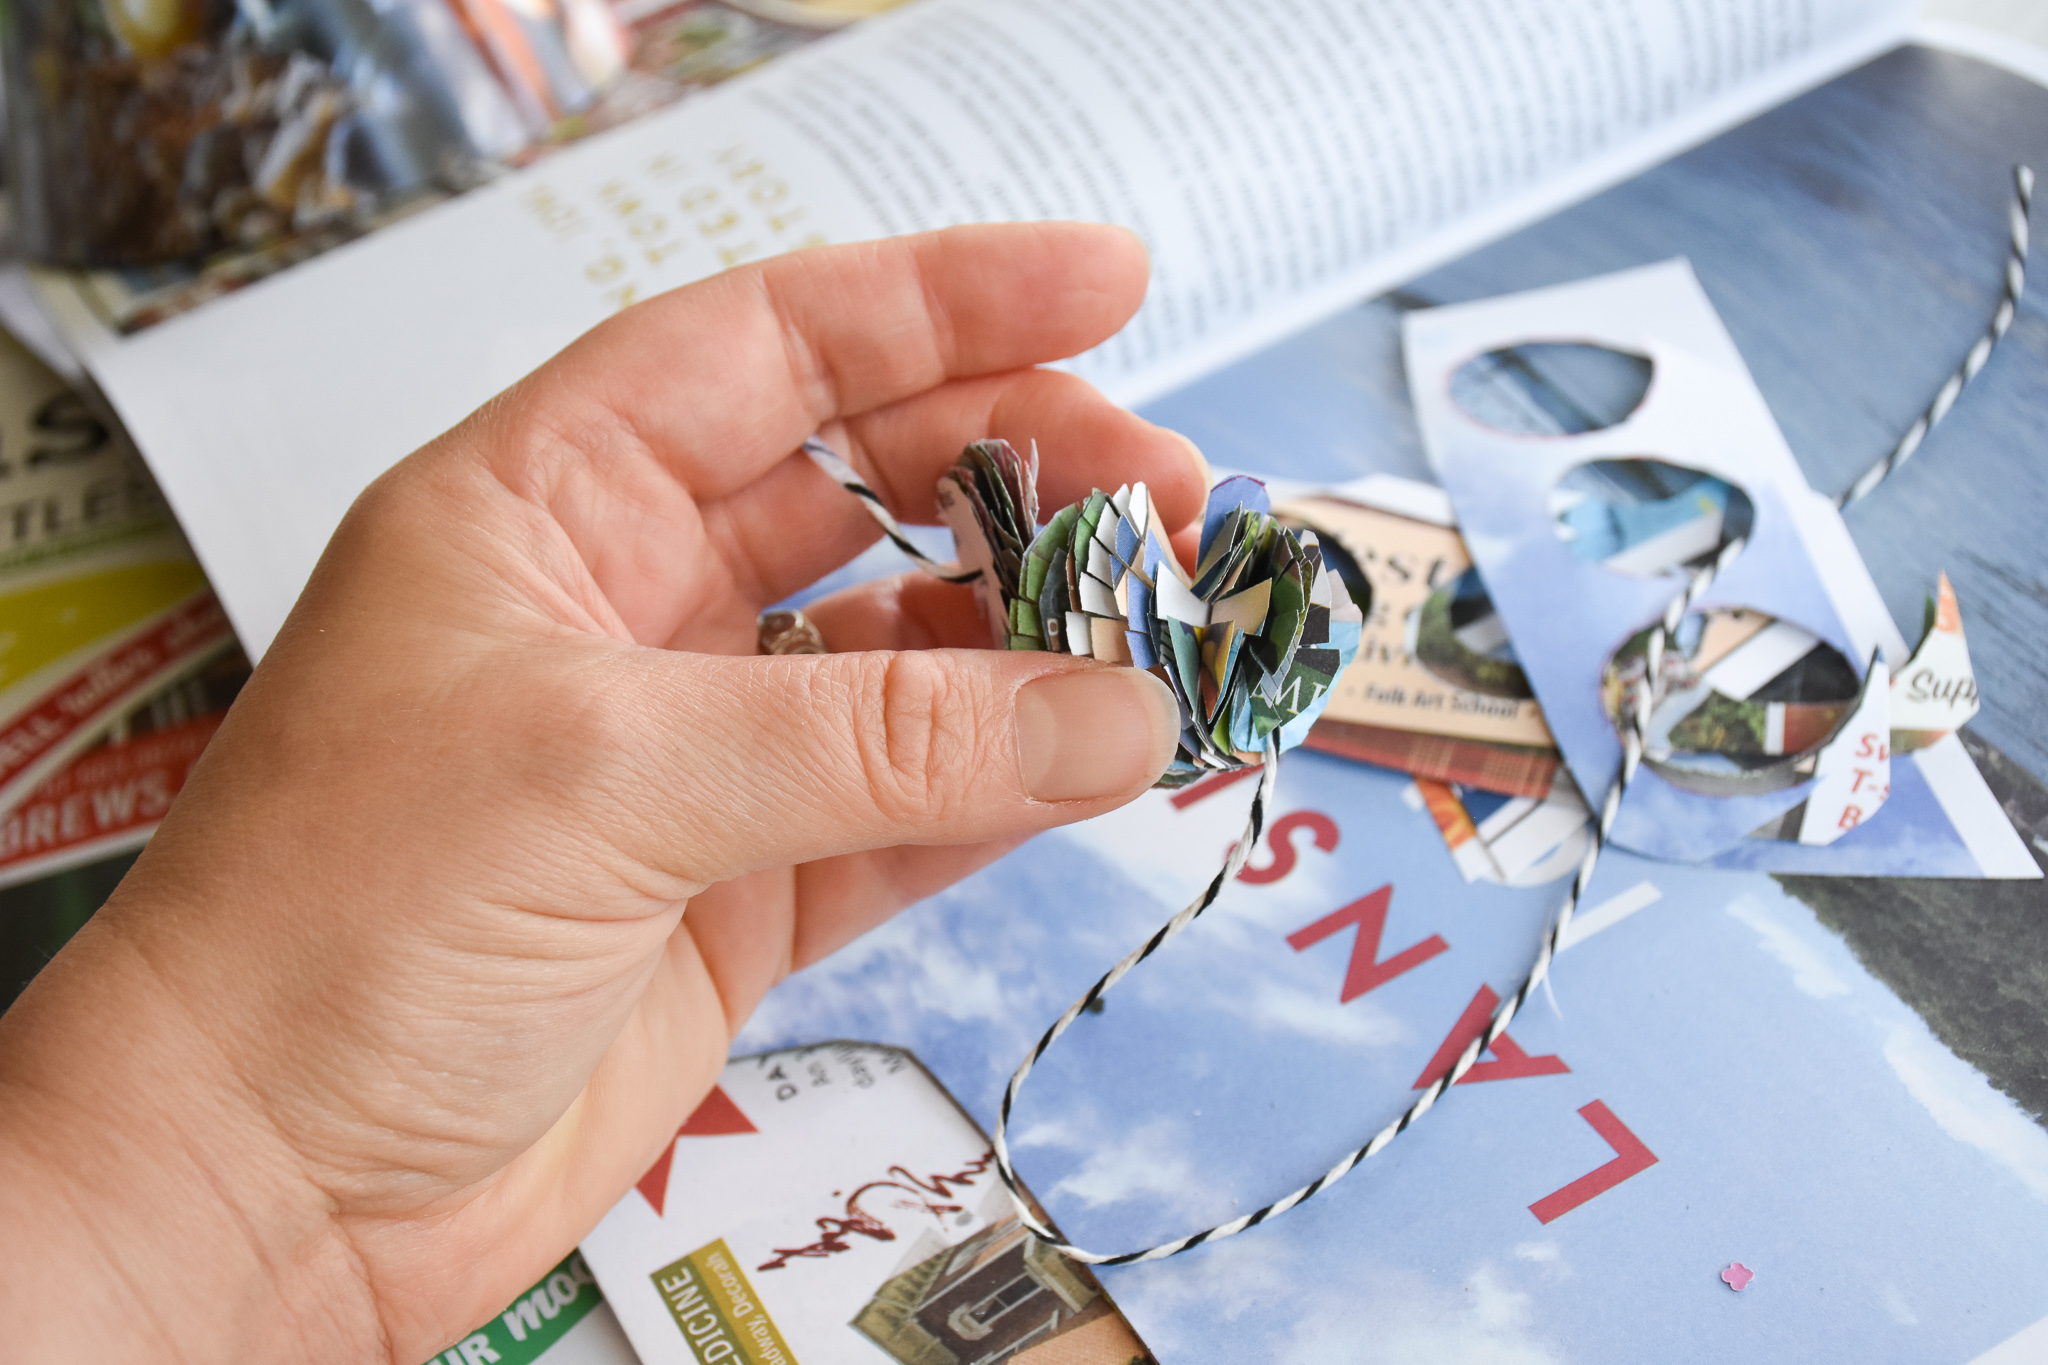
You can turn the circles around individually as well, so they fluff in different directions.
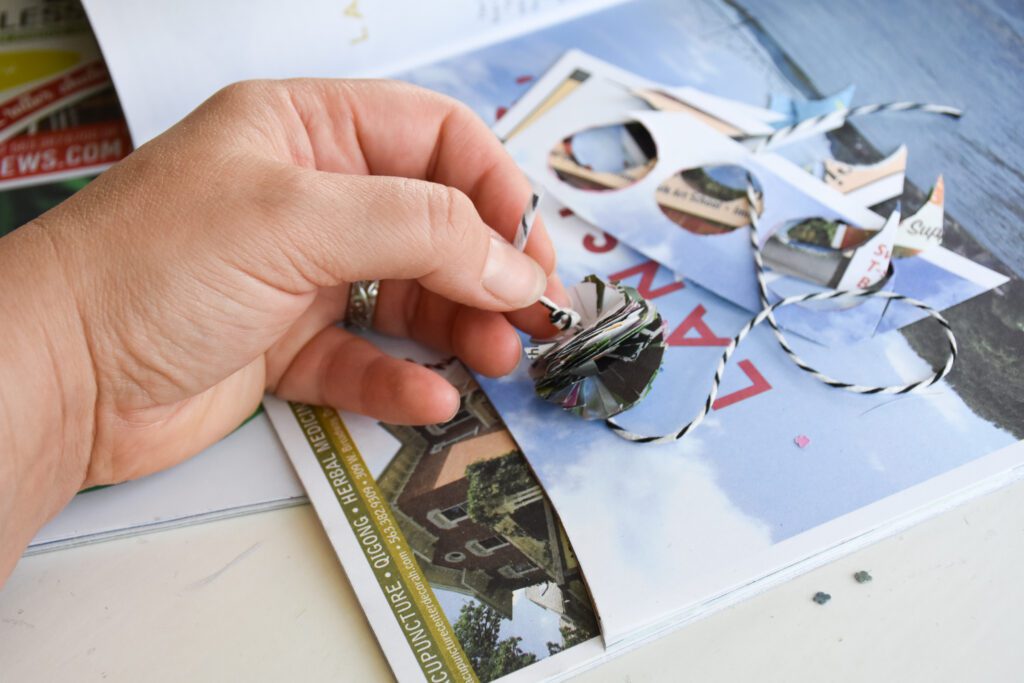
Tie a knot on the opposite side of the pom pom, and fluff up some more!

Time to attach the pom pom to the hat! Thread the string into the top opening of the hat. I ended up putting a small piece of tape at the top so the string wouldn’t slide down the slit.
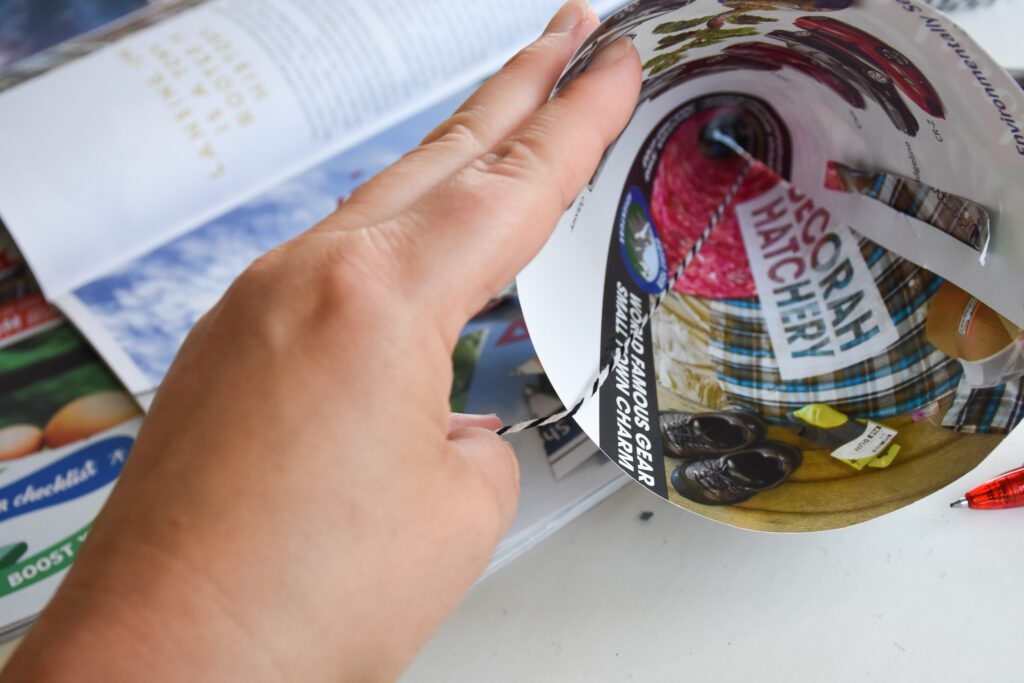
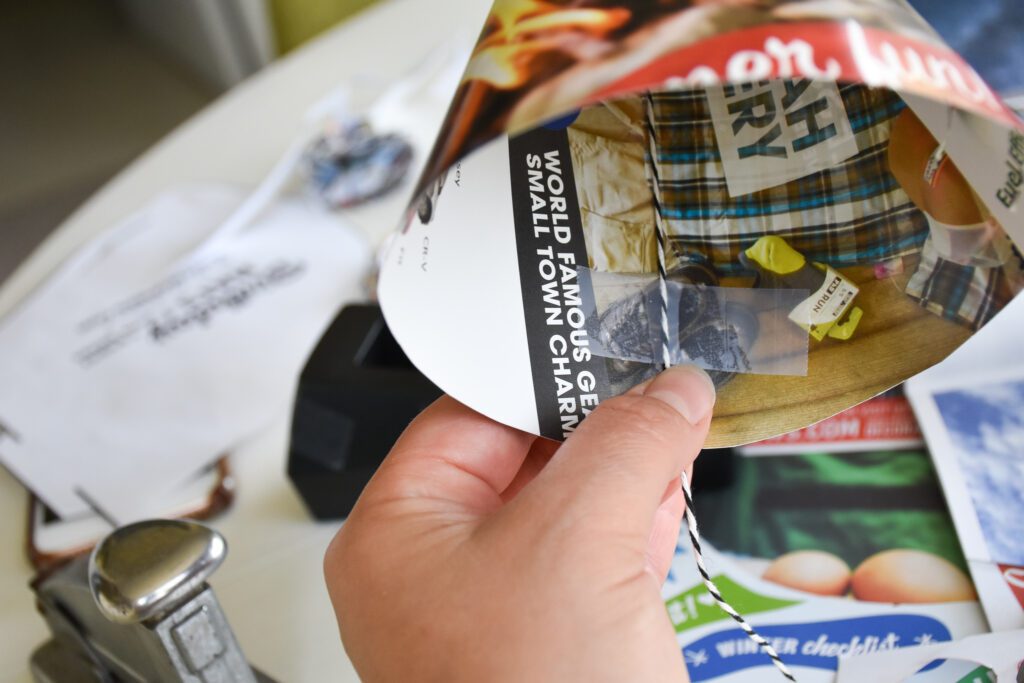
Pull the string through the hat so the pom pom is positioned at the top, how you like it, and then pull the string taut and tape it to the inside of the hat. You can trim excess string off.
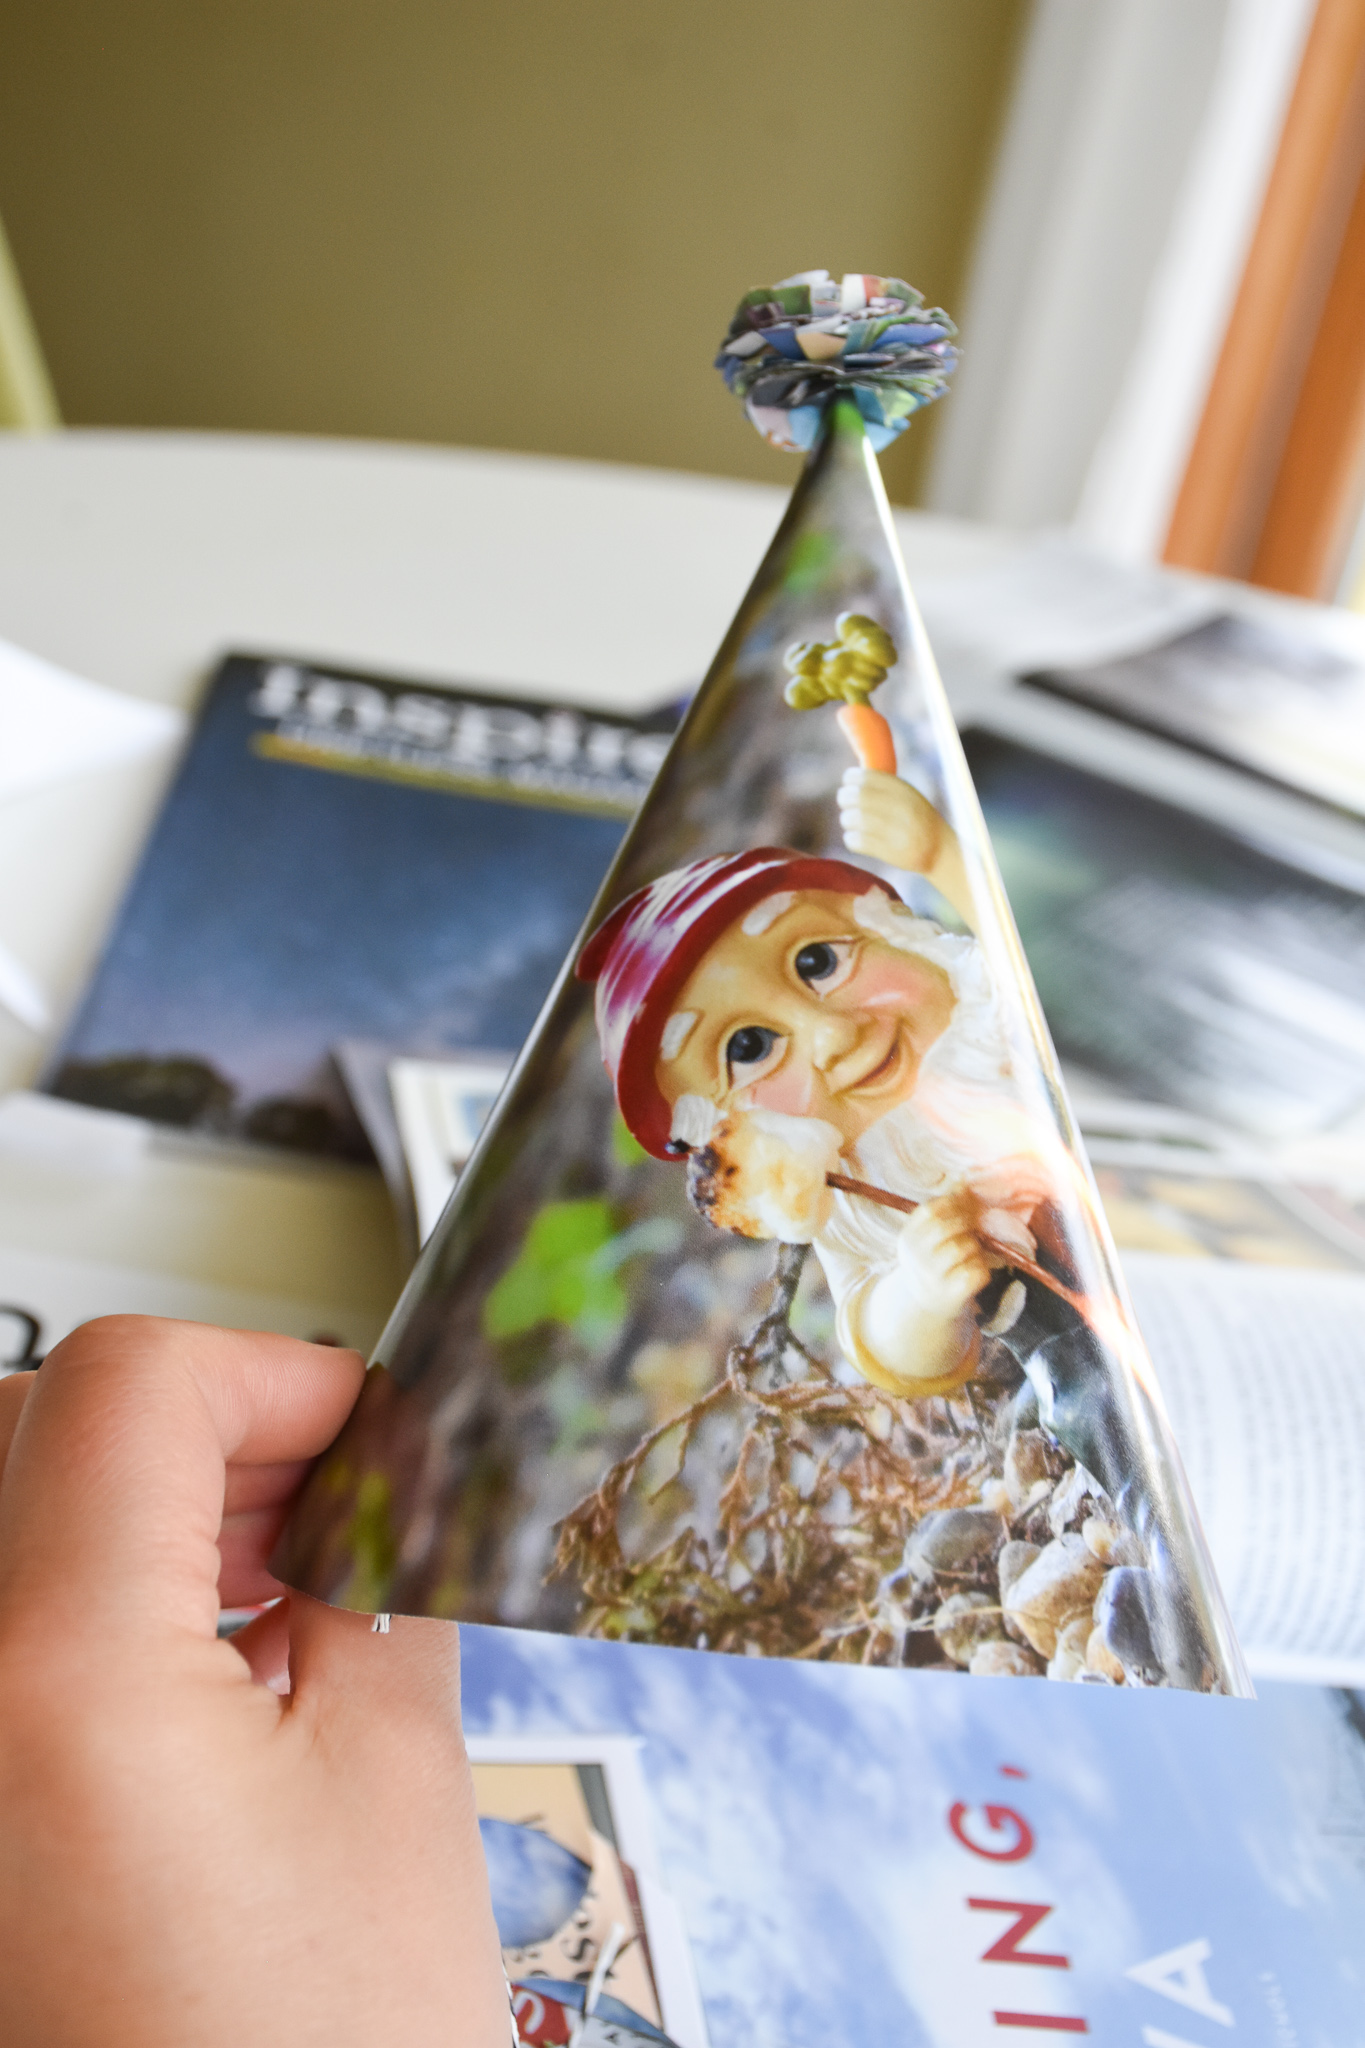
Almost there! It’s looking like a hat now! Time to attach the rubber bands so you, in turn, can attach the hat to your head.
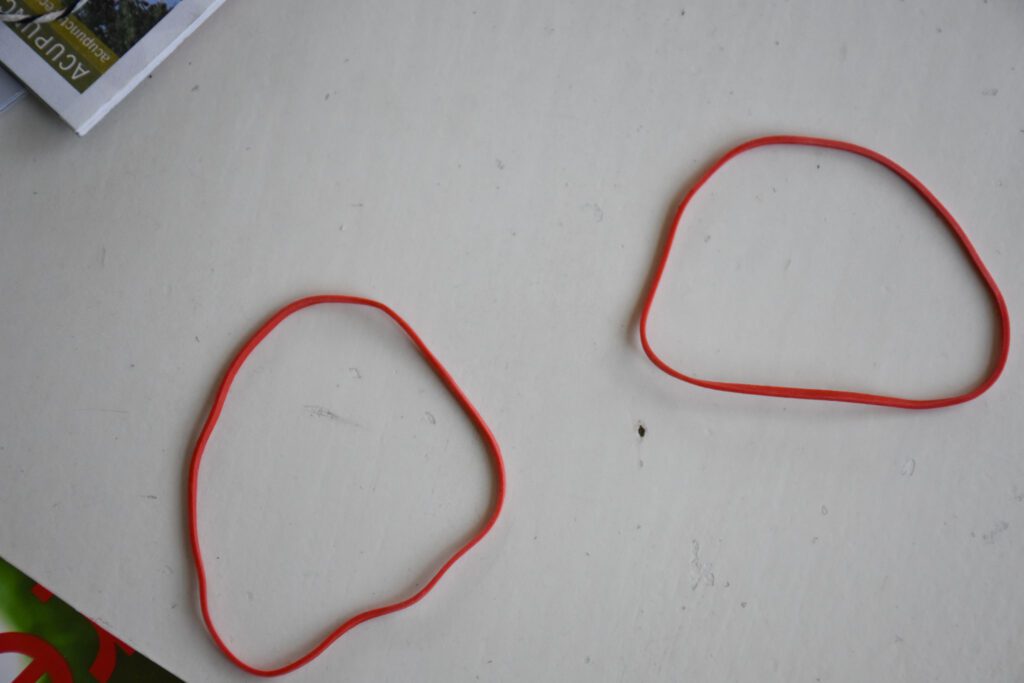
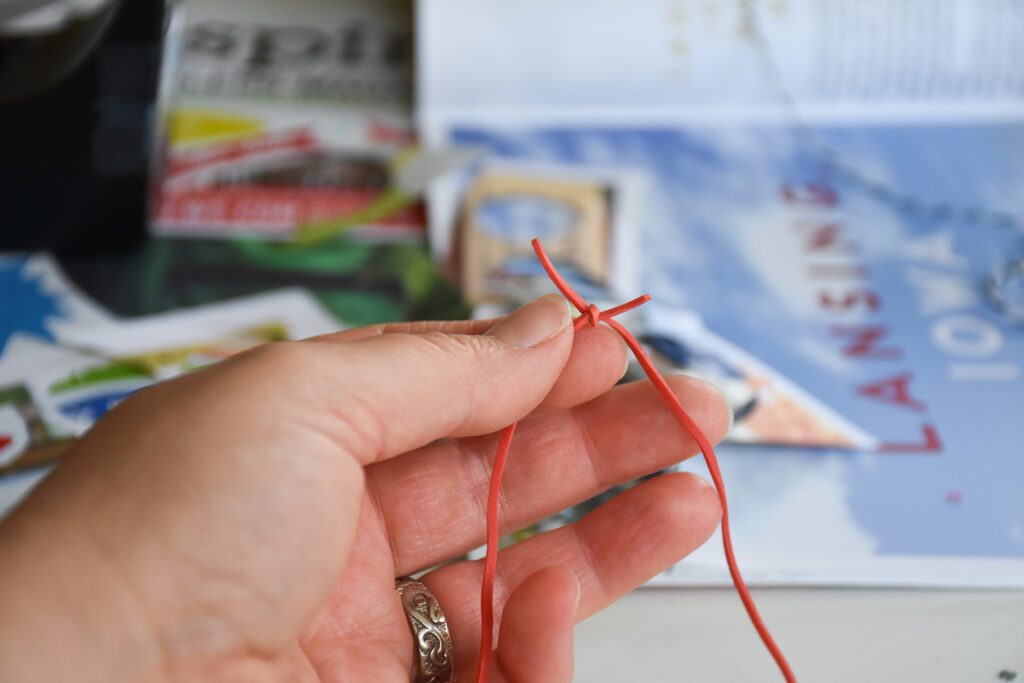
If you can find extra large rubber bands, you might get away with using just one. I could not, and had to use two. Cut each rubber band once, and tie them together.
Staple the rubber band ends so that the hat will be positioned how you like it when you put it on your head. One end across from the other.
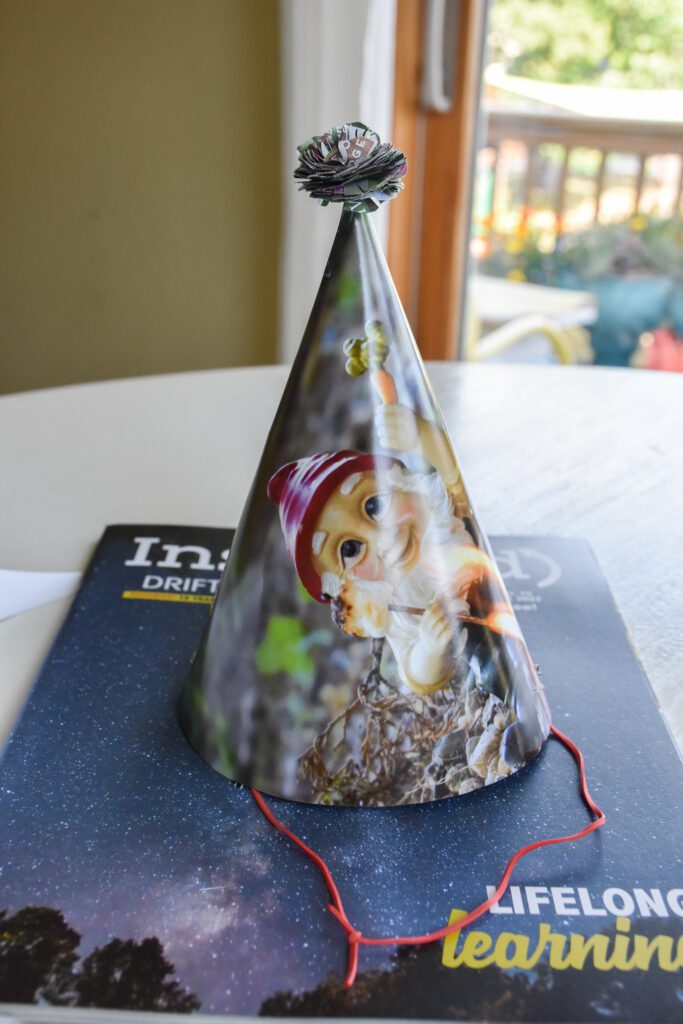
Ta da! An Inspire(d) birthday hat + paper pom poms! If you make one, make sure to tag us on social media @iloveinspired. Thanks for being Inspire(d) for 16 years!!!!
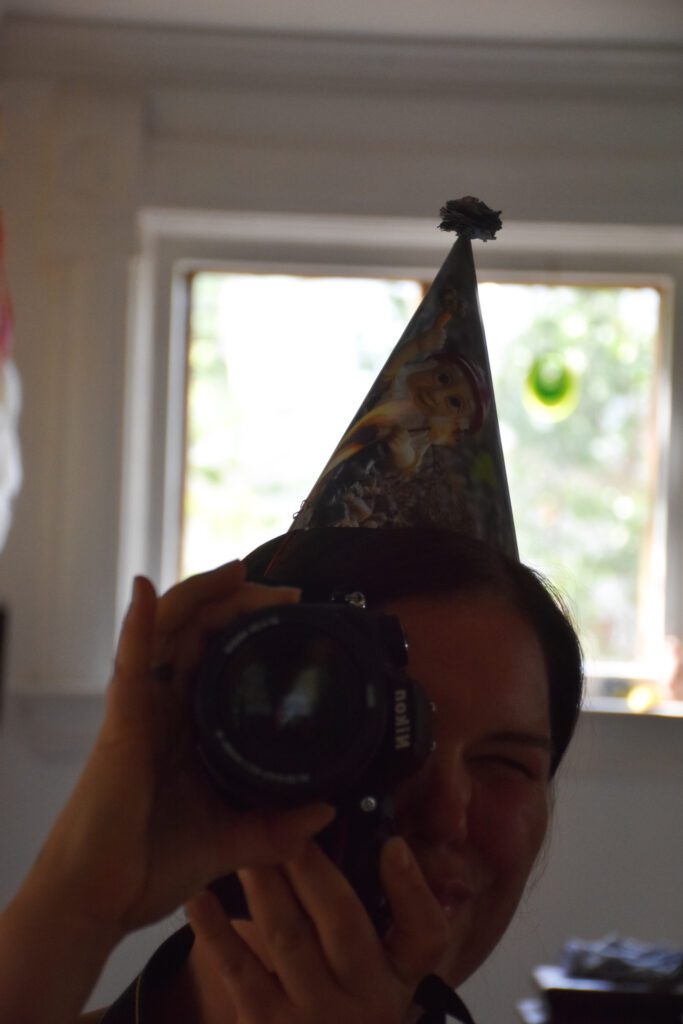
(wait, this isn’t how you do selfies!!!) xoxo- Aryn