Make It: Paper Seed Starter Boxes!
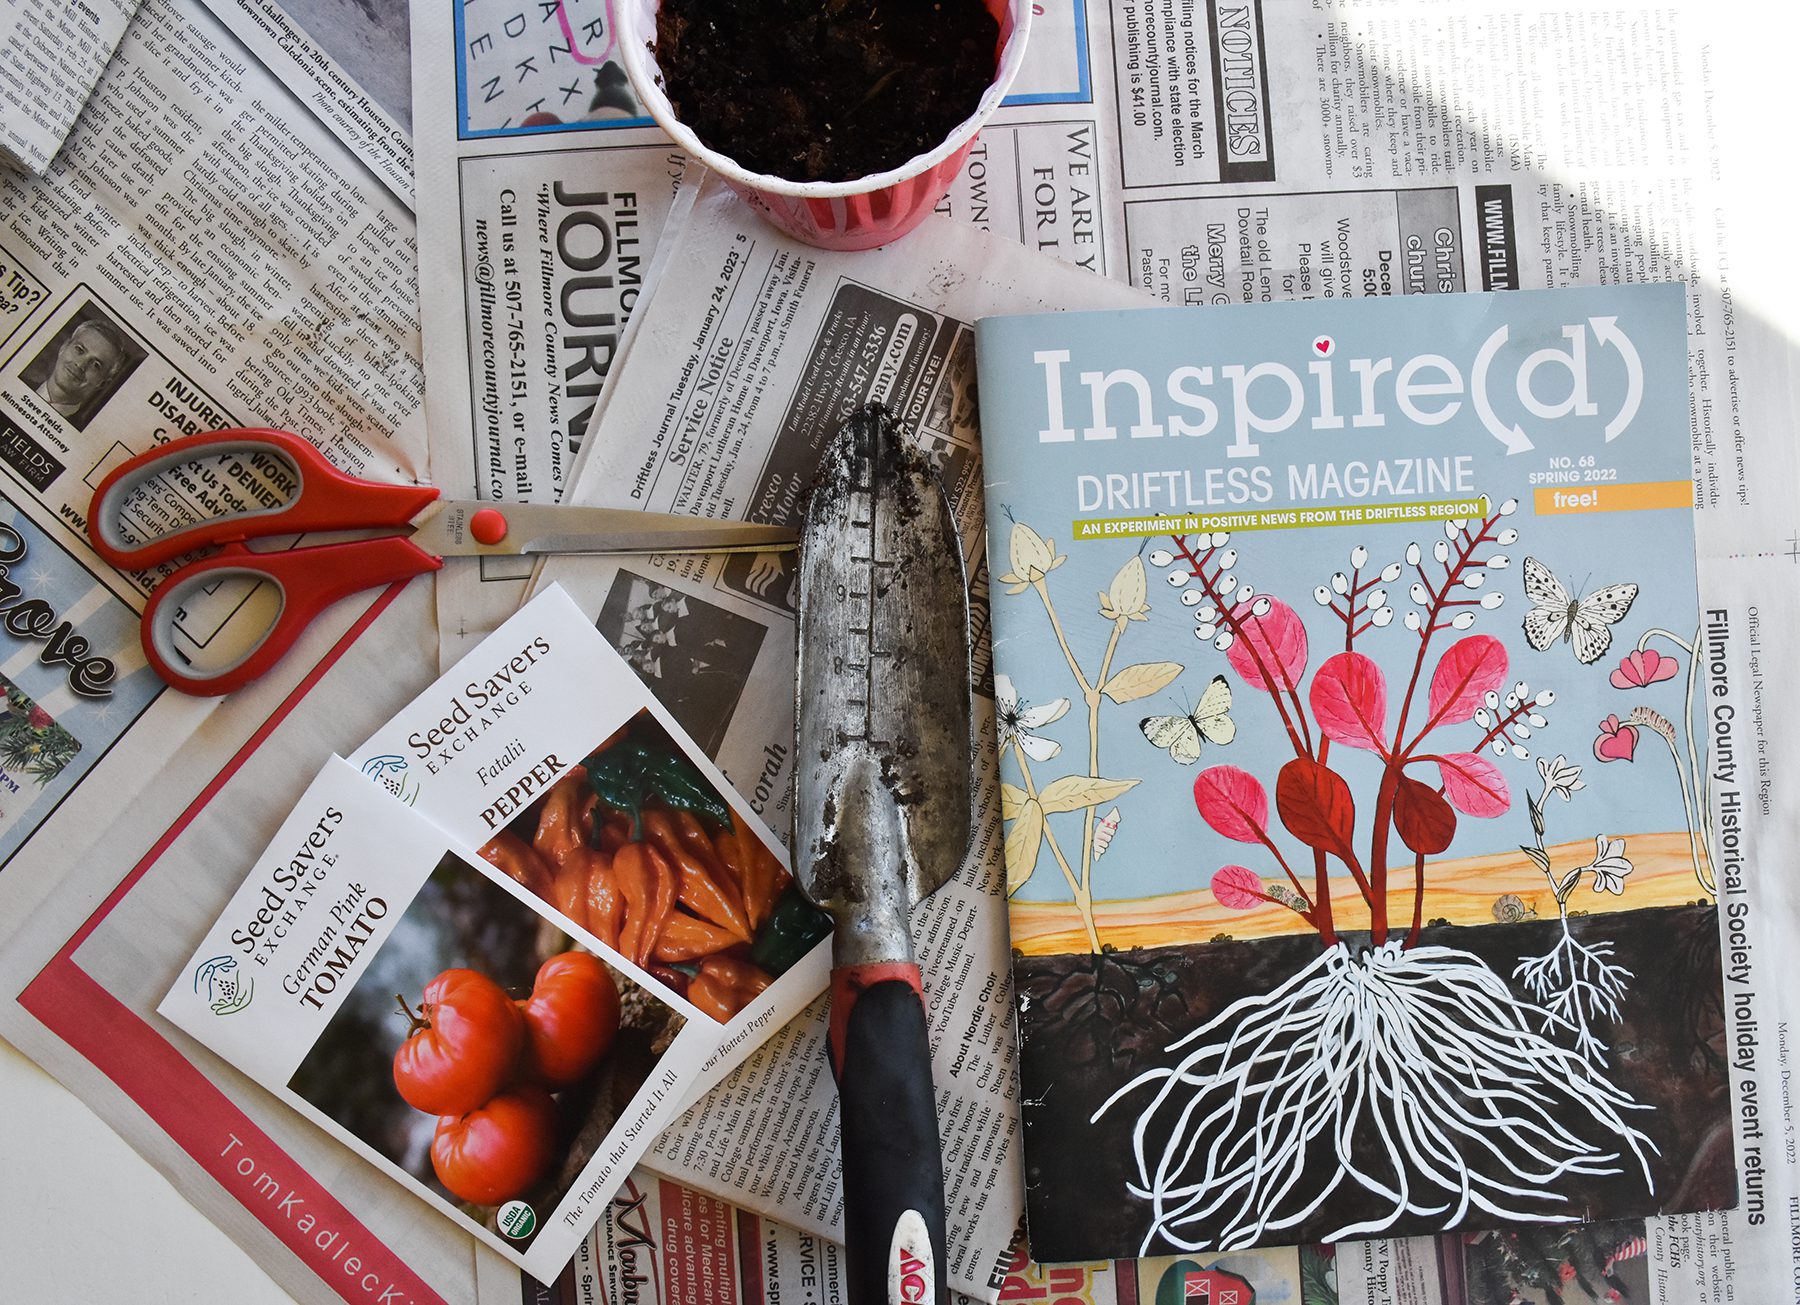
Supplies – Gather your things for your paper seed starter boxes:
1. Newspaper (our local newspaper was more of a tabloid size when we made this tutorial. If your newspaper is more of a traditional size – think 11-12 inches wide – you won’t need to trim it).
2. Inspire(d) Magazine for measuring (a ruler works too, hah) – pictured here is the Spring 2022 Inspire(d)!
3. Scissors
4. Seeds of your desired future plants
5. Soil – check out this throw-back post for tips on soil and seed starting in general
6. Spade or other soil moving utensil
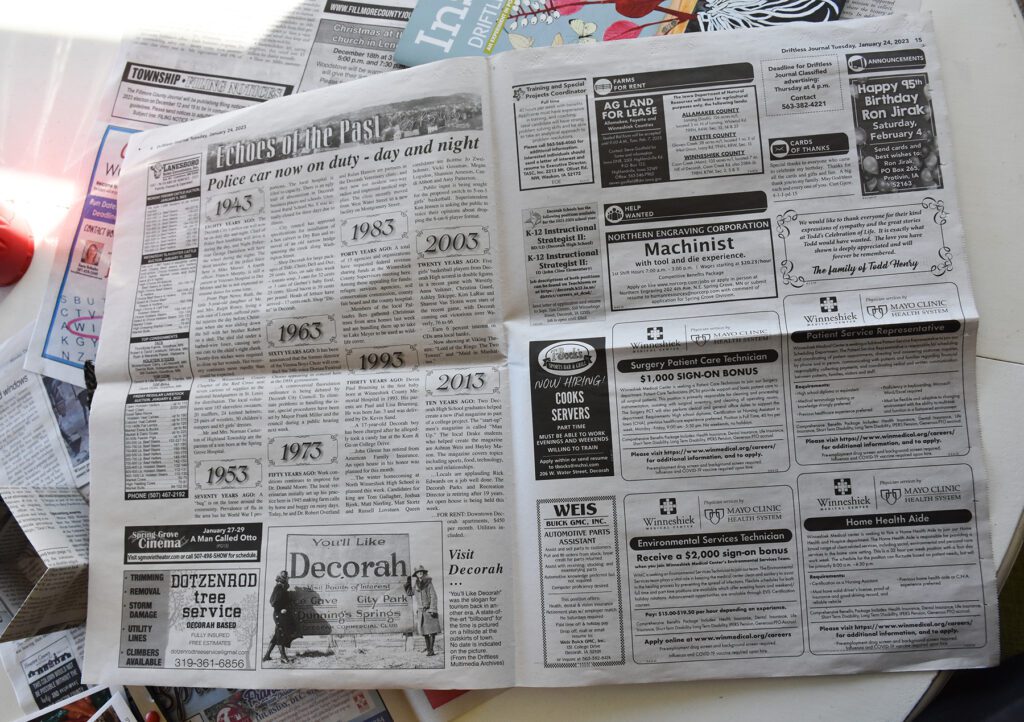
You’ll use one full sheet of newspaper, or half a sheet if your newspaper is more the standard size. This one, as mentioned, is more of a tabloid size.
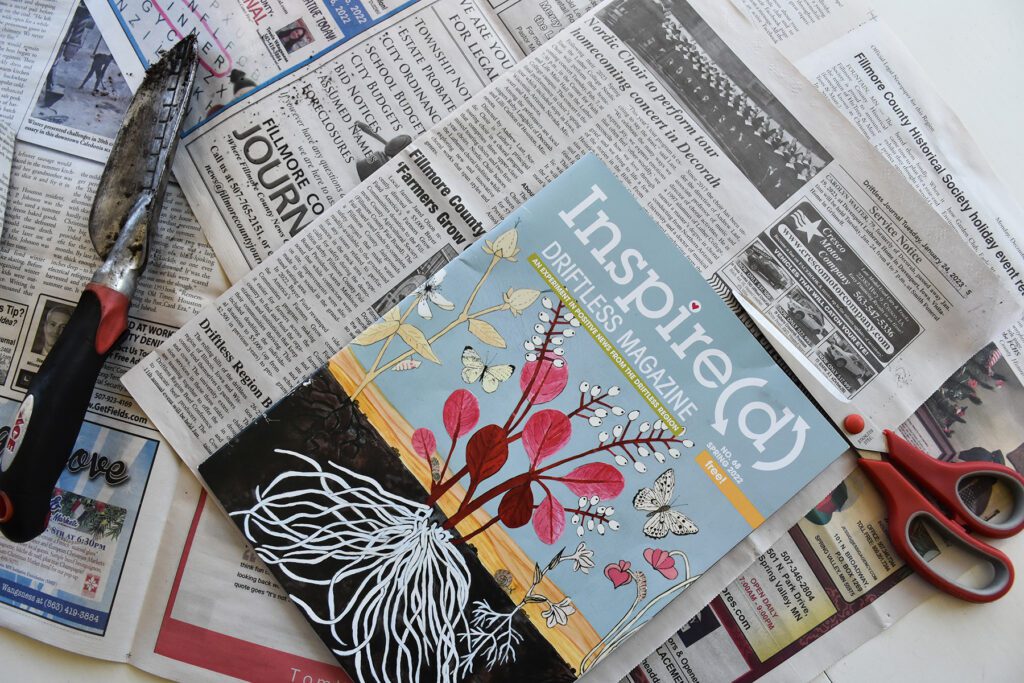
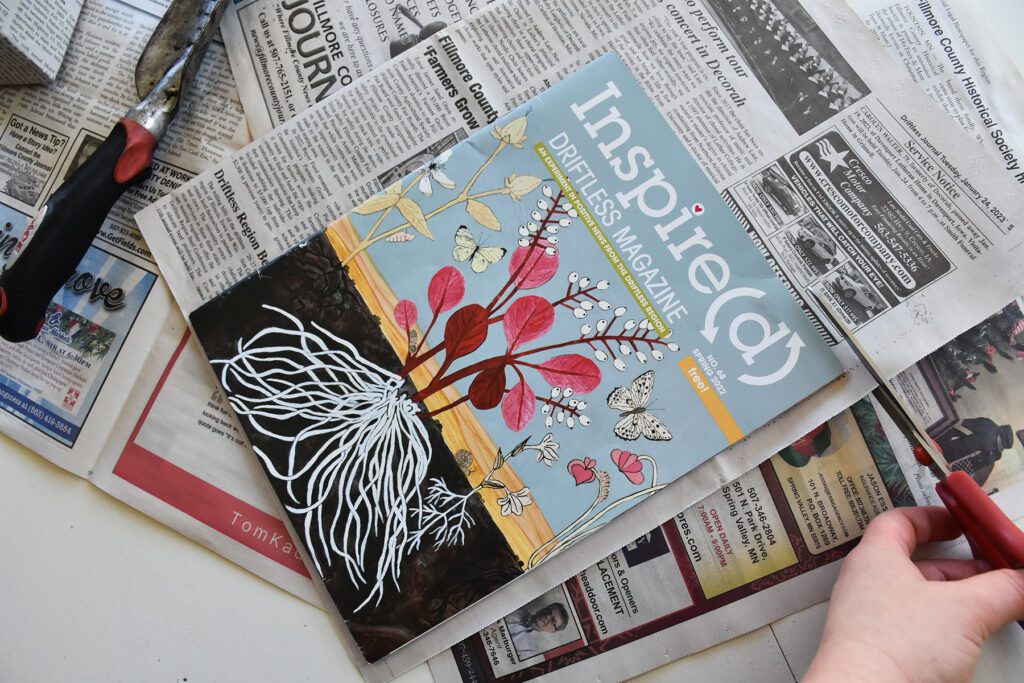
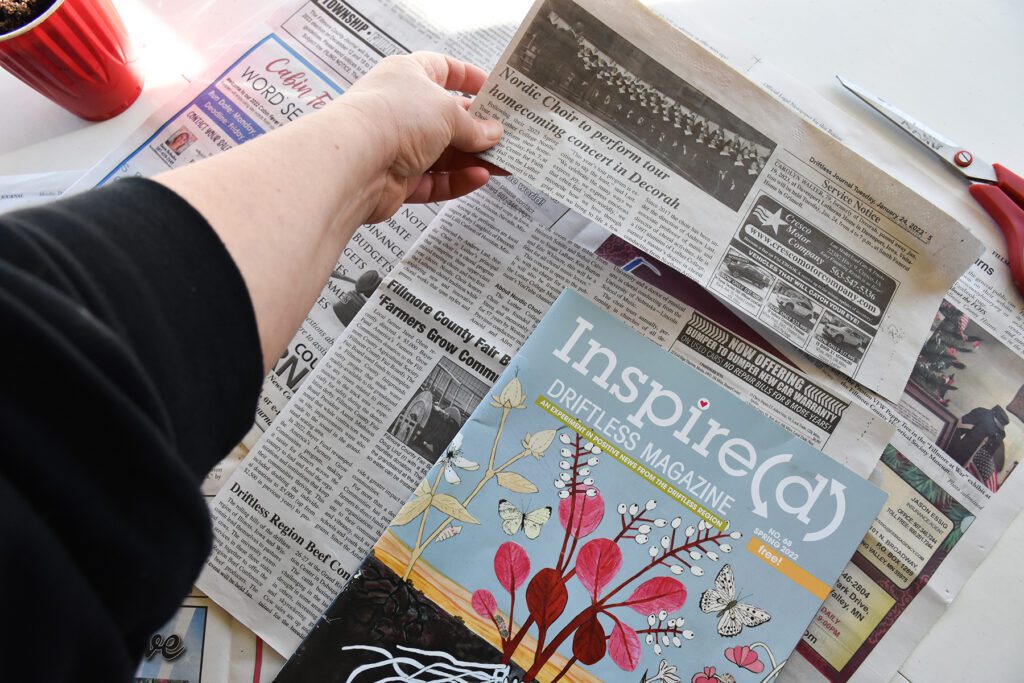
Fold the newspaper back in half and use your Inspire(d) Magazine to measure your 11-12 inches. Trim off the excess newspaper and recycle.
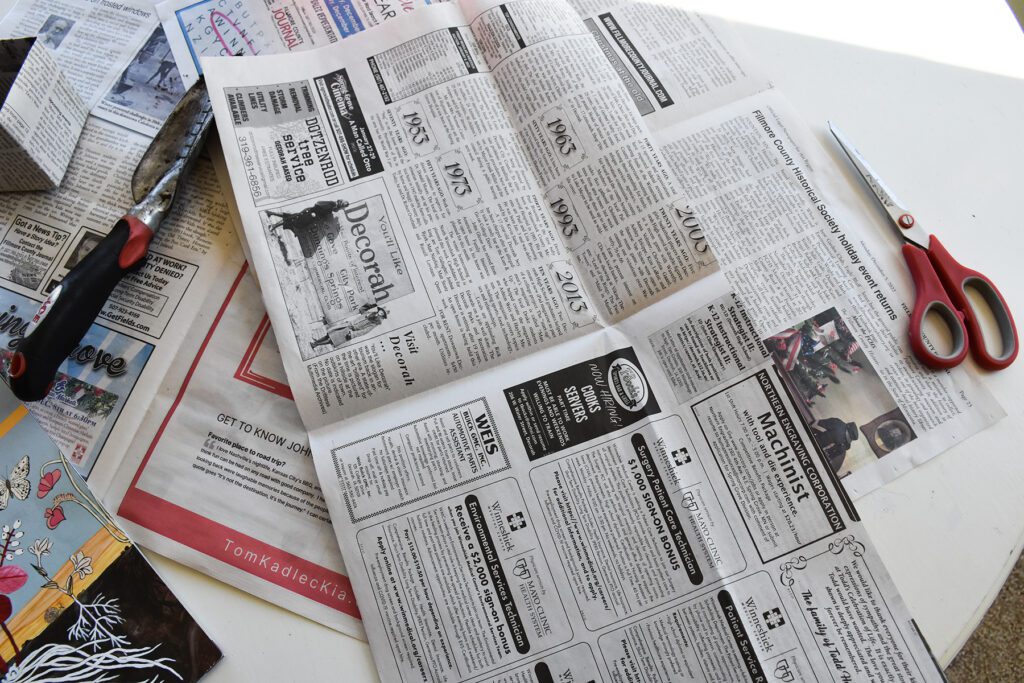
Open paper back up and turn it the long way.
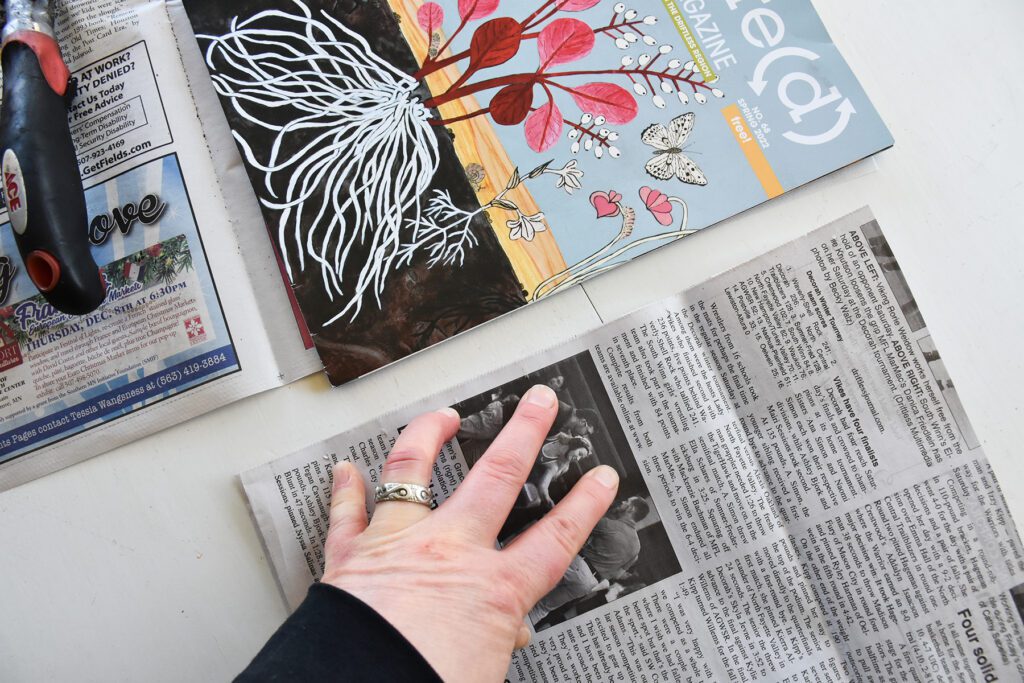
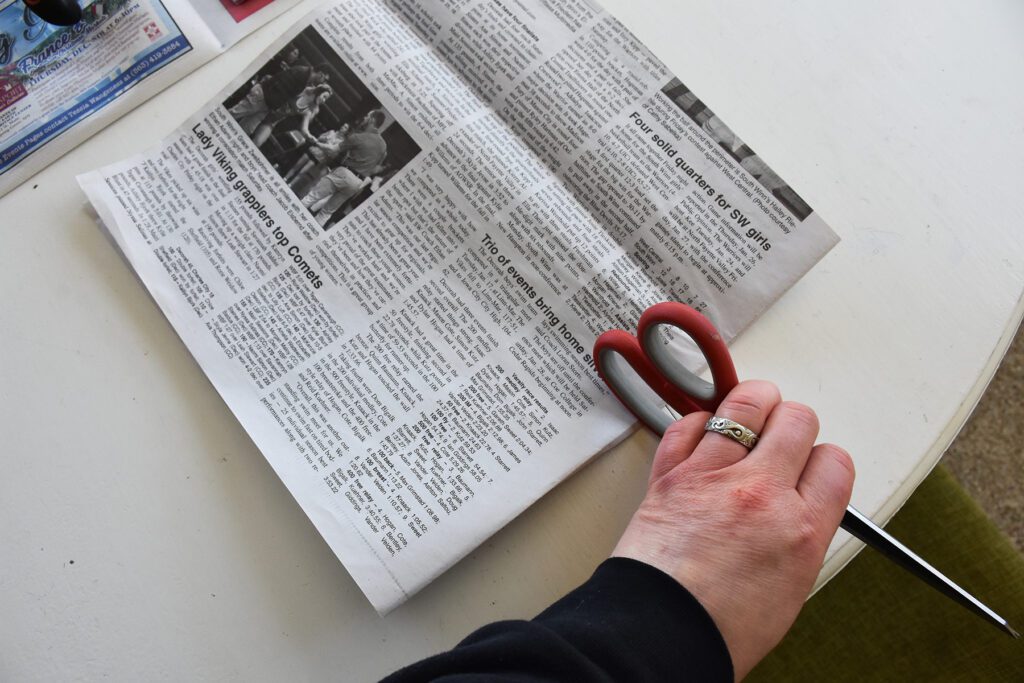
Now fold it in half, meeting the two edges (so you might have to go slightly against the regular
newspaper fold). Use a scissors or tool to make your crease nice and defined.
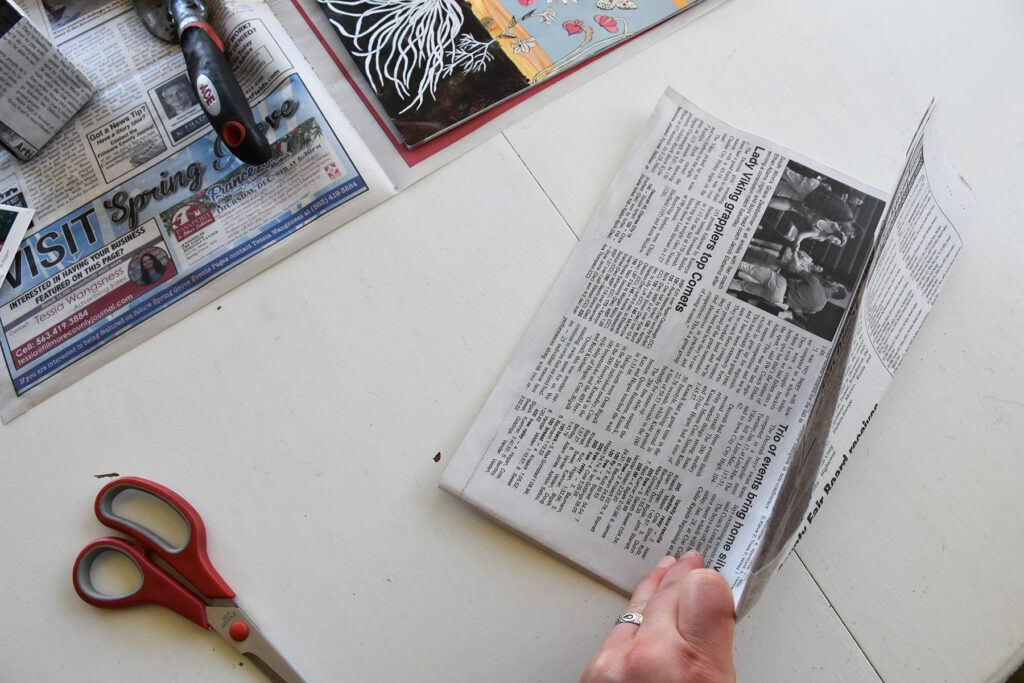
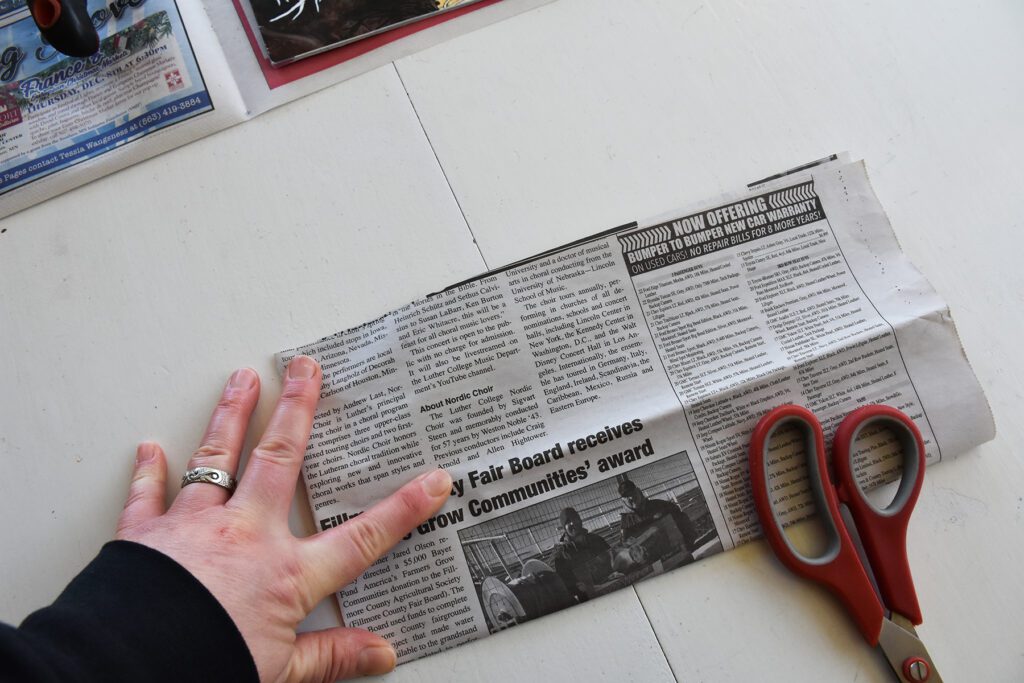
Fold it in half again (hot dog fold), and use your tool to make your defined crease again. So far, this feels a lot like making a paper airplane.
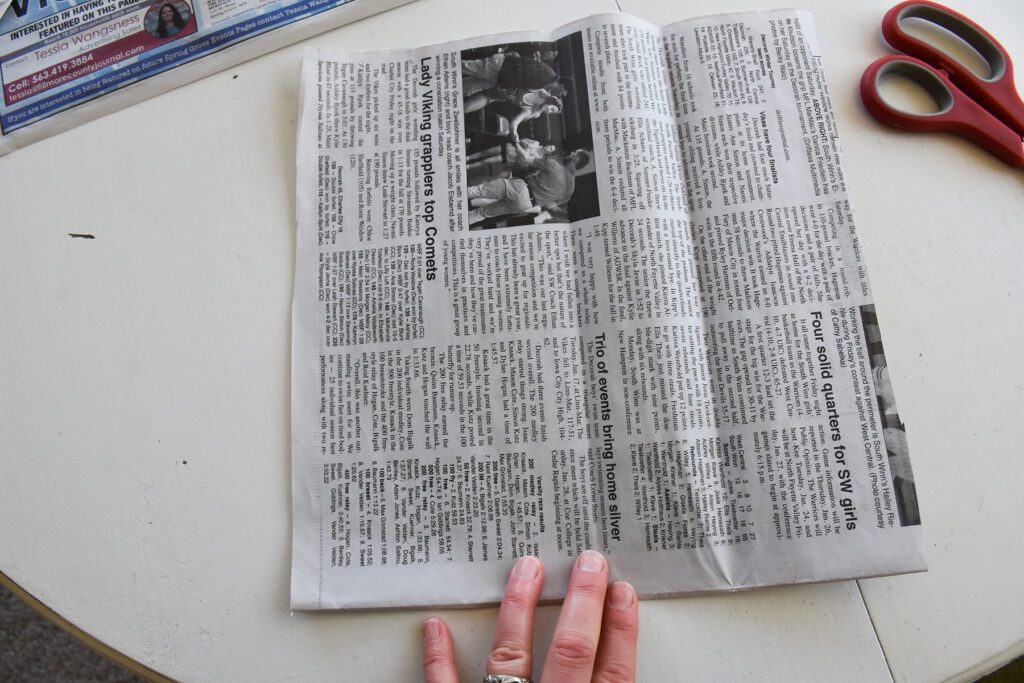
With that paper airplane idea in your mind, open the paper back up, and turn it with the folded edge toward you.
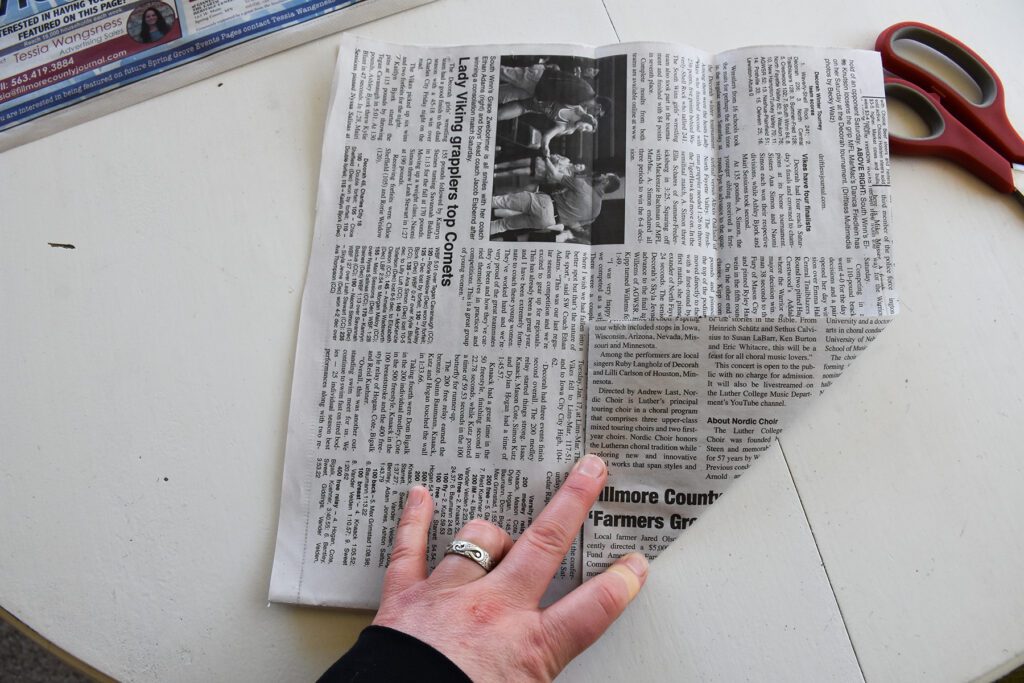
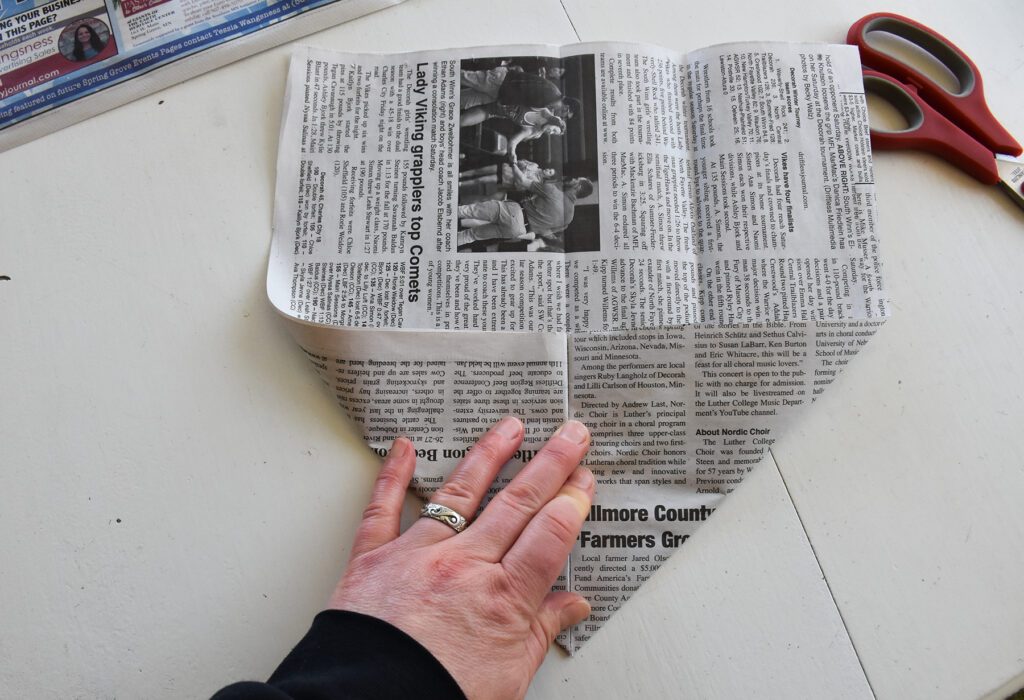
Fold the lower righthand corned into the middle. Then fold the lower lefthand corner into the middle (see, just like a paper airplane)!
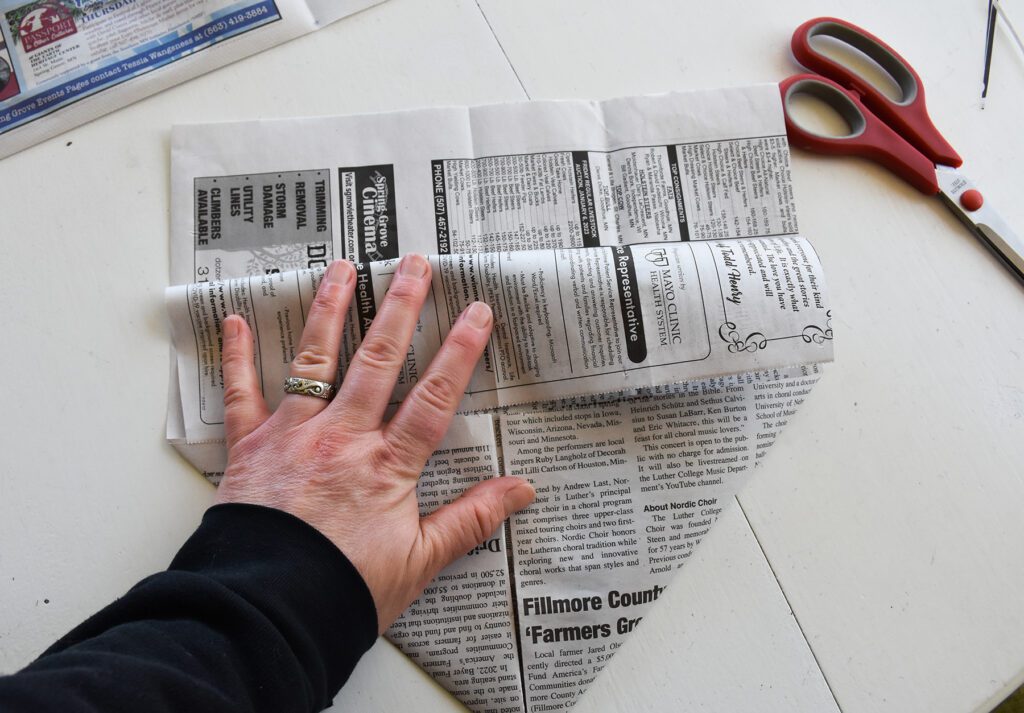
With the point facing down, fold just the top flap of your newspaper to the “airplane” edges.
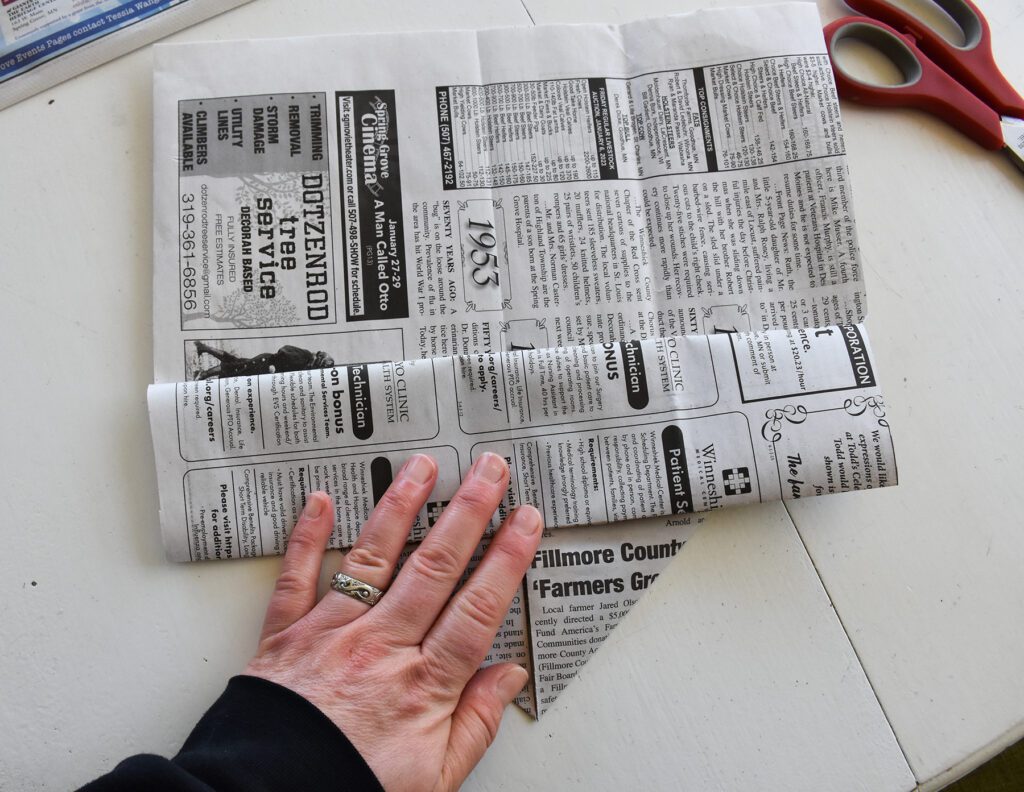
Fold that flap over itself again, so now it’s forming what looks like half a hat (upside down).
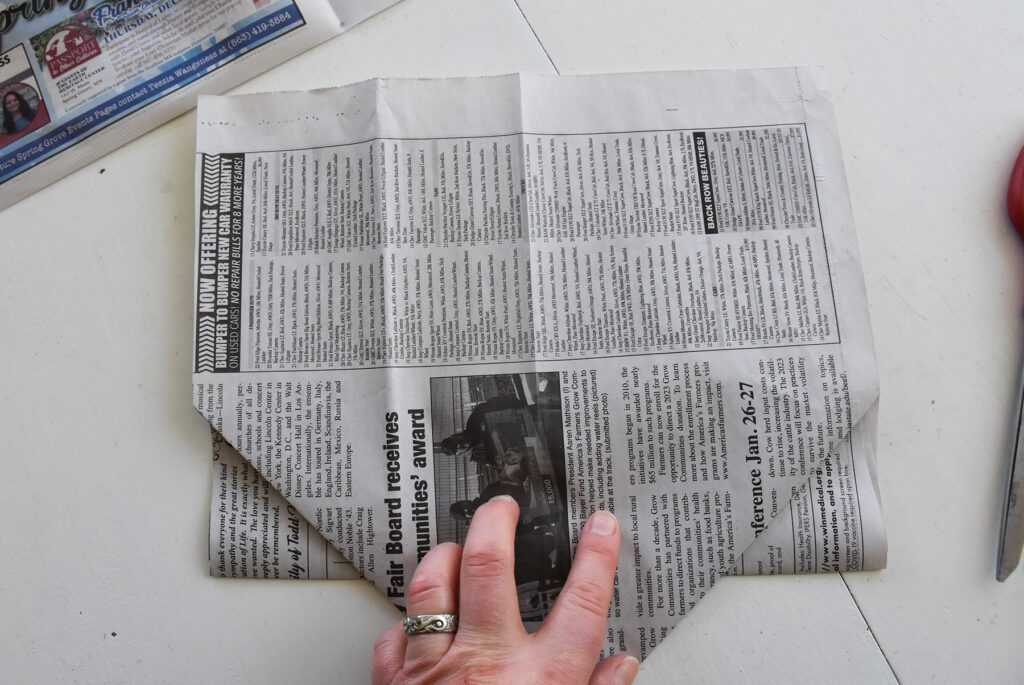
Flip the whole project over.
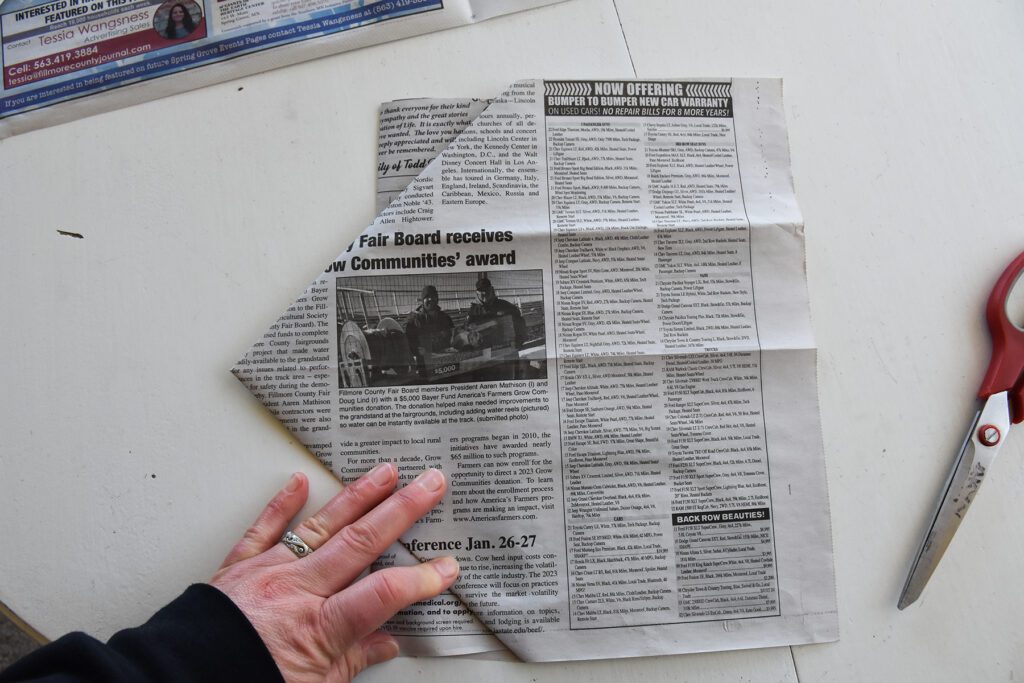
Turn it on its side, making note of where your middle crease is located.
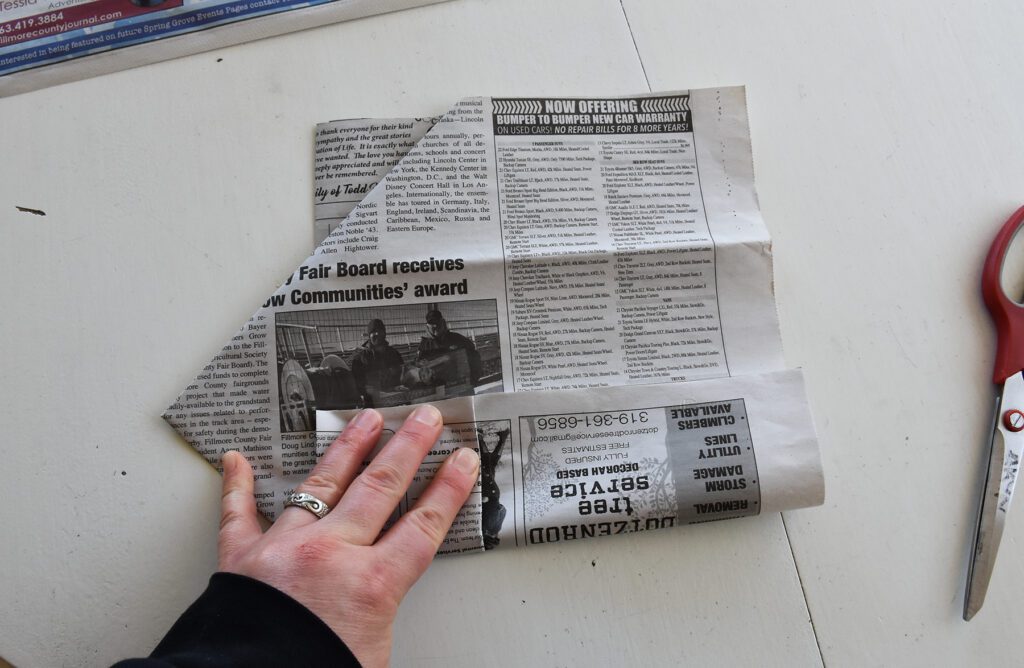
Fold the bottom half up to the middle crease.
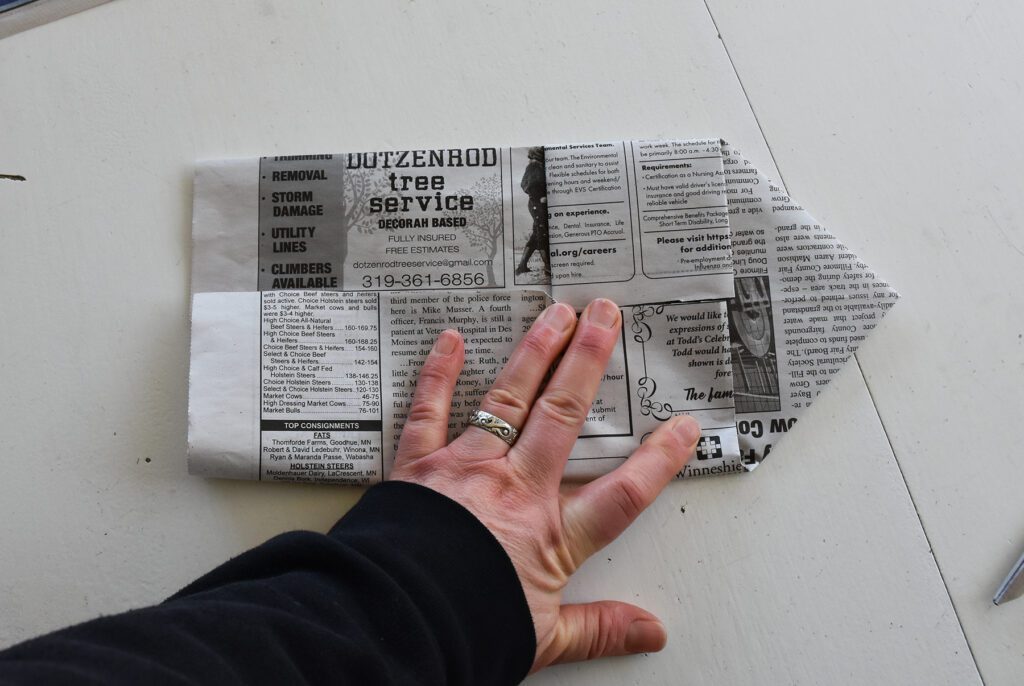
Rotate the project and do the same on the other side.
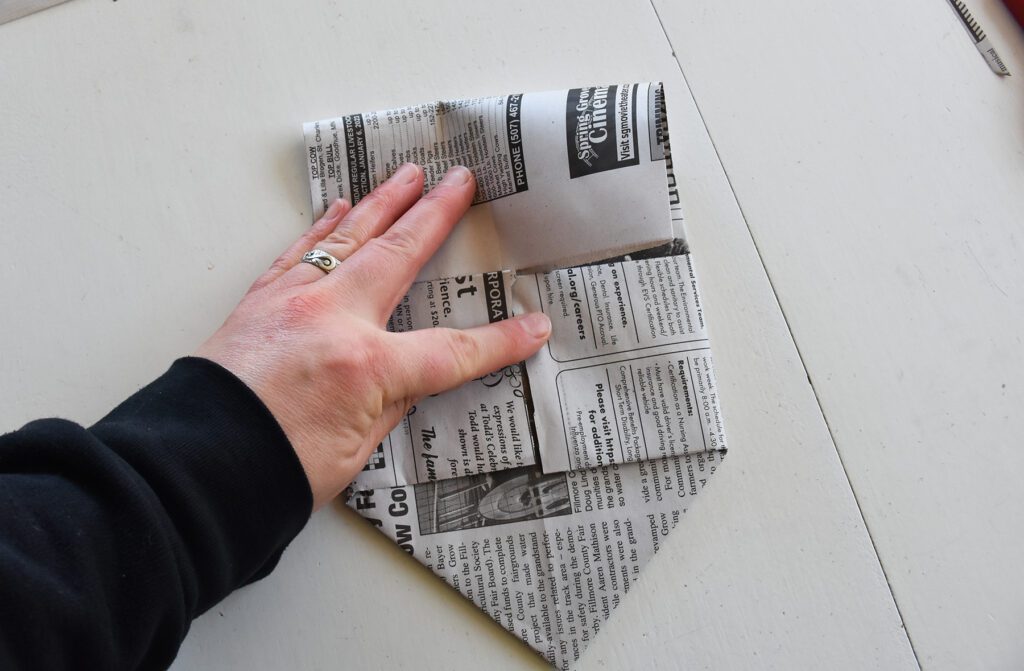
Aim the point toward yourself again and fold the whole top section down to meet the folded edges.
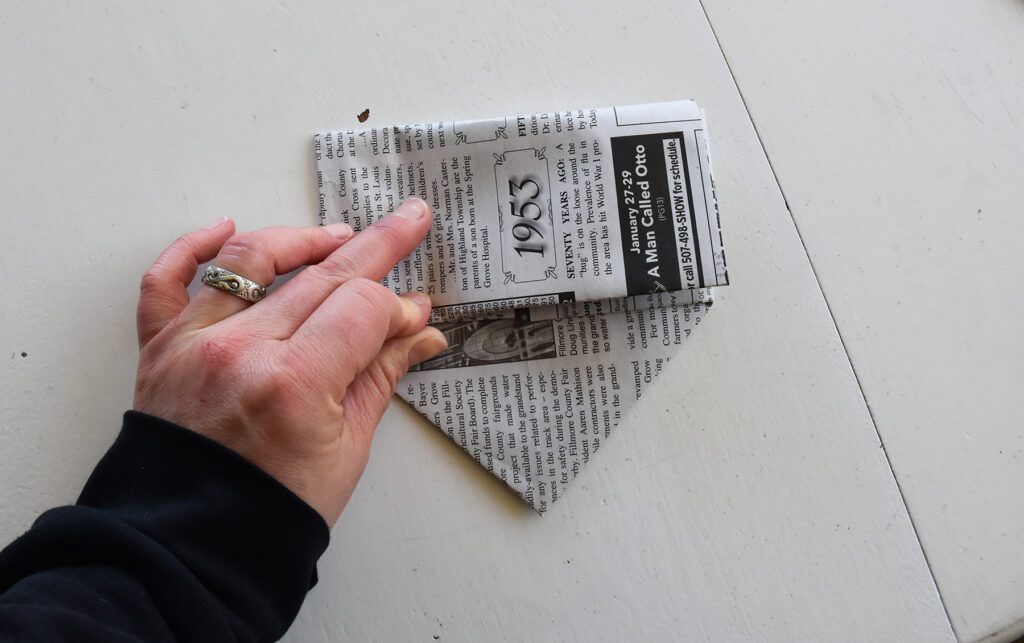
Fold that section again, over itself, so it overlaps the folded part. You’ll be opening this back up to tuck it into the flaps inside the folded part. This is the section that gets just a little tricky.
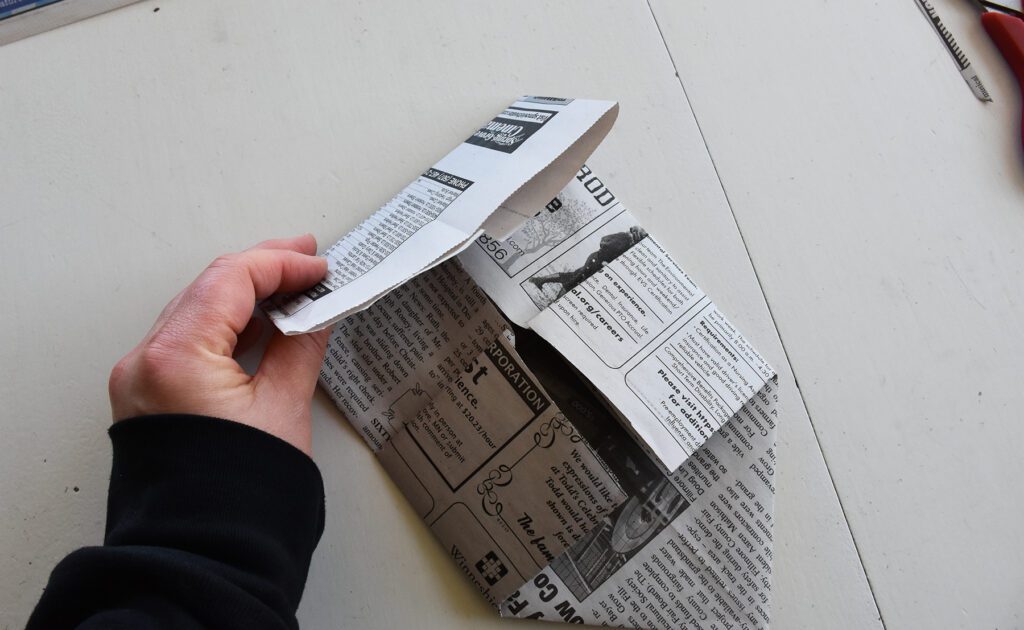
Open up that section you just folded, and grab the top part. You’ll be tucking that into the section just behind the point.
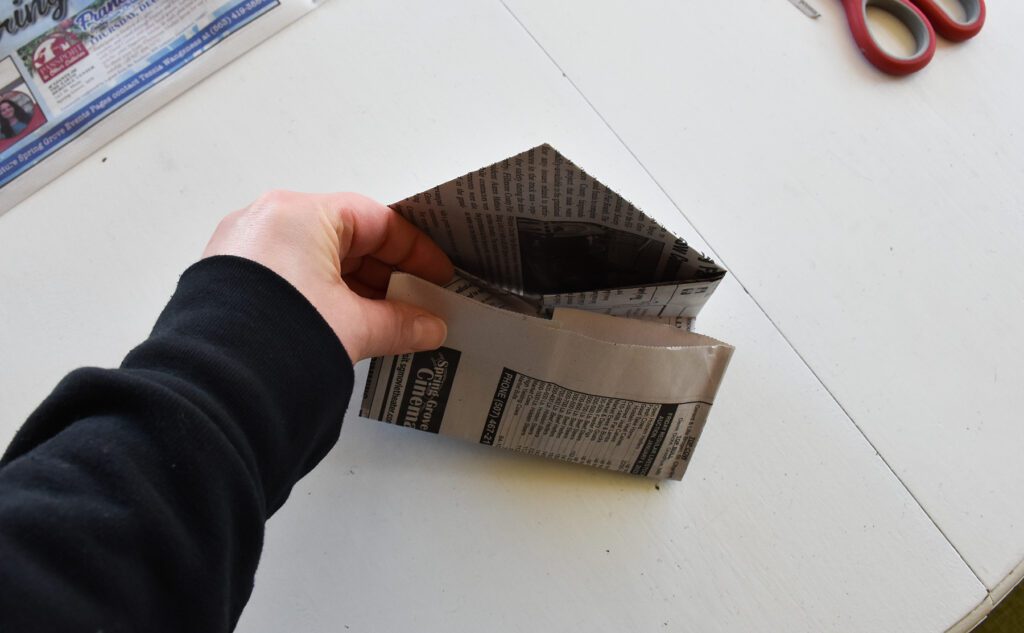
Here’s a different view of where you’re tucking that flap.
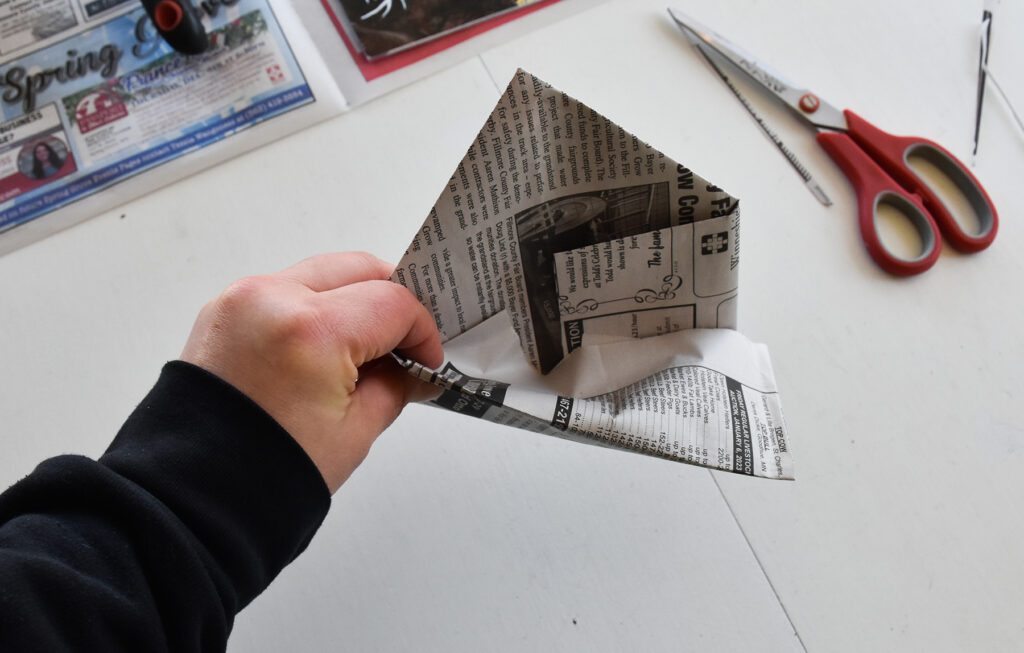
It will take a little finagling to get it in there and it might not fit totally perfectly. That’s okay!
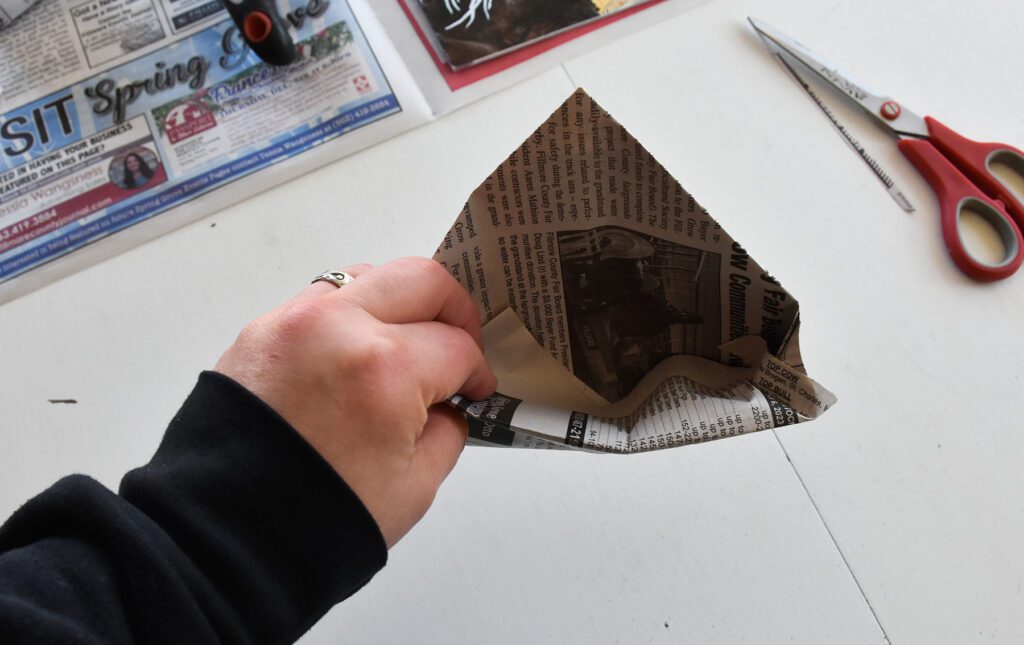
Just do your best (like I did here, haha).
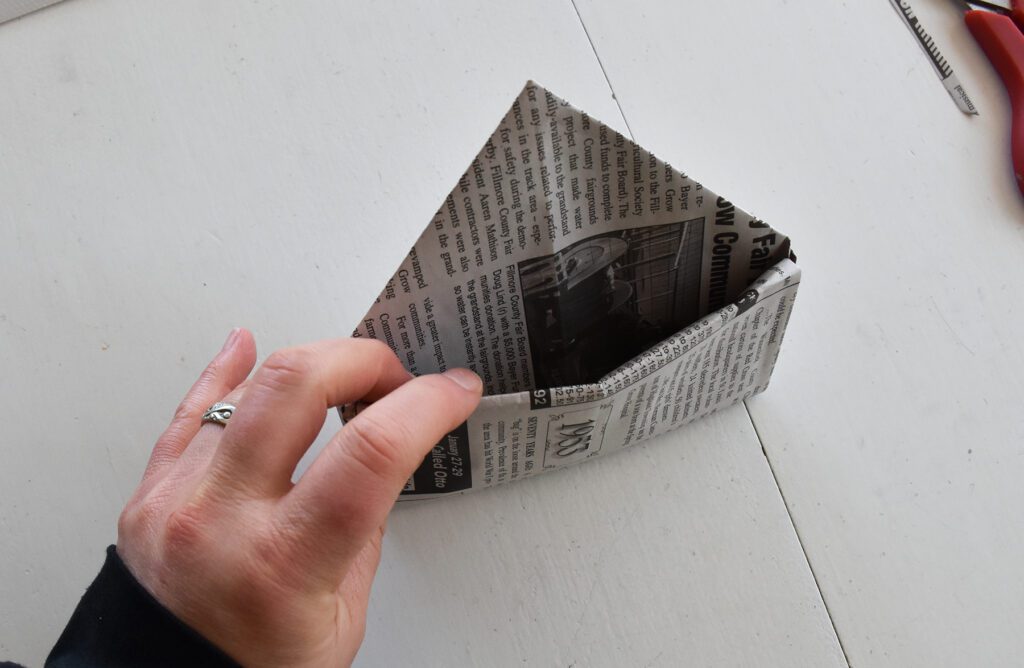
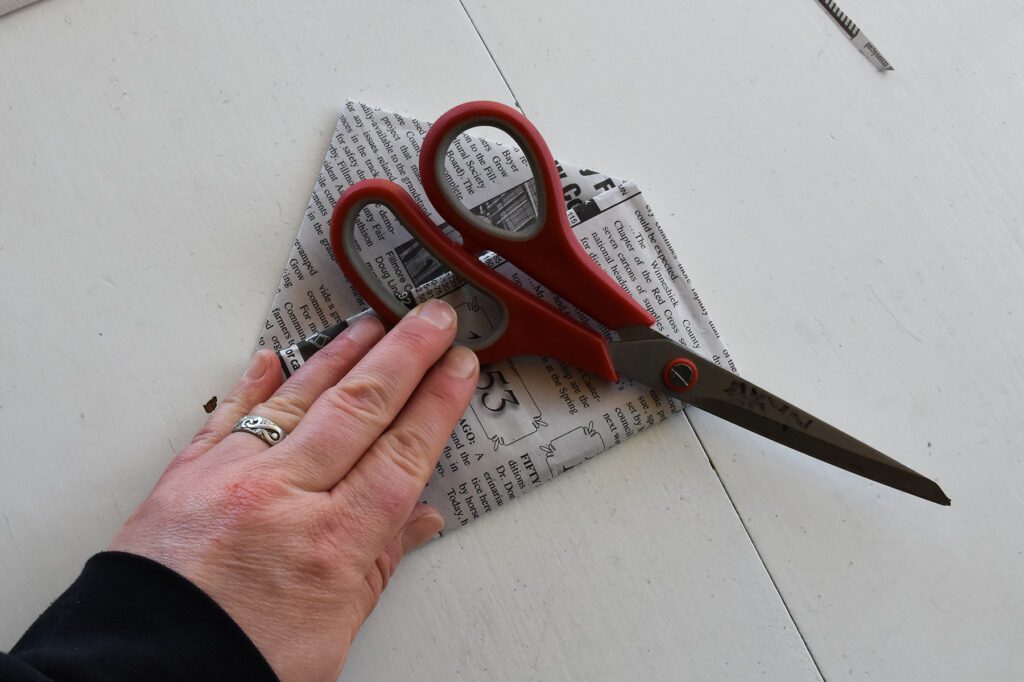
Once it’s all tucked in, use your tool to make your creases nice and defined.
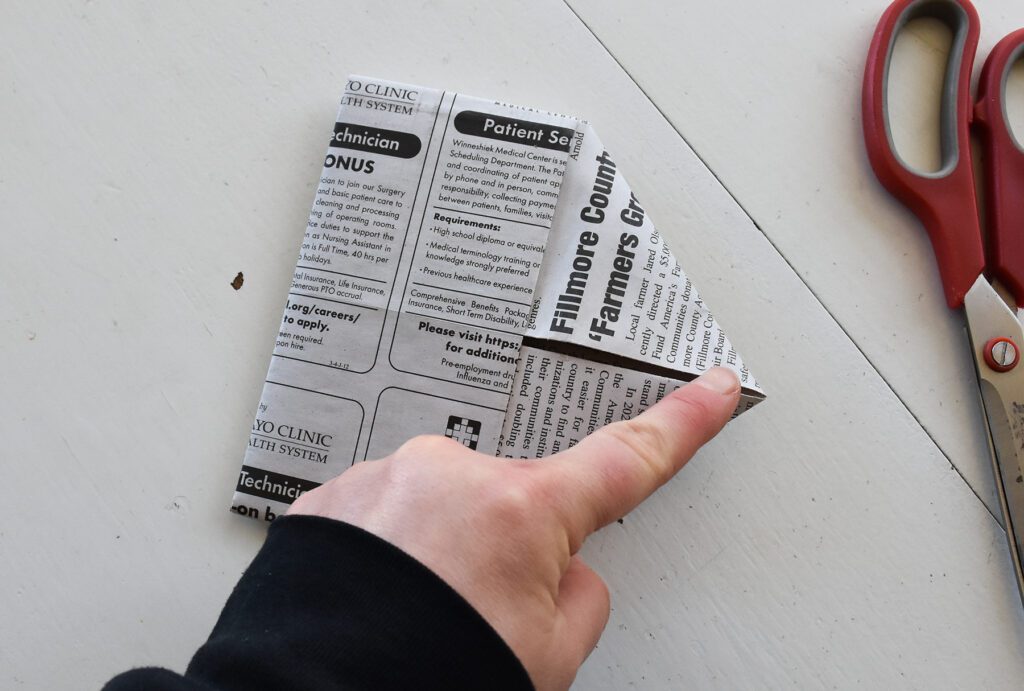
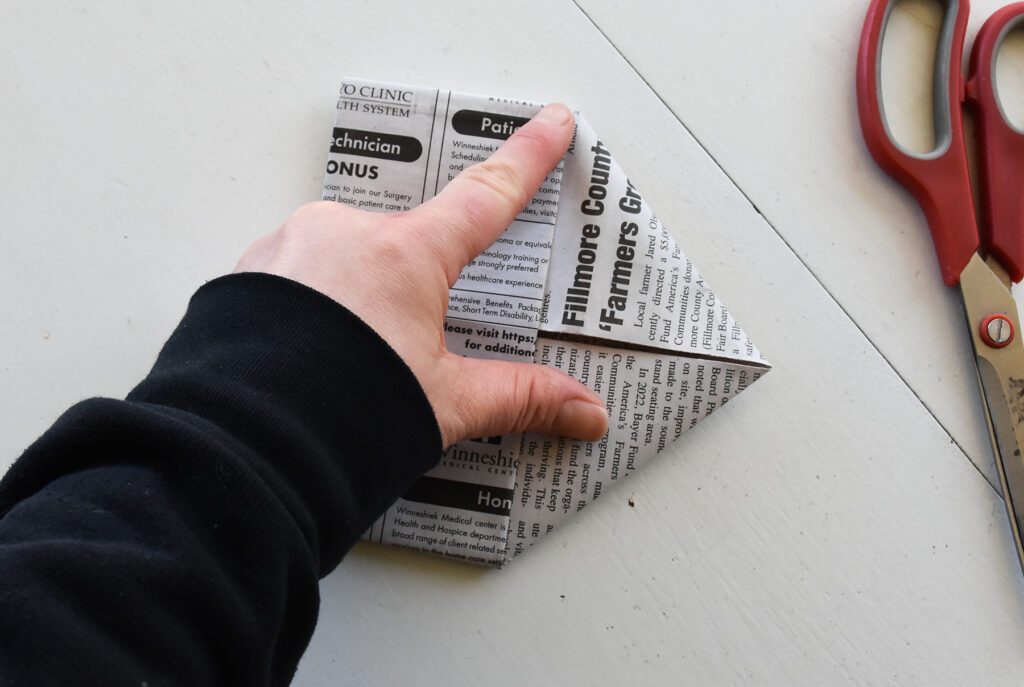
Now take this corner (where I’m pointing), and fold it over to the other corner. It will just touch that corner and you’ll be making a defined crease so it will guide the fold make the bottom of the box.
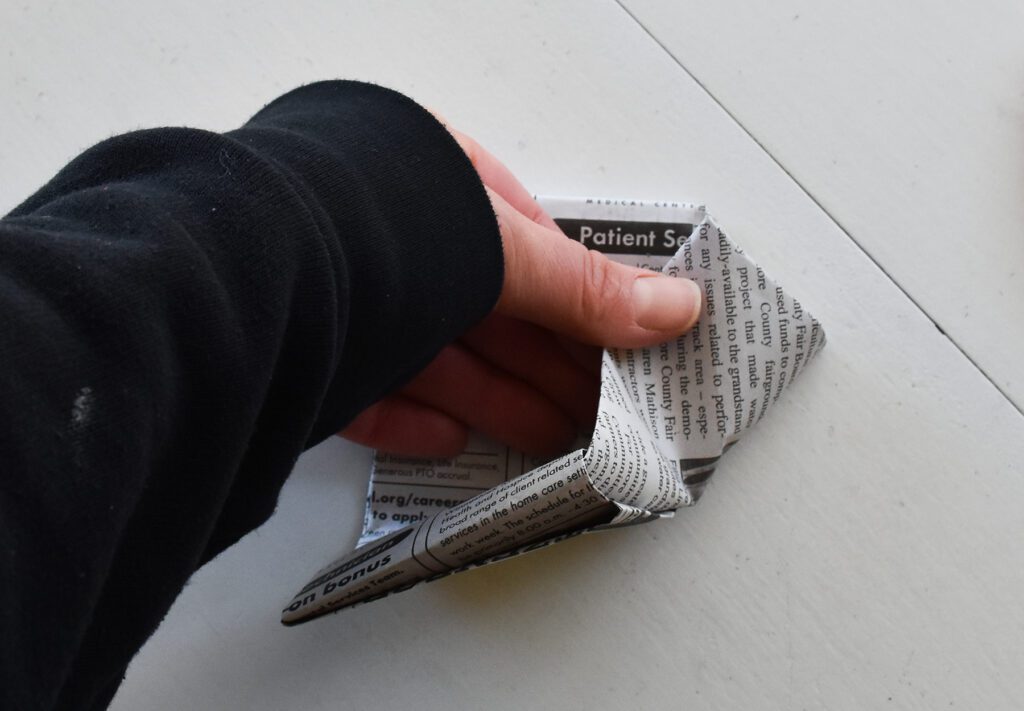
Like so. Use your scissors or tool to make just that section of the fold defined.
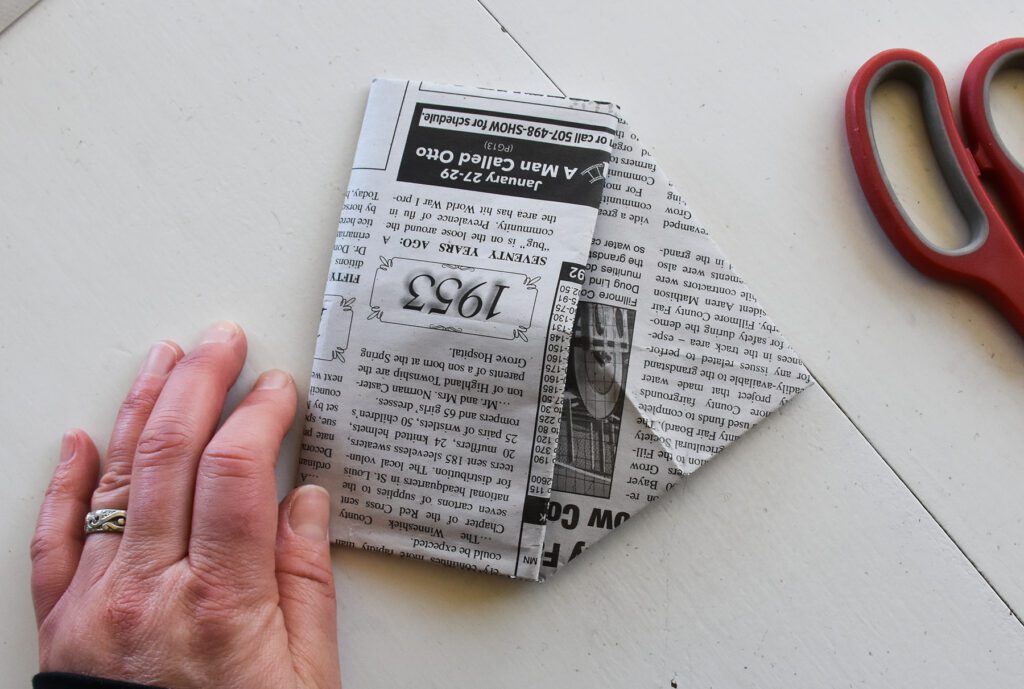
When you open it up, you’ll see the defined crease you just made, like above.
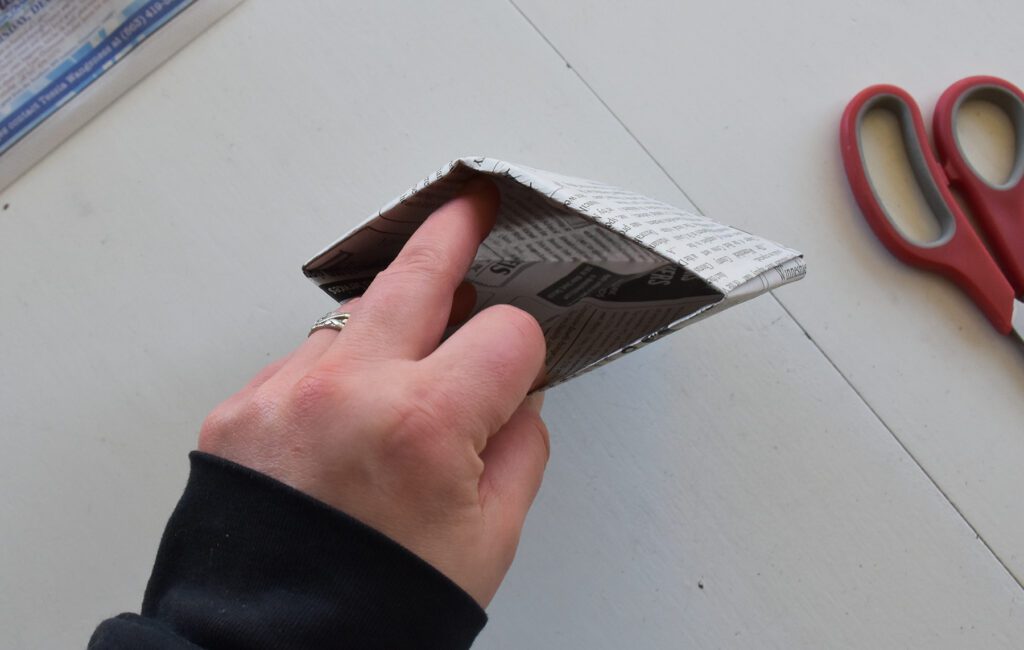
Time for the exciting part! Open up the box opposite from the tip.
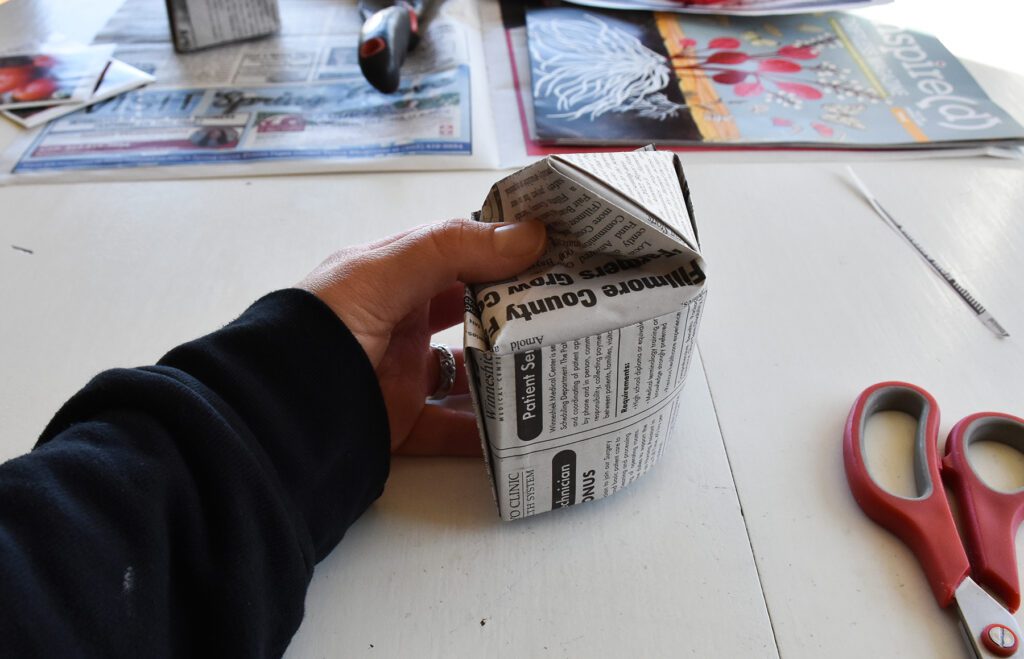
Fold the bottom crease into itself to form the bottom. It might take a little finagling again.
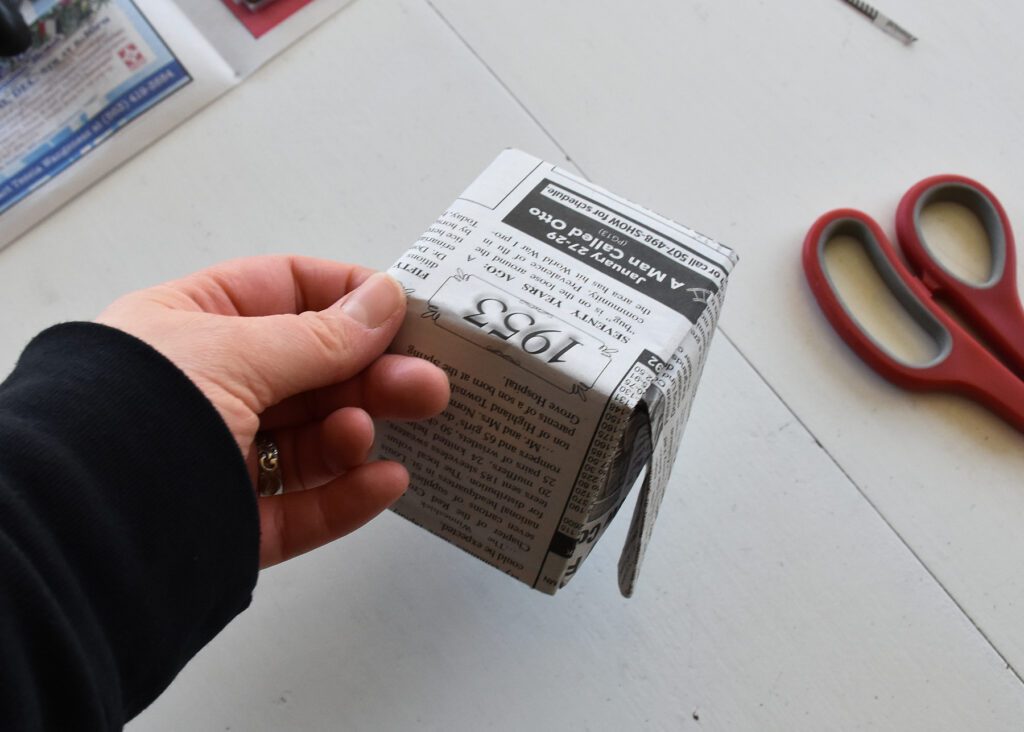
Use your fingers to shape the edges and bottom of the box a bit. The bottom flap might stick out a little – that’s okay! It sits on the bottom so the soil and plant will hold it down.
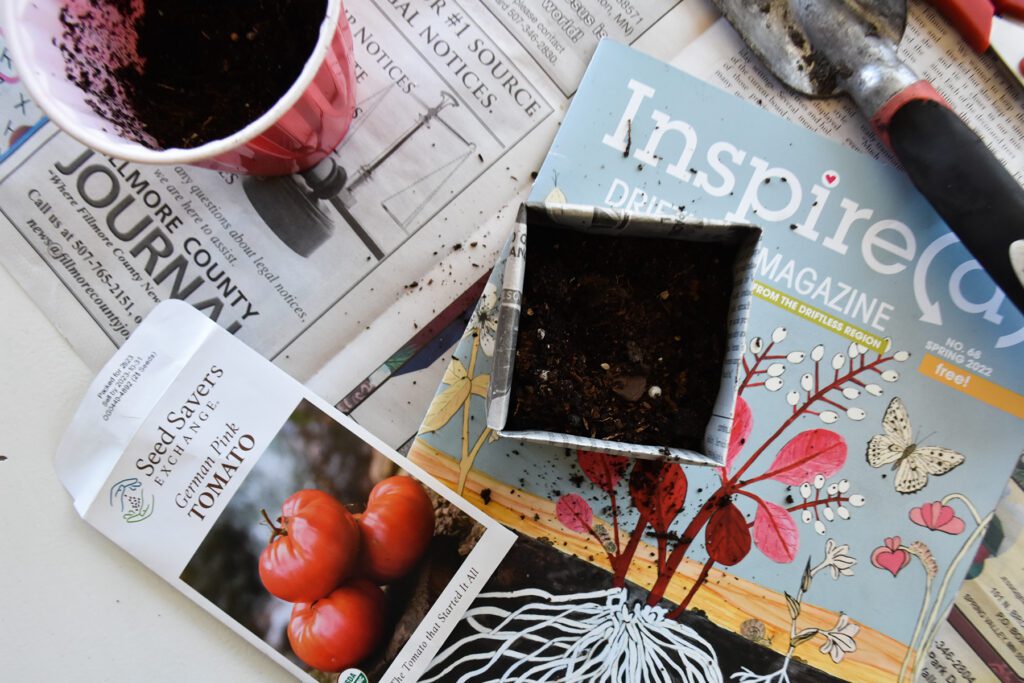
Put some soil in your pot, then two or three of your seeds, and top with soil.
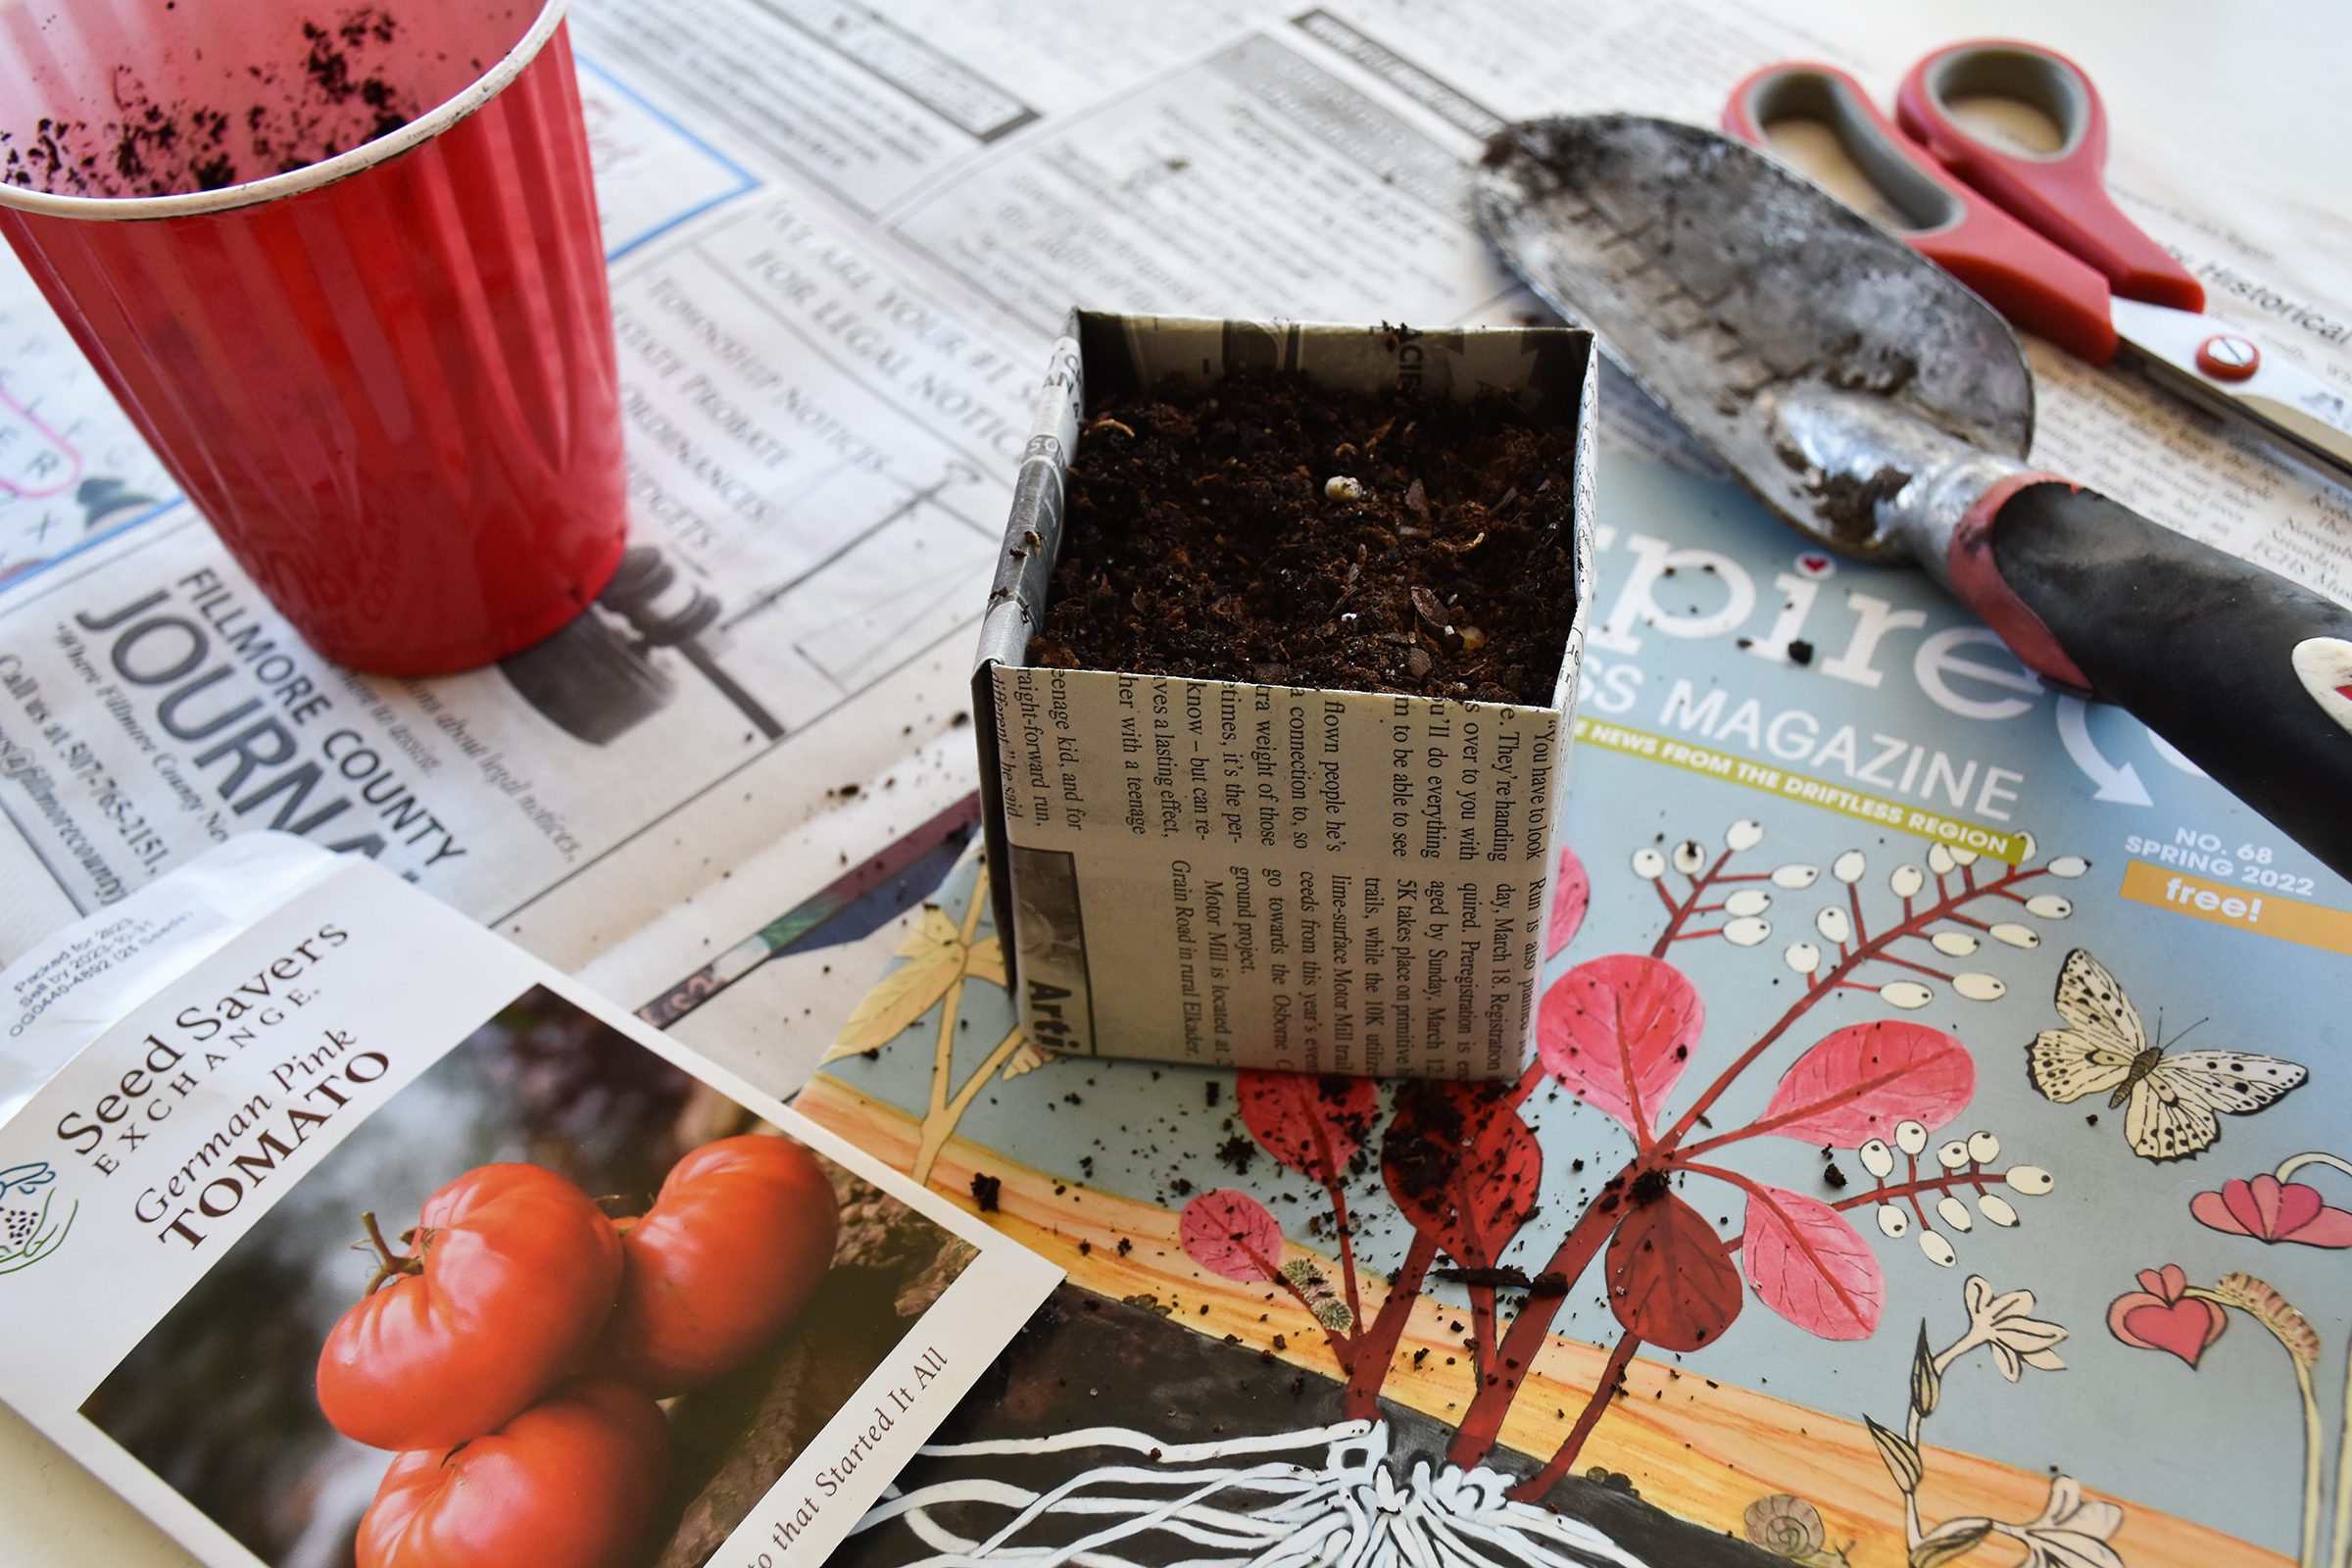
Make sure you put these pots on a tray, as the newspaper is obviously not waterproof. You’ll be able to see very well with the soil is dry because the newspaper will let you know! Once it’s time to put your seedlings in the ground, you can plant the whole pot, newspaper and all! Happy Spring! -Aryn


